
Windrose Review
My old desk was amazing but it was time for it to be retired. The most recent having to move my old desk back and forth quite a few times caused a lot of unintended damage. It got to the point my computer would start to shake the entire thing and that was quite unconformable for my mouse hand.
It was also a desk I had a low conference that would be around for quite a long time. Perhaps after my first year or two of owning the old desk the keyboard tray broke off for good and I could not repair it after many attempts.
At the time when it had a keyboard tray that part of the desk was too low. So I used blocks of wood on all corners of the desk to bring it up. After I lost the keyboard tray I never removed the blocks of wood as I did not want to risk breaking the desk trying to get it up and out of the corner it was in.
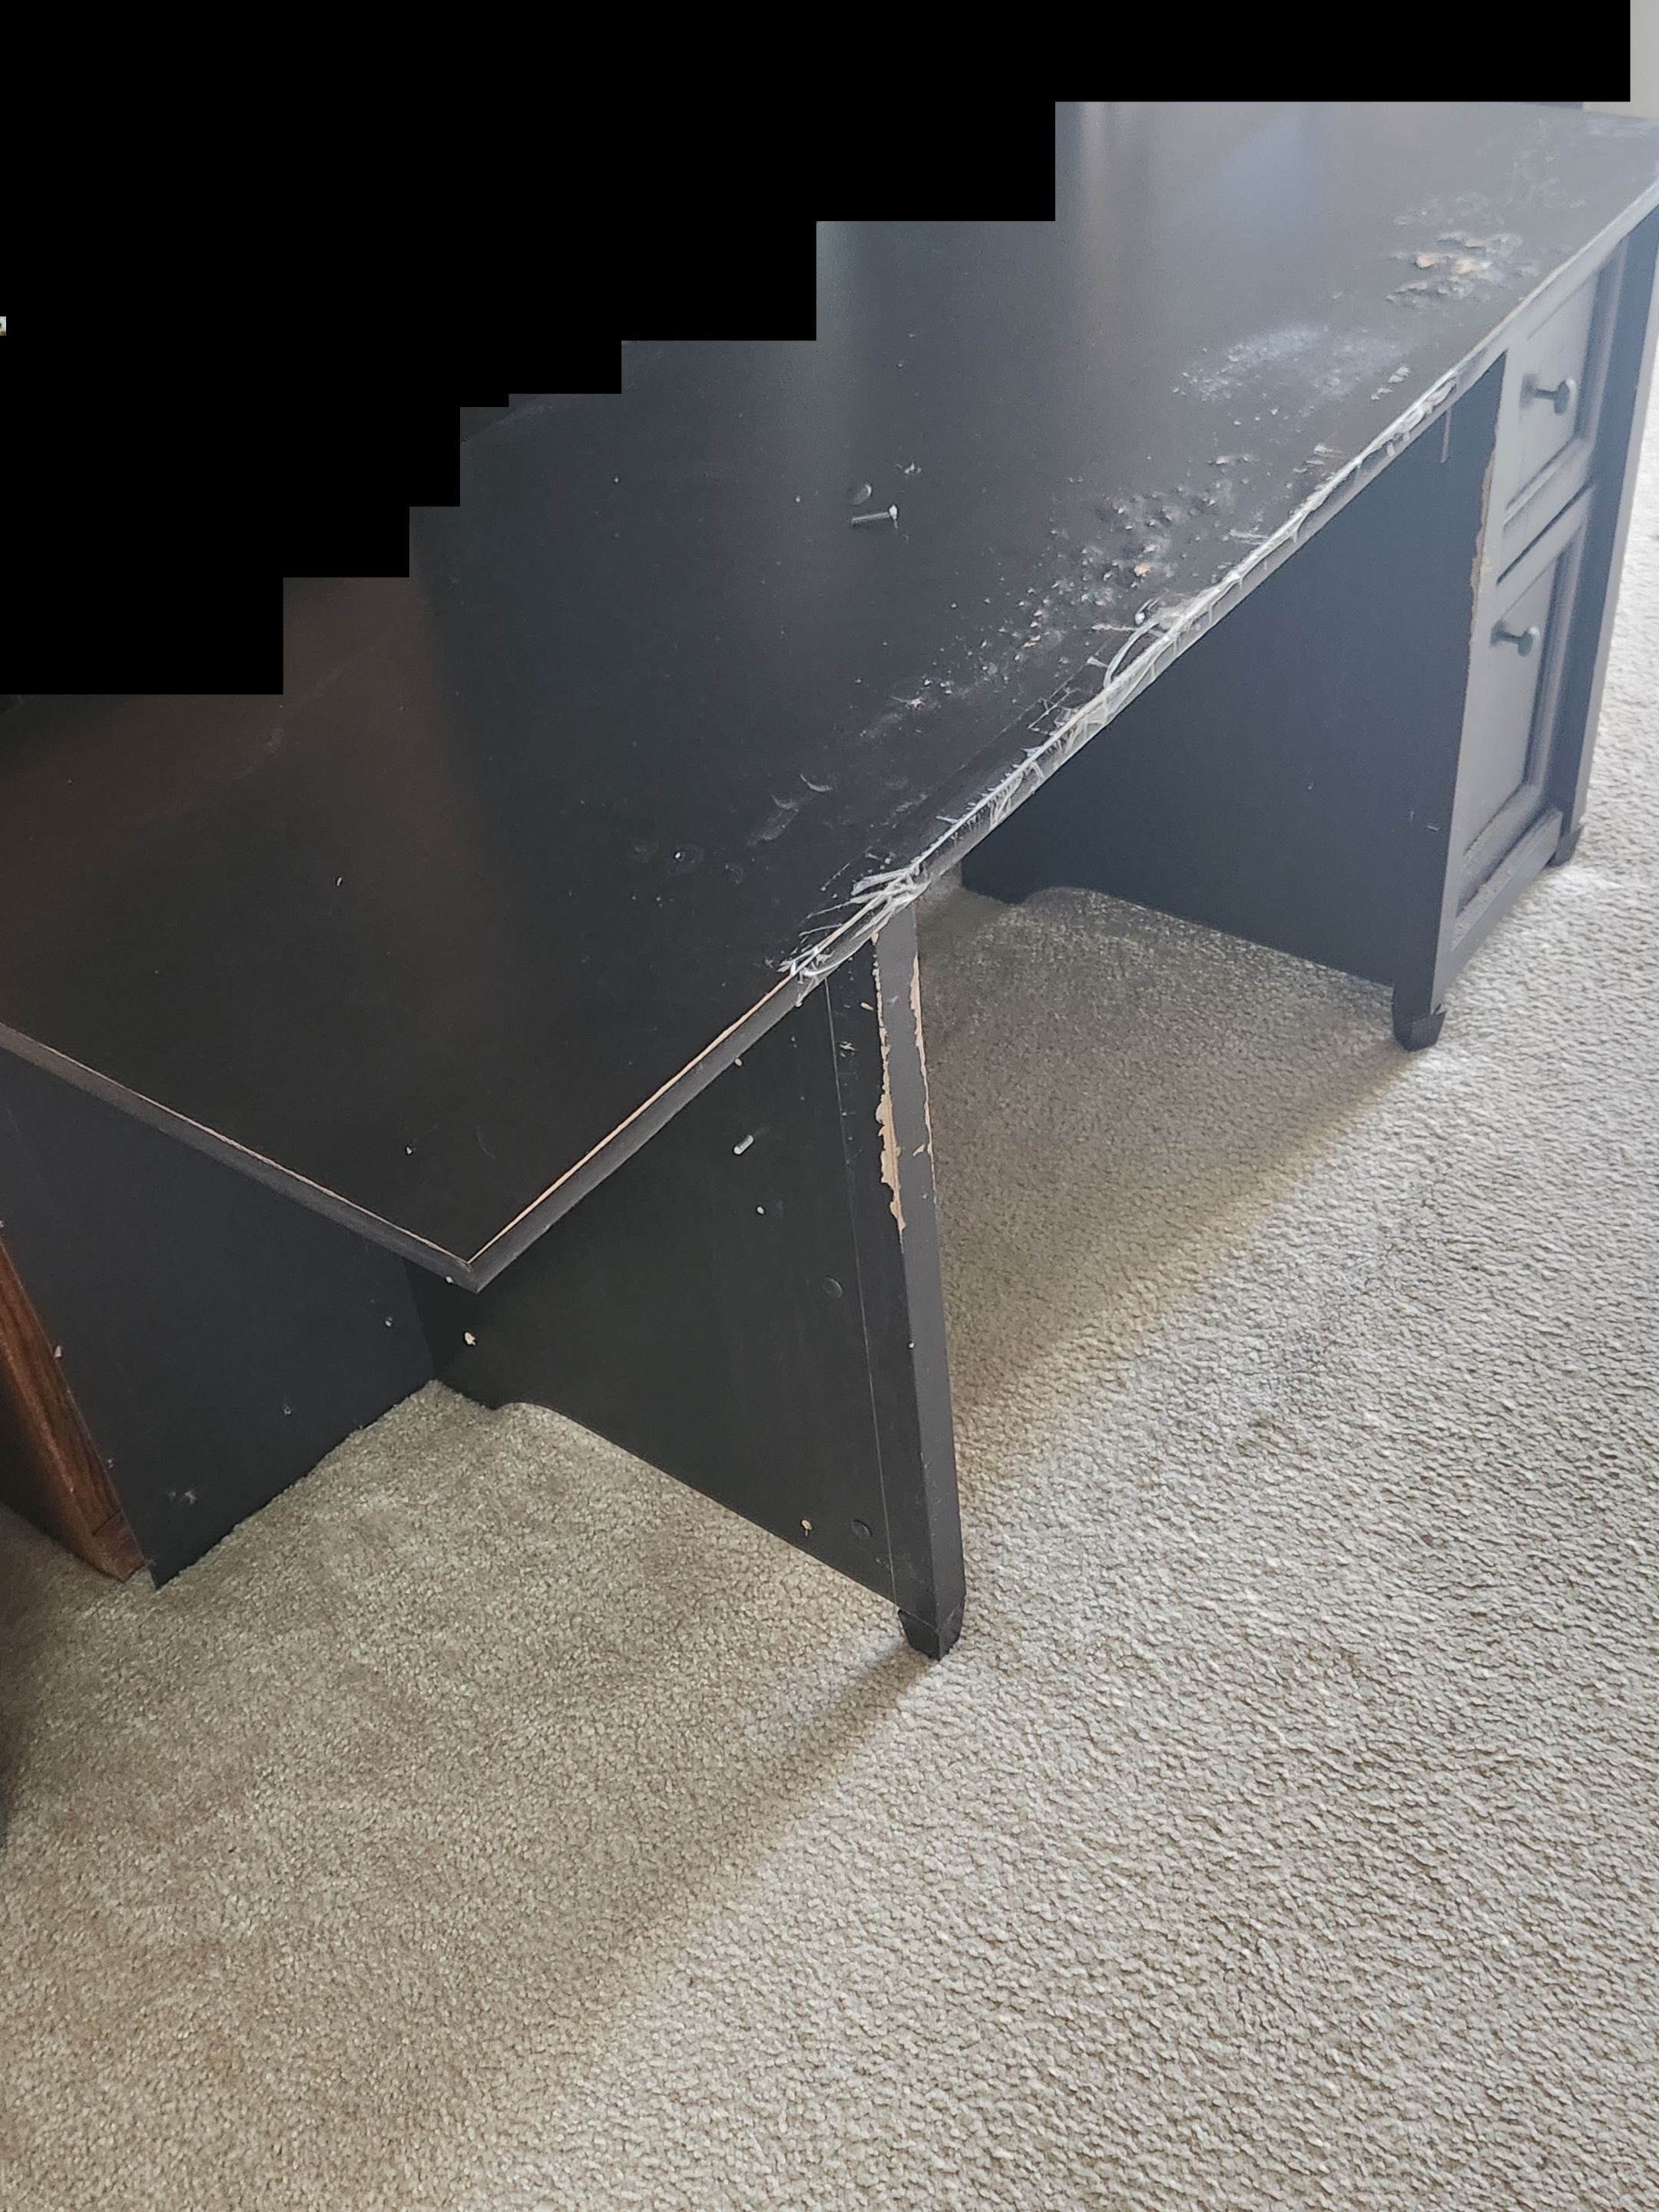
Over the years it started to crack in a few places. Along with the paint getting rubbed off due to my knee resting on one side of it. As the years went by it was looking a lot worse for the wear.
Then 2023 finally rolls around and I have to move it quite a few times. The most damaging move was getting it out of the corner I had gotten it into. It was also time to get it off those wooden blocks I use to use.
The entire cupboard on the left side and its bolts ripped out while moving the desk. While I had plans to attempt to make repairs I kept having to move my desk over and over again. To the point, the whole thing shook any time I put my computer back on it and turned it on.
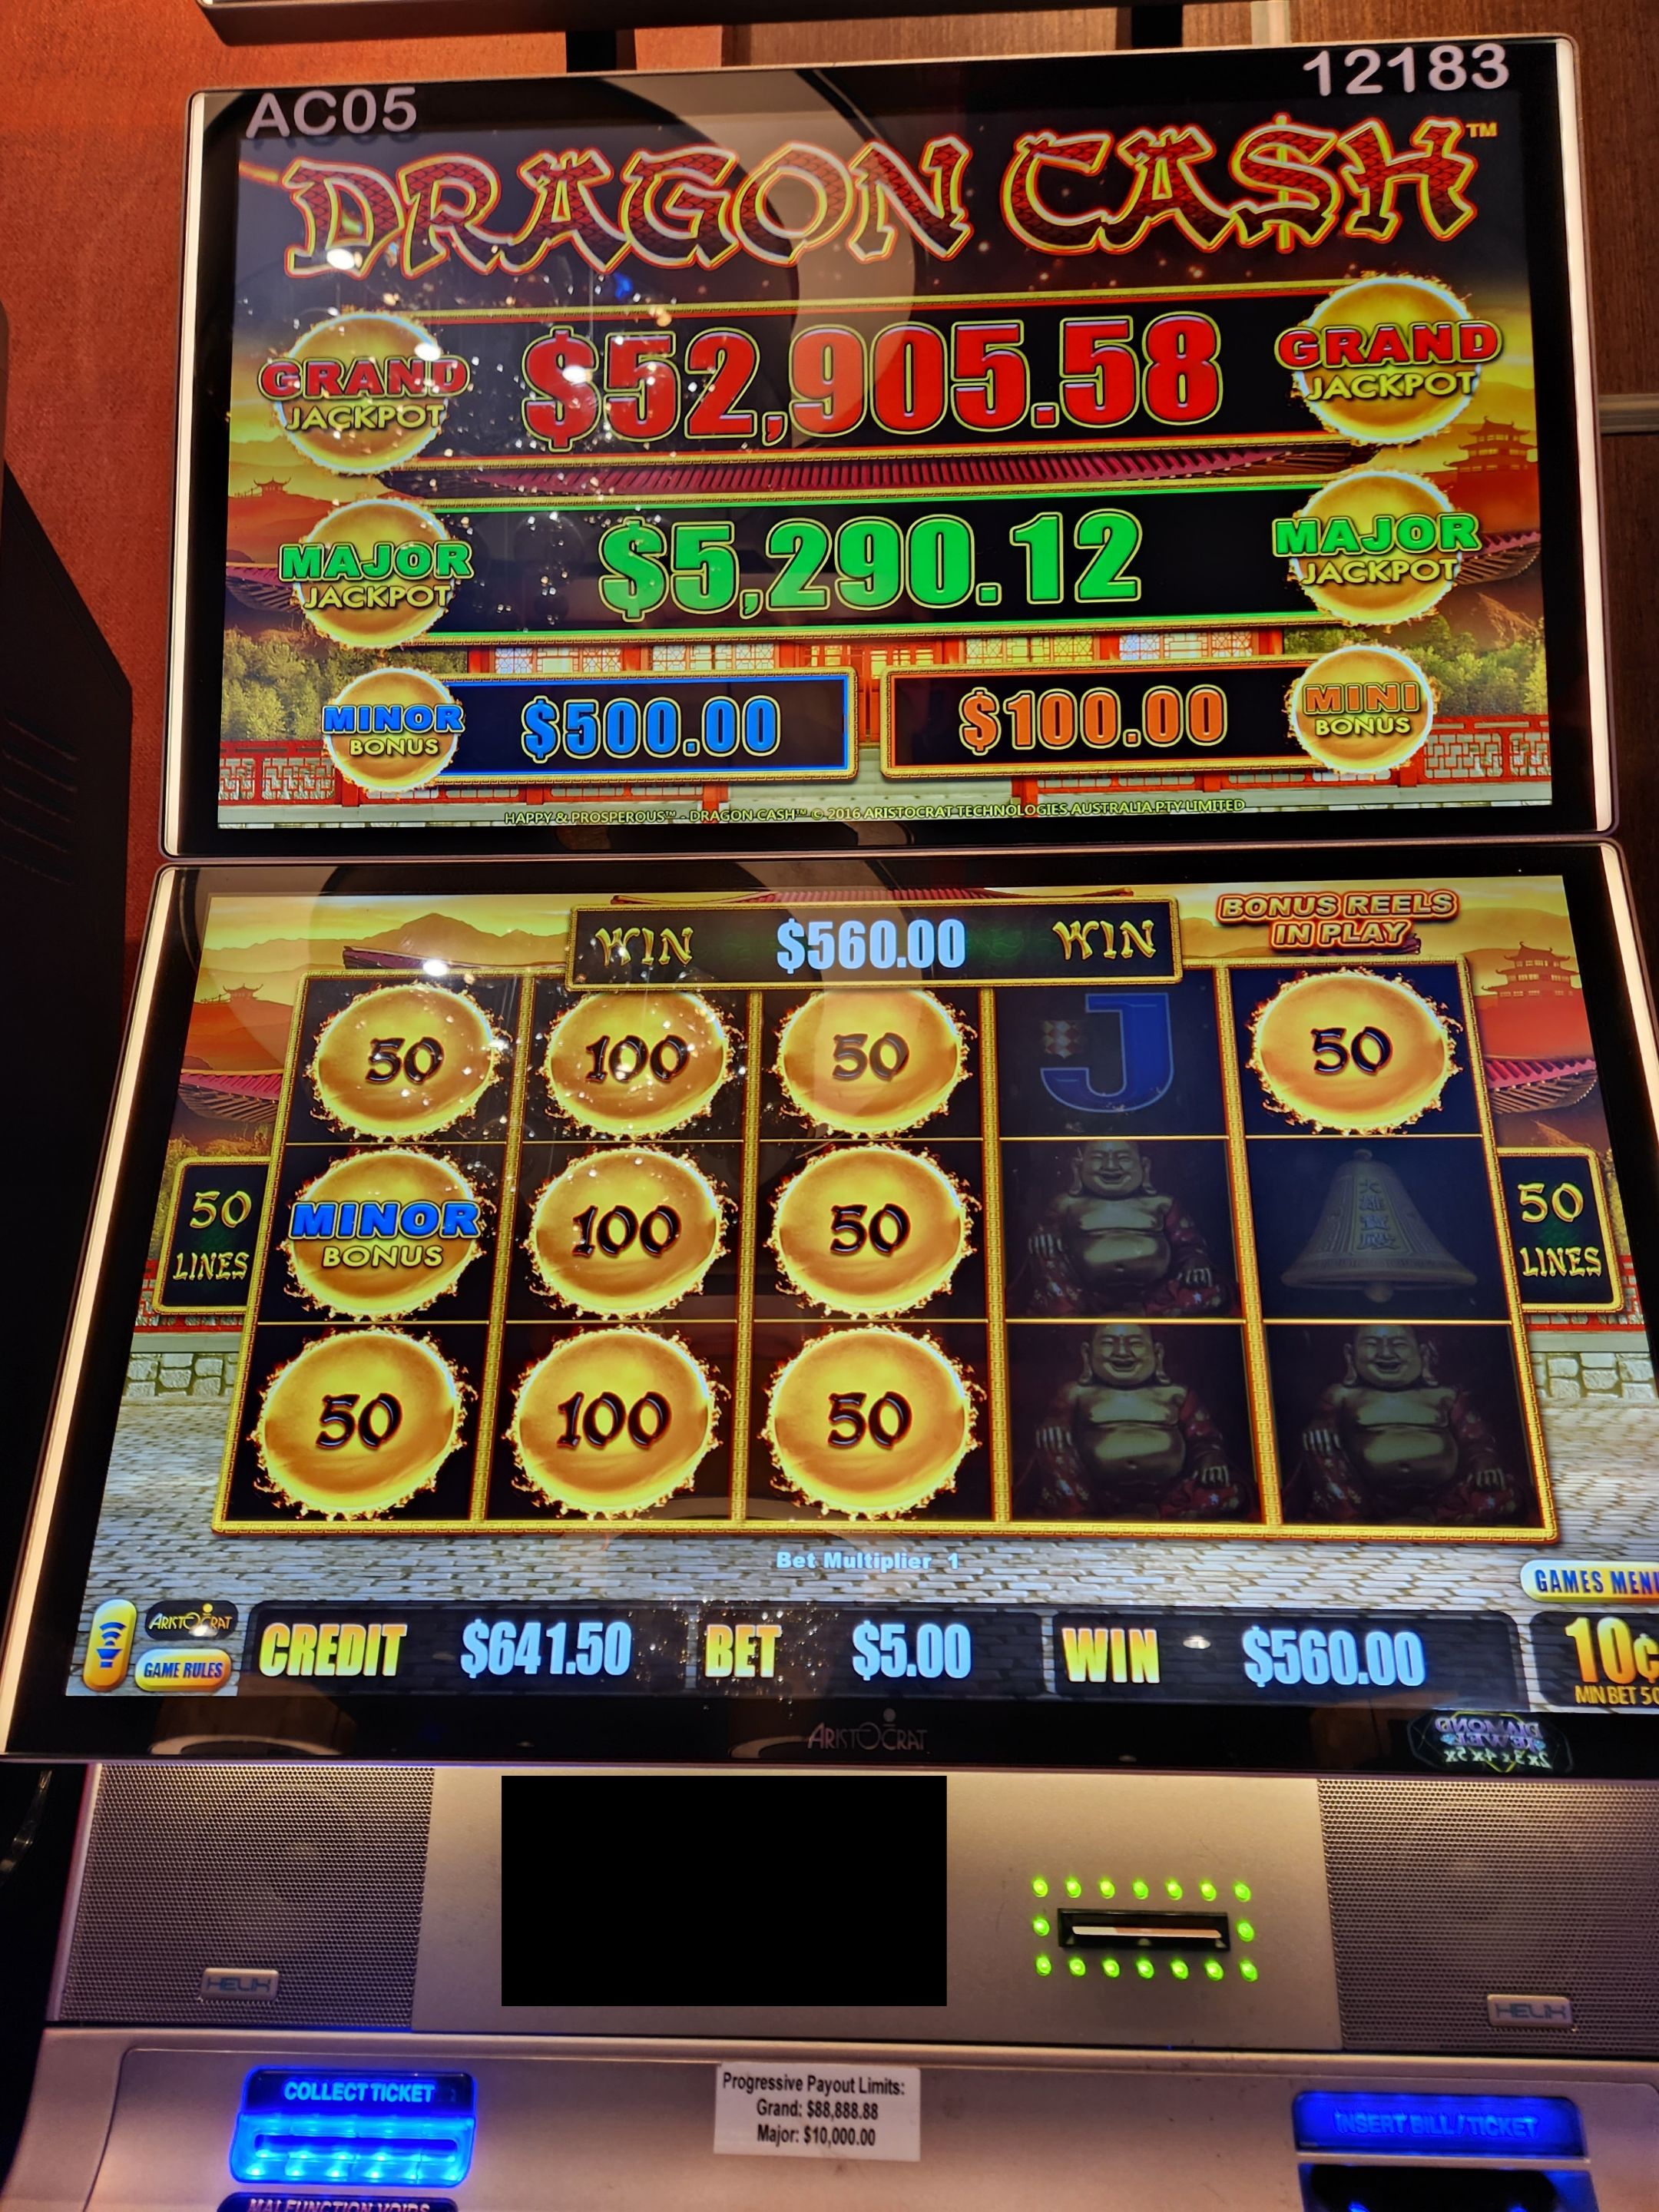
While I’ve yet to share much of what transpired on that adventure I was just recently on. I will share I ended up in the high-limit room at the Golden Nugget casino. I took my shot with a couple of bucks and some $5 spins.
I ended up landing 6 balls but none of them were amazing. Just 50 to 100 with it being on the ten-cent denomination. Those were just one to two times my bet each ball. Then I could tell there was a mini in one of the reels. I was hoping I would get that for $100.
Out of nowhere the minor landed for $500! While I never did get the mini that was going to be more than enough to help cover for a new and amazing desk.
I took a couple more spins in that high-limit room till I hit the cash limit I set for myself and walked out a winner. That money was then cashed out and tucked away from the rest of the trip.

Originally I tried looking at the lower end of desks. Money is a bit tight. The issue with all those desks is they are either made for children or they are really poor quality. A $150-400 desk from the store in the US is going to be trash and rather tinny.
One of my requirements is I needed a lot of desk space. I have two monitors and I like having some extra space for writing down notes or a place to put a drink down on a hurricane track map I have laminated.
The other thing I was looking for is it needed to be easy to move. This desk is going to be moving quite a lot. I did not want the issues I had with my old desk. If the whole thing could just be moved into sections without having to remove screws that would be great in my eyes.
I’ve also grown rather tired of just how easily a lot of the tops of desks get destroyed. You can’t even write with ease on the top of my old desk as the entire thing is rather beat up and bumpy, cracked, and even chunks missing from it. I would want a top to that desk that can survive even if I have to pay extra to make that part better than the rest of the desk.
I’m also a rather tall person so the desk being large enough height-wise was also another concern of mine. There is no way I could deal with some of the tiny desks they sell in the stores. I could break them over my knee!
Once you move out of the kid-size and quality desks. You start to run into another issue with a lot of desks out there. They are all heavily made and for a single monitor. I don’t know who designs those desks out there think just one monitor is enough. It for sure is not!!!!
The $500-$900 range for desks in this area is rare or nonexistent. Once you move beyond that you start to hit the more custom $1k-$5k desk range. They all looked amazing. Many would fit my needs. Just one small issue the price. There was just no way I could afford to spend that kind of money.
While perhaps one day getting myself an amazing Amish-crafted desk will be a goal I’ll accomplish. I had to be more down to earth with this one.
That is where I decided I’d go with a rather older trend now in desks. Getting myself an Ikea Alexa draws desks with a Karlby countertop. As the Alexa system itself at Ikea has rather bad tops for those desks so I’m hoping the Karlby upgrade will be worth the large chunk of my budget.
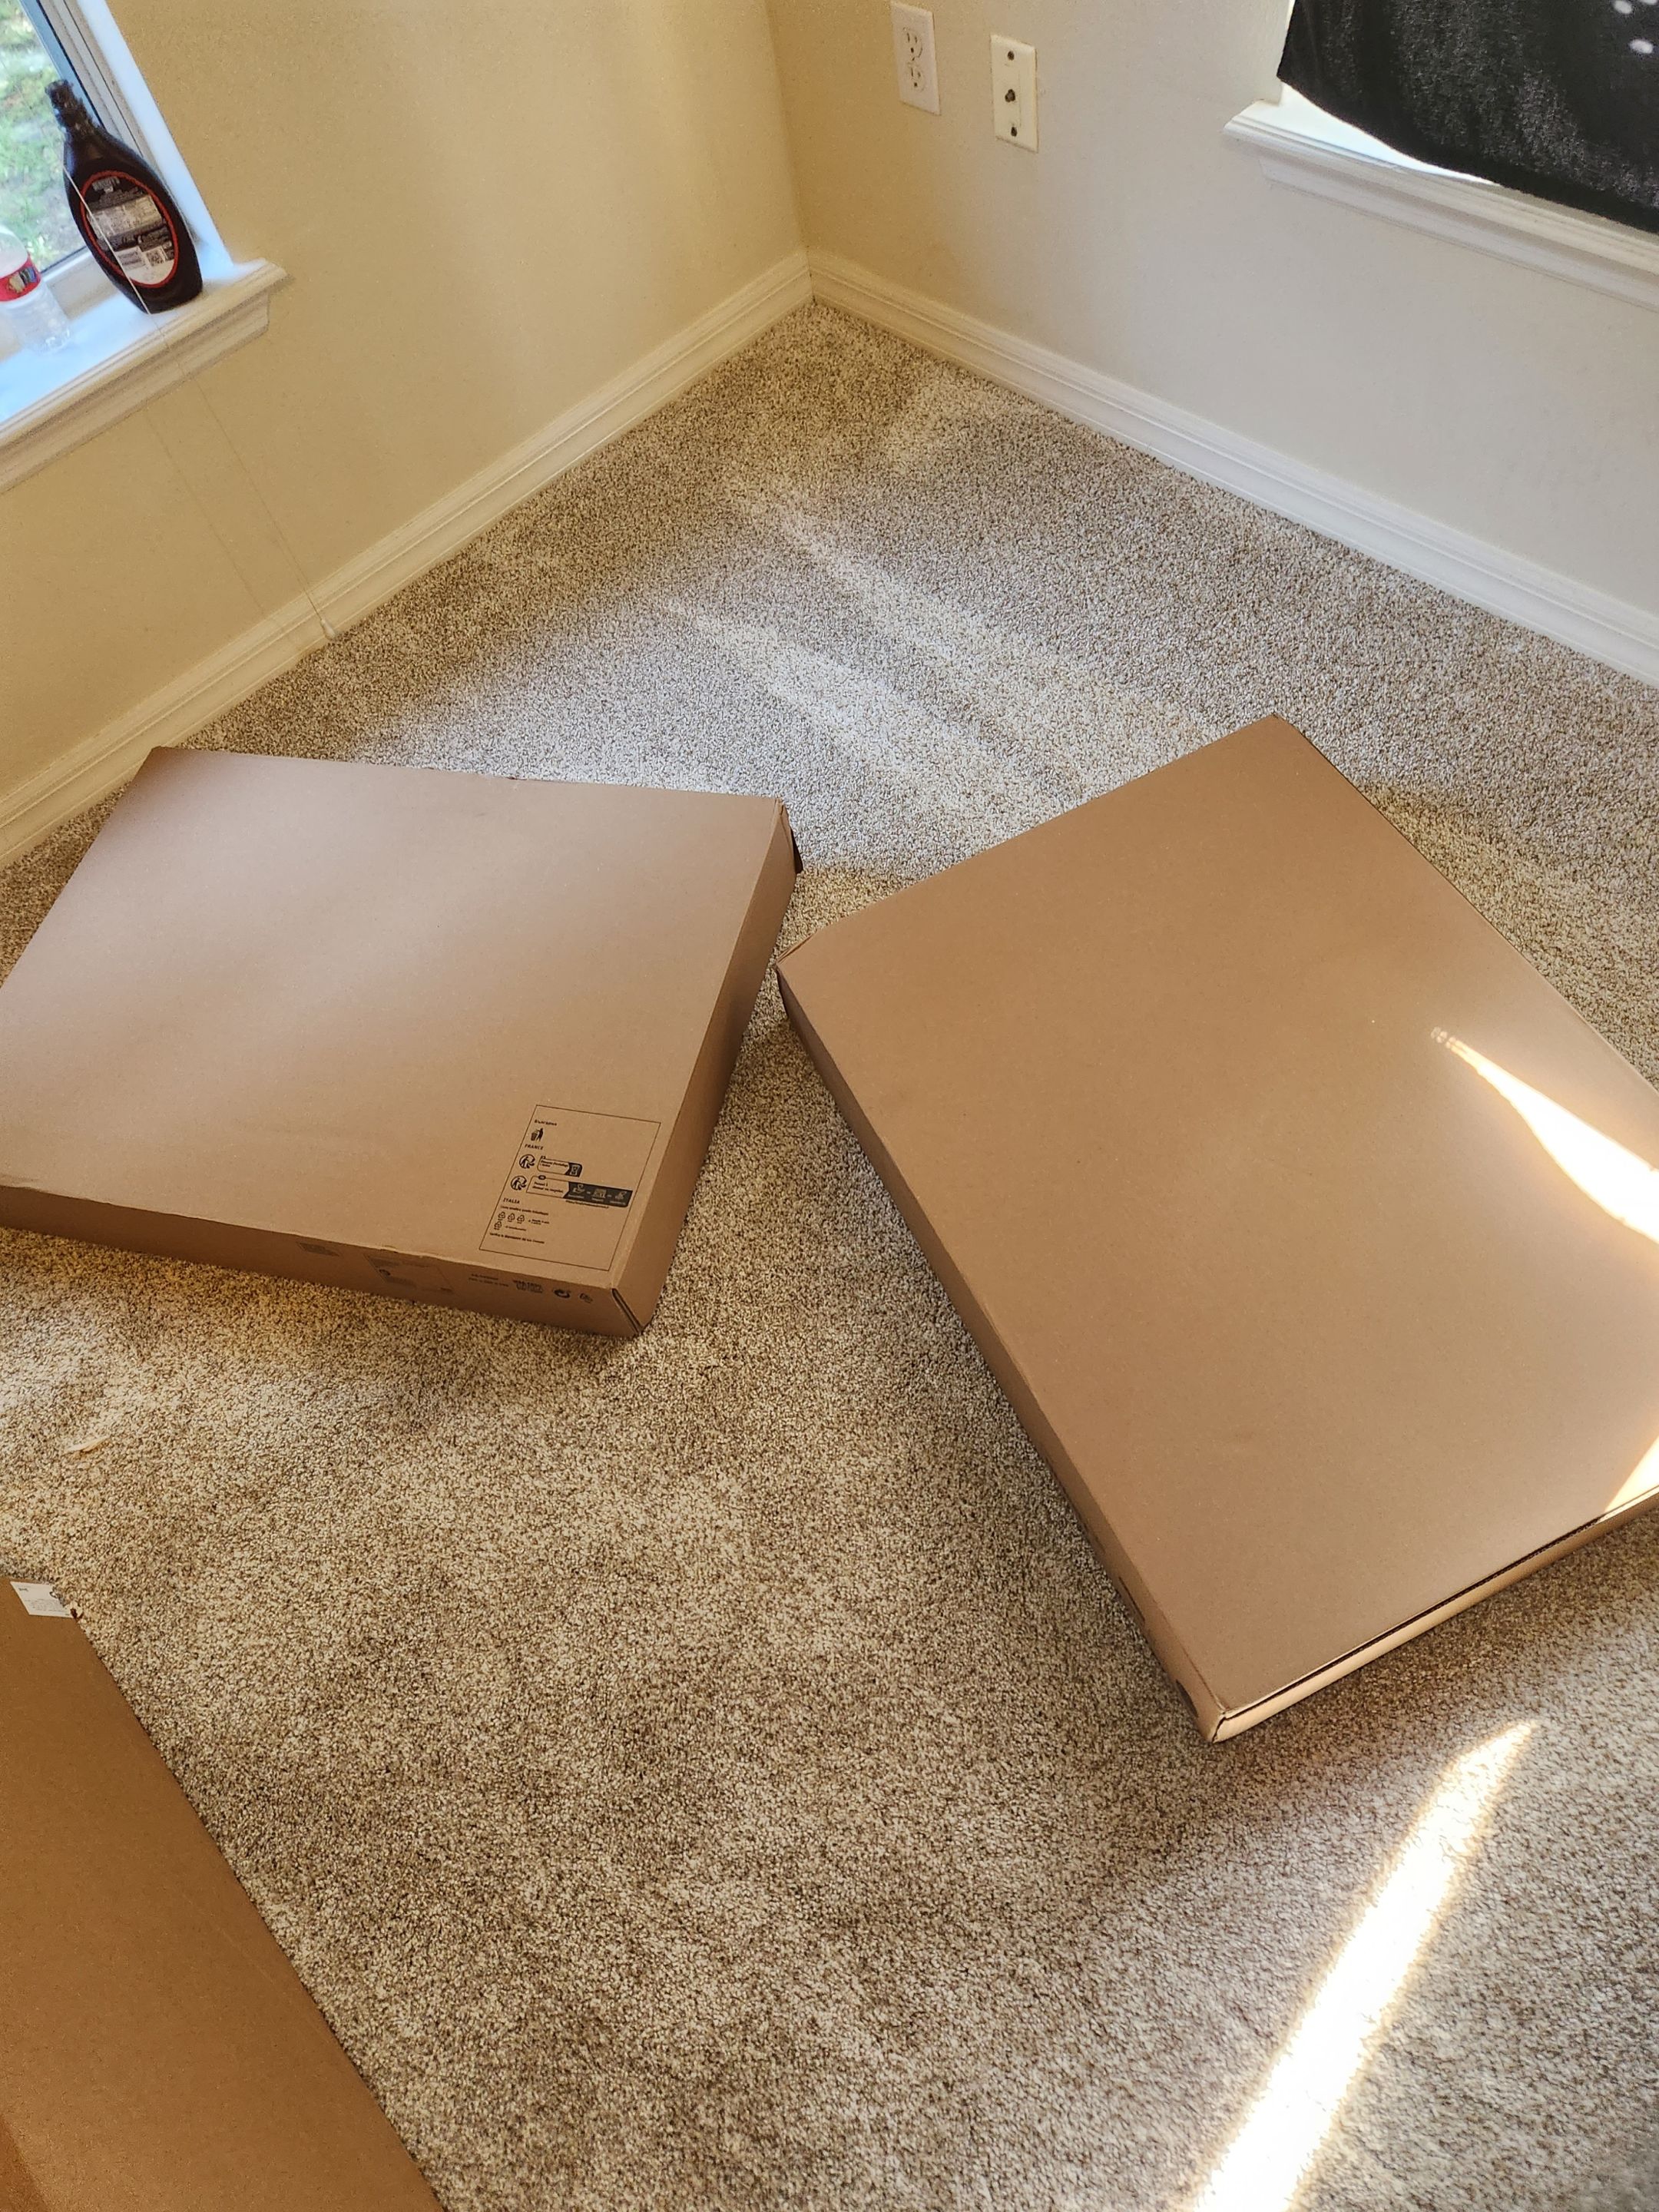
In the past when I went to look at this setup on the Ikea website the countertop I wanted was always out of stock. Not this time around. So I quickly ordered everything and sweated bullets hoping I got all the right parts and did not mess anything up.
The biggest thing throwing me for a loop was the price. In the past when I looked at an Alexa drawer and Karlby setup it was for whatever reason $100 more. Thankfully once it all arrived there was one huge sigh of relief from me that I did not mess up the order.
Sure I could have paid almost $100 for what they call a “TaskRabbit” to have assembled this setup for me. I had a feeling however that would have also jacked up the shipping rate since it would no longer be in flat packaging. I was also already at my budget limit. So this was something I’d need to do myself anyways.
I’d have to be my own rabbit and assembly it myself. It has been quite a few years since I’ve attempted to put together anything from Ikea. I will say now it’s not a talent of mine. I had a feeling this could go south quite fast but would at least be somewhat amusing to me.
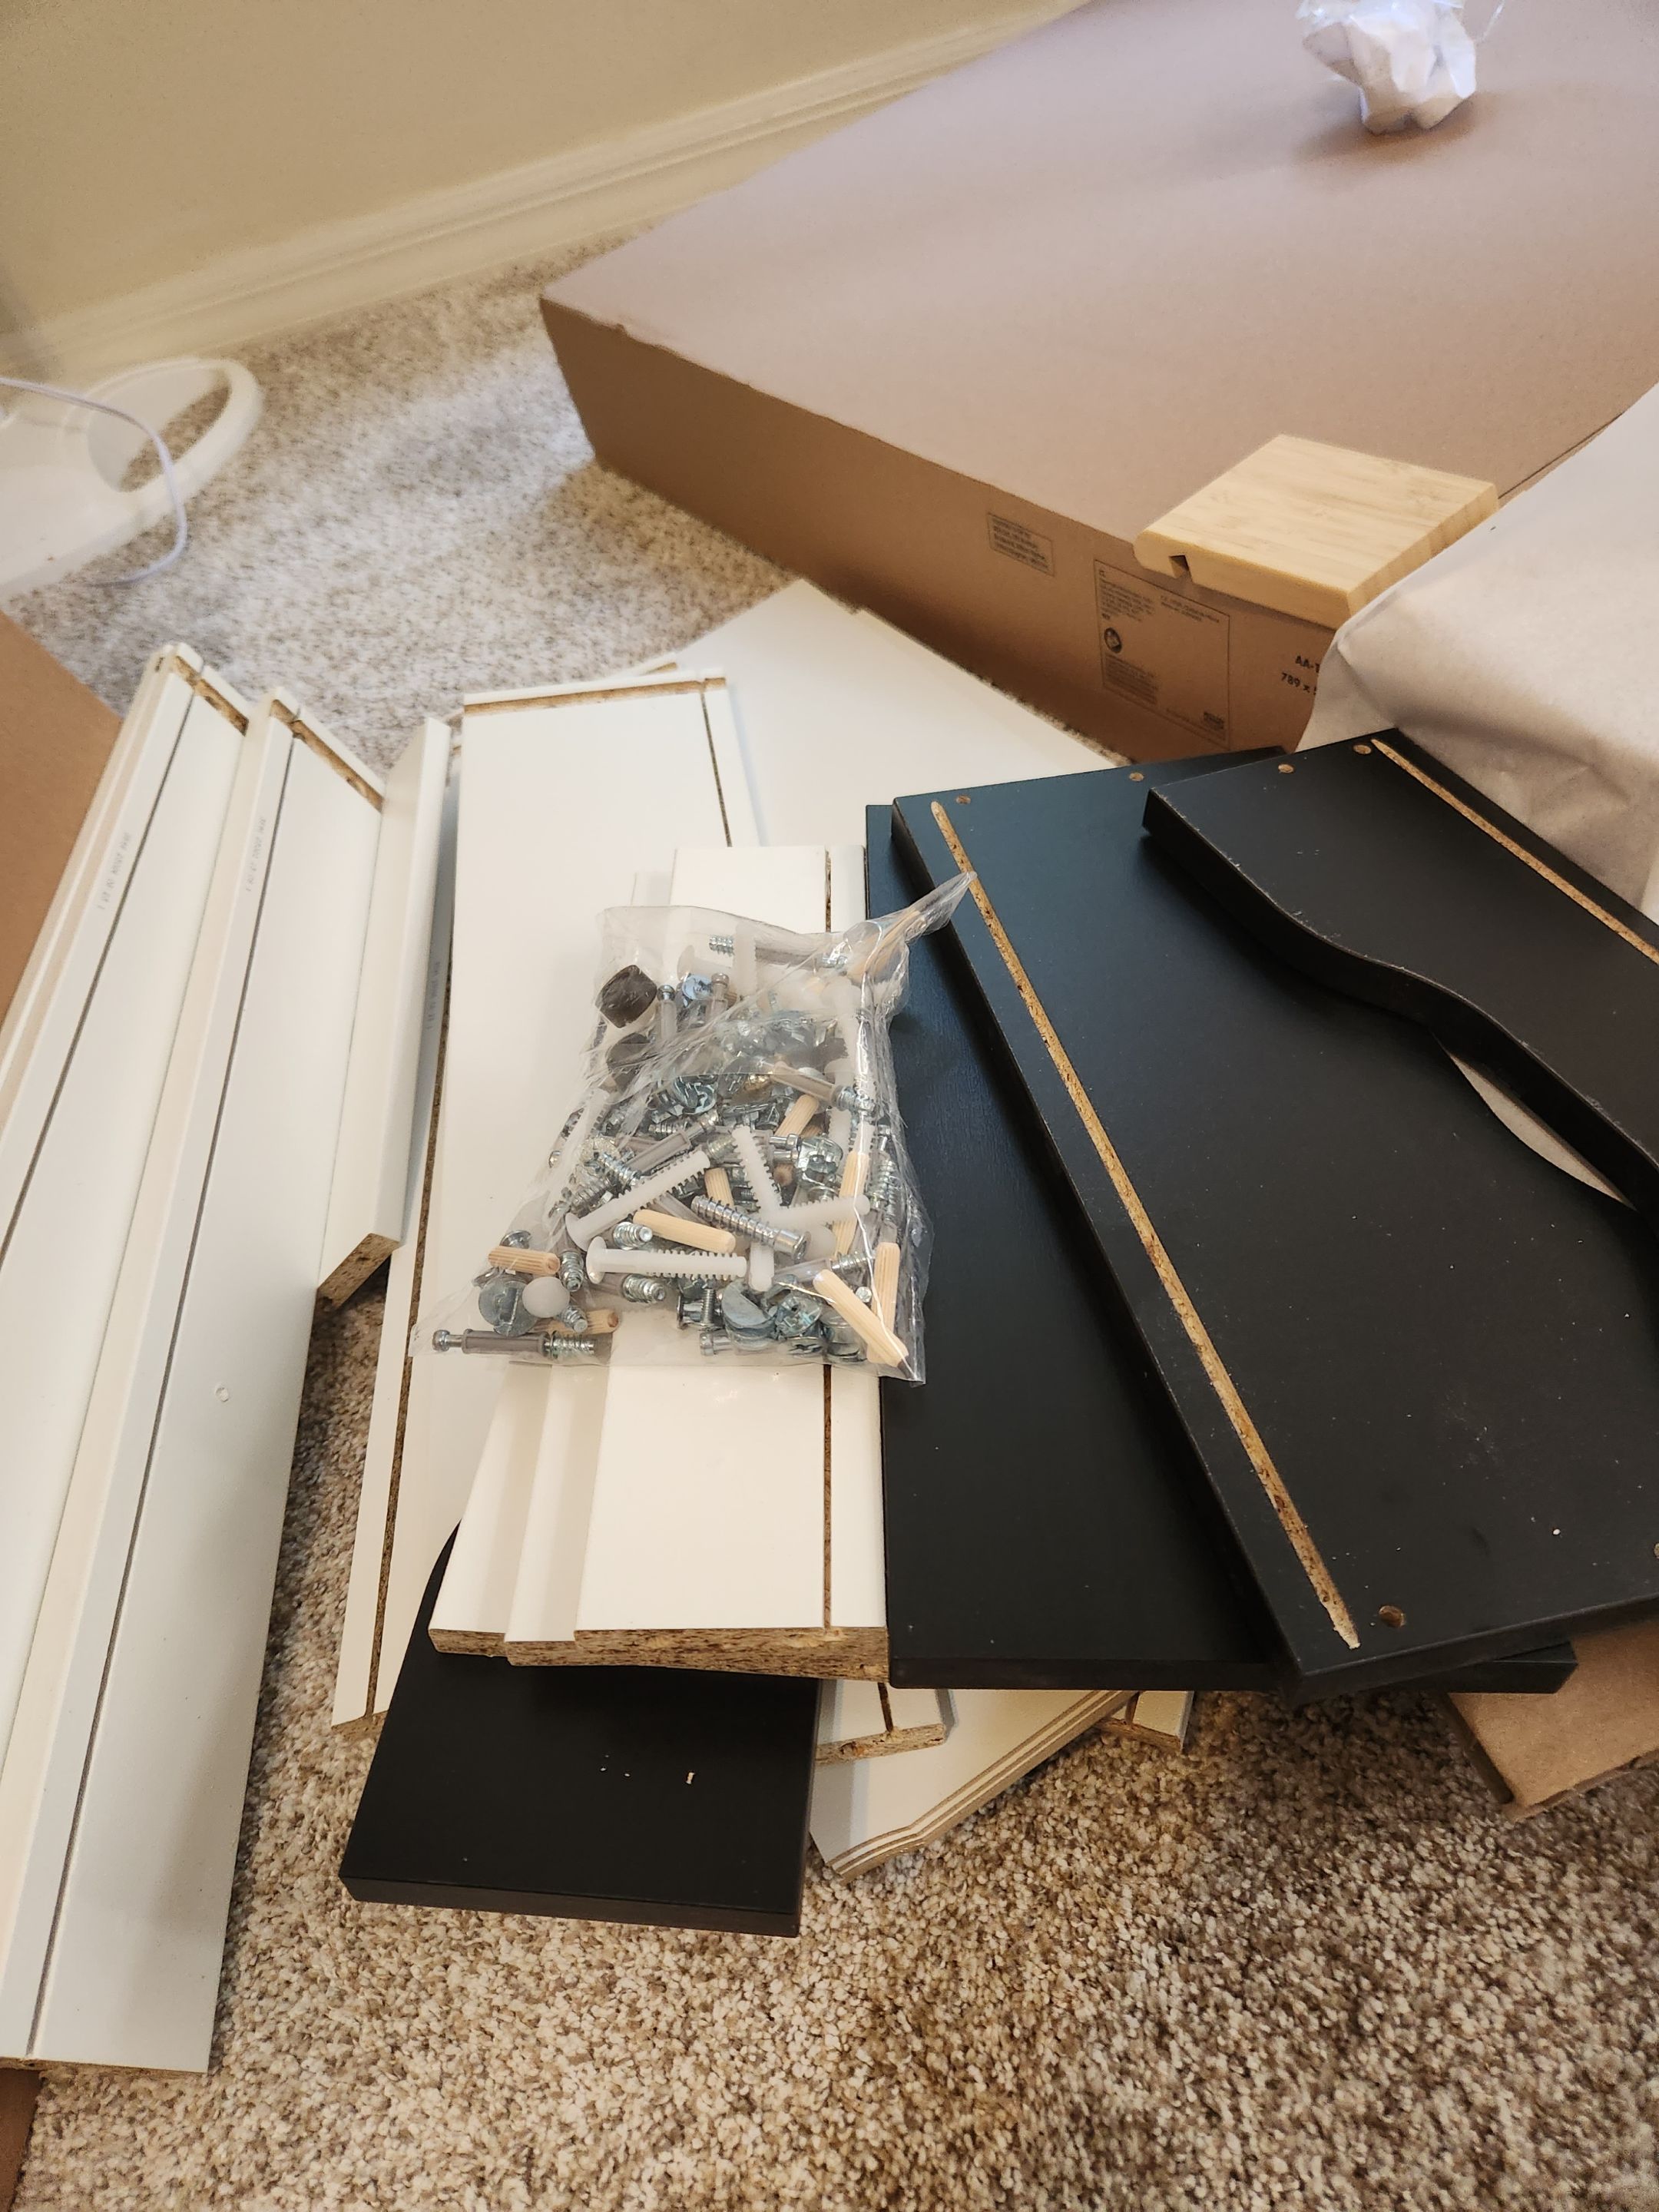
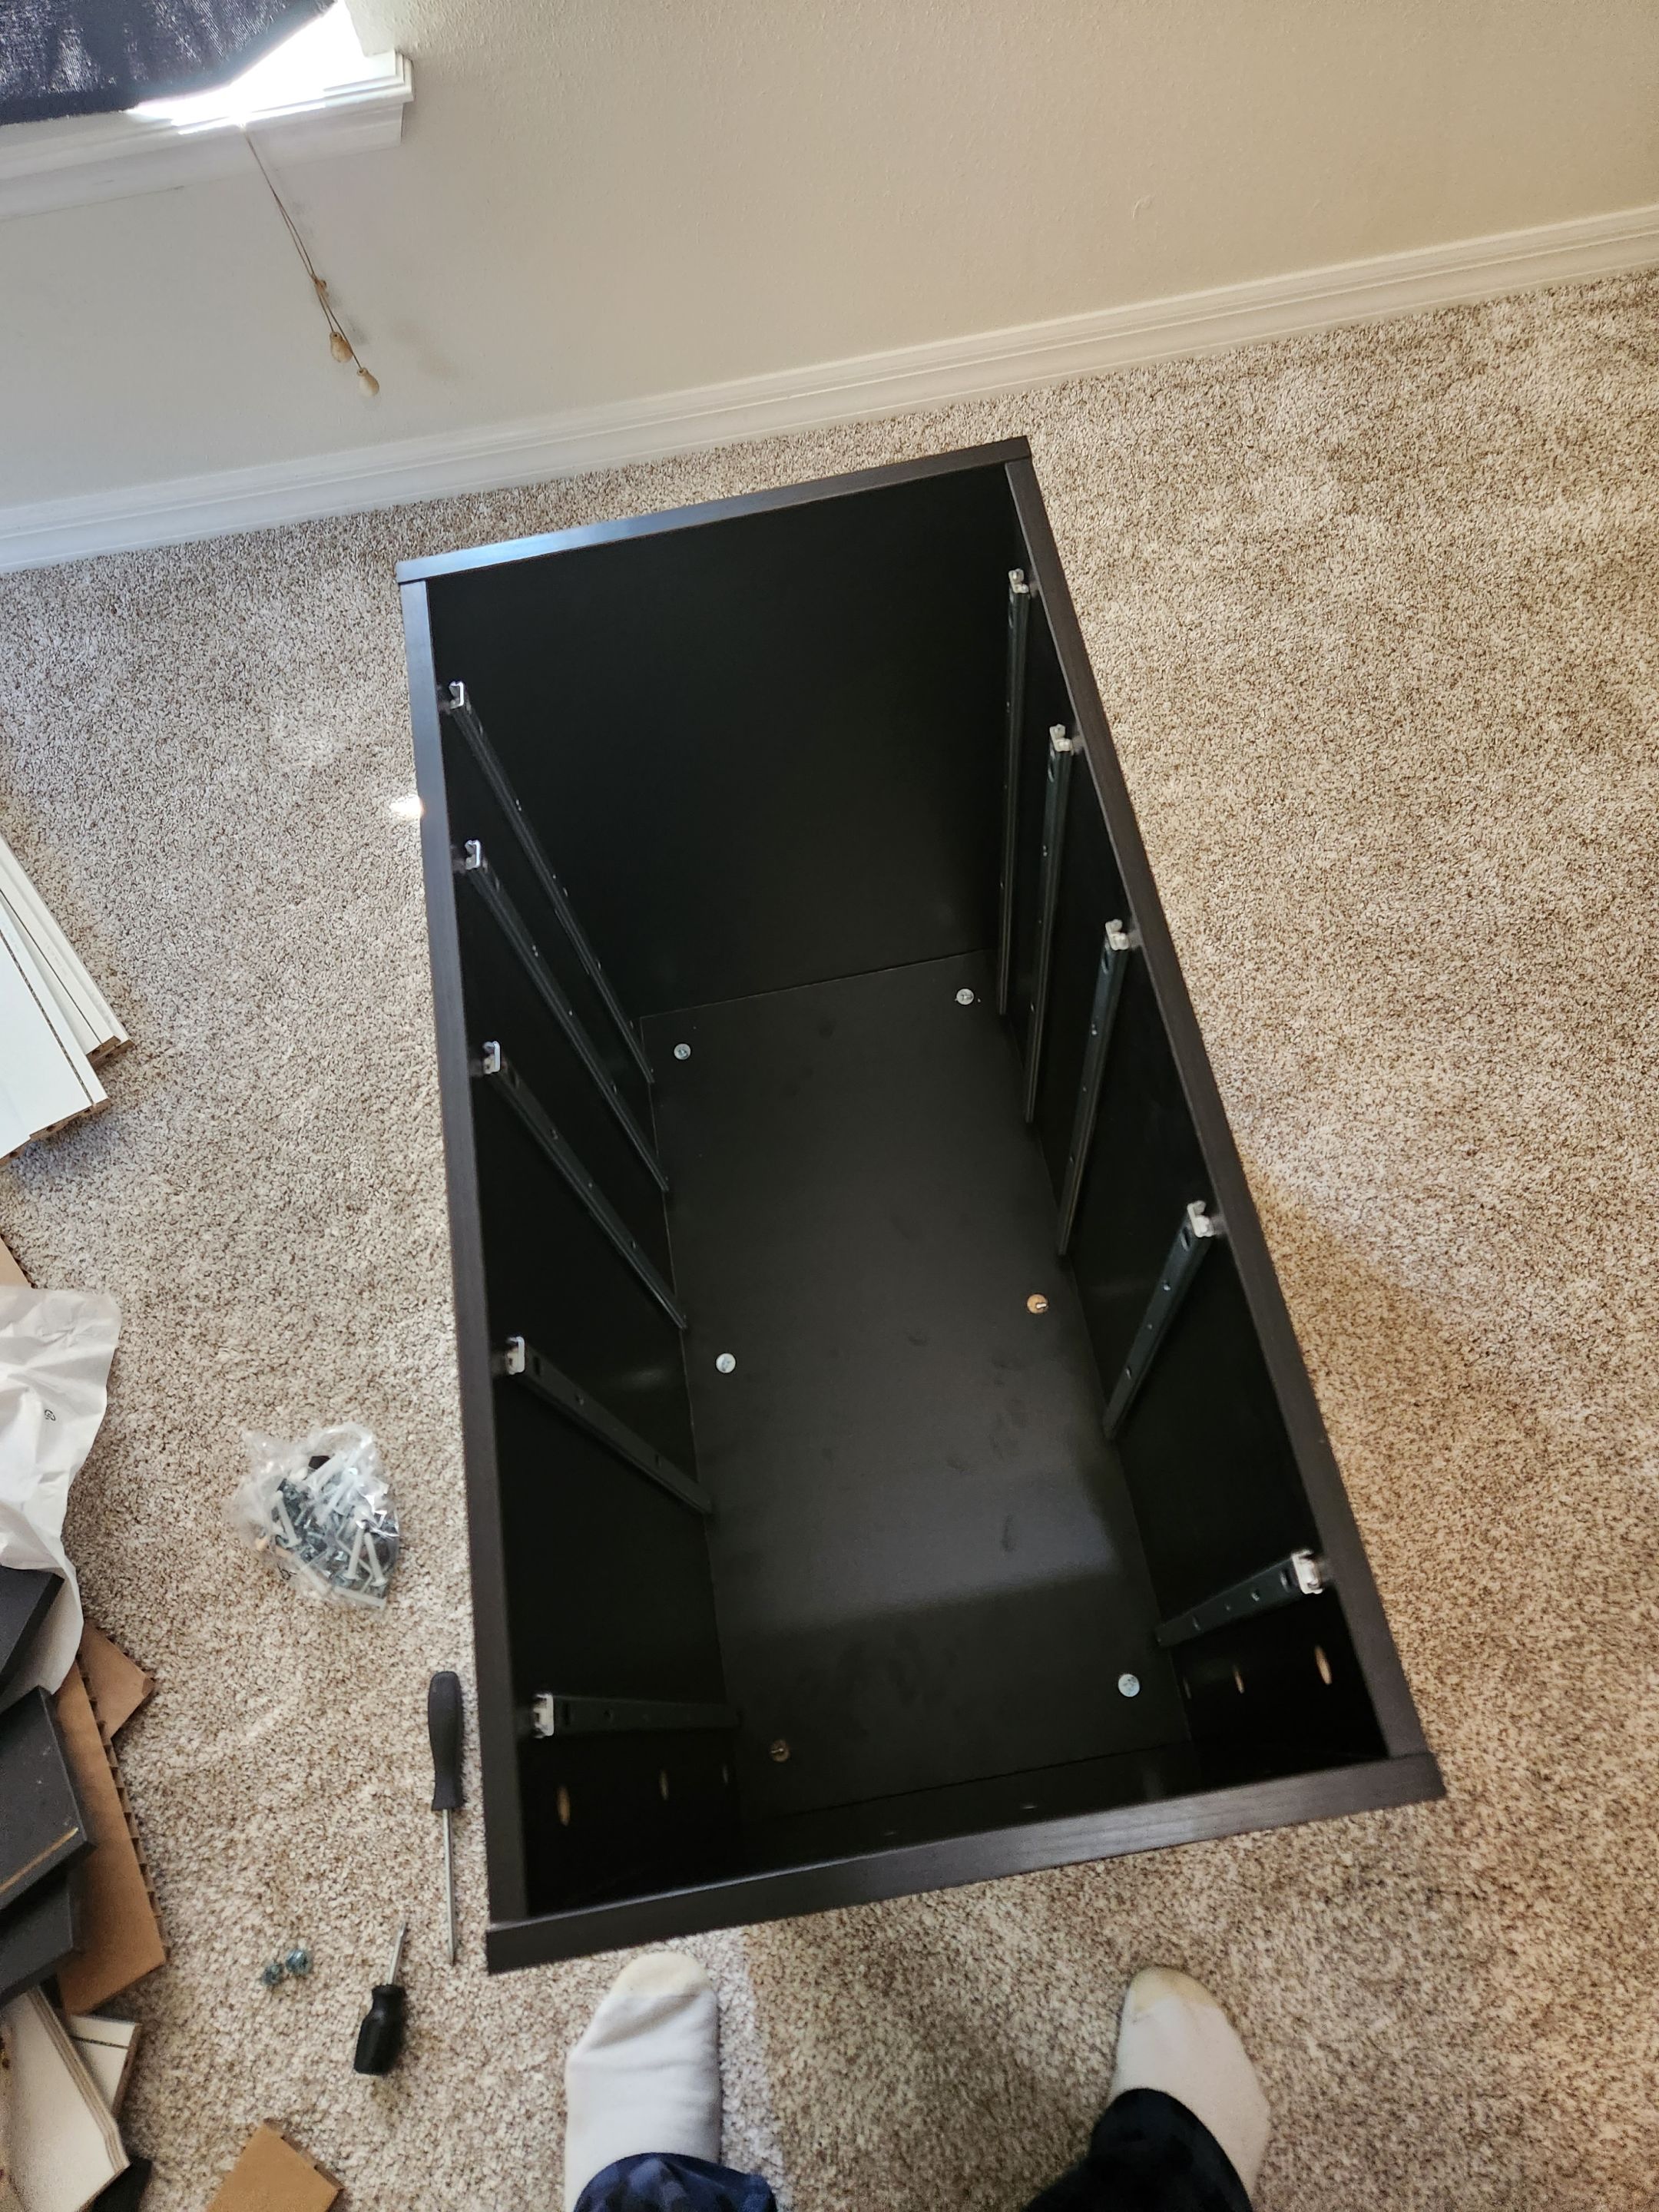
My first I’m fucked moment had to be when I looked at the bag of hardware that contained: screws, bolts, and other odds and ends. I thought well this is going to suck. I however needed to have a desk as at this point I had been almost gone from my computer for two whole weeks! So I focused and went for it.
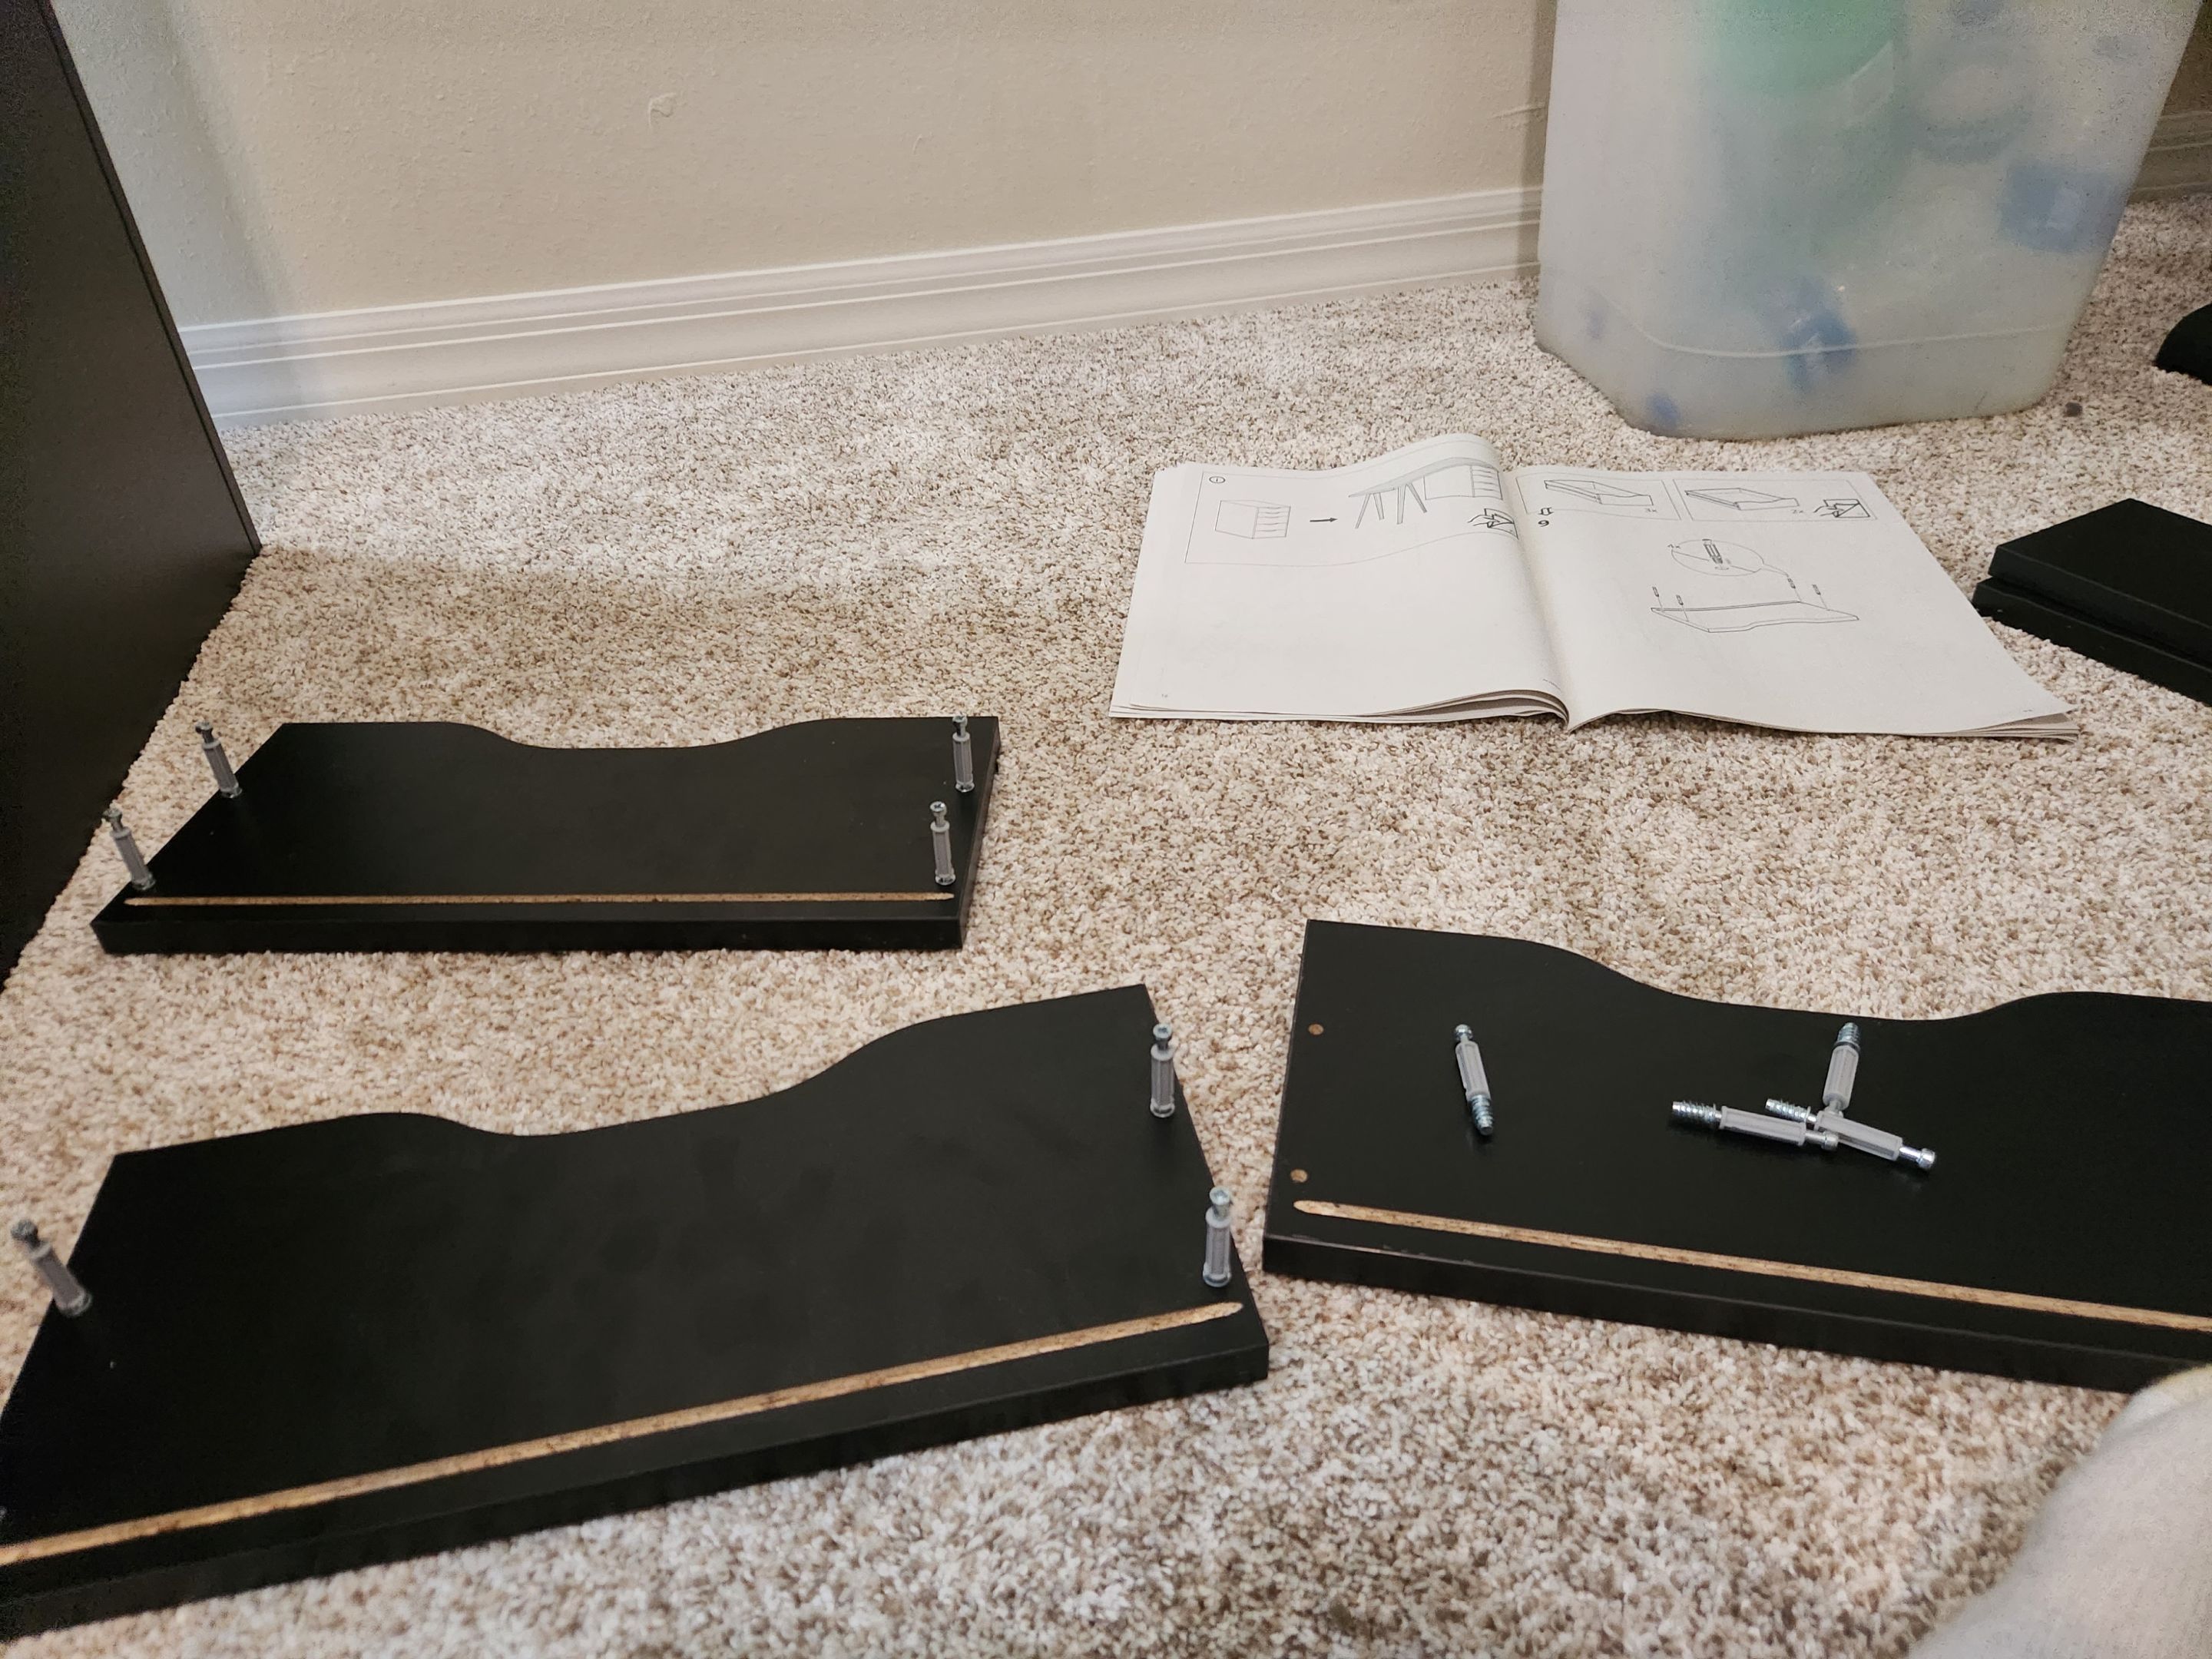
I first took a look at the different bolts and made sure I knew the difference between them. The two parts were almost the same except for size and one other thing. The other thing was the smaller ones had a hole in the middle and the larger ones did not. This made it a lot easier to tell the difference apart from those parts.
Over time that bag of bolts I was working out of was starting to shrink. I’ll admit my conference grew a little every time I noticed that bag getting smaller and smaller with less stuff remaining to search through for what I needed.
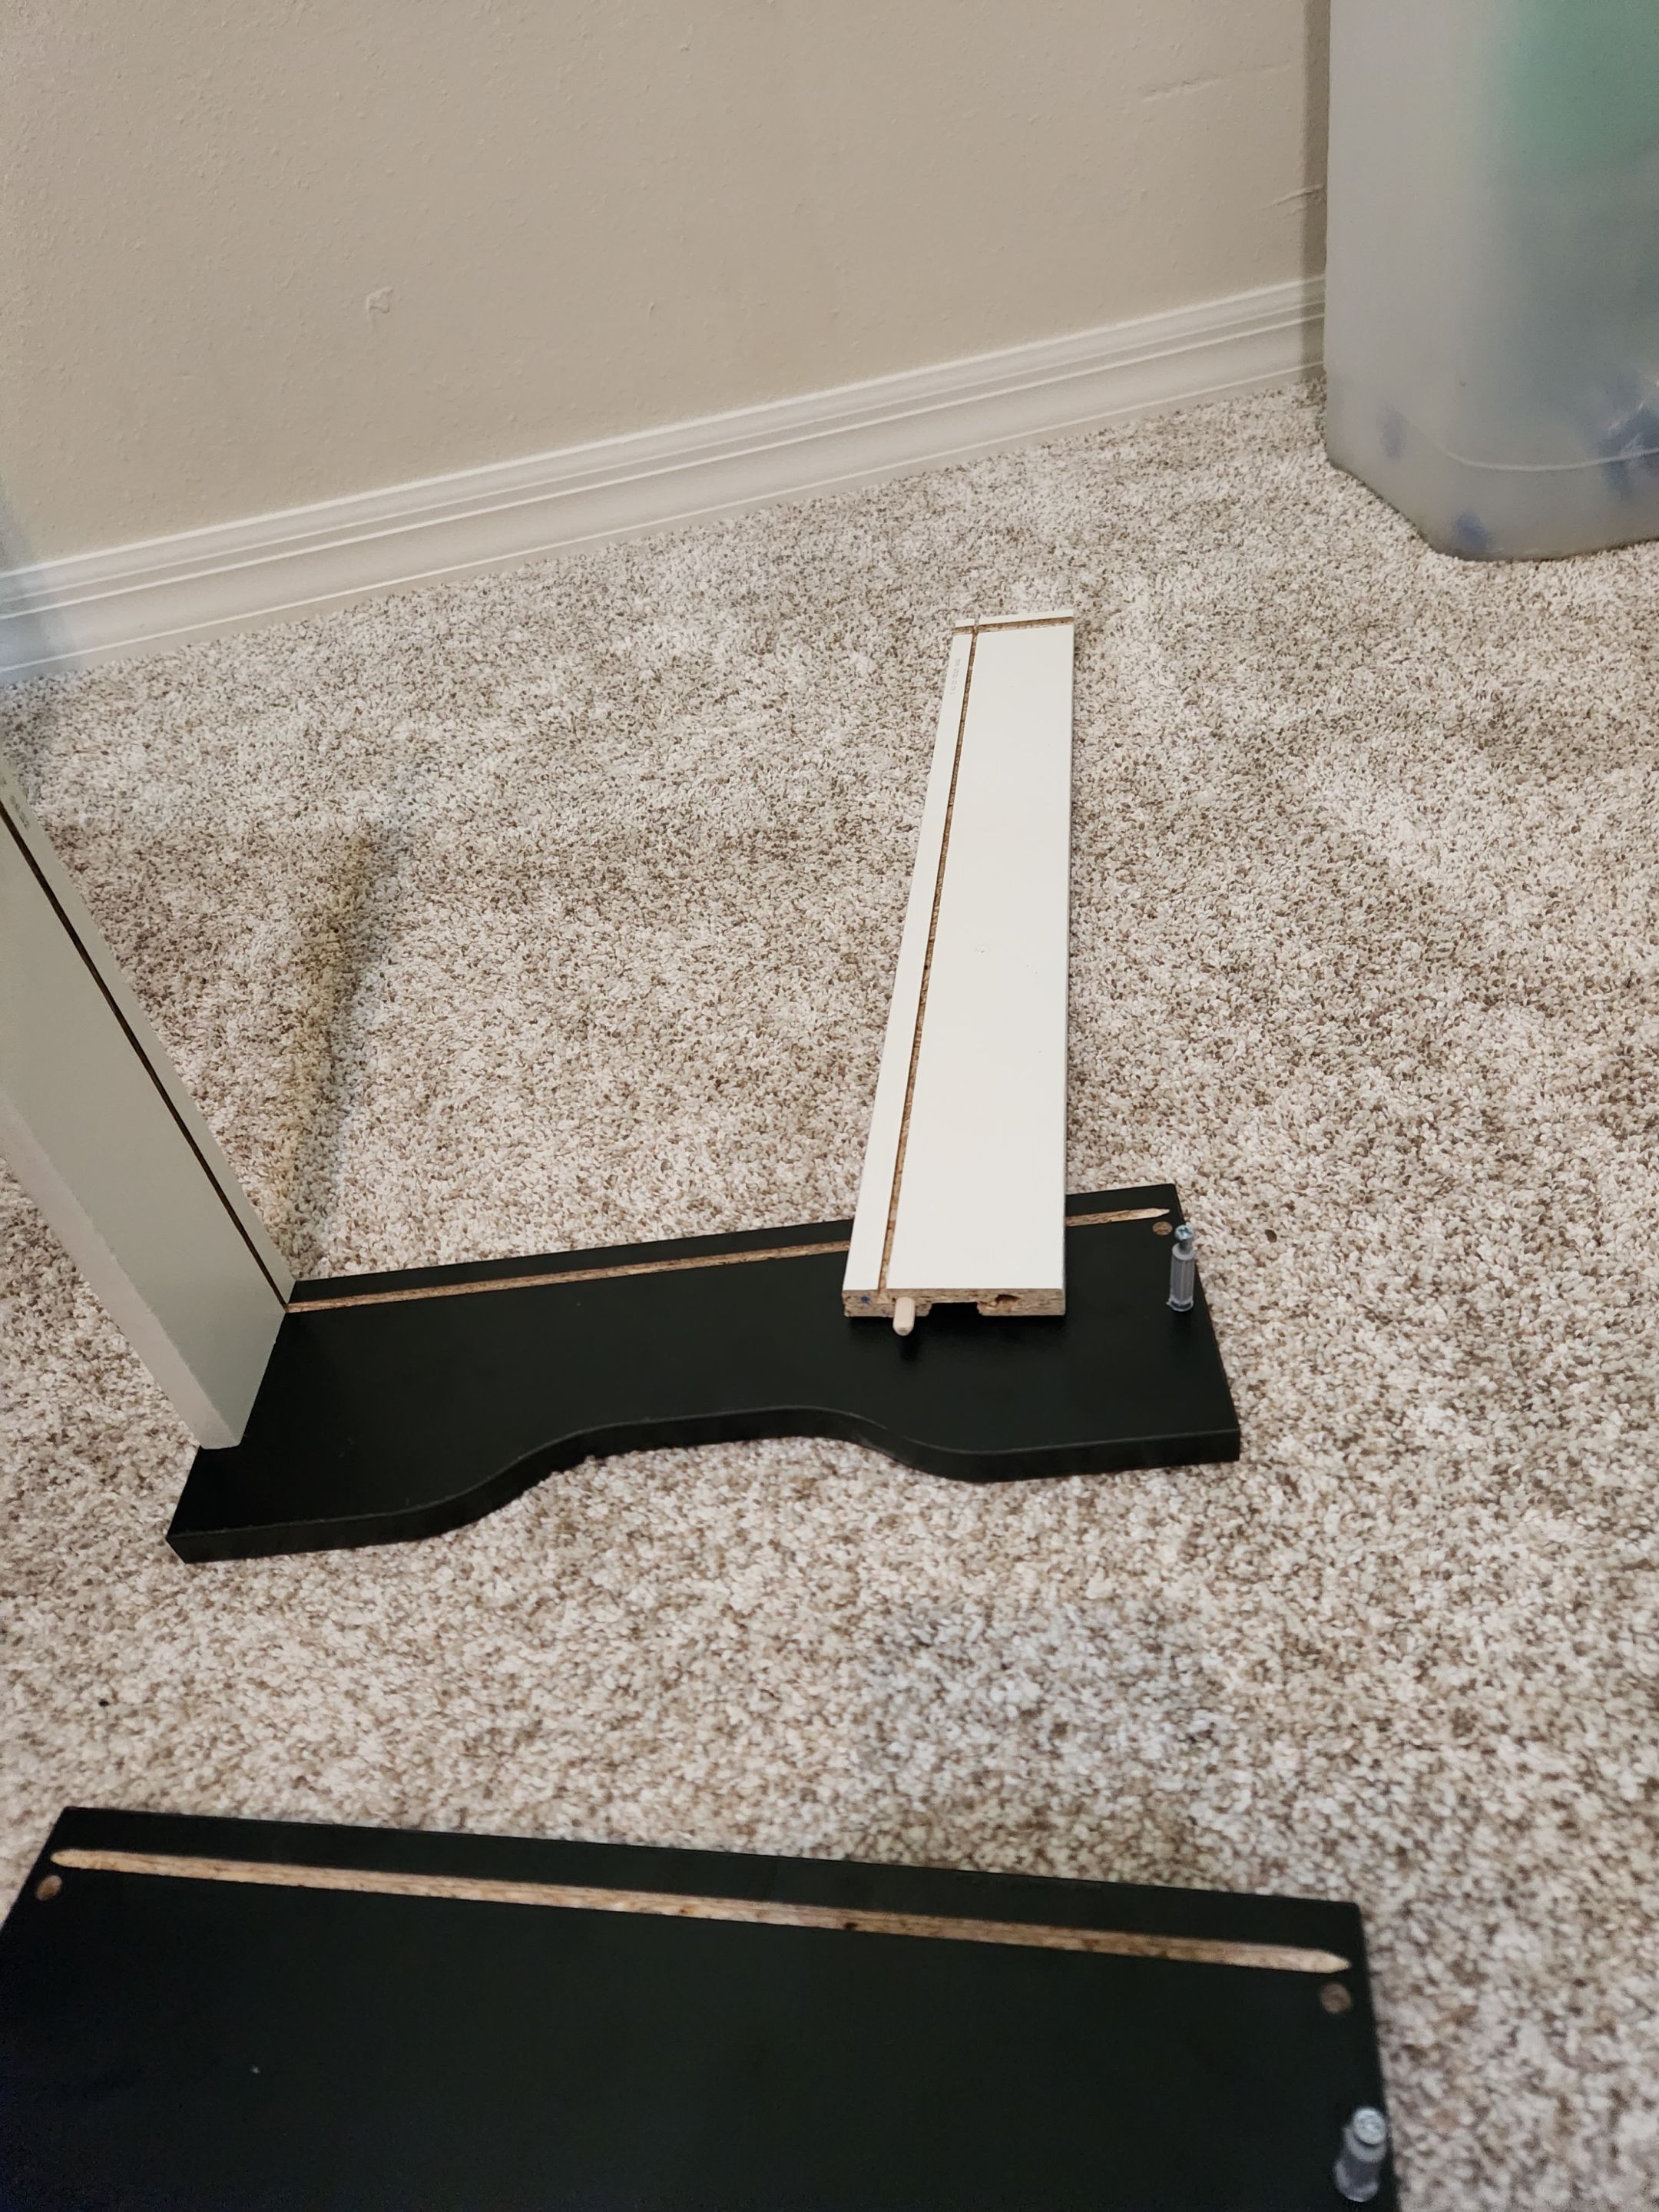
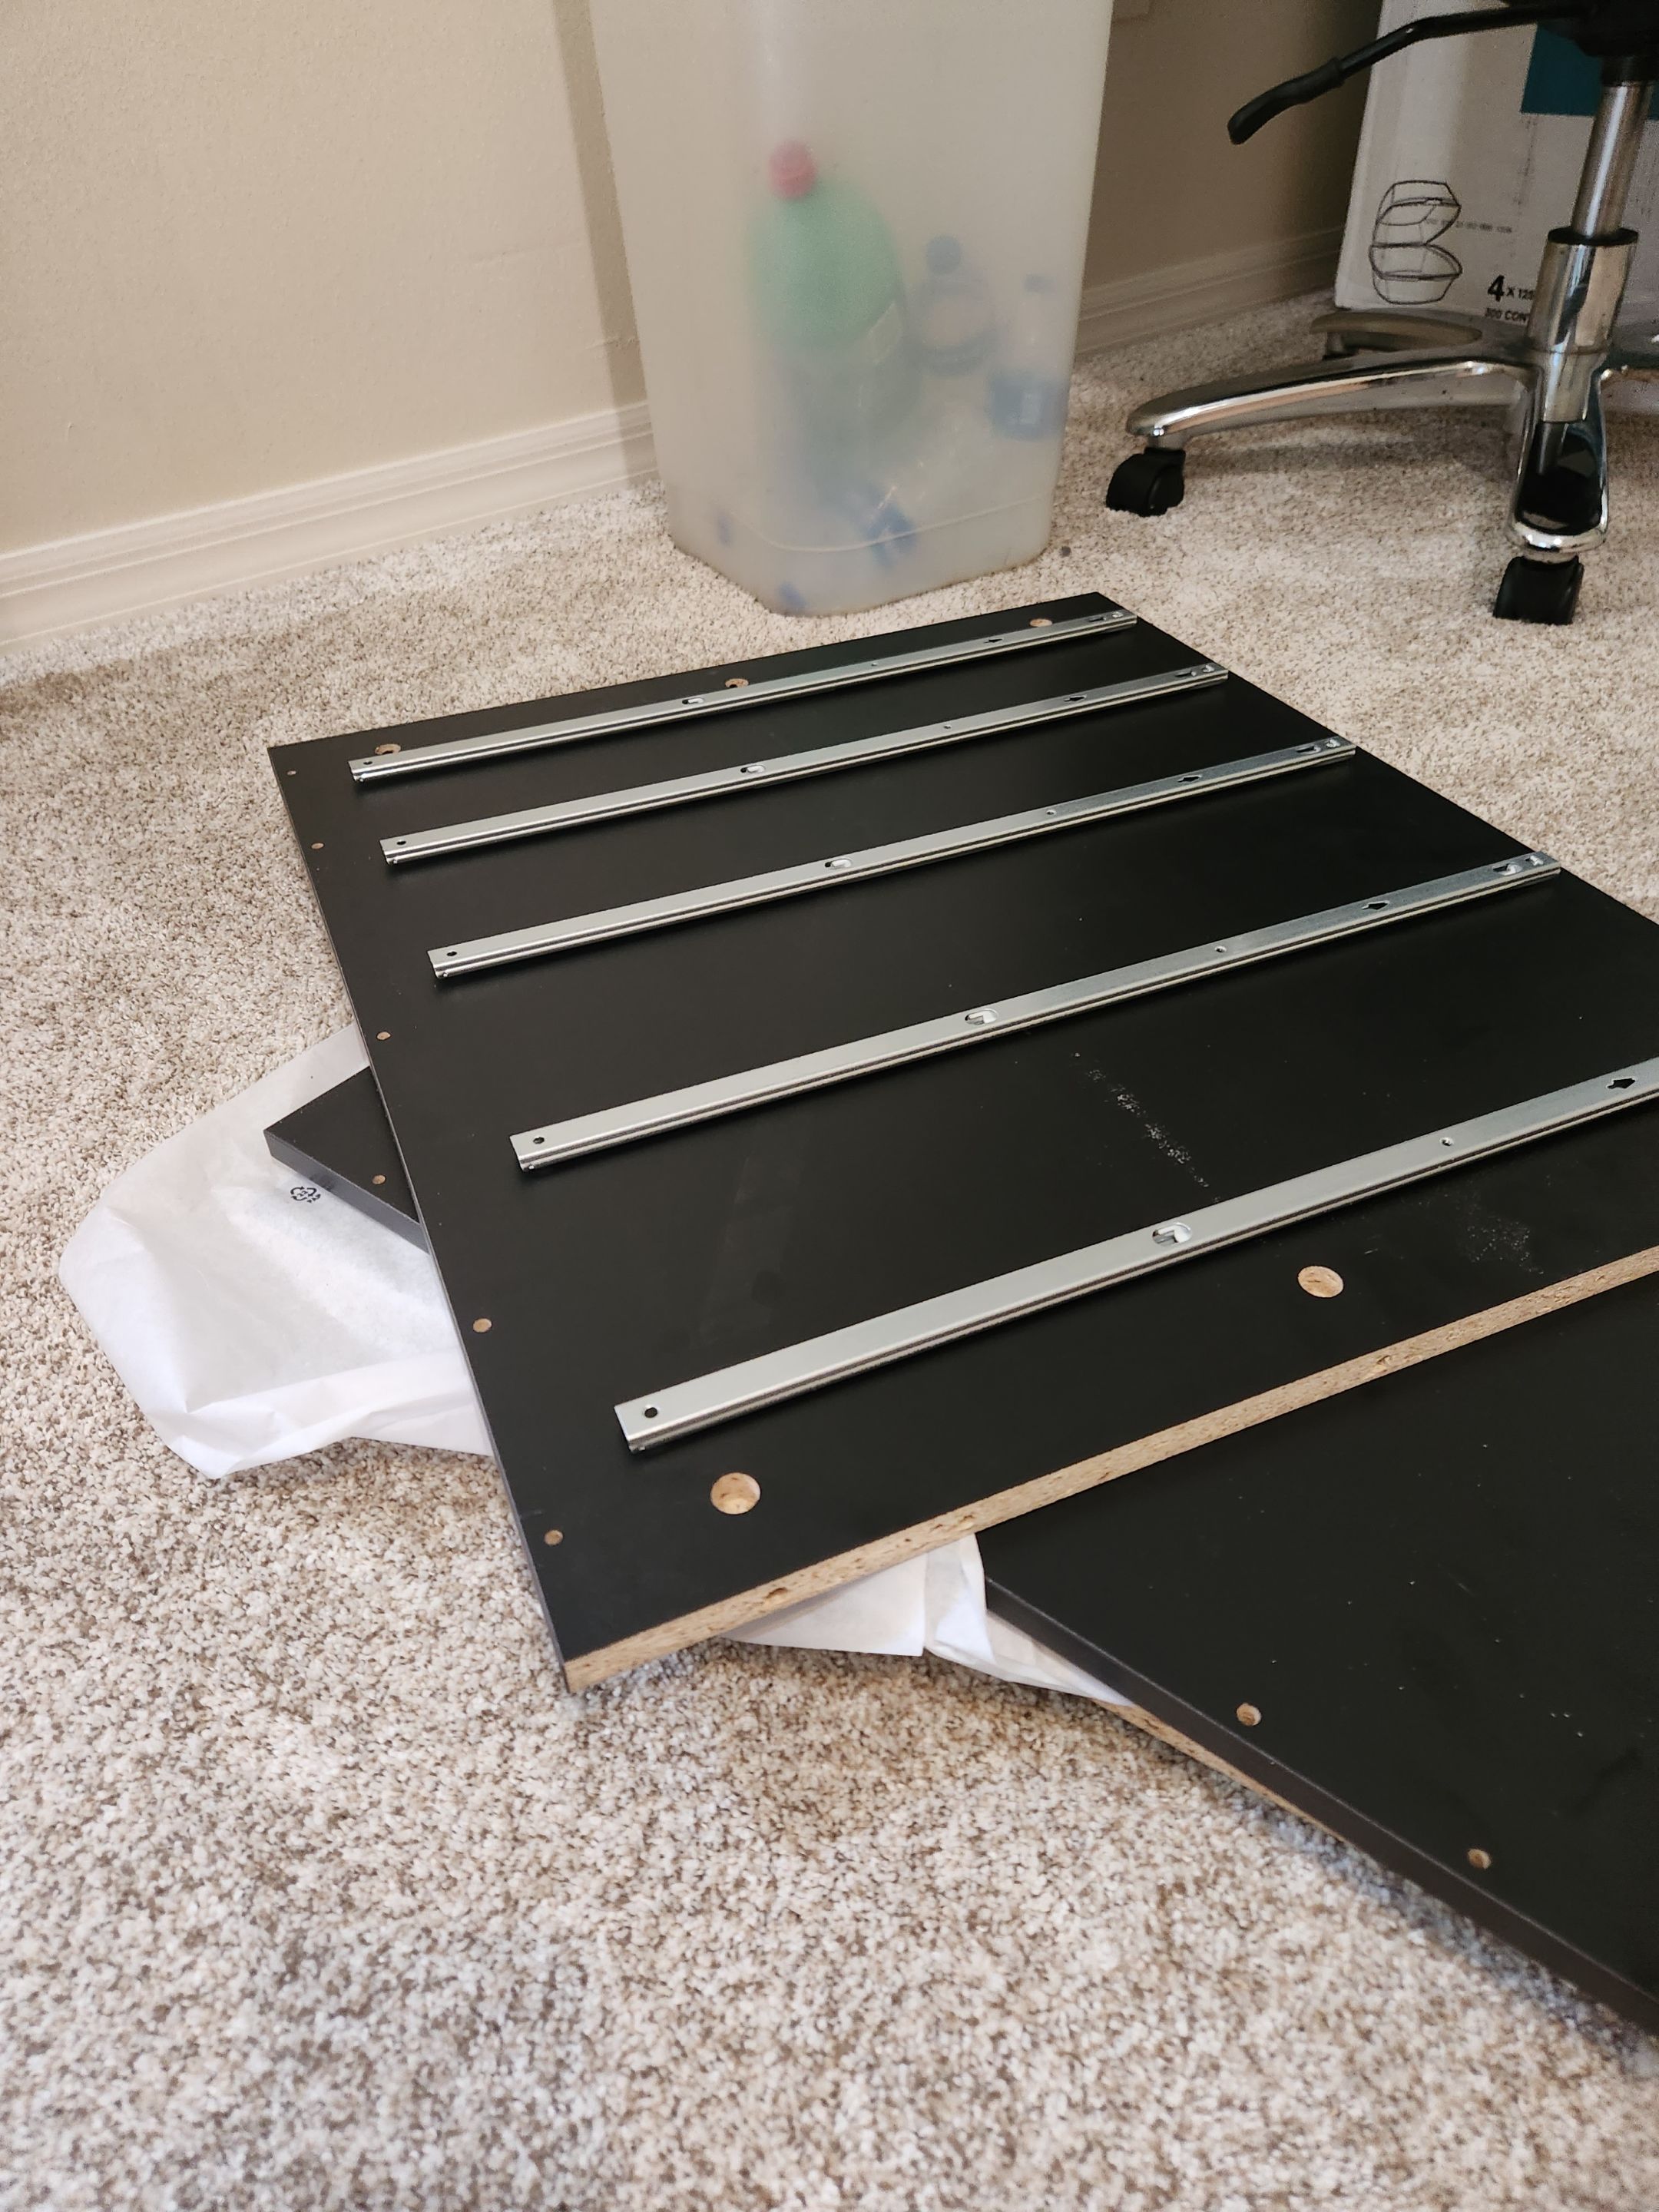
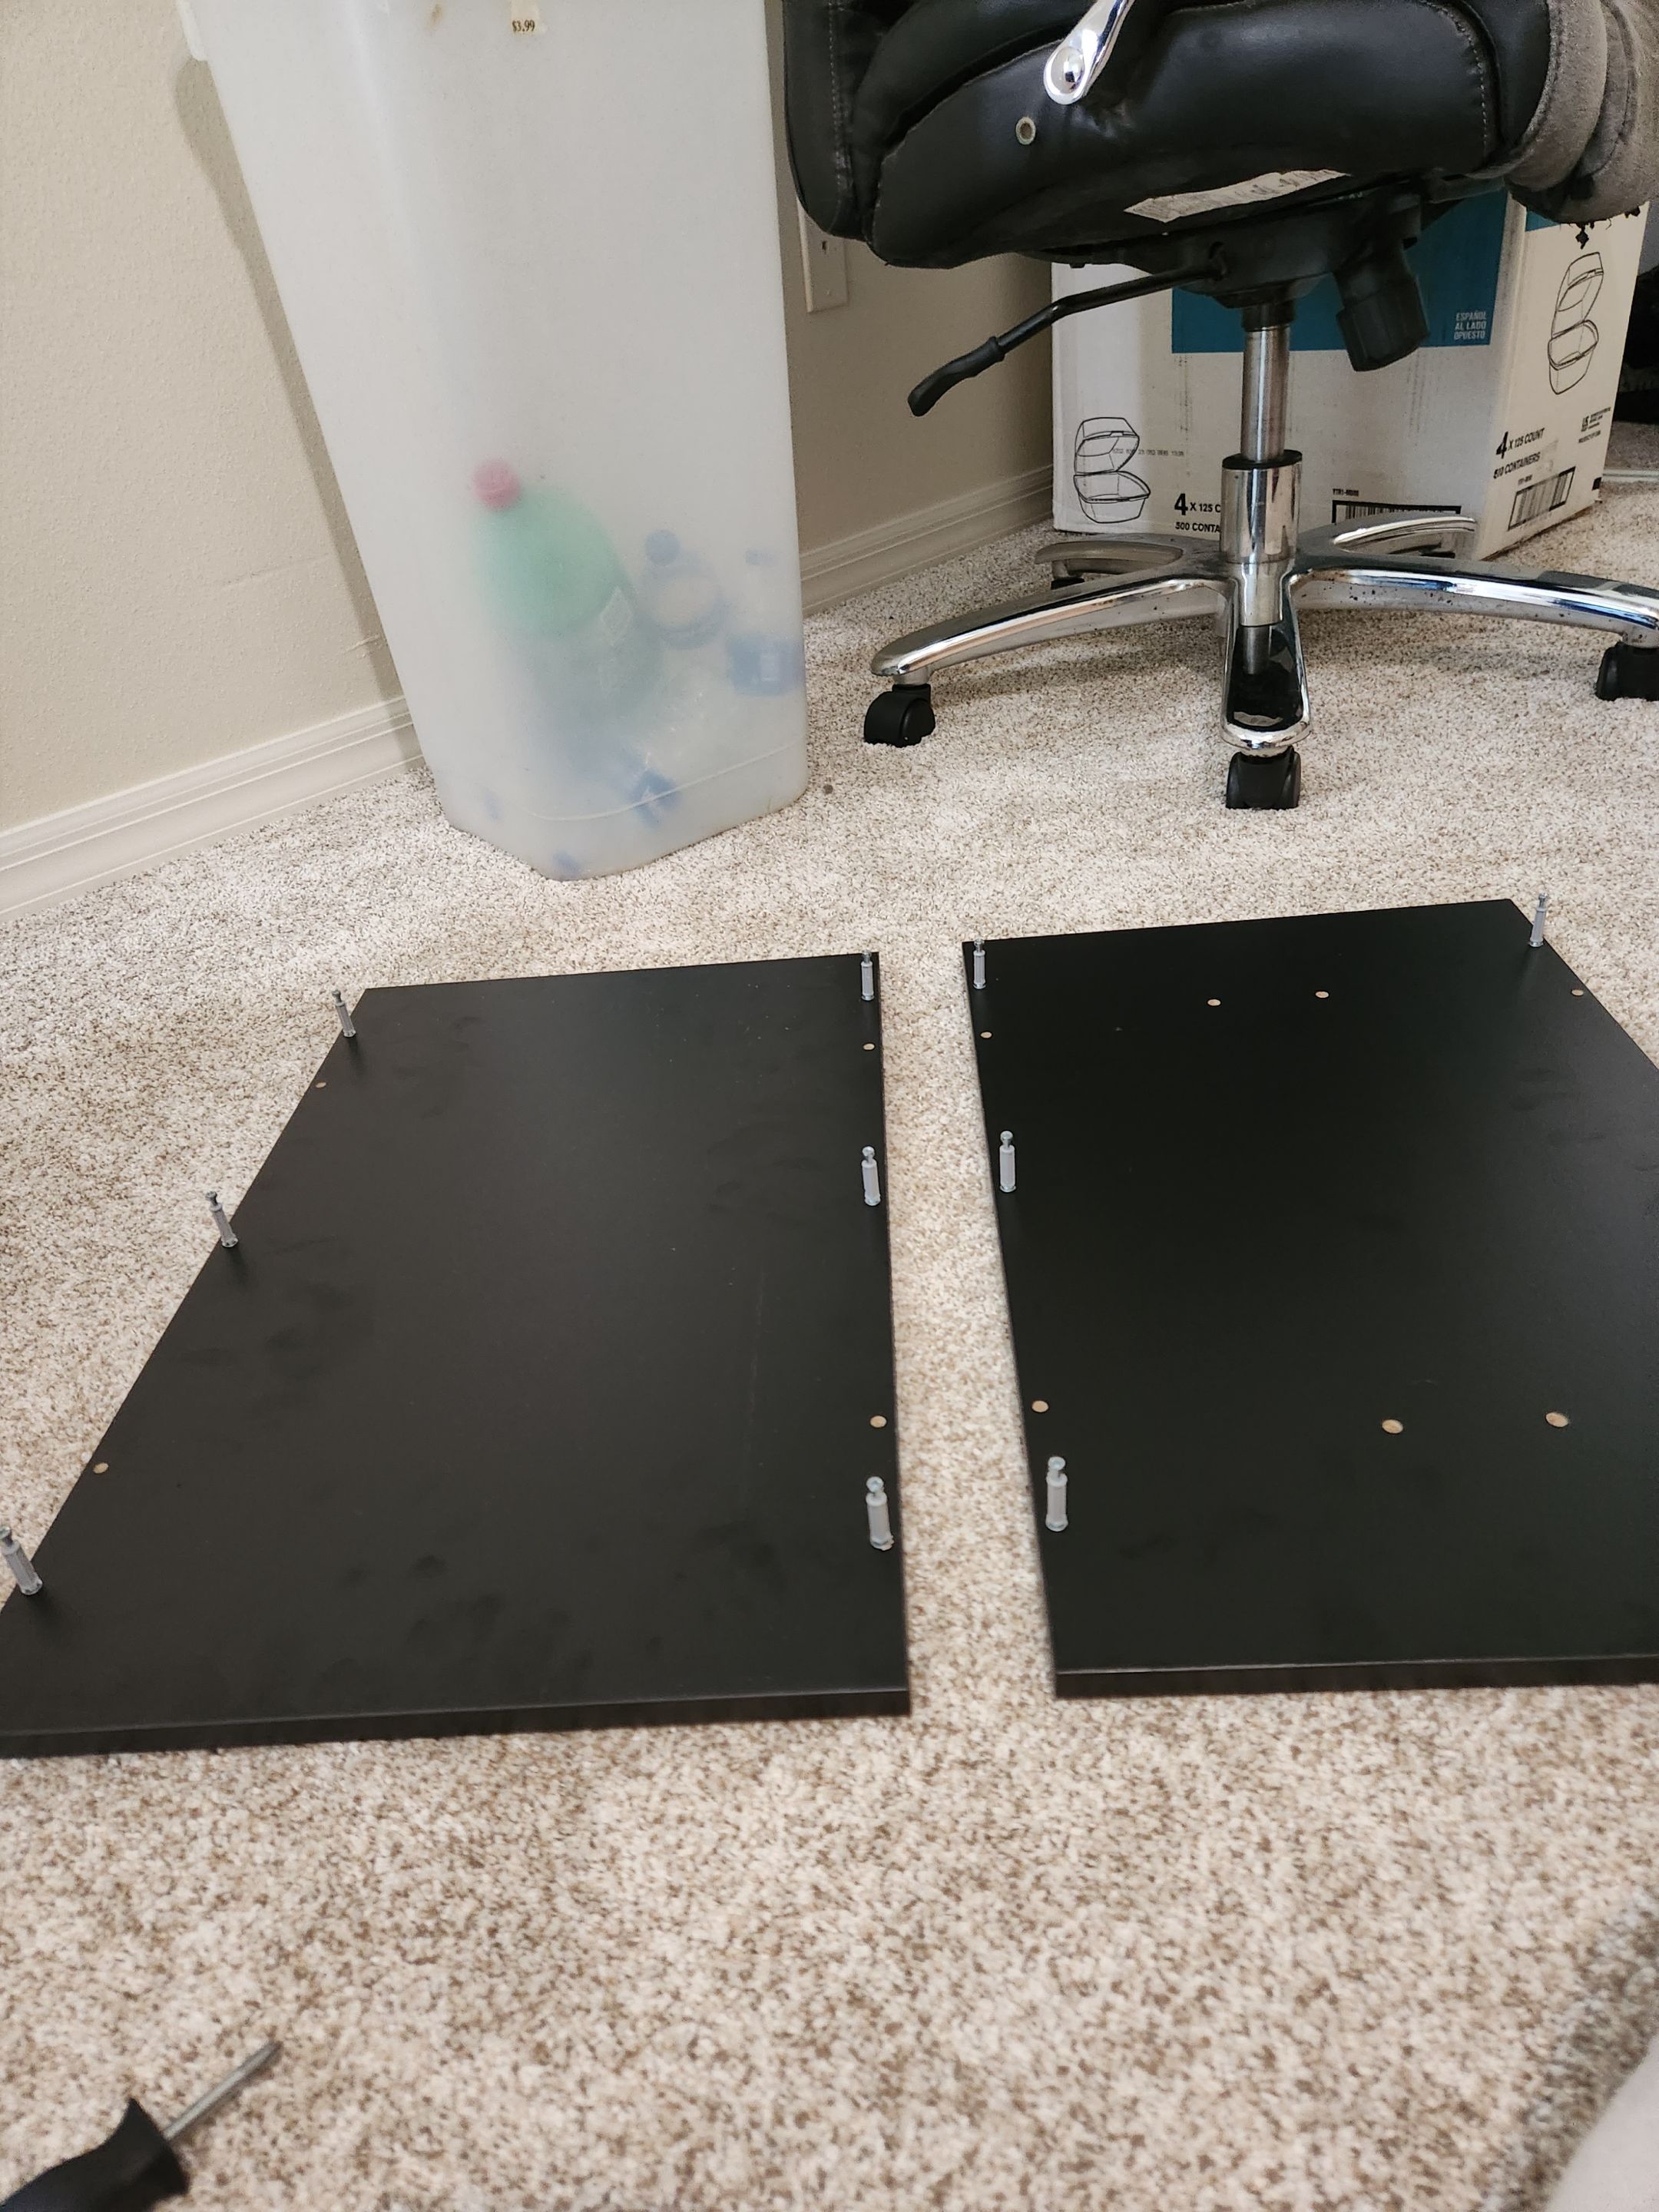
Toward the end, I got lazy and forgot to get some photos. The drawers while seemed more complex were part of the build I enjoyed working on the most. They were at least reasonable in size and that made them easy to work with.
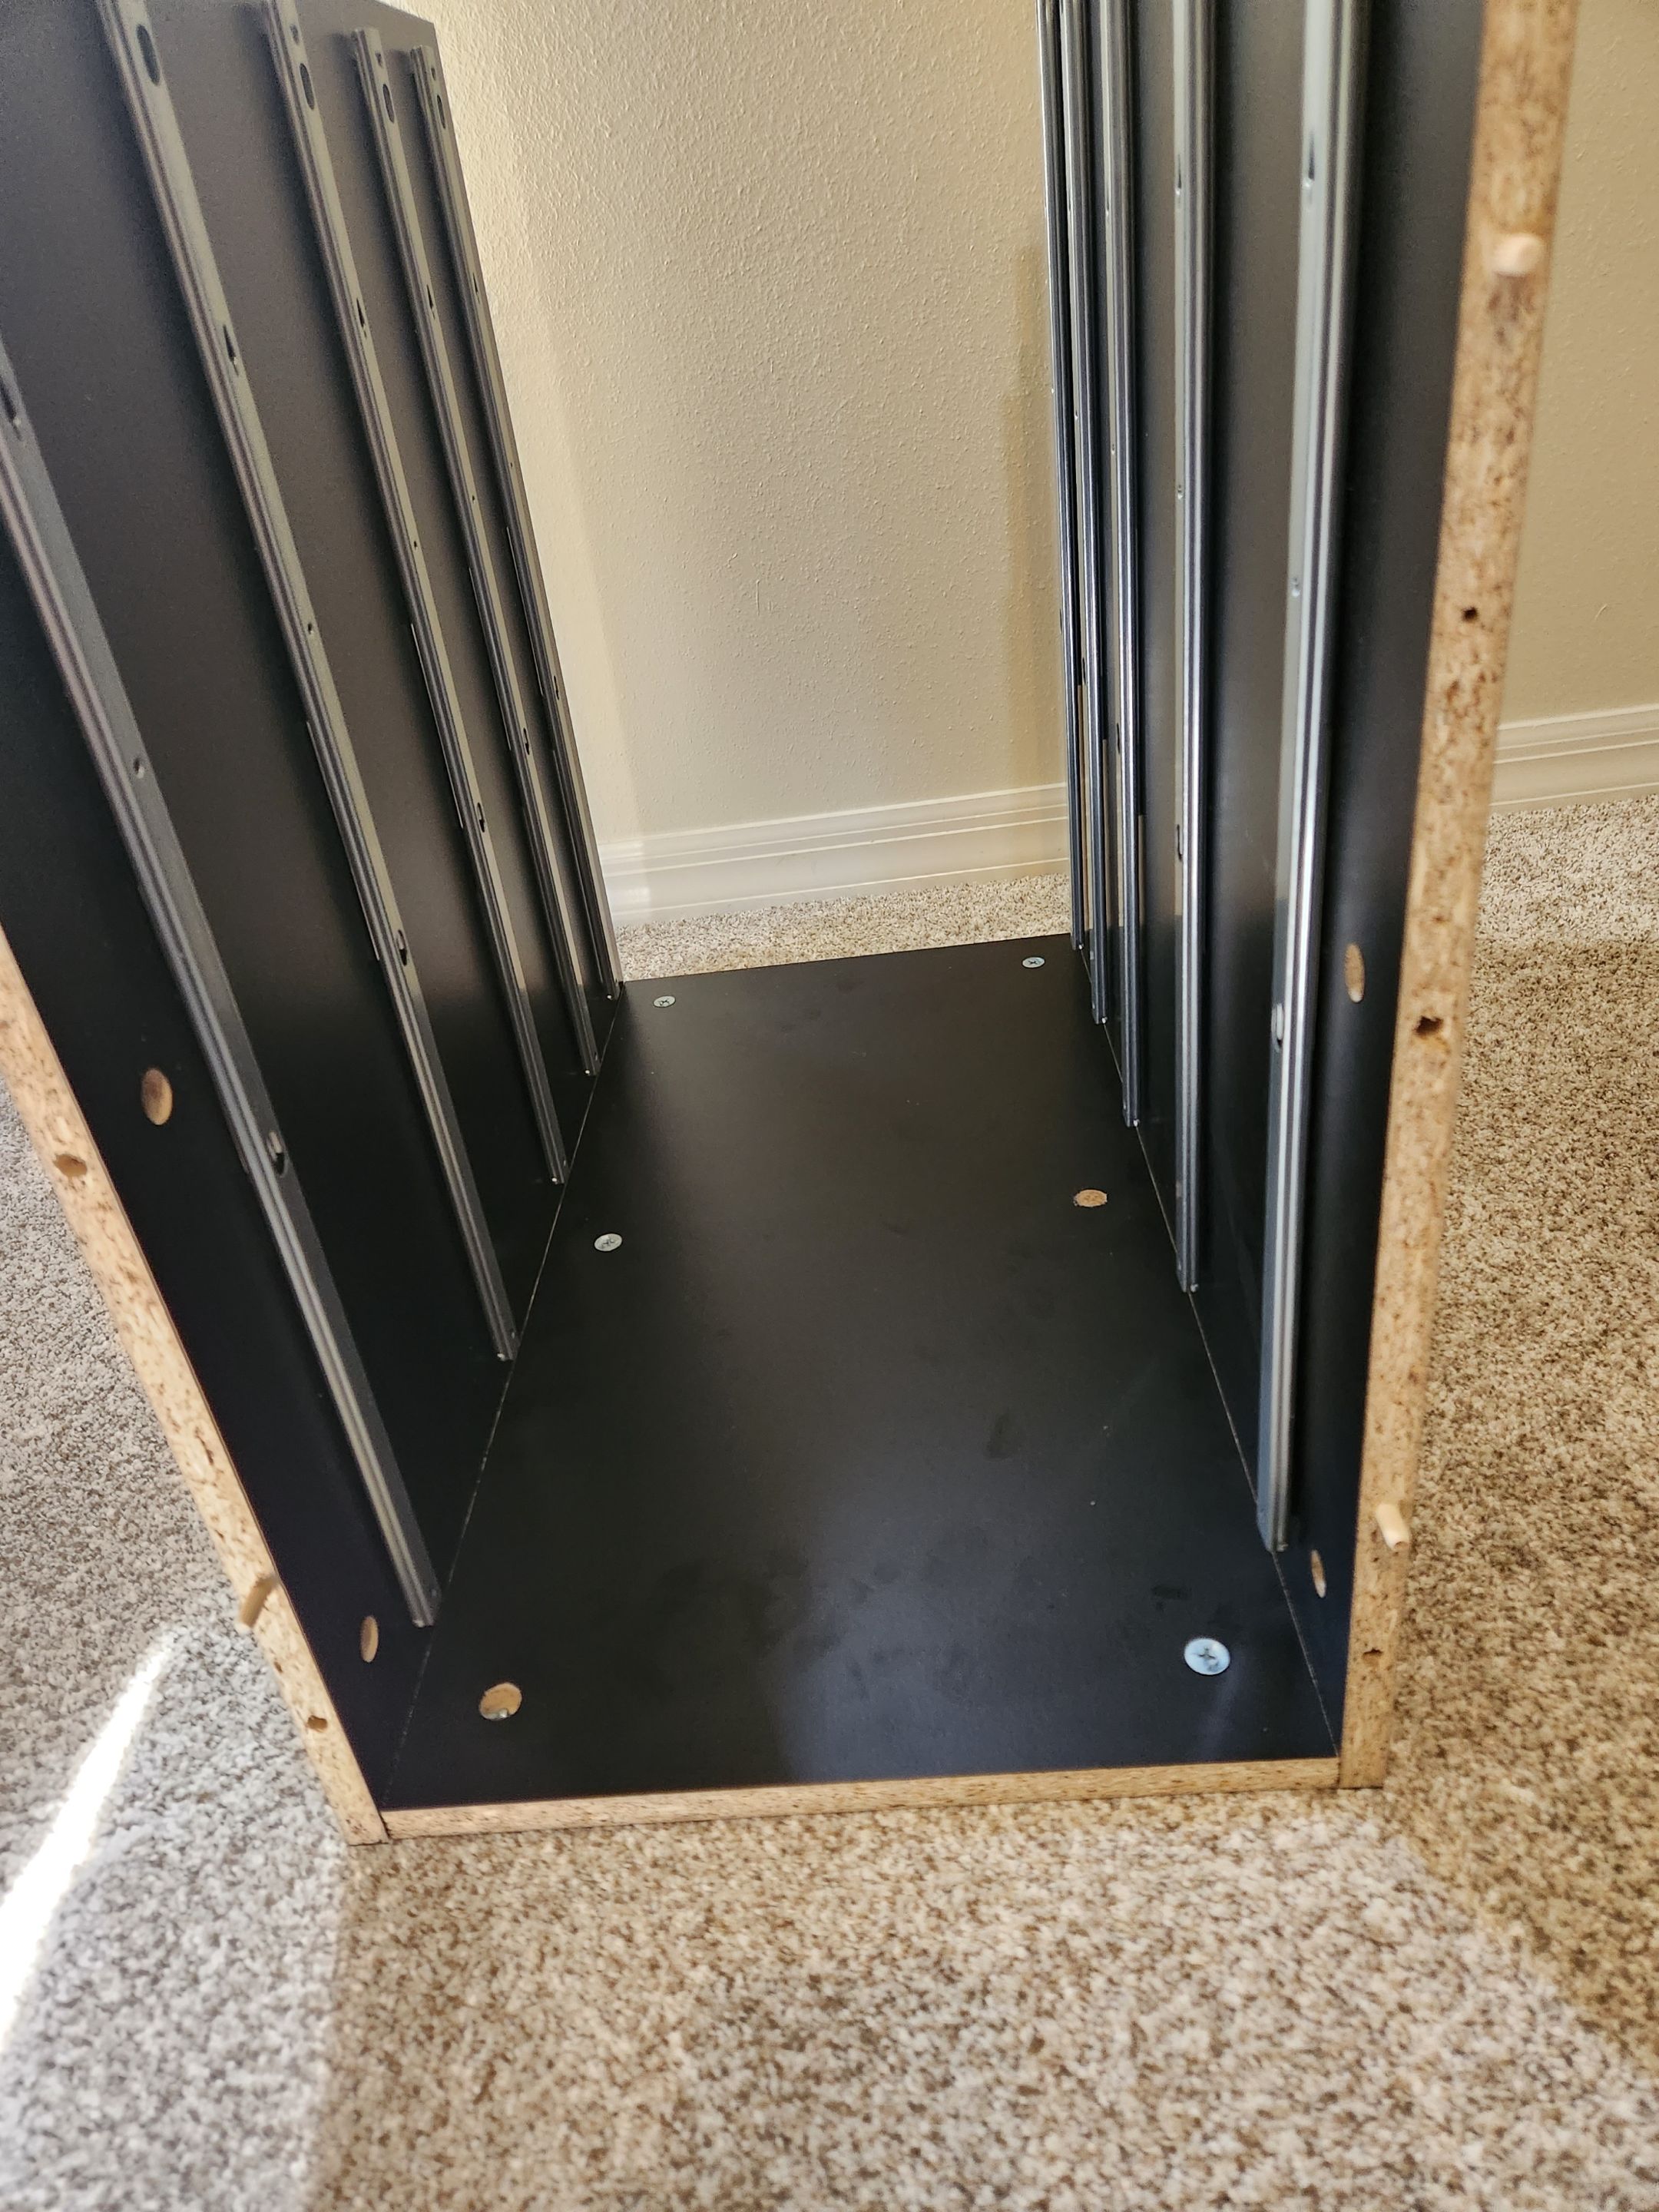
Just like that three hours had passed and I was finally done. What I’m not done? I only assembled one of the two sets of Alexa drawers? Ah, shoot!!! Also, that took me 3 hours??? OMG, I am not someone to come and assemble your Ikea future for you.
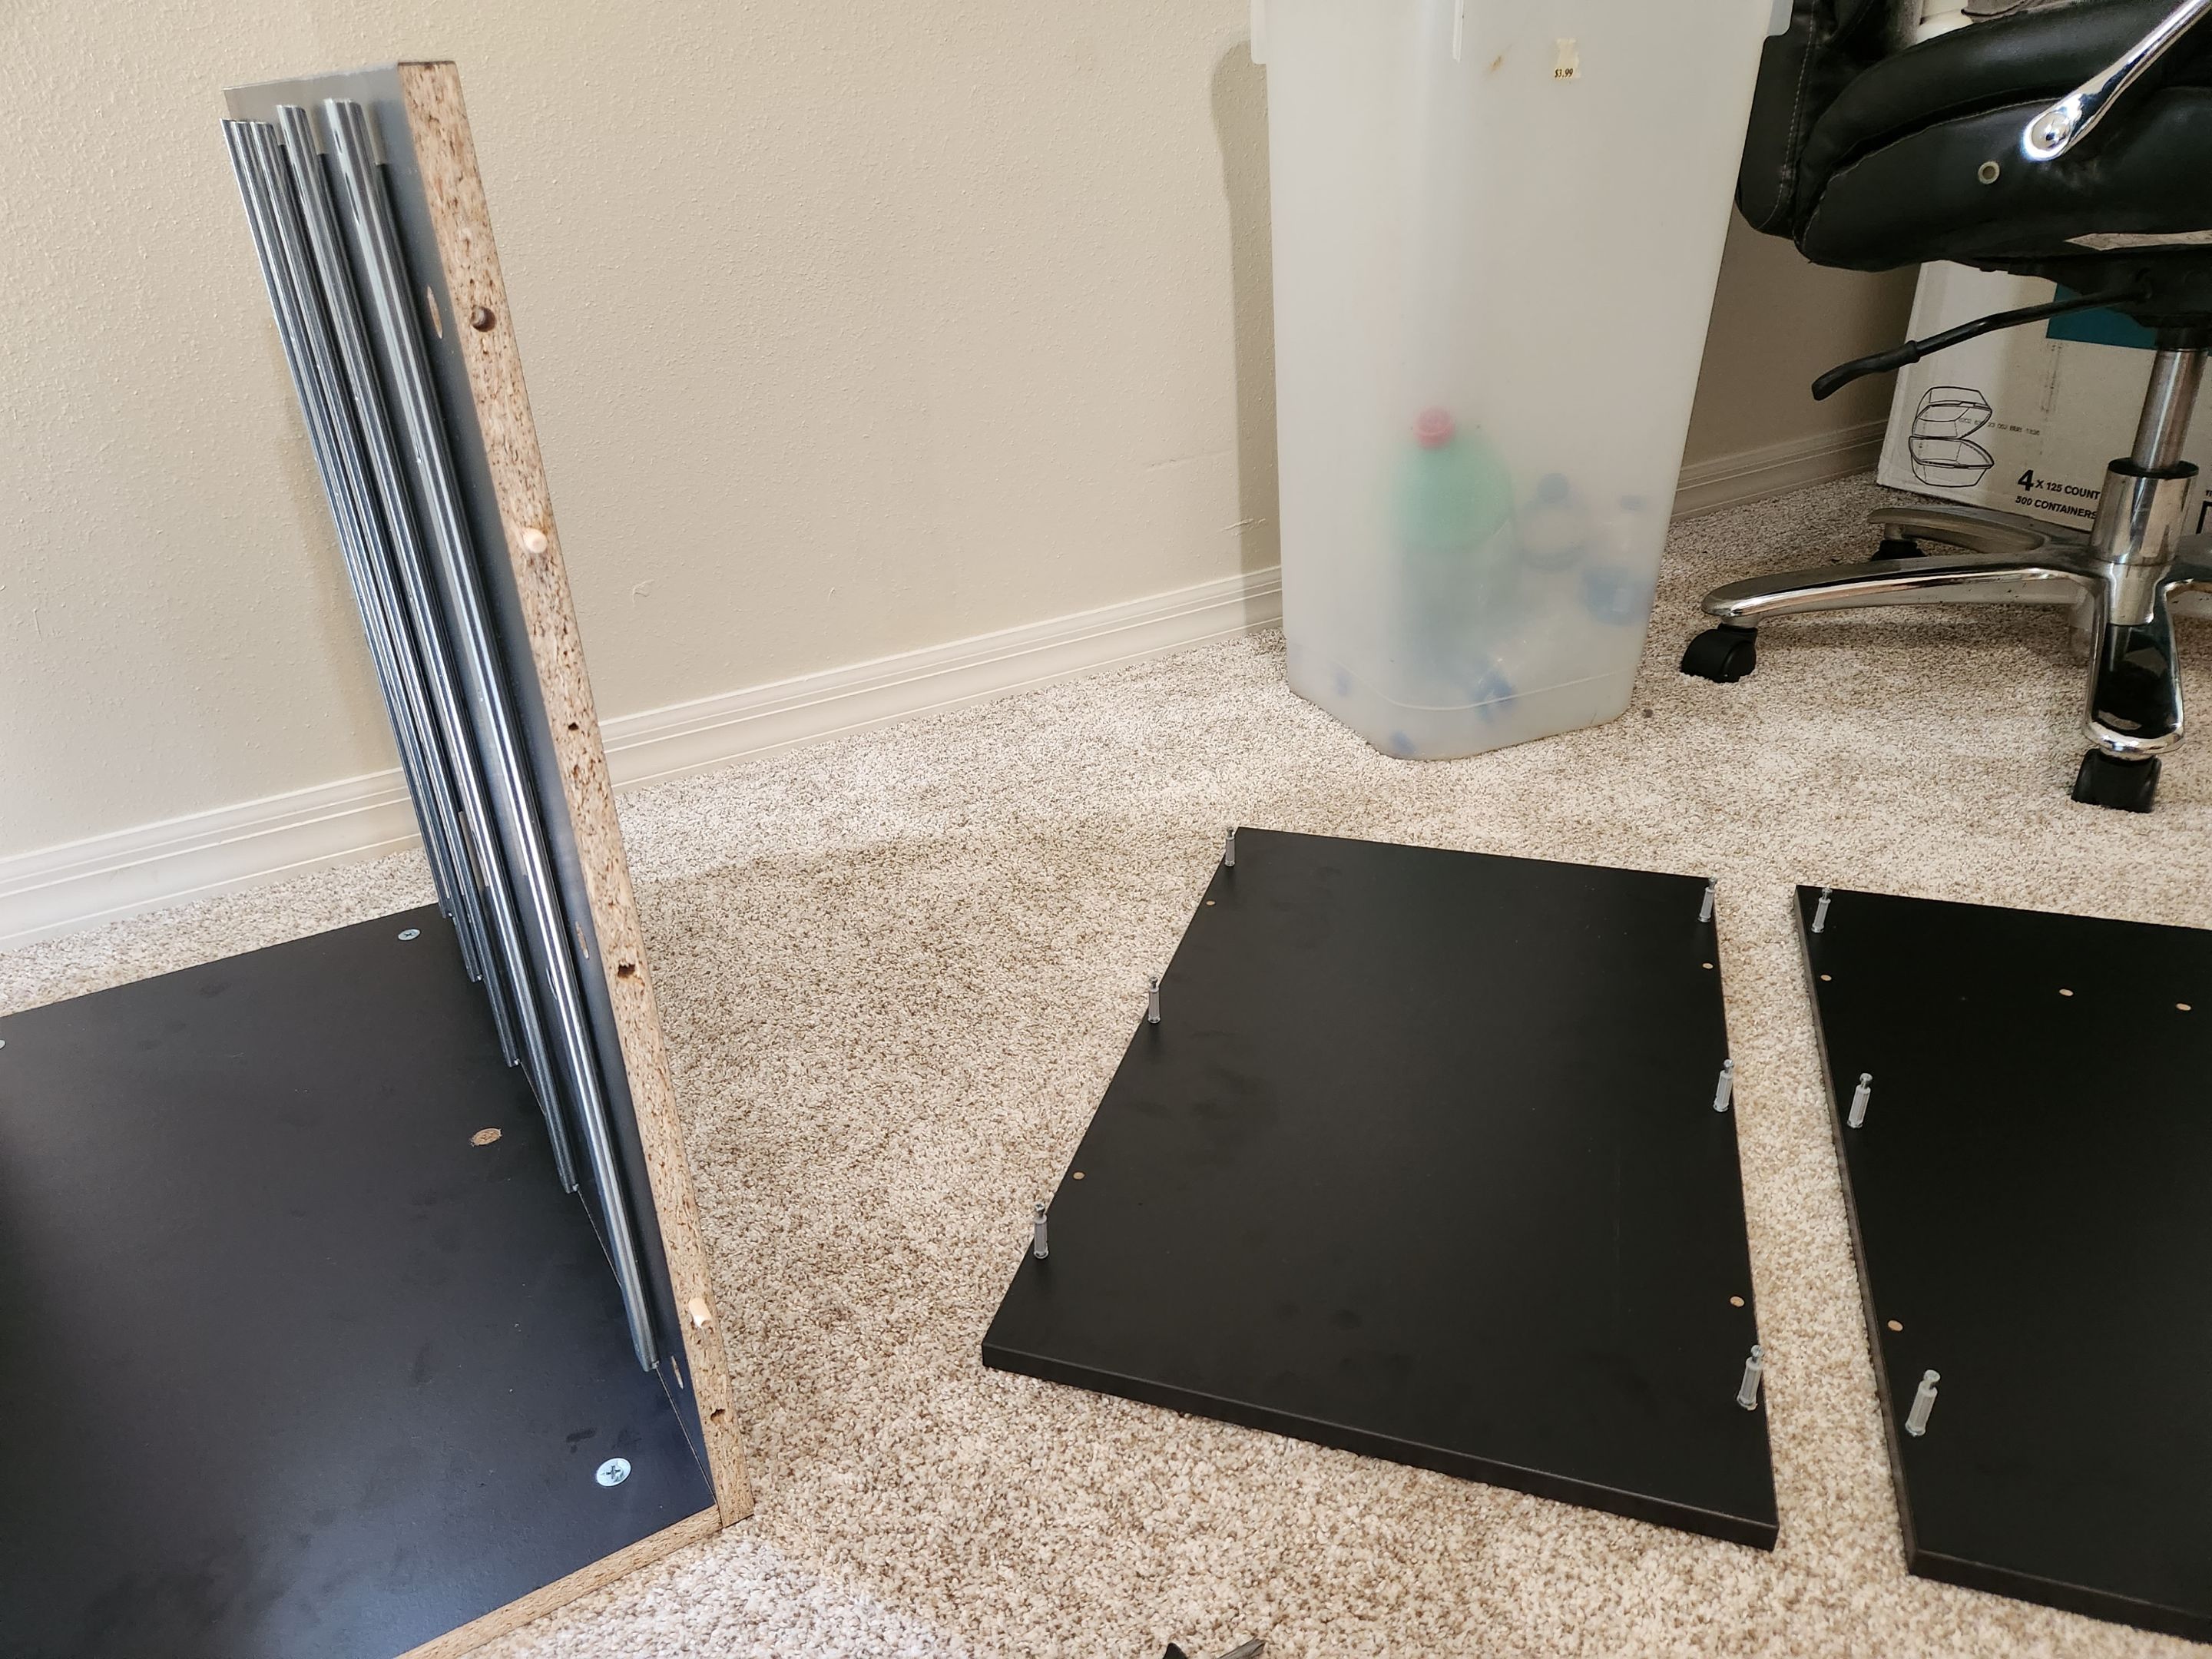
About an hour and a half later or so I got the second set of drawers set up. Thankfully I had all the tools with me now and knew the different parts. It went a bit faster. Still took ages.
I did skip over the step of screwing in the drawers to their rails. So I went and did that next before ripping open the countertop and placing it on top.
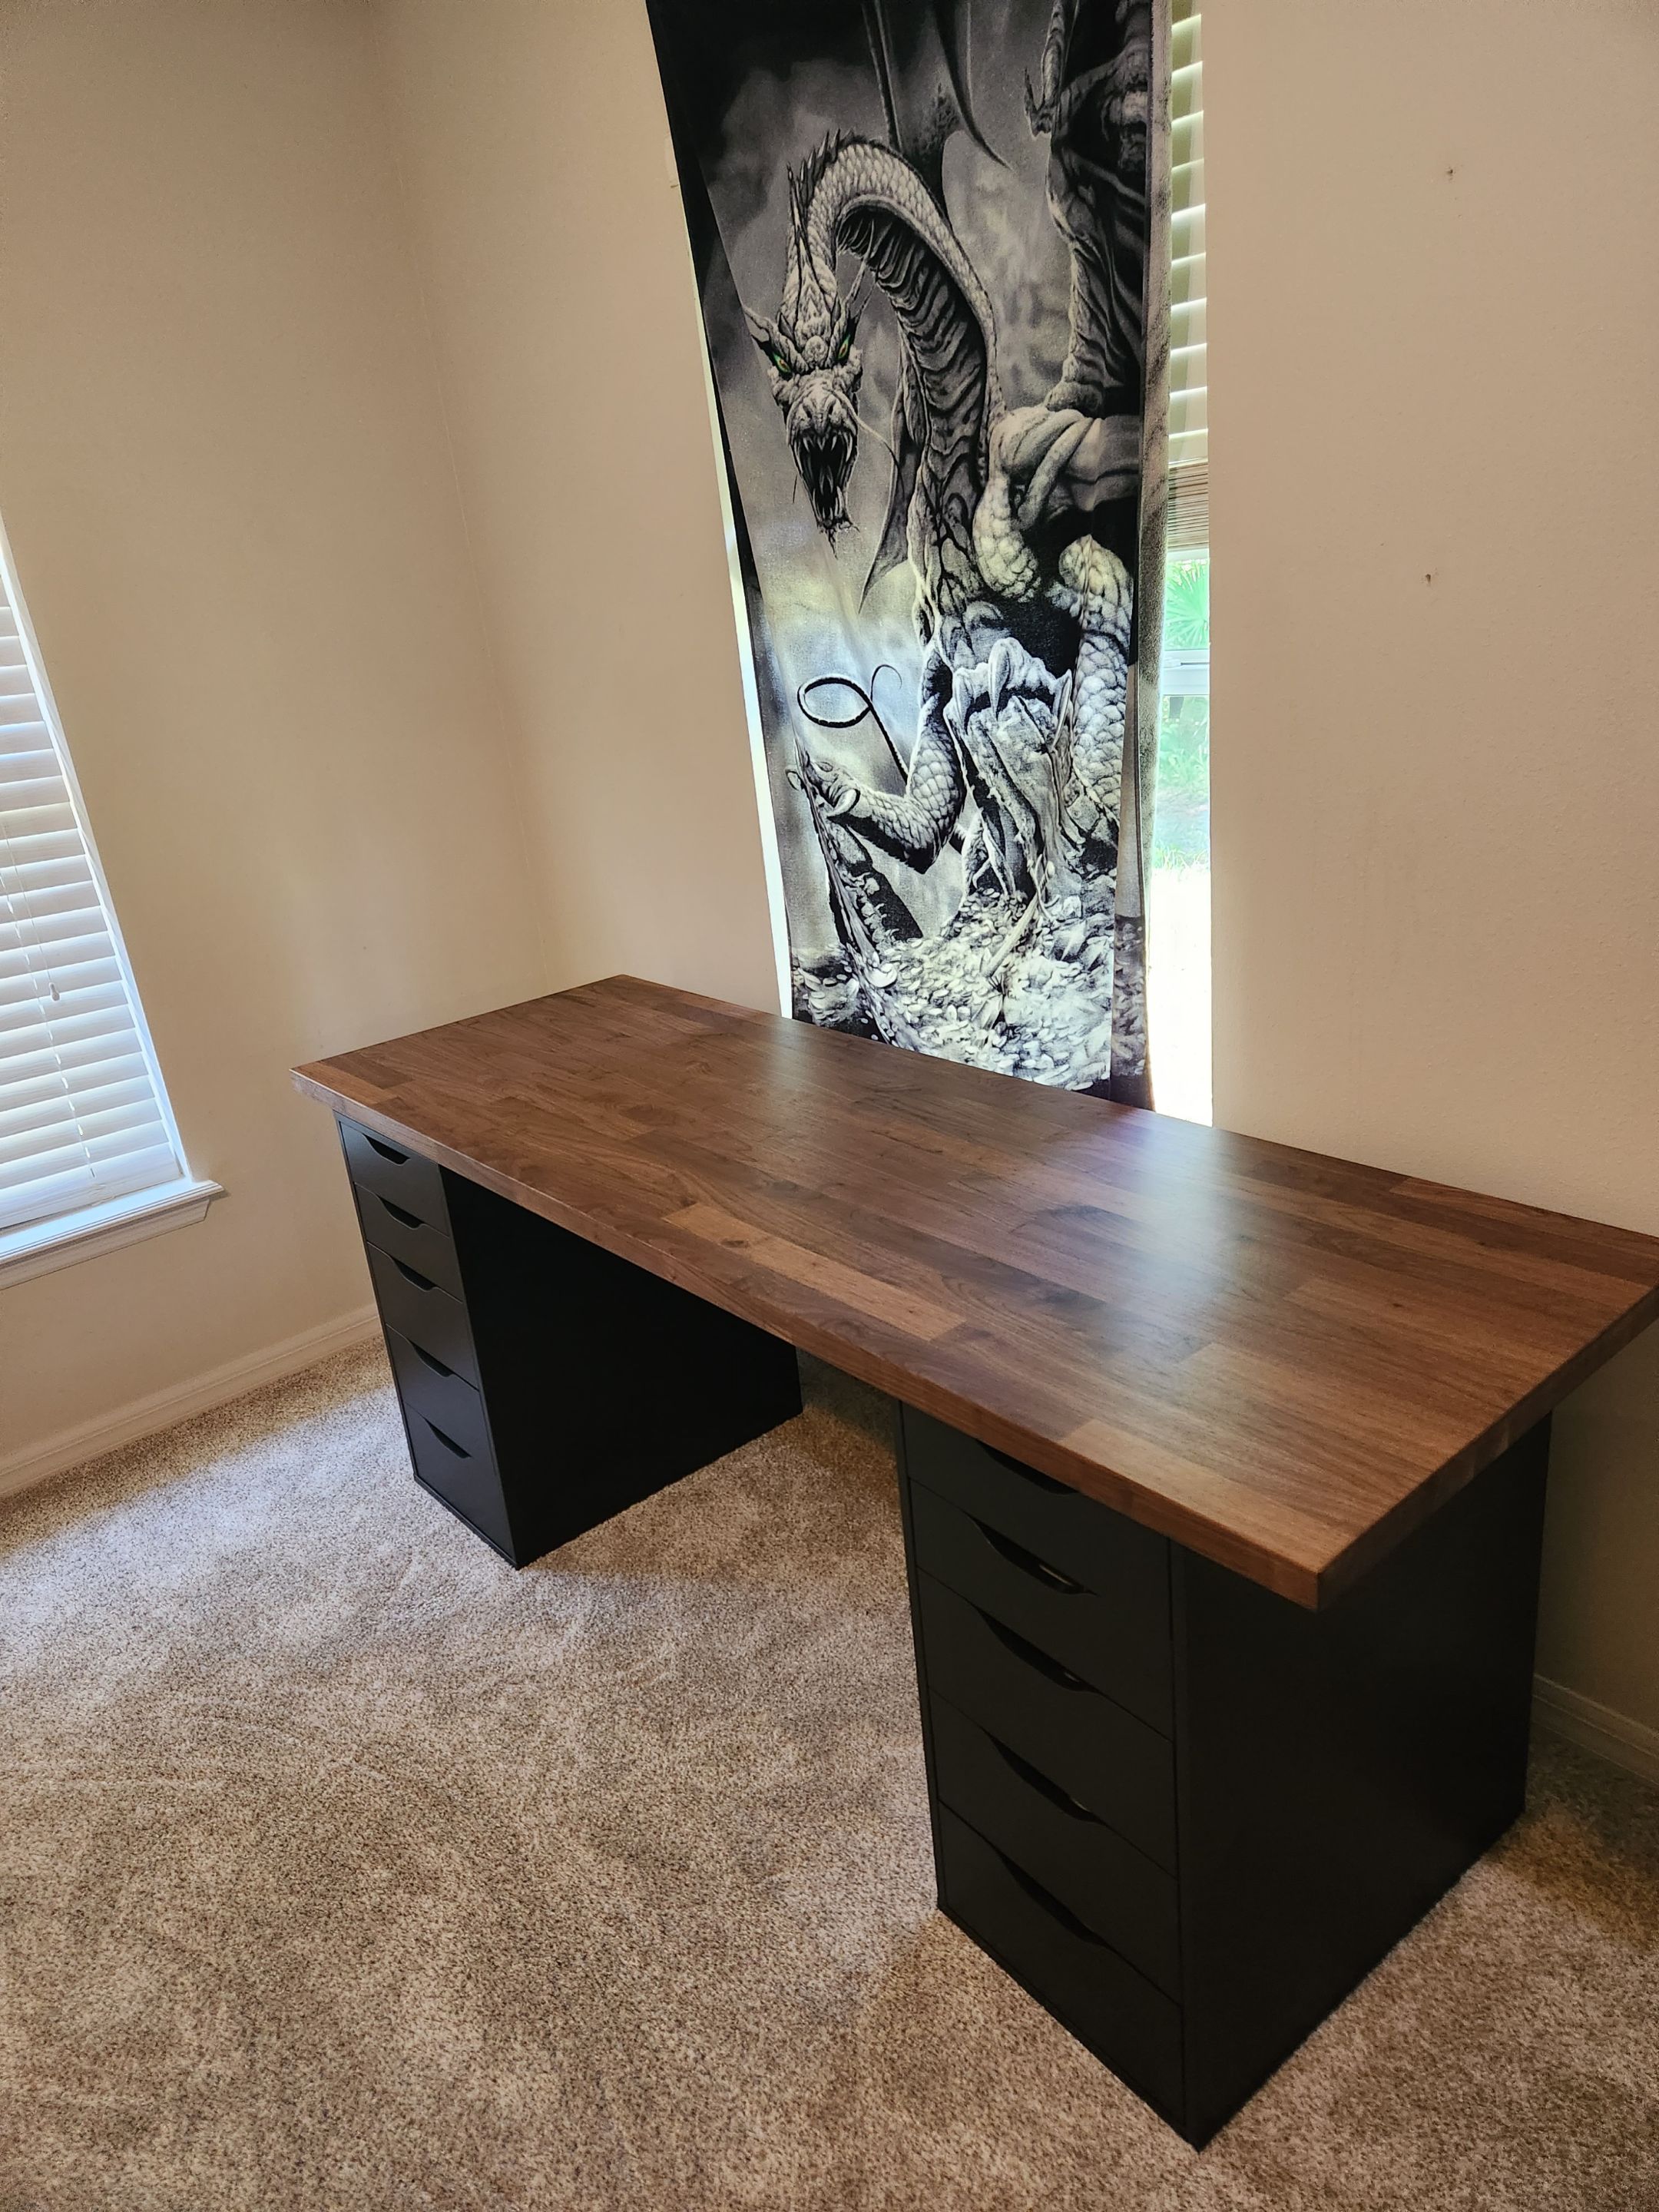
That countertop makes the whole build. I’m glad I splurged on the darker walnut. I love just staring at it for far too much time. Hopefully, this setup will last me for many years and survive being moved around a bit.
At some point, I might be daring enough to drill into the countertop and add to this setup some cable management. For now, I just have the cheap cellphone Ikea holder that I also bought with this order.
Photos were taken and content was written by @Enjar.


Windrose Review

Taking A Look At Alaska Gold Fever

The Making Of The Anathema Adventures Series

Taking A Look At Starminer

Making Billions During Capsuleer Day XXIII Warpath Event In Eve Online

Starminer | Trading From Station To Automation Guide

Taking A Look At Project Mist

My First 100 Hours In Starminer

Making Billions In The Gallente Election Event In Eve Online

Taking A Look At Windrose