
Windrose Review
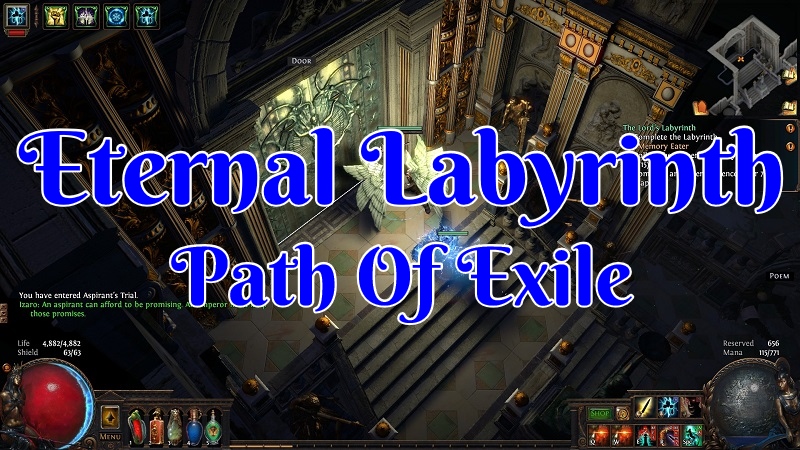
I’ve completed my Eternal Labyrinth and that is quite a big goal to reach in any league for myself.
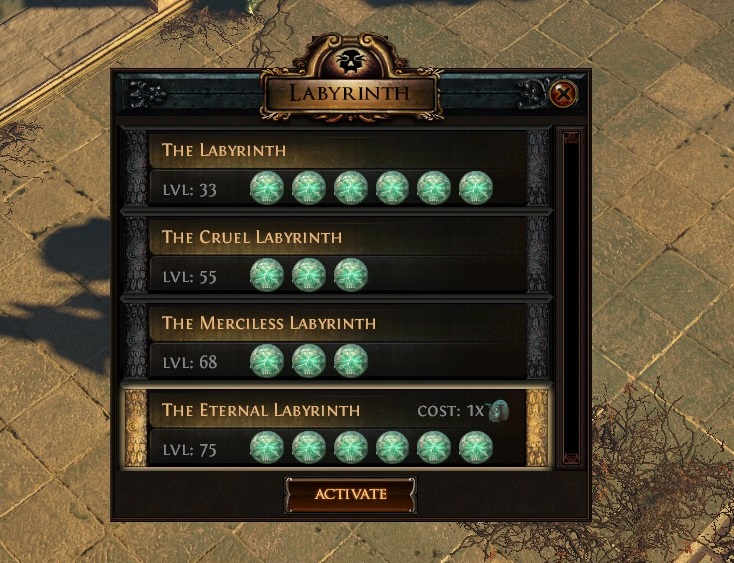
It has finally allowed me to get my last ascension passives Fortitude. While you can get this as a skill gem I now have it permanently on my Champion and all his other ascension passives are based on it being active. With him getting a bonus when it is like 1k armor, attack speed, melee damage and so on. When it has been up the Syndicate has been less rippy so now always having it active will keep me alive since I don’t have to rush in and try to get it to be up for a few seconds at a time.
I did fail my first attempt and gained a couple more levels to make it easier on myself. Since I did get one shotted by Izaro on my first encounter. After that, it was a rather easy run.
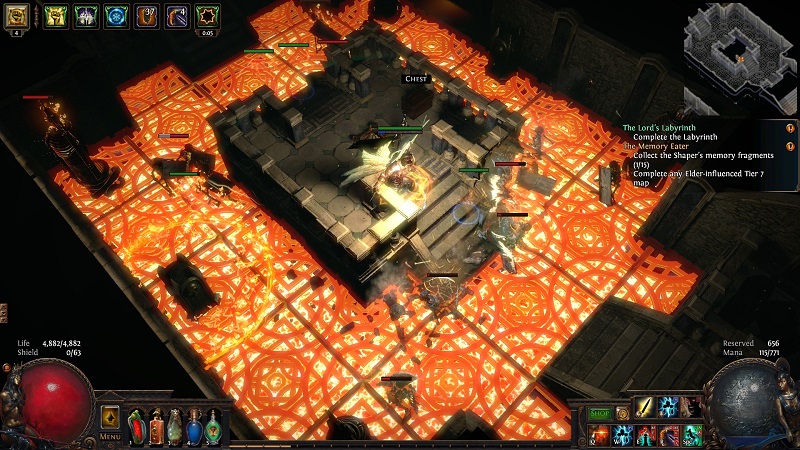
This Labyrinth is the longest and has the hardest traps and encounter out of all of them. There are quite more rooms to go through and if you die you get to start all over again on it. Every hour the layout changes so you always want to start them off at a fresh hour in case you need to rerun it again you have an idea what to expect.

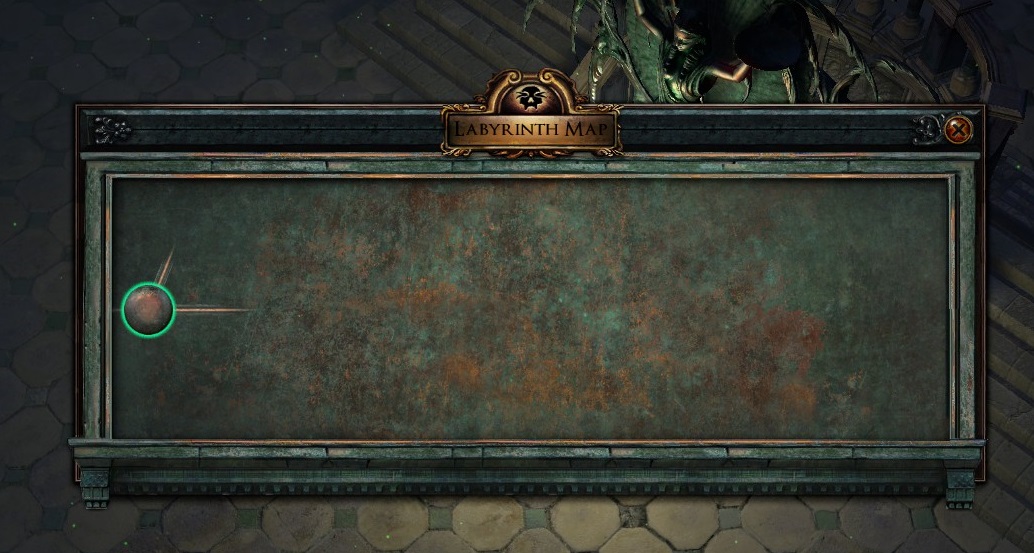
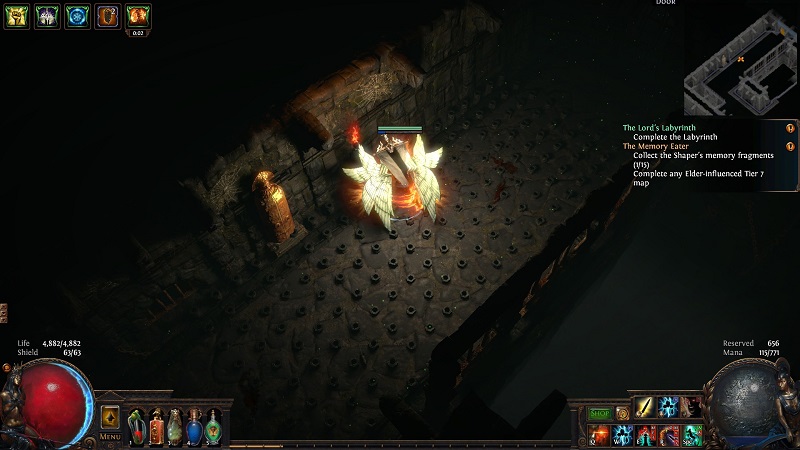
I did not get any action screenshots of my first encounter with Izaro. I had to run around and click on statues while also dealing with him and trying to finish him off with them all deactivated. Otherwise, he would power up and gain that statues powers later on. I just ran around clockwise as fast as I could then busted out damage and then repeated. As such, I had no time to stop for a photo shoot and a selfie!
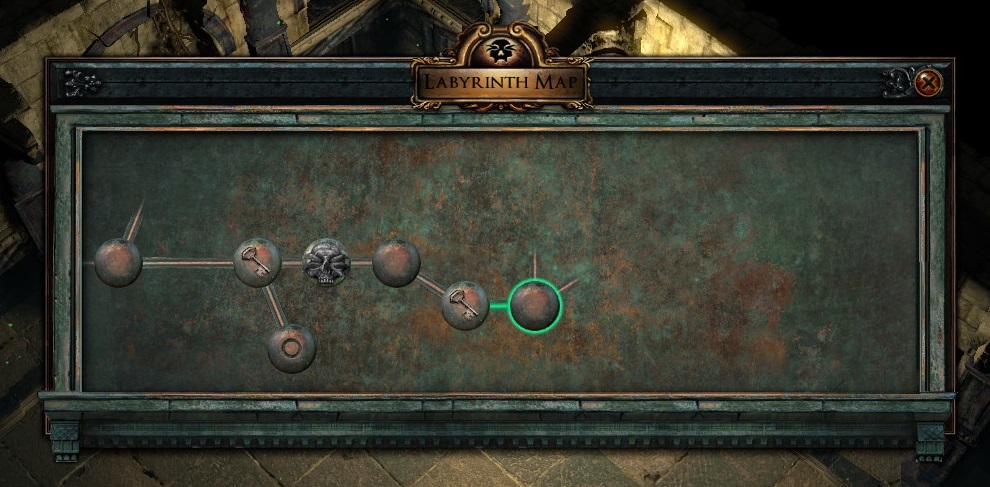
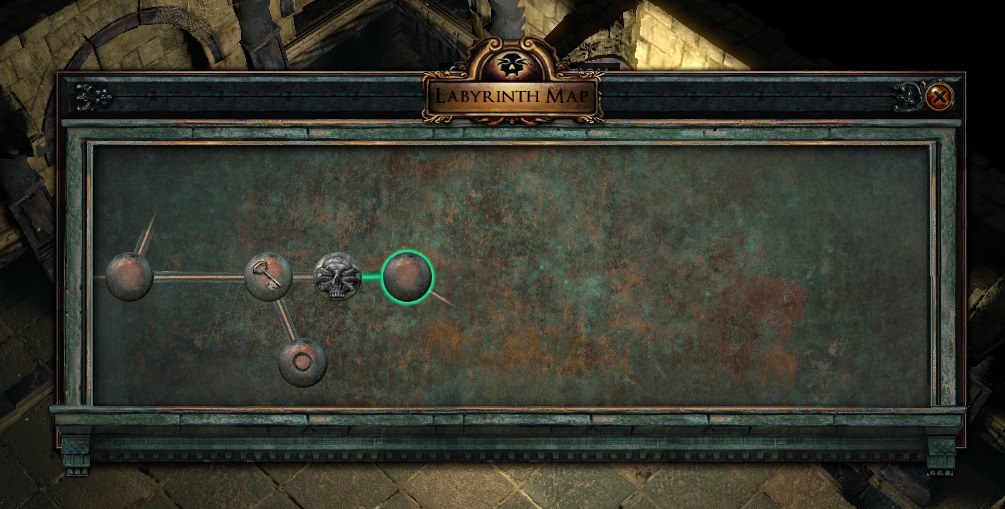
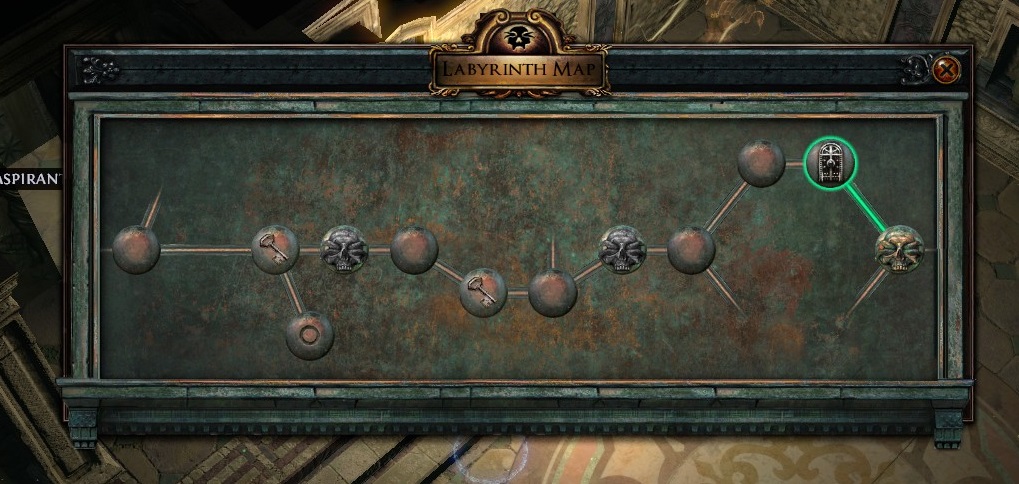
I happened to run into the Silver Key while trying to find the best path so I looted it. While they can be quite deadly to get to. It really was not too bad this time around. While with fire firetraps I’ve learned not to press my luck this one was a rather short one so I just went for it.
This was one of the harder traps I ran into. It was a long hallway filled with timed trapped spikes. Once you got into the next room they were spinning blades and other moving traps. Once you have committed you to have to commit and just go for it. You don’ always have time to stop and think out your next move. Whatever reaction skills you have gained from playing this game is what you have to count on when making split-second choices. Otherwise, you get killed waiting around and running out of charges on your life flask.
While I could have used my key on the silver door in here for a chest I did not want risk going for it. I was so close to the end it is silly to get killed now over what more times than is not that great loot always. As such, elected to save it towards the end when I was in the treasure room.
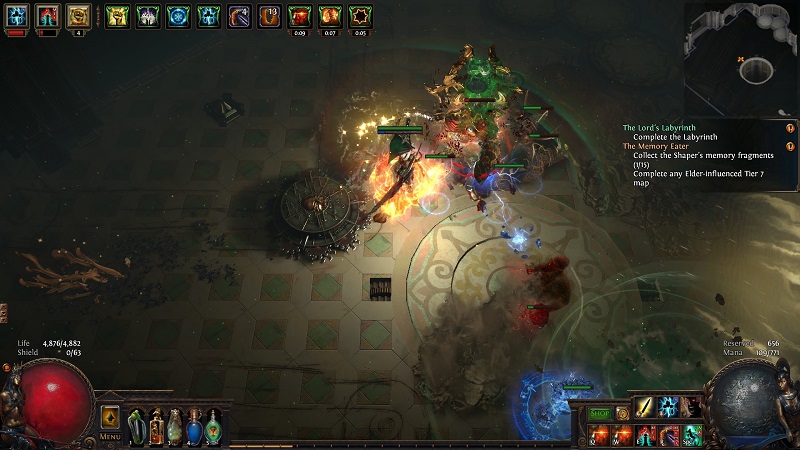
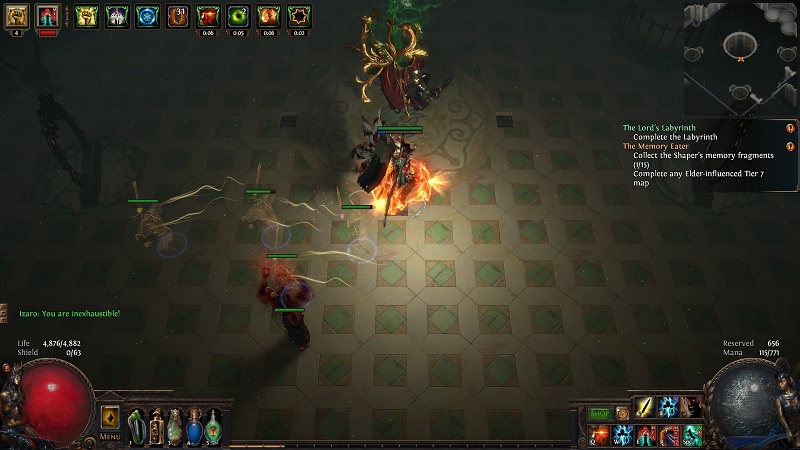
I did a good job on the encounter leading up to this point he was not overpowered with a bunch of buffs. I don’t think he even had a single one of them. When that happens the final fight with Izaro is quite simple as you already passed the skill and gear checks along the way.
As always on my first successful runs when it comes to the labyrinth. I do not go out of my way for extra loot or doing puzzles. I just go for it. I rather have first the passive skills than anything else I could get inside. You can always go back and run it again for loot. With it being easier now with those new passives.

Screenshots were taken and content written by @Enjar. Screenshots are from the game Path of Exile.


Windrose Review

Taking A Look At Alaska Gold Fever

The Making Of The Anathema Adventures Series

Taking A Look At Starminer

Making Billions During Capsuleer Day XXIII Warpath Event In Eve Online

Starminer | Trading From Station To Automation Guide

Taking A Look At Project Mist

My First 100 Hours In Starminer

Making Billions In The Gallente Election Event In Eve Online

Taking A Look At Windrose