
Windrose Review
Now that we've got a lot of farming out of the way, it’s time for the fun part, running missions and collecting BPCs. It’s not all about the loot, either; there are some nice reputation increases to be gained along the way.
Keep in mind, you don’t need to go to the NPCs in the order I give them in. You could have gone out and grinded for some of the items beforehand. Then use running missions as a bit of a way to break up the grind. That is also somewhat how I present some of the order.
There are two of the eight that I'll be sharing last that I either did not complete at all or did not finish all the missions offered. While almost all of this can be done in High Sec, there is one mission that is not. There is also the matter of Printing Machines being too limited in drop for most people to even think of getting.
If you find yourself lacking enough Caldari faction to run these missions. As all have a requirement of 2 or higher. You can go run the Level 1 Caldari Cosmos missions as I have covered that in another guide.
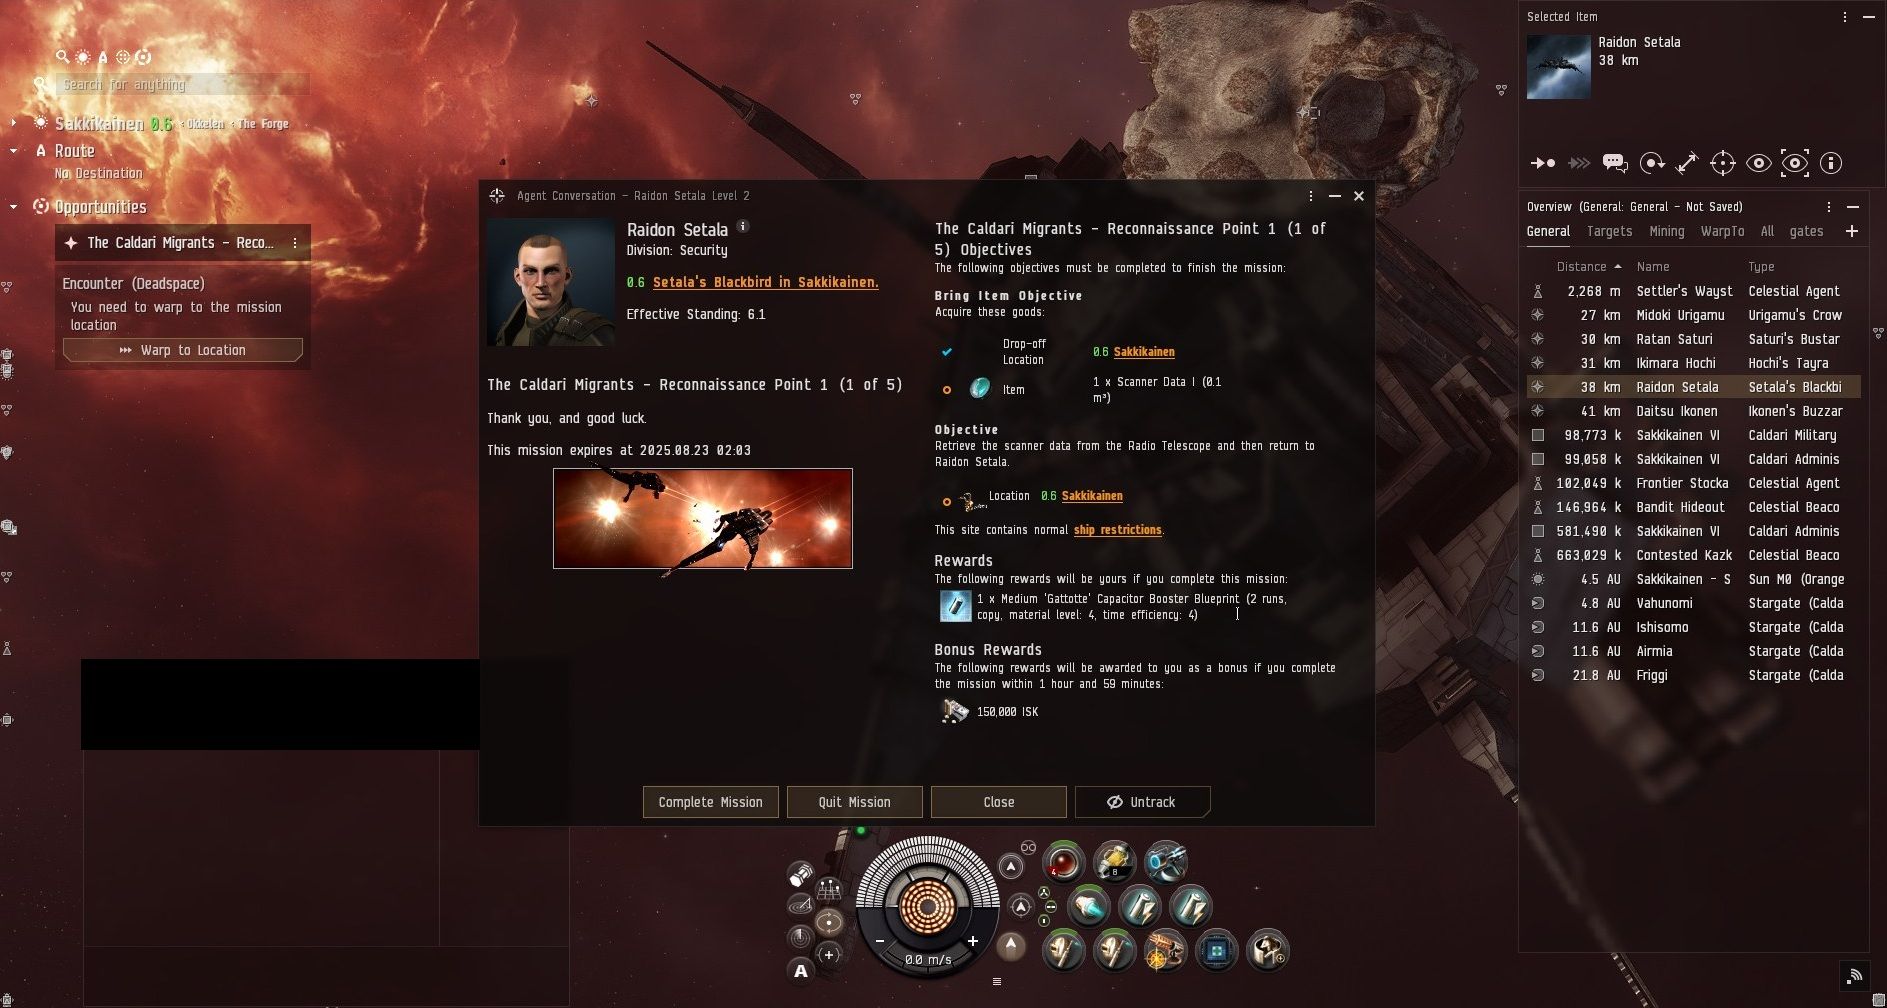
Raidon Setala, who can be found in Settler’s Beacon in Sakkikaines, has five missions and is going to be a bit more demanding than others. You need to bring Scanner Data I and II with you, along with Quao Kale. You also just need a Caldari standing of 2. This guy ends up rewarding multiple BPC while you finish his mission chains, so it’s a nice one to work on right away.
His first mission has you warping to a location where you need to clear a couple of pockets. The gates are also locked and are a decent distance from each other. This is why something like a frigate or destroyer-sized ship works great.
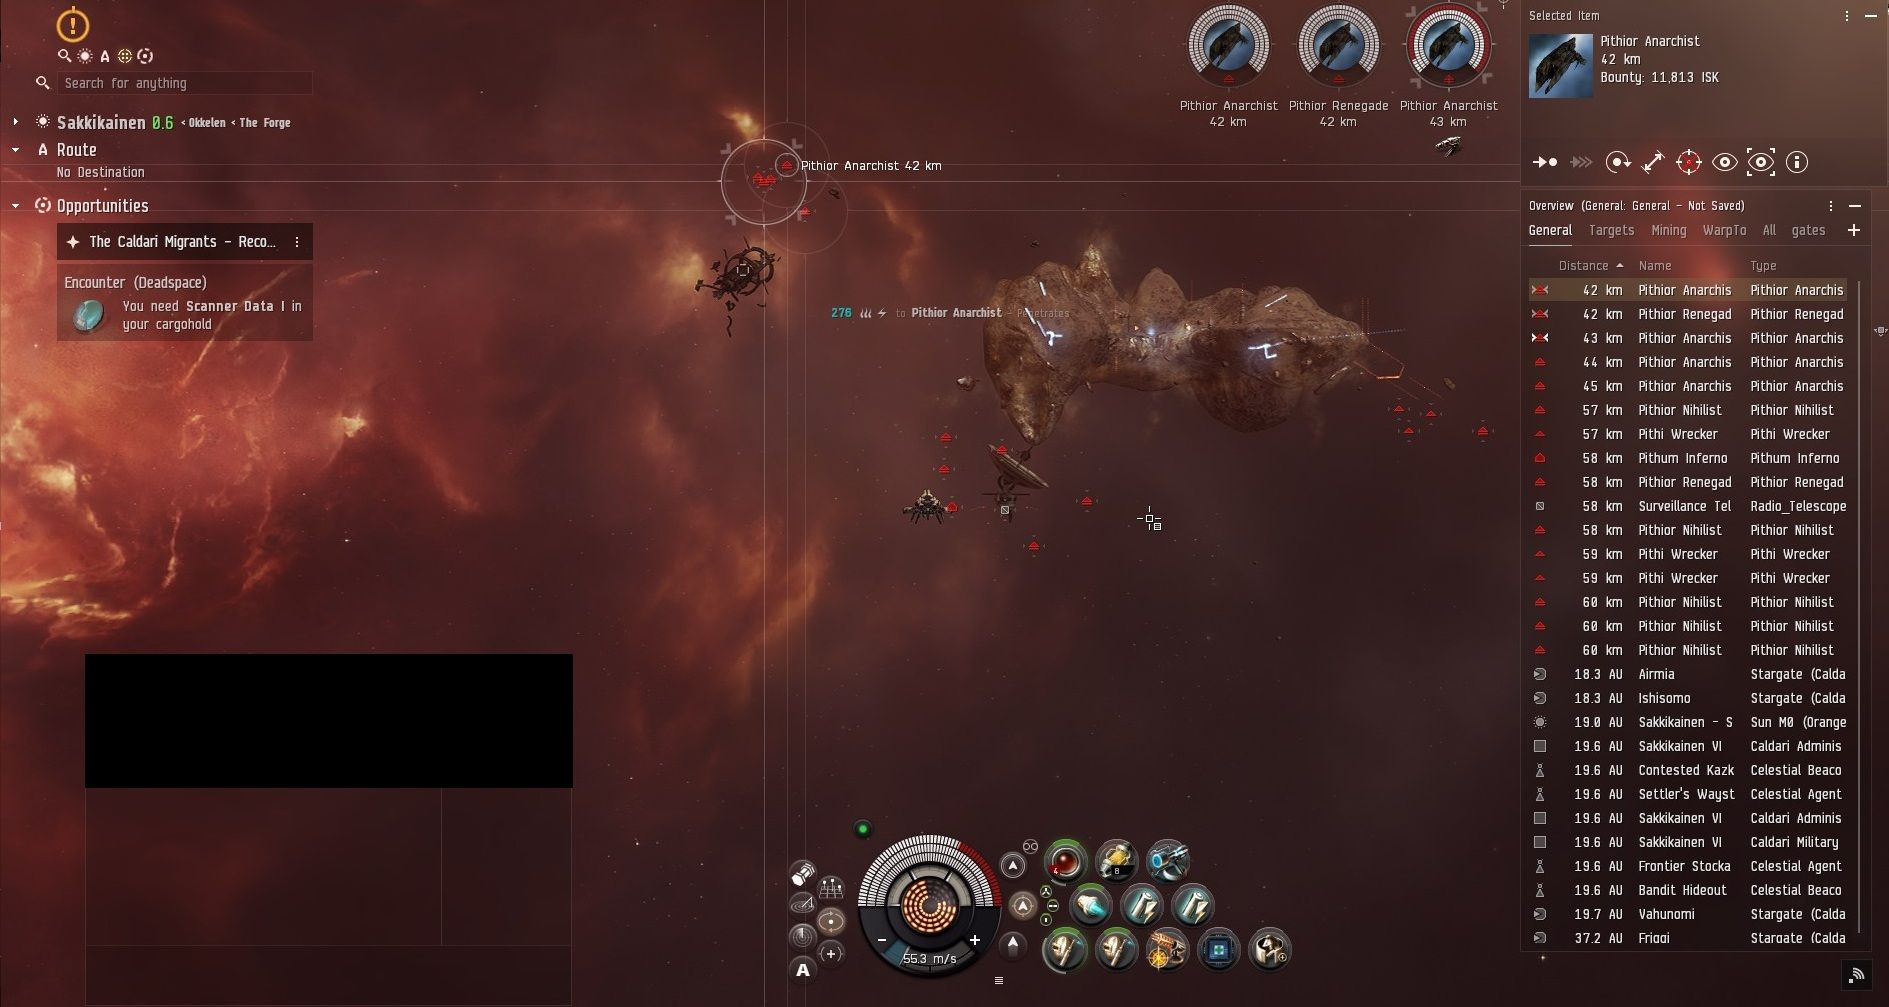
After a couple of pockets, you arrive at the last one. The Scanner Data 1 item is in the Surveillance Telescope. Like all the pockets before this one, you can just tag each NPC group to pull them separately. All is easy to snipe down; you take much damage.
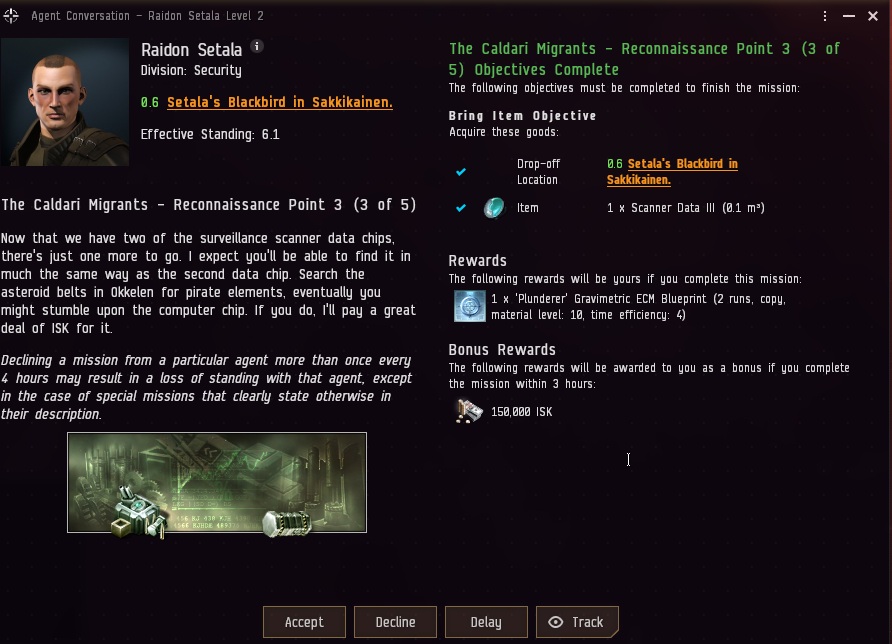
His second and third missions are just turning in Scanner Data II and III. On the third mission, you get yet another BPC. If only the other missions were this generous.
His fourth mission requires you to turn in Quao Kale. Hopefully, you were able to find that NPC up. If not, at least at the time of writing this, contacts were selling it. Since this mission also gives a BPC, it ended up more than being worth it just by buying the item off another player.
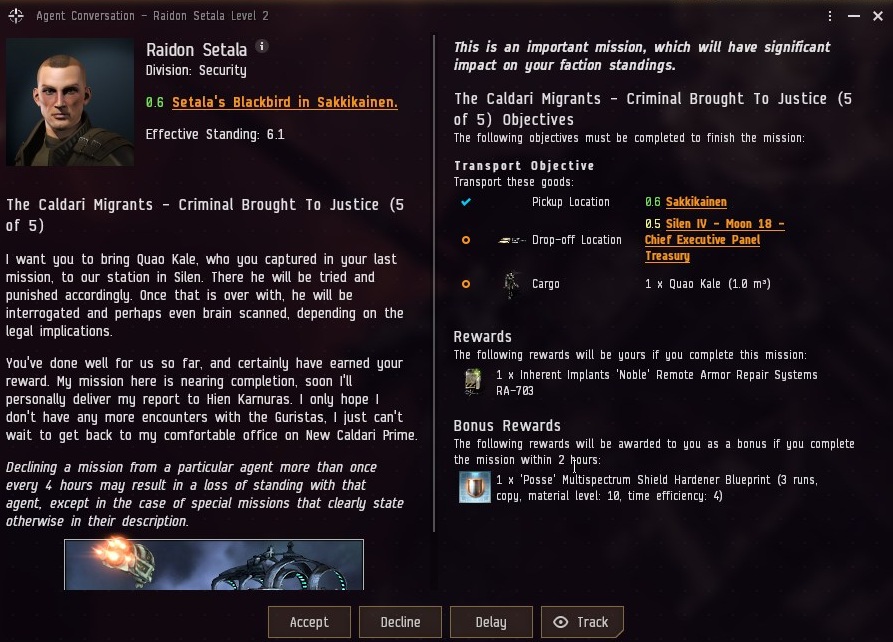
The last mission is a courier one. It can have a massive payout for you or a slap in the face if the RNG gods are not on your side. As you get both an implant and a BPC. While I did not luck out on the implant. That shielded hardener BPC I got, I'll be making around 110 million ISK of profit per run. The BPC even had 3 runs, which was nice.
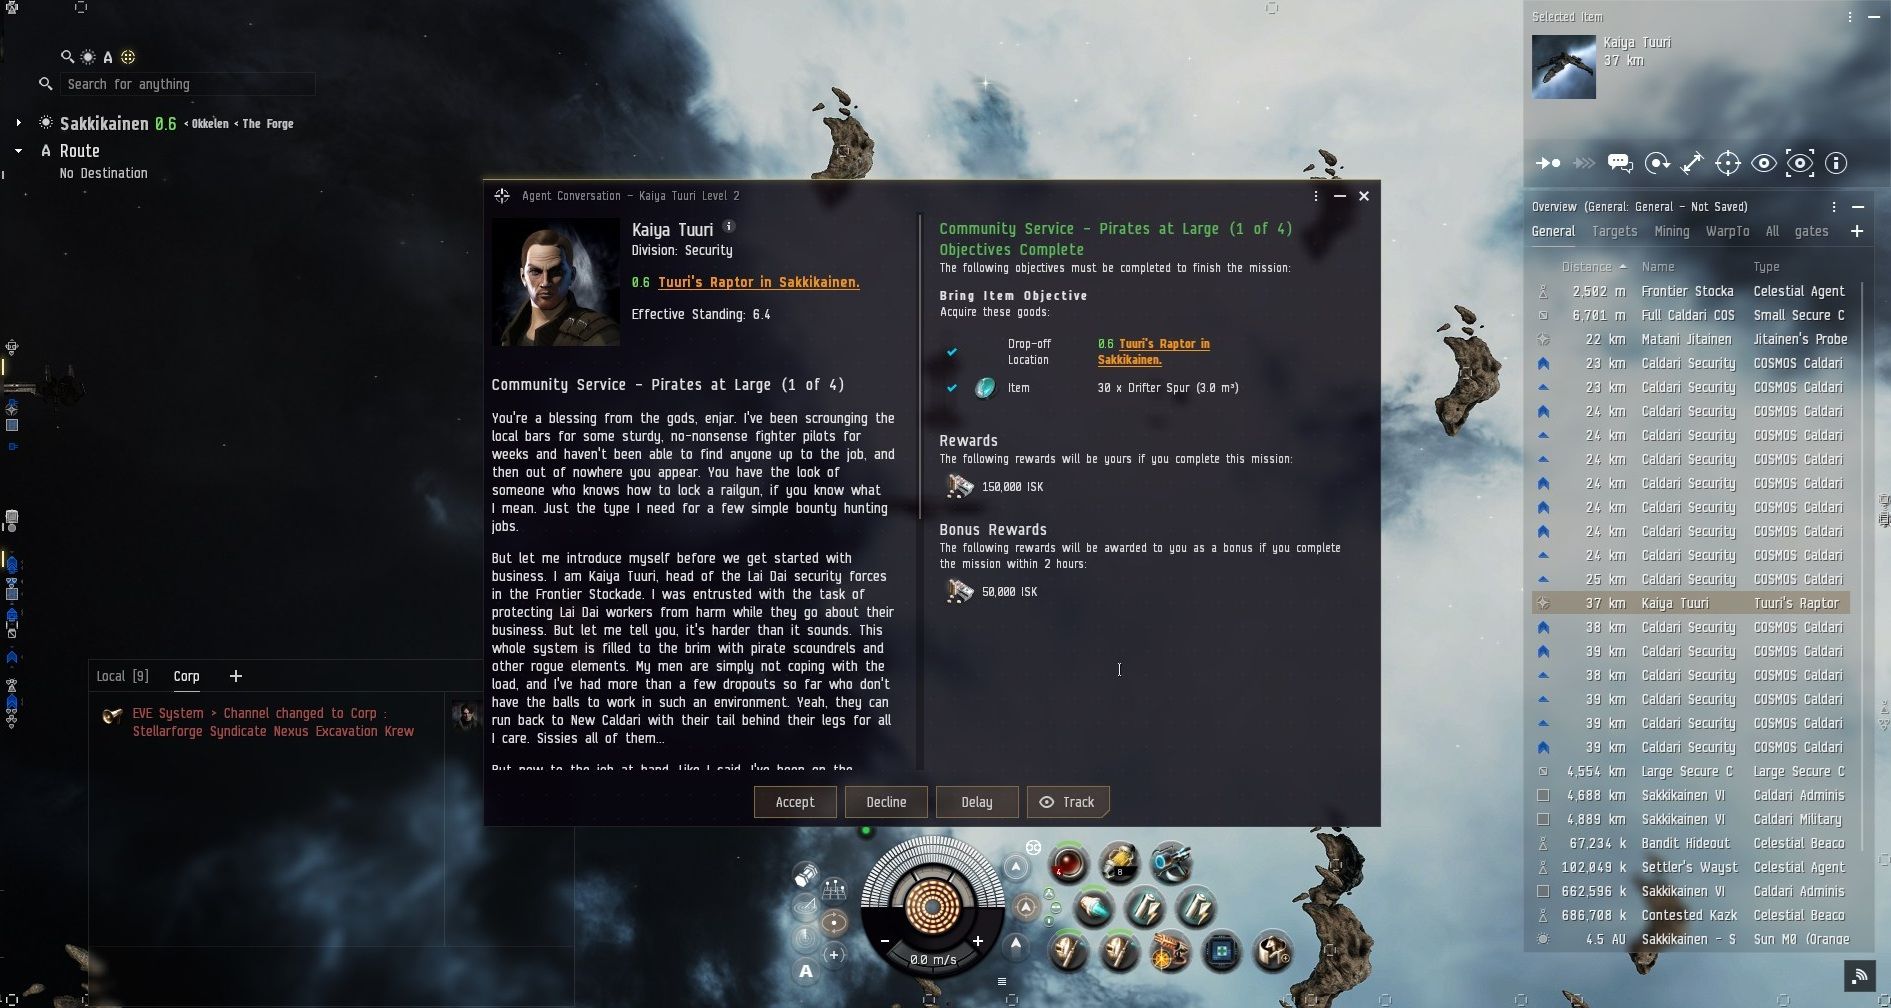
While still in Sakkikainen, you might as well head over to the Frontier Stockade for the next mission agent named Kaiya Tuuri. Make sure to bring along 30 Drifter Spurs and 1 Cheri Mirei’s DNA.
I kind of like it when some stuff you need to bring to turn in to an NPC is the first thing they are asking for. After turning in 30 Drifter Spurs, you are sent into a complex to go get someone.
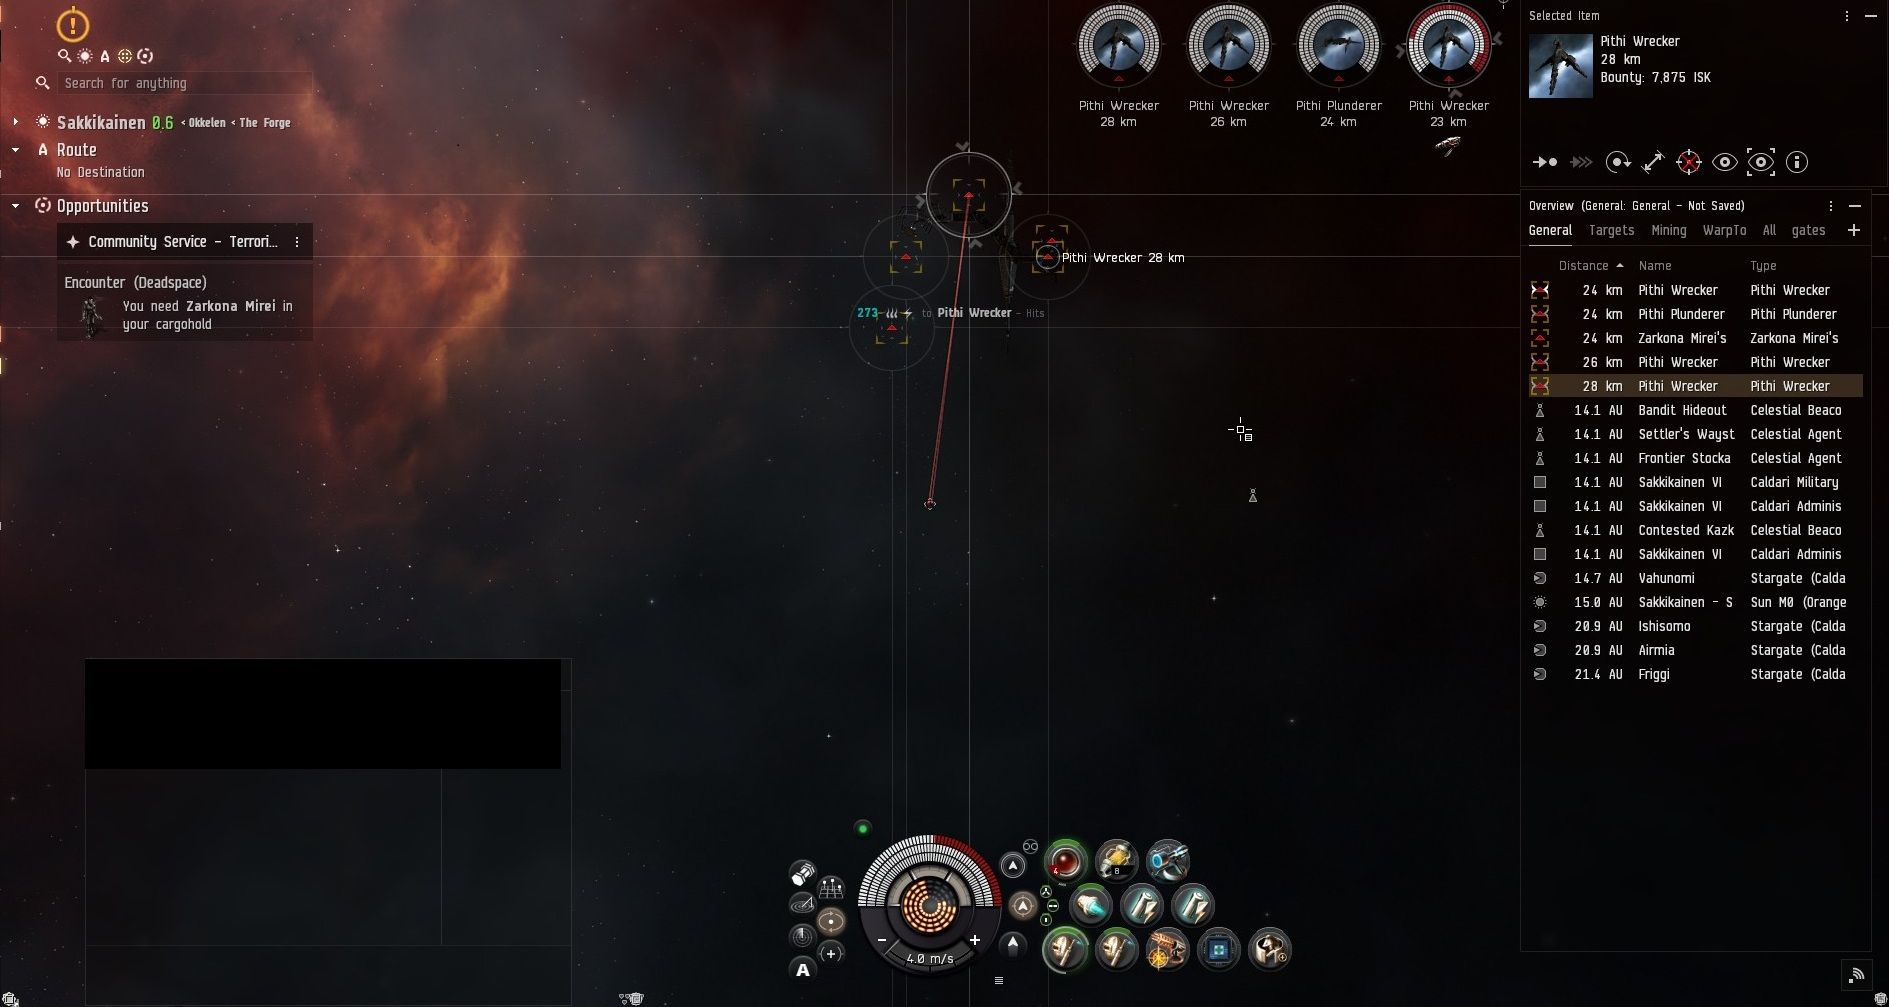
The complex itself had a couple of gates. They were not that far to get to. You just had to clear out the pocket before being allowed to advance. It’s nothing you have not already had to handle with as it was mostly frigates.
At the end is Zarkona Mire with some guards whom you need to kidnap. They were quite easy to take out. I ended up lucking out on this mission with an implant worth 95 million ISK.
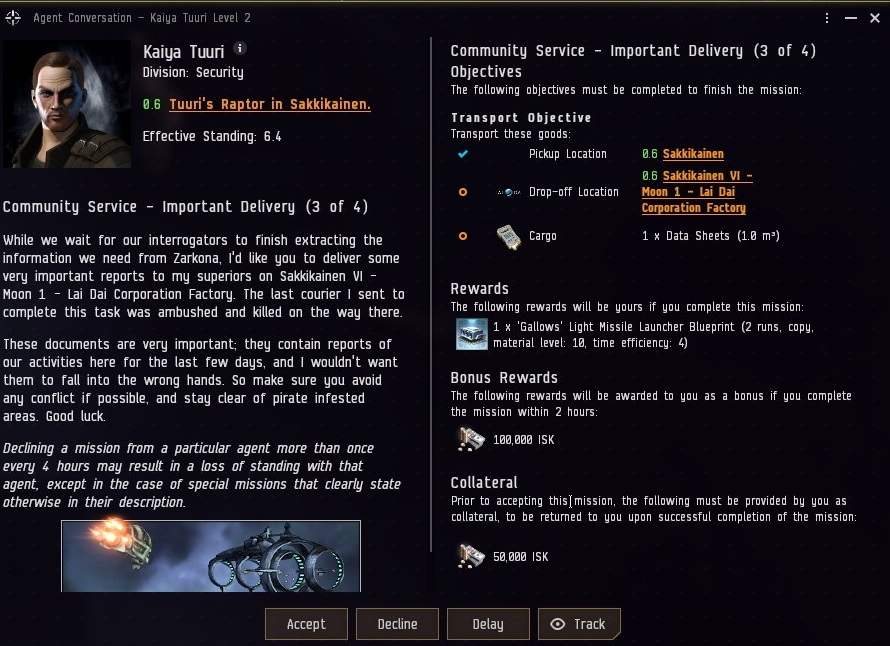
The third mission is a courier with a BPC. I was already thrilled with how much loot I've gotten so far from this NPC, and this was not a bad BPC either. Nothing crazy, but better than most. Even better, the mission could be done without leaving the system.
The final mission is just turning in Cheri Mirei’s DNA. Where do you get another BPC and an implant. This has to be one of my favorite NPCS to run on multiple characters since each one can only do it once.
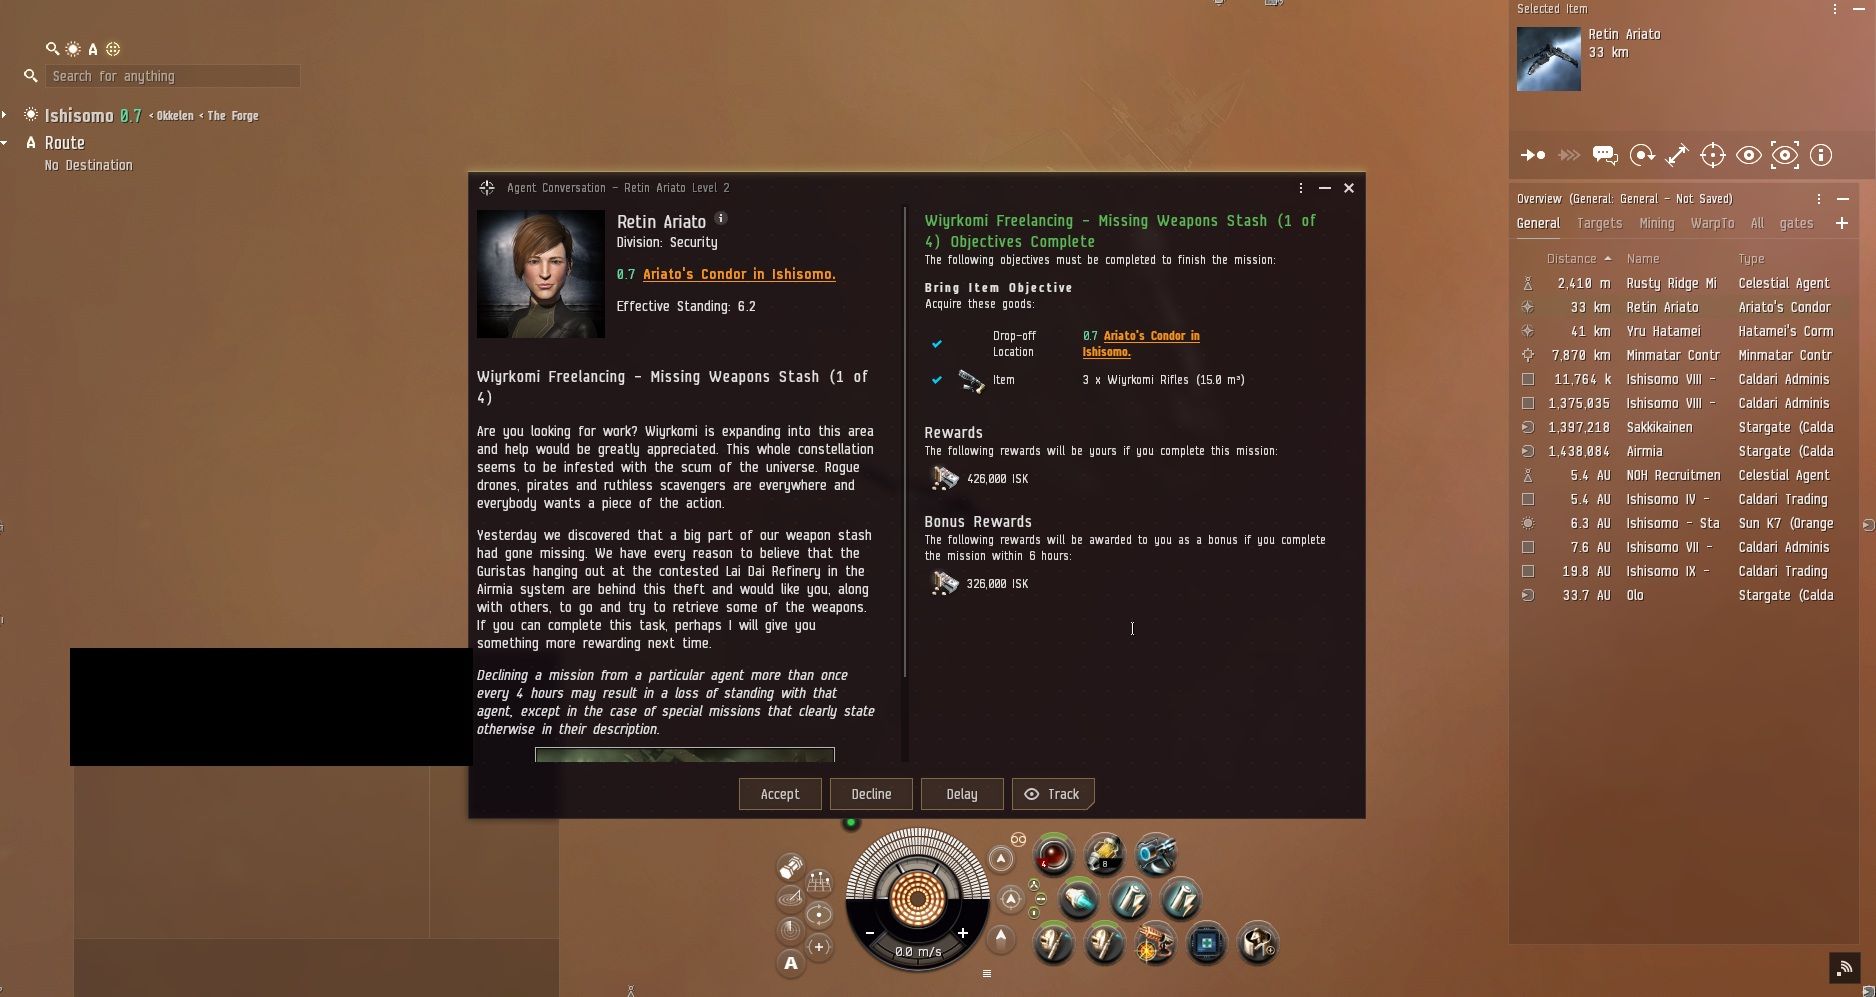
Retin Ariato can be found in Ishisomo at the Rusty Ridge beacon. She has four missions to run. You need to bring with you 3 Wiyrkomi Rifles and 1 Ancient Weapon.
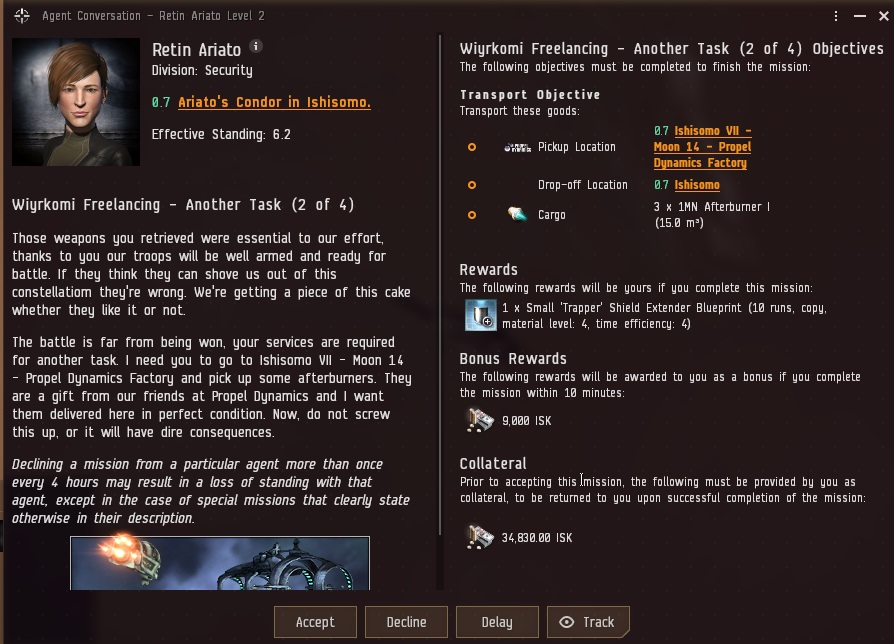
As if being told to bring some rifles was not odd enough. You are next given a courier mission to go pick up an afterburner. At least she's giving you a BPC for your time. I even lucked out with it being in the same system as she was in.
The next mission is just to go pick up some excavation equipment. Now things are getting even stranger. It was again easy work since the station that I was told to go to was in the same system.
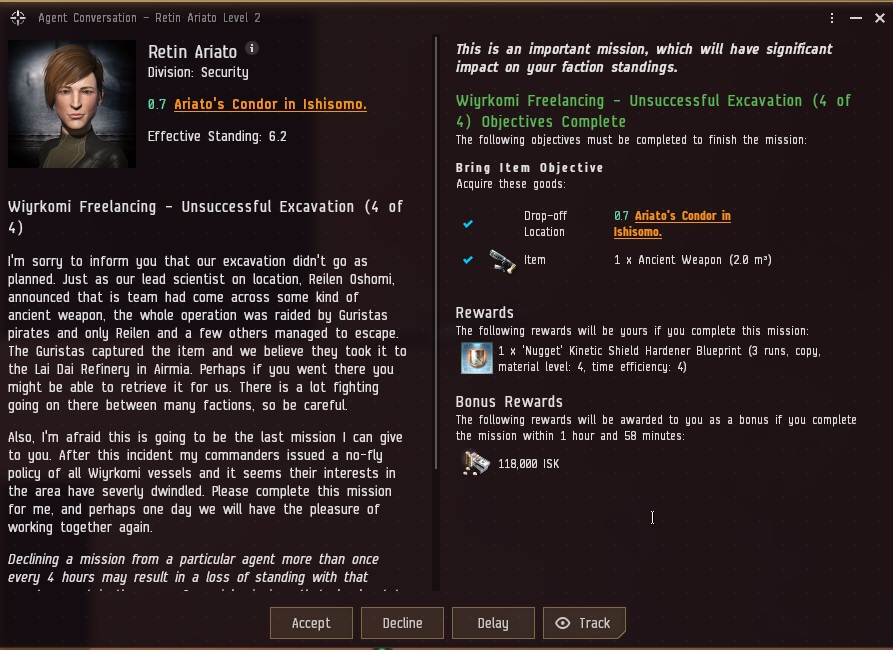
Her final mission is just to turn in 1 Ancient Weapon. For doing this, I ended up getting my worst BPC out of all the other ones I'd end up getting. There was like 1 million ISK in profit if I put in a buy order for what I did not have. Thankfully, other NPCS would be far more generous than she was.
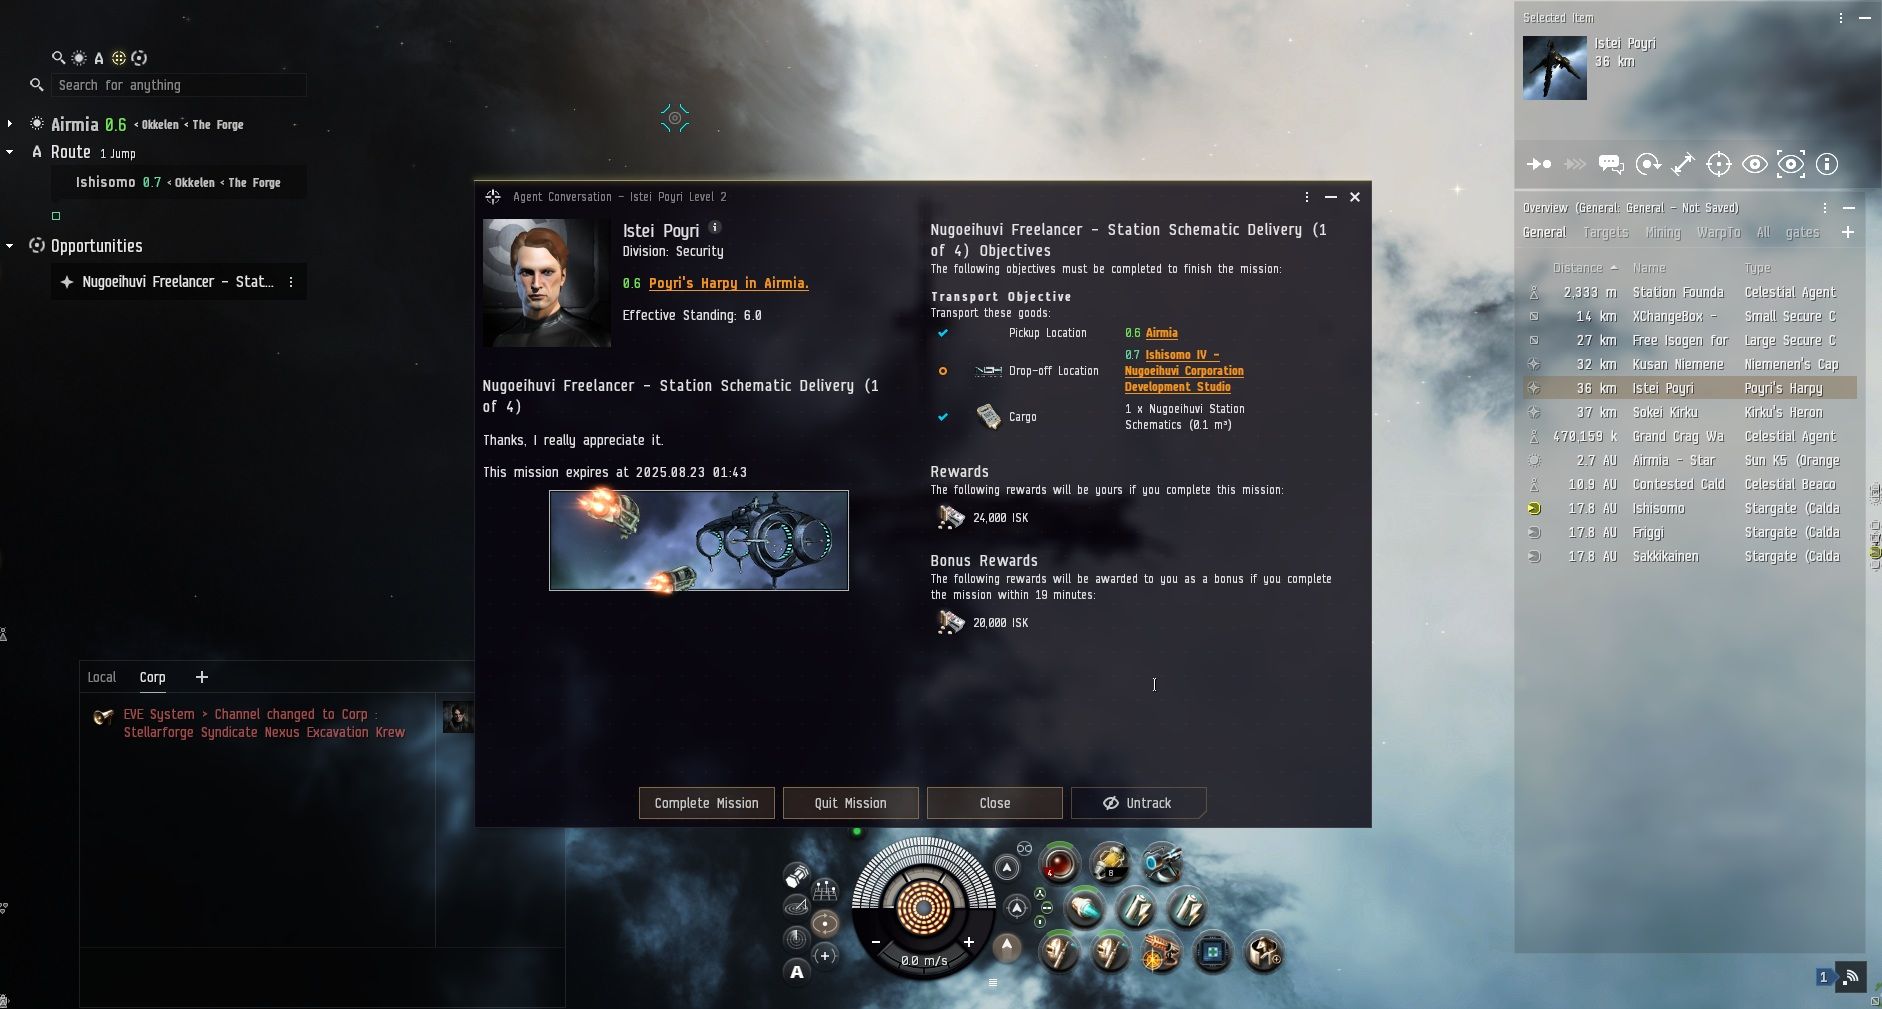
Istei Poyri can be found in Airmia at the Station Foundation. This one requires a Caldari faction of 2. For this one, you will just need to bring five Propel Dynamic Dogtags with you and 137 Oxygen. He has four missions in total to run.
The first mission you get is simply a courier mission. He gives you the item needed, and then you just need to head towards where the drop-off is. Hopefully it’s not that far away.

His second mission is yet another courier mission. This time you need to transport 70 m3 of cargo. You sadly can’t accept these missions remotely and have to fly back to him at the Station Foundation. I rather lucked out in this one and had to move goods from one station to another in the same system.
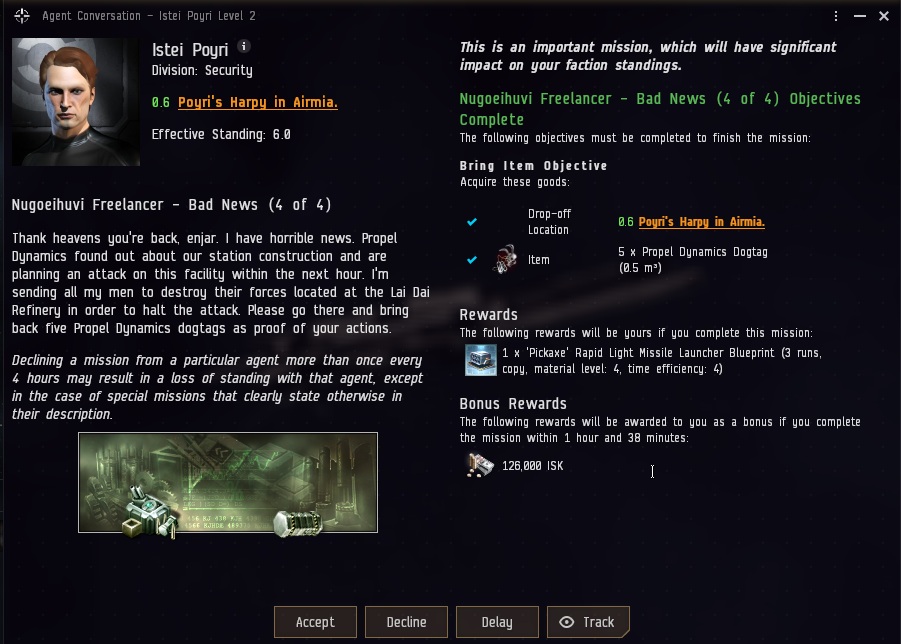
Thankfully, in the last two missions, you are just turning in the 137 Oxygen and the 5 Propel Dynamics Dogtags. Another sweet blueprint is yours. Mine was not so great; hopefully, you had much better luck.
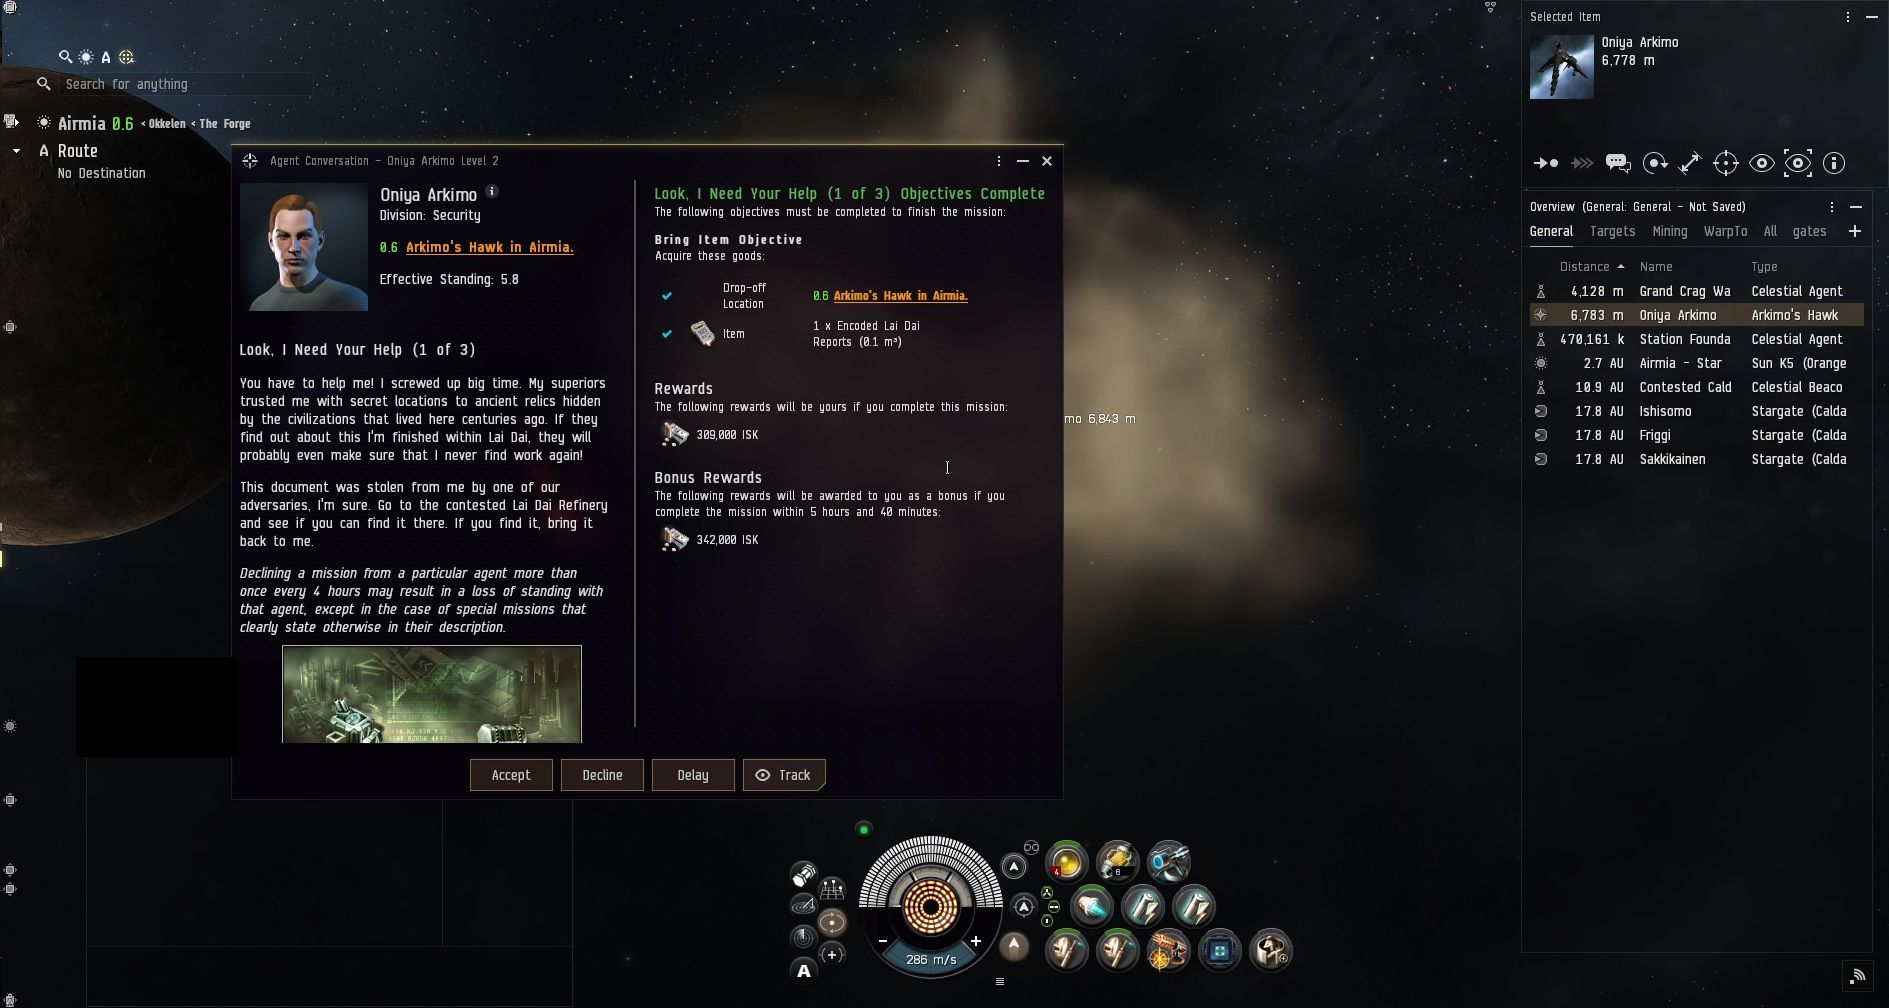
Oniya Arimo has three missions and can be found at the Grand Crag Beacon in Airmia. This is another one that requires at least 2 Caldari faction standing. Make sure to bring with you six Encoded Lai Dai Reports.
The first mission you get is a simple drop off of one Encoded Lai Dai Report to Oniya Arimo. Next up, you are given two reports to do a courier mission on. Since those locations can change, I hope you are given a rather short distance. I lucked out on mine and only needed to go one system over.
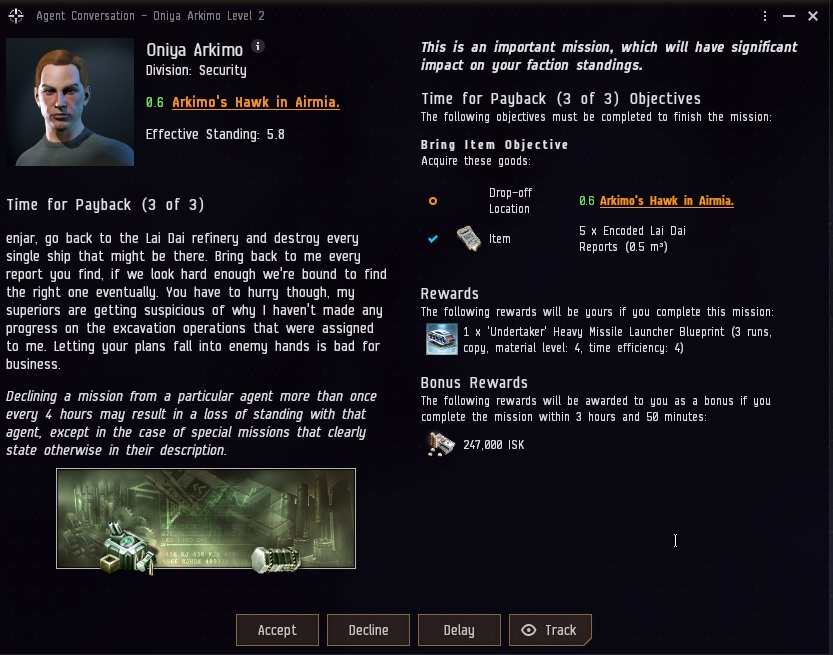
The final mission for Oniya Arkimo is just giving him five Encoded Lai Dai Reports. Once you do so, you could get some kind of BPC, a little ISK for the time bonus, and a nice little jump in some faction standing.
This is one of those types of missions where it took you a few times longer to get the drops than just to run them. Either way, this one was a nice and easy one.
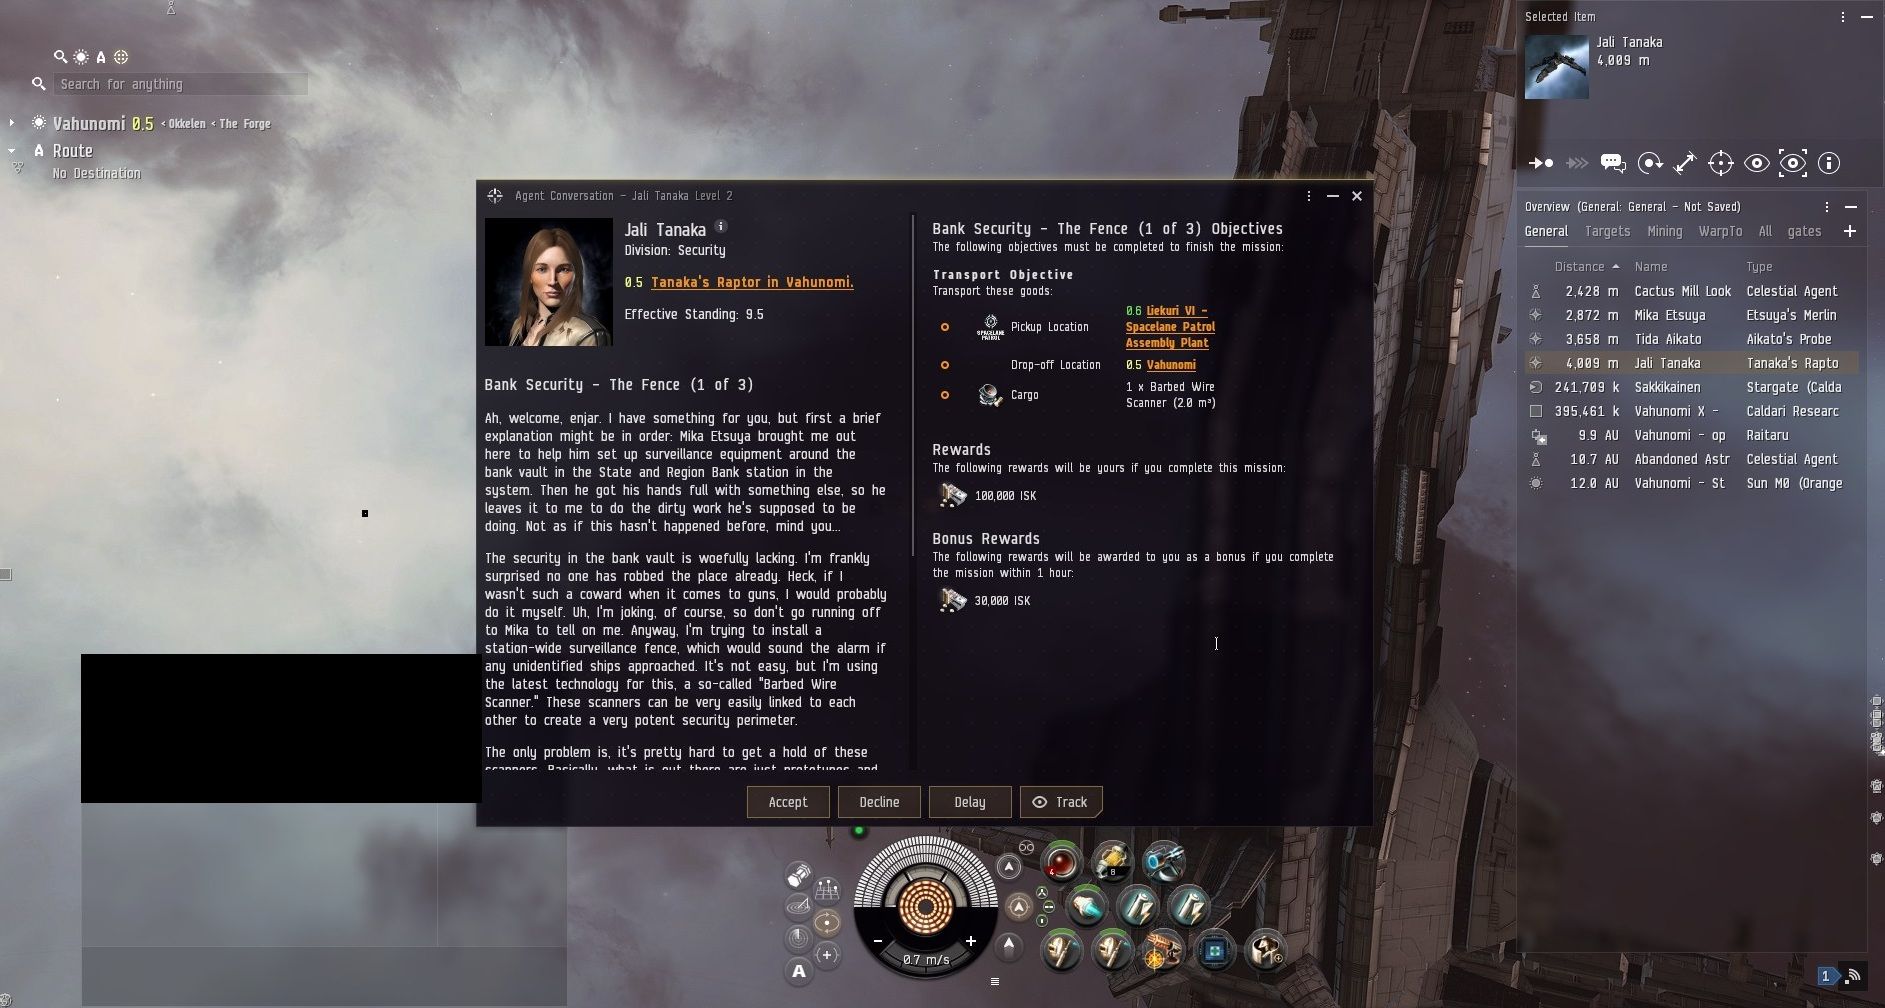
She can be found in Vahunomi at the Cactus Mills Lookout. Make sure to bring 1 Broken Bug Device.
The first mission is a courier one, and this NPC seemed to love giving me ten or further jump away missions. I don’t know if my luck simply ran out with getting quick to finish courier missions or if this is by design. At least it was in high sec.
Once you are done with that, you just need to give Jali Tanaka 1 Broken Bug Device. Her final mission was yet another faraway courier mission. This one required having 120 cargo space, which is why using a ship with a little bit more space is always nice.
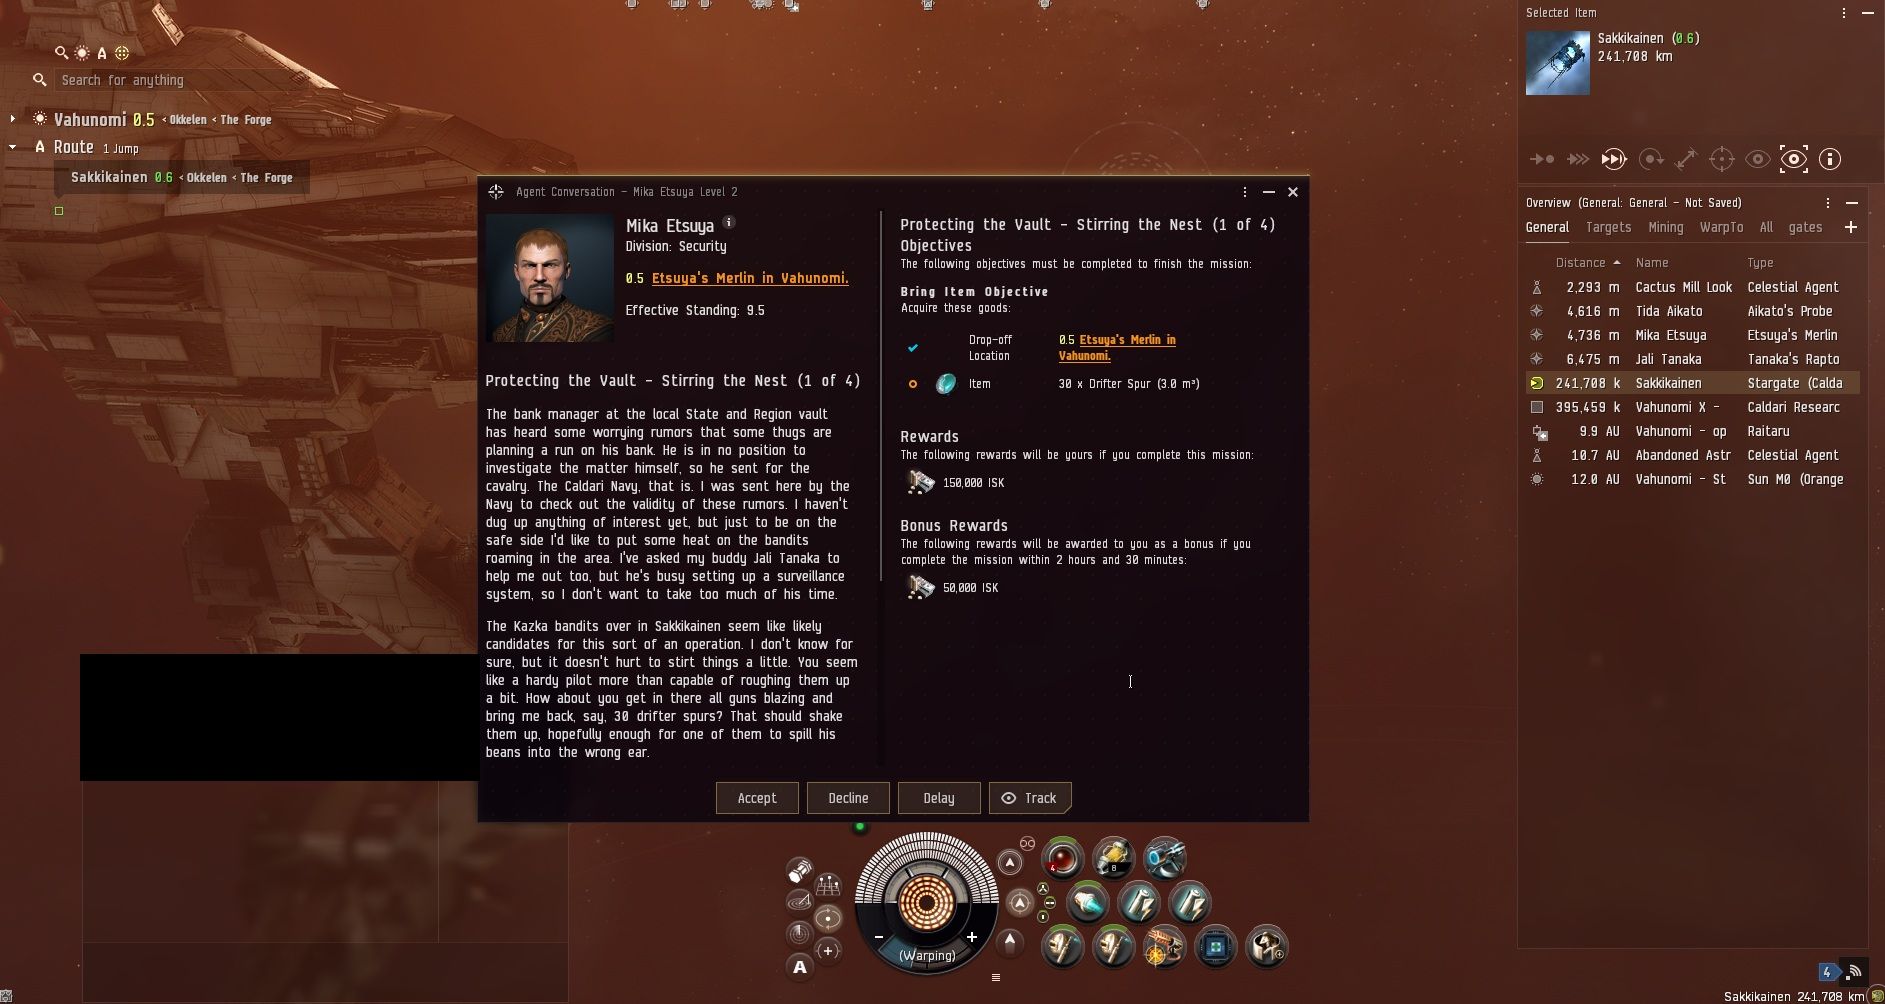
Mika Etsuya can be found at the Cactus Mills Lookout in Vahunomi. With such a strange location as that, I was ready for something not to be quite right. Make sure to bring 30 Drifter Spurs.
The first mission is quite easy. Just turn in the 30 Drifter Spurs you brought with you. The next mission will ask for 500 bags of Counterfeit Credits. The irony of his paying you in credits for doing this is not lost on me. Finally, you have the third mission that has you transport the counterfeit credits.
His last mission is asking for 5 Parts of a Printing Machine. Since the spawn to even get these items is only up once per day. Along with people acting like scalpers wanting 300+ million for them. It’s best to just decline that final mission unless you get some massive reward. The PBC I was offered did not even come close to the cost or amount of time I'd need to invest in trying to get these parts. So, I just declined the mission.
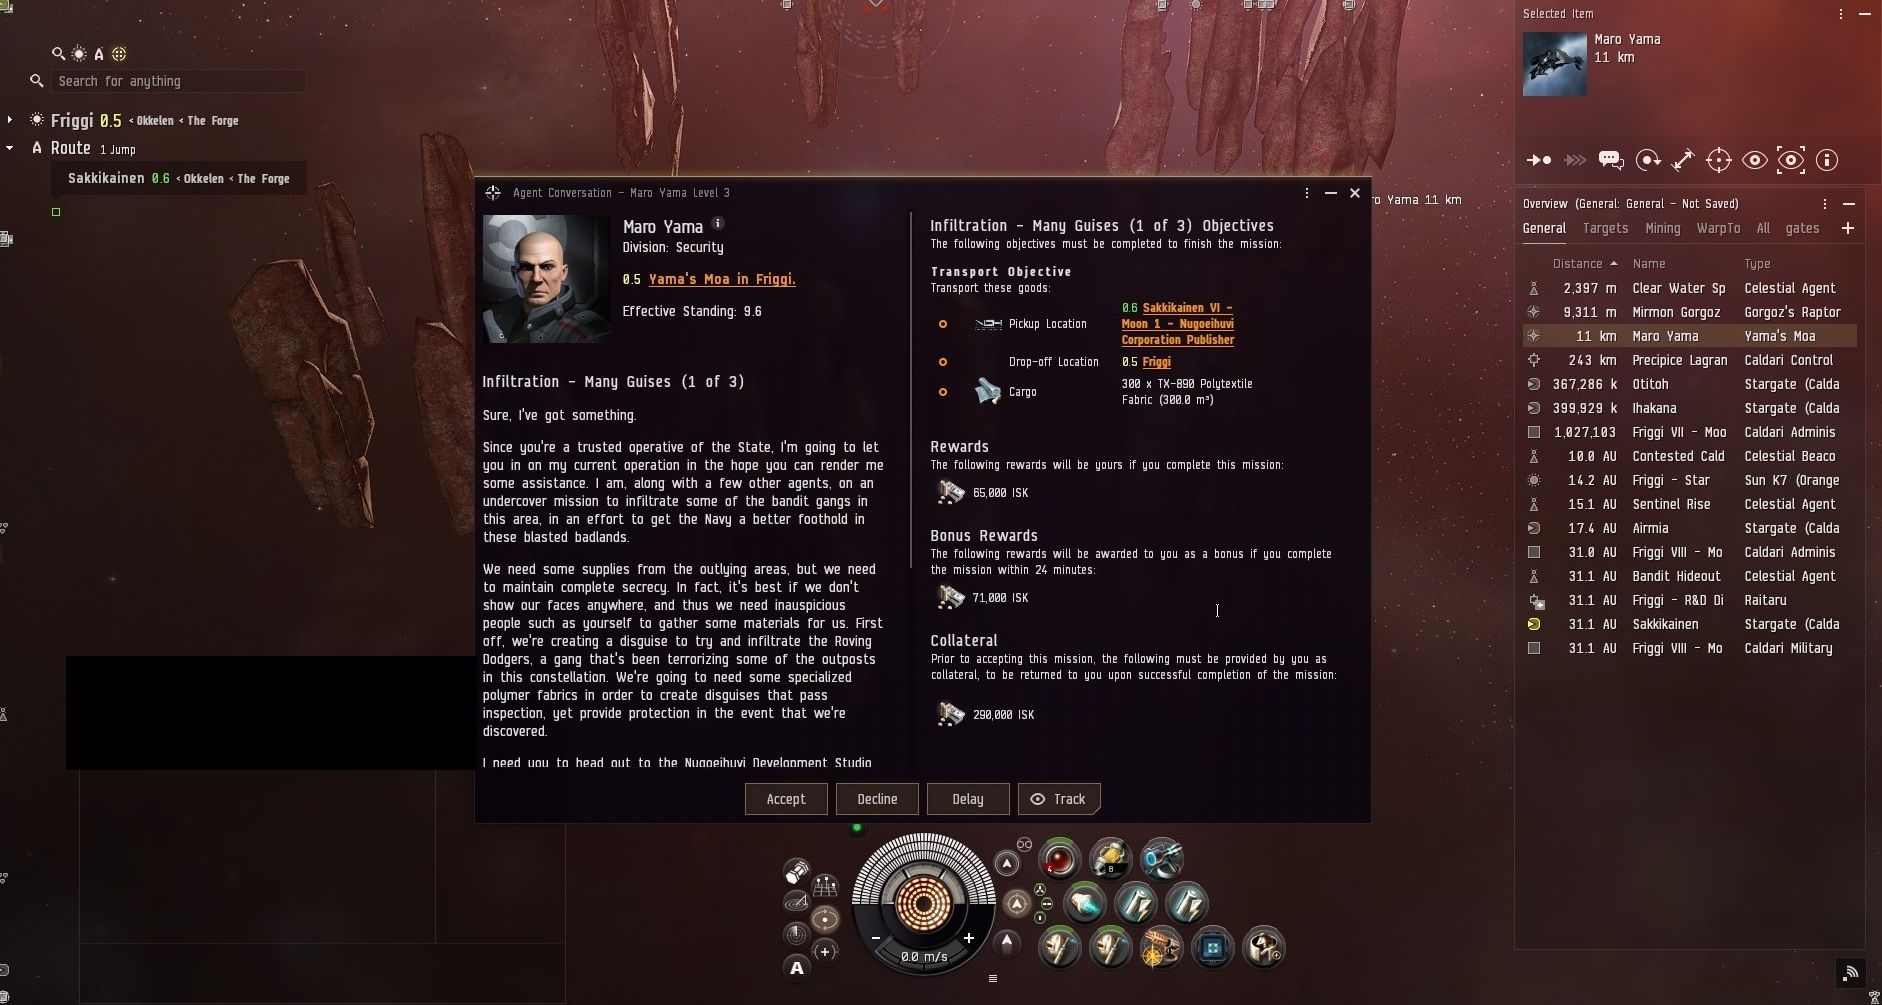
While this NPC was found at the Clean Water Supply beacon in Friggi, I'd not drink any water from there. At least Maro Yama did not require any items you could farm beforehand.
The first two missions are courier. This is also the reason I'm glad I used a destroyer for all of this. As they required between 300 to 350 m3 of cargo. I still have over room in my cargo hold.
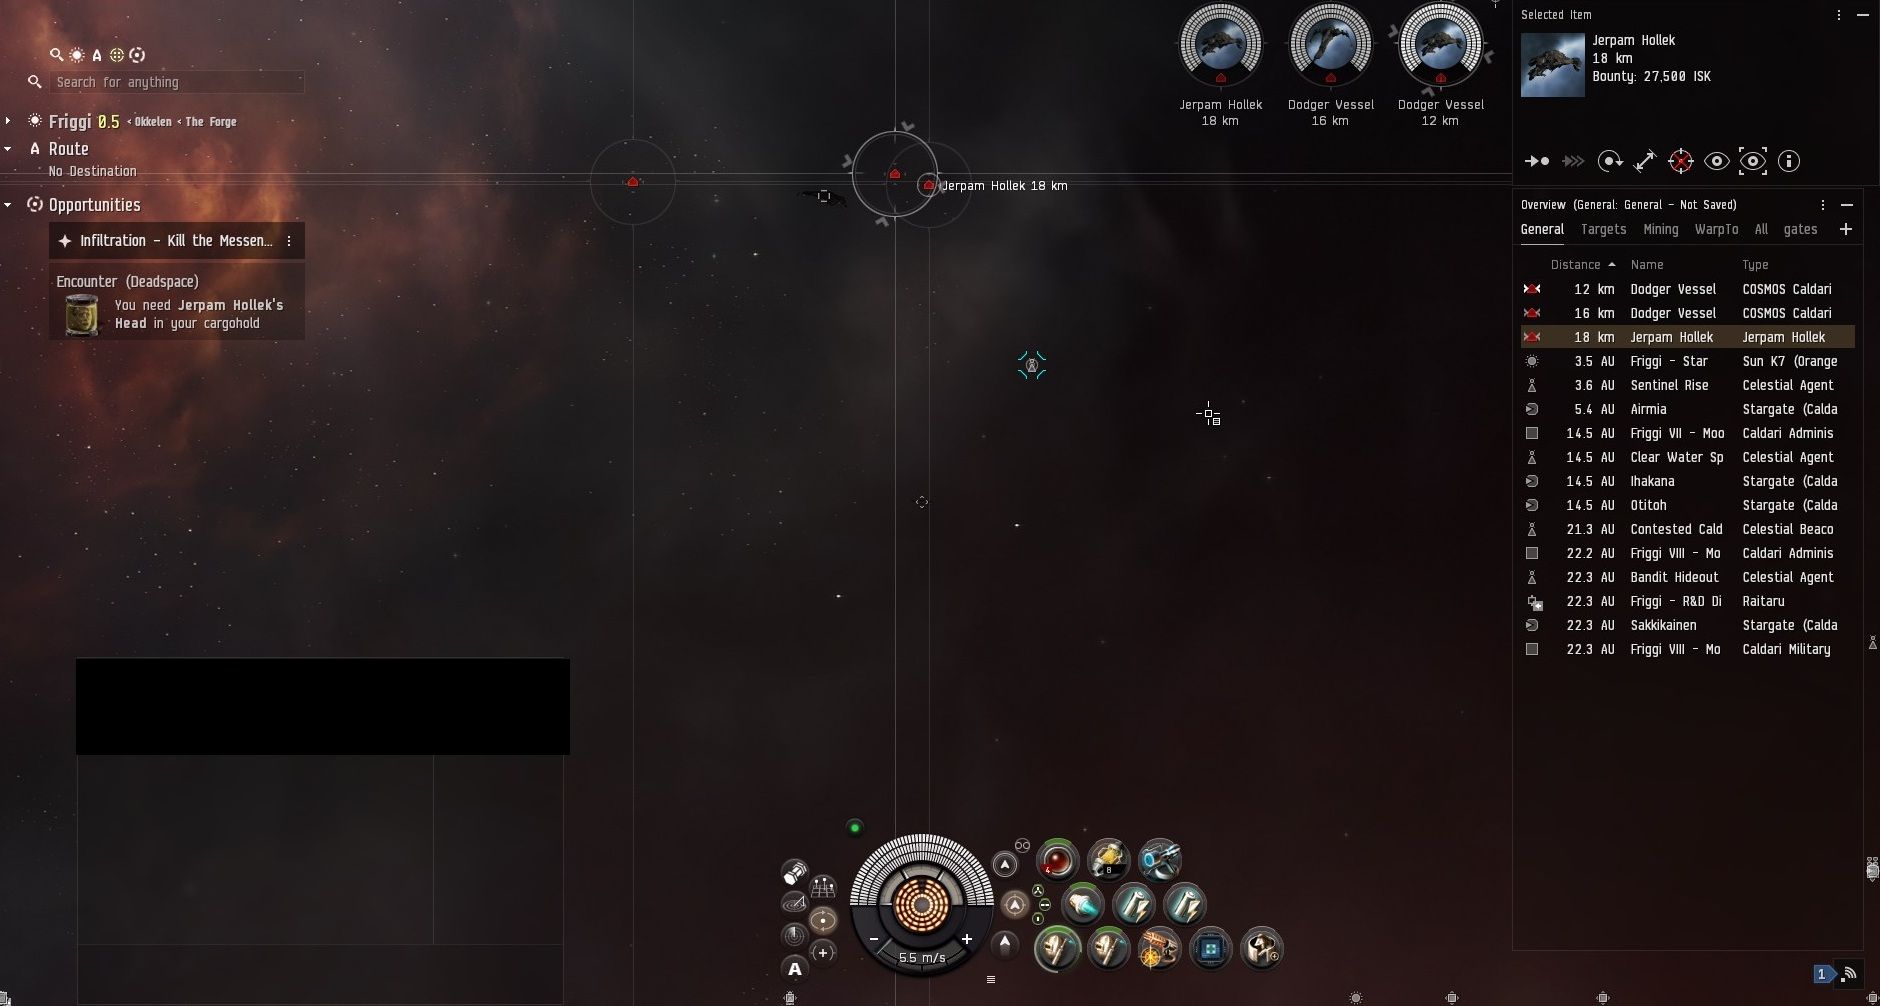
The last mission requires you to fly off to a complex and acquire Jerpam’s head. This guy must have done wrong to someone, as everyone else just wanted people alive. The encounter was just three cruisers, so he was an easy take-down.
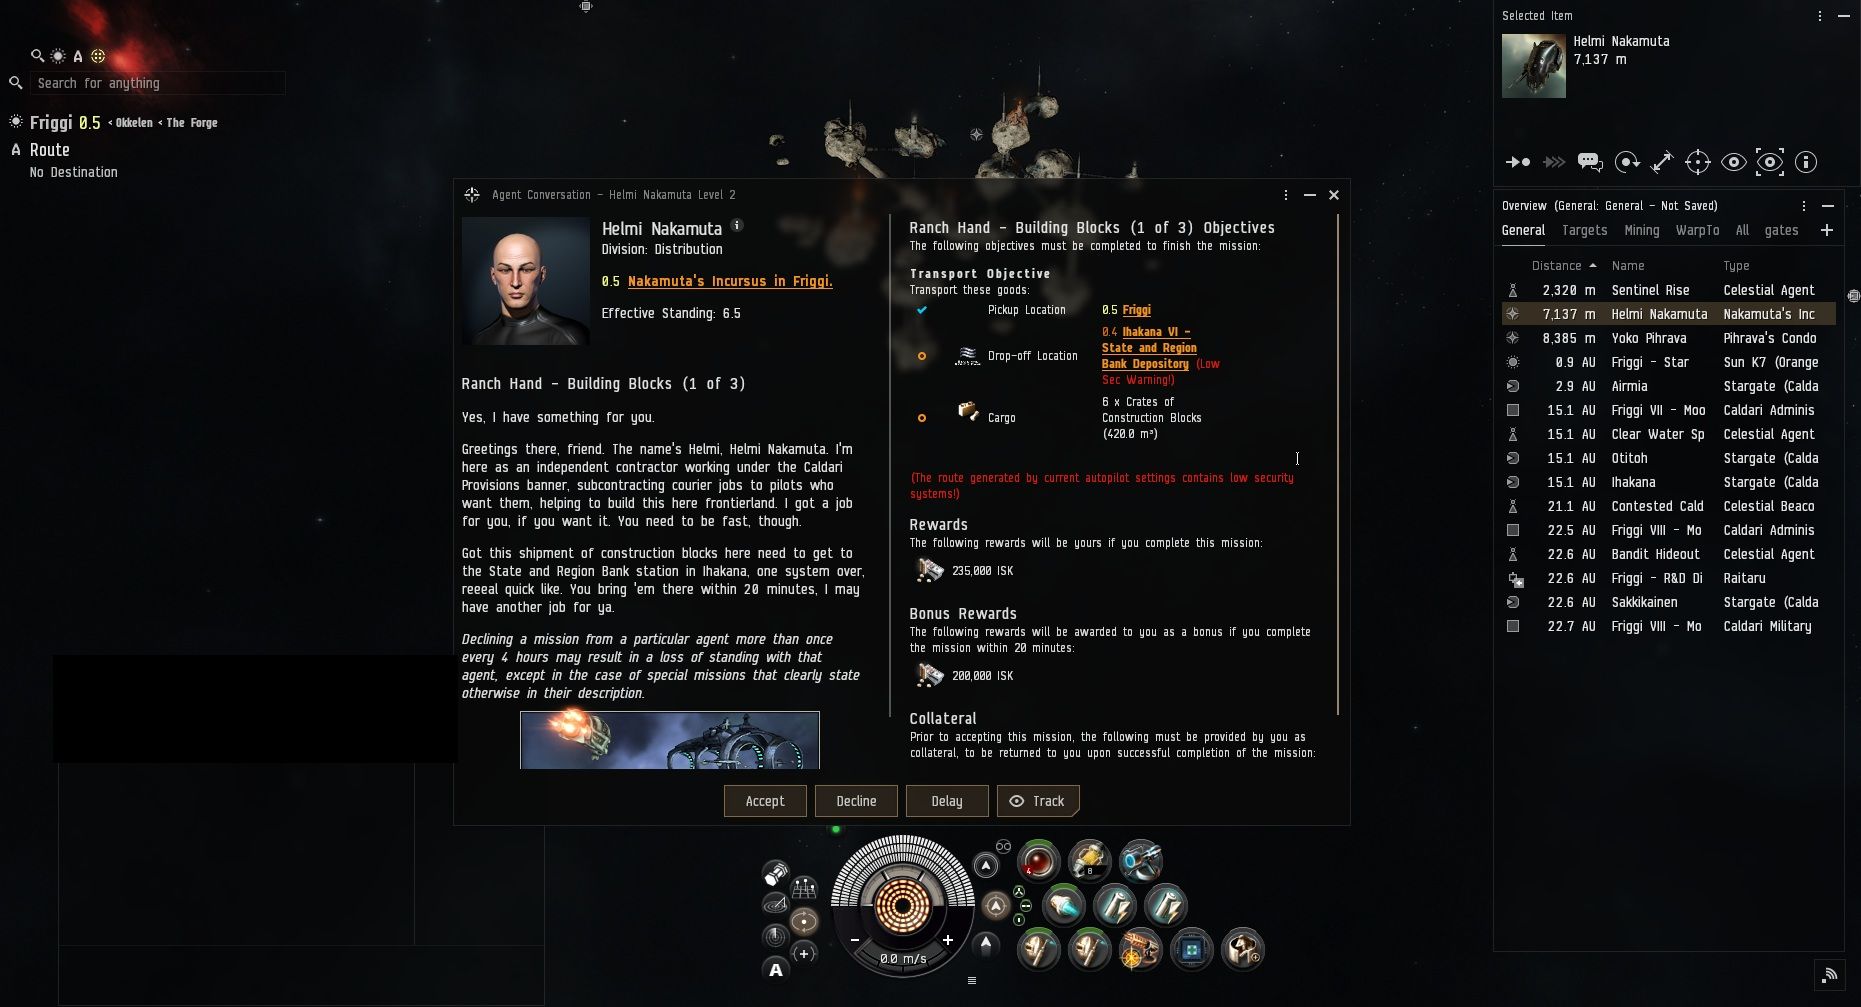
Last on my list is one I skipped, just doing anything from. That would be Helmi Nakamuta, who can be found at the Sentinel Rise beacon in Friggi. If it were not for the first NPC, I'd never have come to this system. This one requires a courier mission into low sec and more than 400 m3 cargo space.
Being so close to Jita, I was not even going to toy with the idea of running off to do any of these missions. After this one, from what I've been told, they are further courier missions requiring you to haul up to 800 m3. I was not about to get another ship to do that.
If you do end up talking to this NPC or any others that you decided not to accept the mission from. Keep in mind to decline before a week has passed to avoid any standing hits.
After crafting up any profitable BPCs, I looted. Along with selling implants and faction tags, I got along the way. I cleared over 800 million ISK in profit. Not too bad for just running some sites and missions in a T3 Destroyer. Do keep in mind that the items from the BPCs can take a while to sell.
New to Eve Online or a returning player? Use my recruit a friend referral link and get 1 million skill points on signing up or logging into your Eve Online account (can only be claimed once per account). Disclosure: I might receive in-game rewards.
Screenshots were taken and content was written by @Enjar about Eve Online.

Windrose Review

Taking A Look At Alaska Gold Fever

The Making Of The Anathema Adventures Series

Taking A Look At Starminer

Making Billions During Capsuleer Day XXIII Warpath Event In Eve Online

Starminer | Trading From Station To Automation Guide

Taking A Look At Project Mist

My First 100 Hours In Starminer

Making Billions In The Gallente Election Event In Eve Online

Taking A Look At Windrose