
Windrose Review
Level two comes with double the number of missions as the first one. If you end up lucky, you can make a decent amount of ISK from these. There are, however, quite a few items you should collect before starting any missions.
I was hoping to return to Cosmos missions sooner. With how old these things are, however, it can take a little effort to work things out. Not to mention one of the items you need only spawns once a day, and despite Cosmos missions being like a decade old, people still camp that drop daily.
At least the good news is that each of the eight different mission NPCS can be run at any time if you meet the faction requirements. As always, it’s best not to even talk to any of the NPCs, as that starts a week-long timer. Each mission can only be run once per character, so failing a mission is not a good option.
Quite a few items can be farmed ahead of time. Some of these items you can pick up on contracts from other players on the cheap. Some of them are not worth the insane prices being asked by those controlling the supplies. In those cases, you just don’t waste your ISK and move on to other missions.
Just about everything you need, you can get in the Okkelen region, which is just a couple of jumps from Jita.
6x Encoded Lai Dai Reports
5x Propel Dynamics Dogtag
137x Oxygen (buy in Jita)
1x Scanner Data II
1x Scanner Data III
1x Quao Kale
3x Wiyrkomi rifles
1x Ancient Weapon
60x Driffer Spur
500x Bag of Counterfeit Credits
5x Printing Press (limited amount drops per day, and it’s usually camped. Not worth 330m people are asking)
1x Broken Bug Device
1x Cheri Mirei's DNA
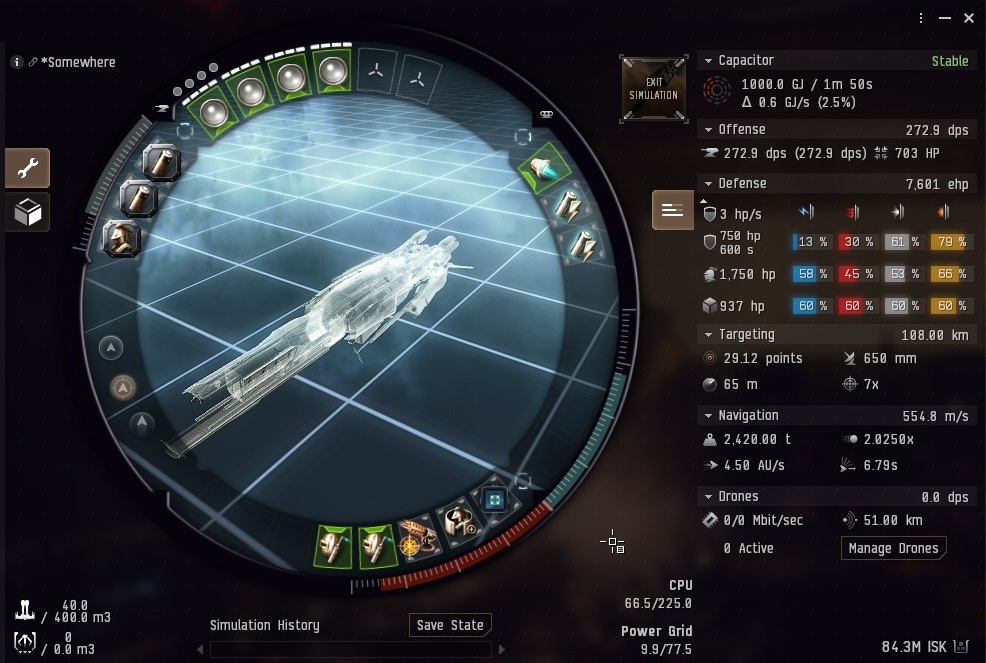
[Confessor, Level 2 Cosmos]
Damage Control II
200mm Steel Plates II
Heat Sink II
Small Armor Repairer II
Small Armor Repairer II
1MN Monopropellant Enduring Afterburner
Cap Recharger II
Cap Recharger II
Dual Light Beam Laser II
Dual Light Beam Laser II
Dual Light Beam Laser II
Dual Light Beam Laser II
Small Auxiliary Nano Pump I
Small Capacitor Control Circuit I
Small Capacitor Control Circuit I
Standard S x4
Aurora S x8
Gleam S x4
Imperial Navy Multifrequency S x4
Like the level one missions, these can be run in a tech 2 frigate. I, however, opted to use a T3 tactical destroyer. It was overkill for this. While my Confessor T3 fitting is nowhere near optimized for this. It’s my standard loadout when I don’t know what I'll be facing, and it was more than good enough.
Having a second repair and a plating was not needed at all for any of these if you have high skills (mostly level 5 skills from weapons to anything affecting ships like magic 14 skills.
You could swap out those two for better resistance and DPSk. Depending on your skills, you might even fit better than Dual Light Beam Lasers II’s for even further DPS. With the current setup, I was able to snipe most NPCS unless I warped in on top of them before they got into any kind of web/scram range.
The nice thing about running a T3 tactical destroyer was being able to swap between sharpshooter mode when DPS was needed and Propulsion Mode when movement speed was needed.
My standard T3 destroyer fit also tends to have a probe launcher and salvager. That, however, is just not needed at any time for any of these. So, I left them out of the fit itself.
What you might want to bring with you to swap out at a station is a Data Analyzer for can hacking. The cans drop some of the materials needed for crafting the BPCs you can get. These items are usually not worth much unless there is a shortage on the market. So this part is quite optional. Even more so if you just plan to sell the BPCs if you don’t craft.
Also, having 400 cargo space over much smaller cargo you would get in a frigate allows you to do almost all the courier missions. While also having some extra space for loot and turn-in items. I’d end up skipping over the ones where something bigger was needed, and for good reason, which you will see later.
There are 4 locations where you can farm items that can be gathered beforehand.
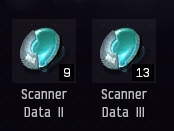
Scanner Data II and Scanner Data III are farmed from Outlaw rats in the asteroid in the Okkelen region. You only need one of each. Some high sec systems you can farm in are Airmia, Friggi, Ishisomo, Otitoh, Sakkikainen, and Vahunomi.
Please note that Scanner Data I is a drop from the mission itself. You cannot get it from the outlaw rats.
Don’t forget to pick up any faction tags you get while clearing out the belts. In the time I spent farming a bunch of extra Scanner Data II and III’s for my alts, I had around 200 million in faction tags and a faction module drop. Not bad, just for killing some belt rats!
If this name sounds familiar, it is because you might have farmed items for the level 1 Caldari Cosmos Missions in this site. To be able to use any of the warp gates, you need to fully clear the pocket first. This is why having a T3 destroyer comes in handy.
This site contains Guristas frigates to cruisers. Everything is broken into different groups according to which gate they are near or other objects. They can be pulled independently of each other.
First, the bad news. In the Contested Plagioclase Field pocket (far left gate) is where the Dry River Warehouse spawns. It only spawns once a day, and it’s usually destroyed moments after the daily server reboot. It drops 5 Parts of Printing Machine, and the people who camp this ask way too much ISK.
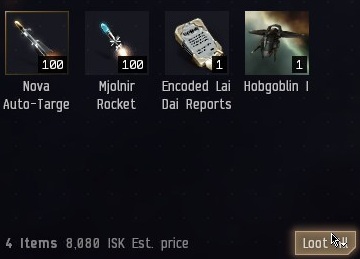
You can farm 6 Encoded Lai Dai Reports from Nugoeihuvi Defenders in the main room. Getting enough of these took the longest, at least for me.
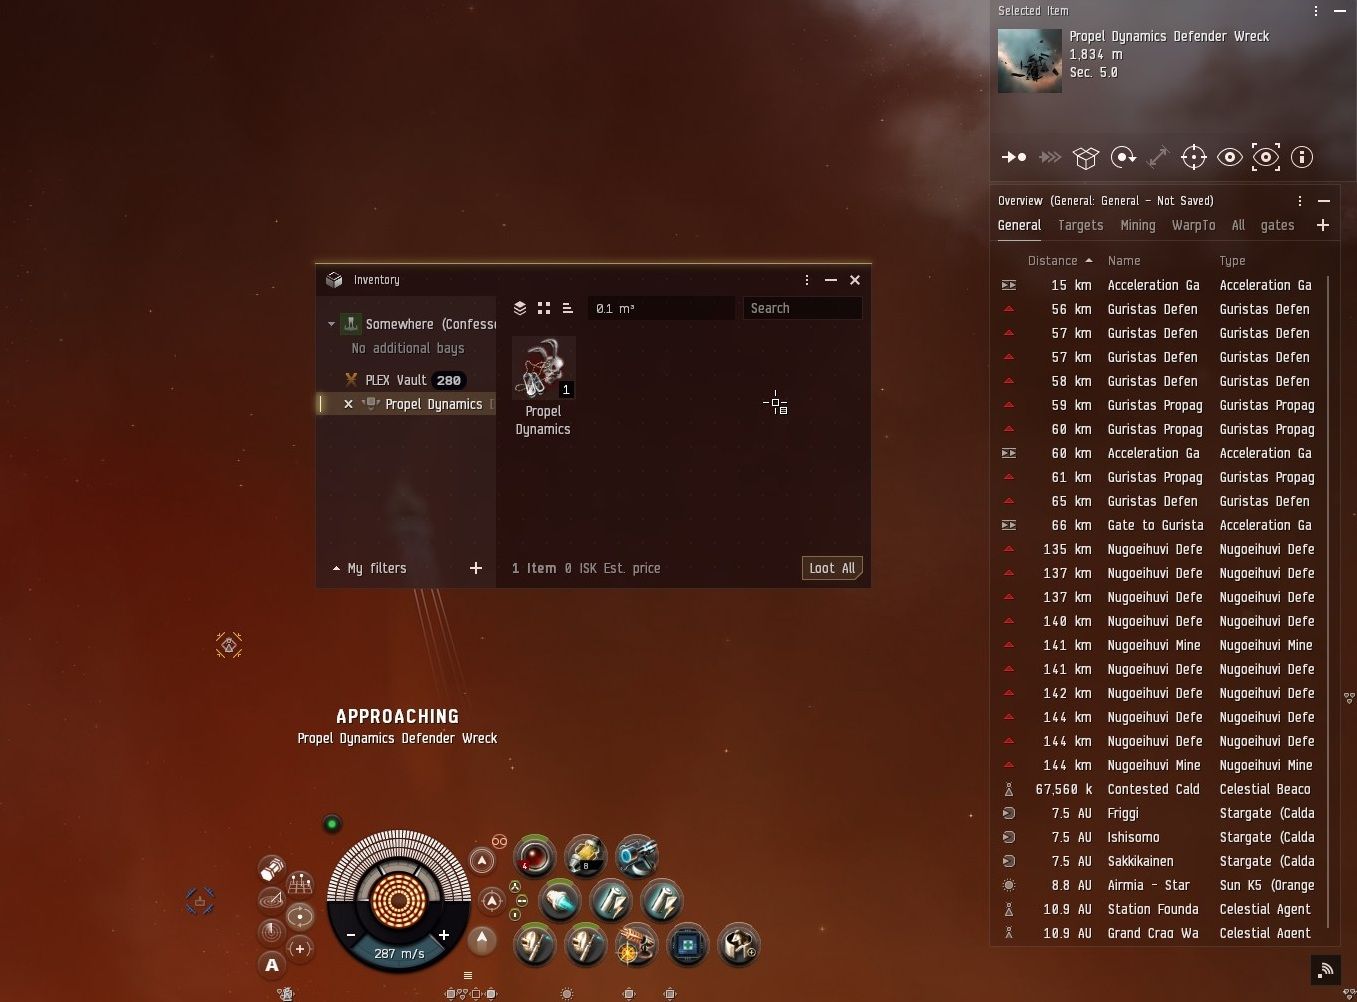
You will need 5 Propel Dynamics Dogtags. These drop from quite a few of the NPCs in the main area and Contested Scordite Field. I ended up getting all I needed long before having enough of the reports and other drops.
3 Wiyrkomi rifles from Guristas Defenders, Guristas Outlaws, and Nugoeihuvi Proagandists. You can find NPCs that drop this item in the Contested Plagioclase Field and Contested Scordite Field pockets.
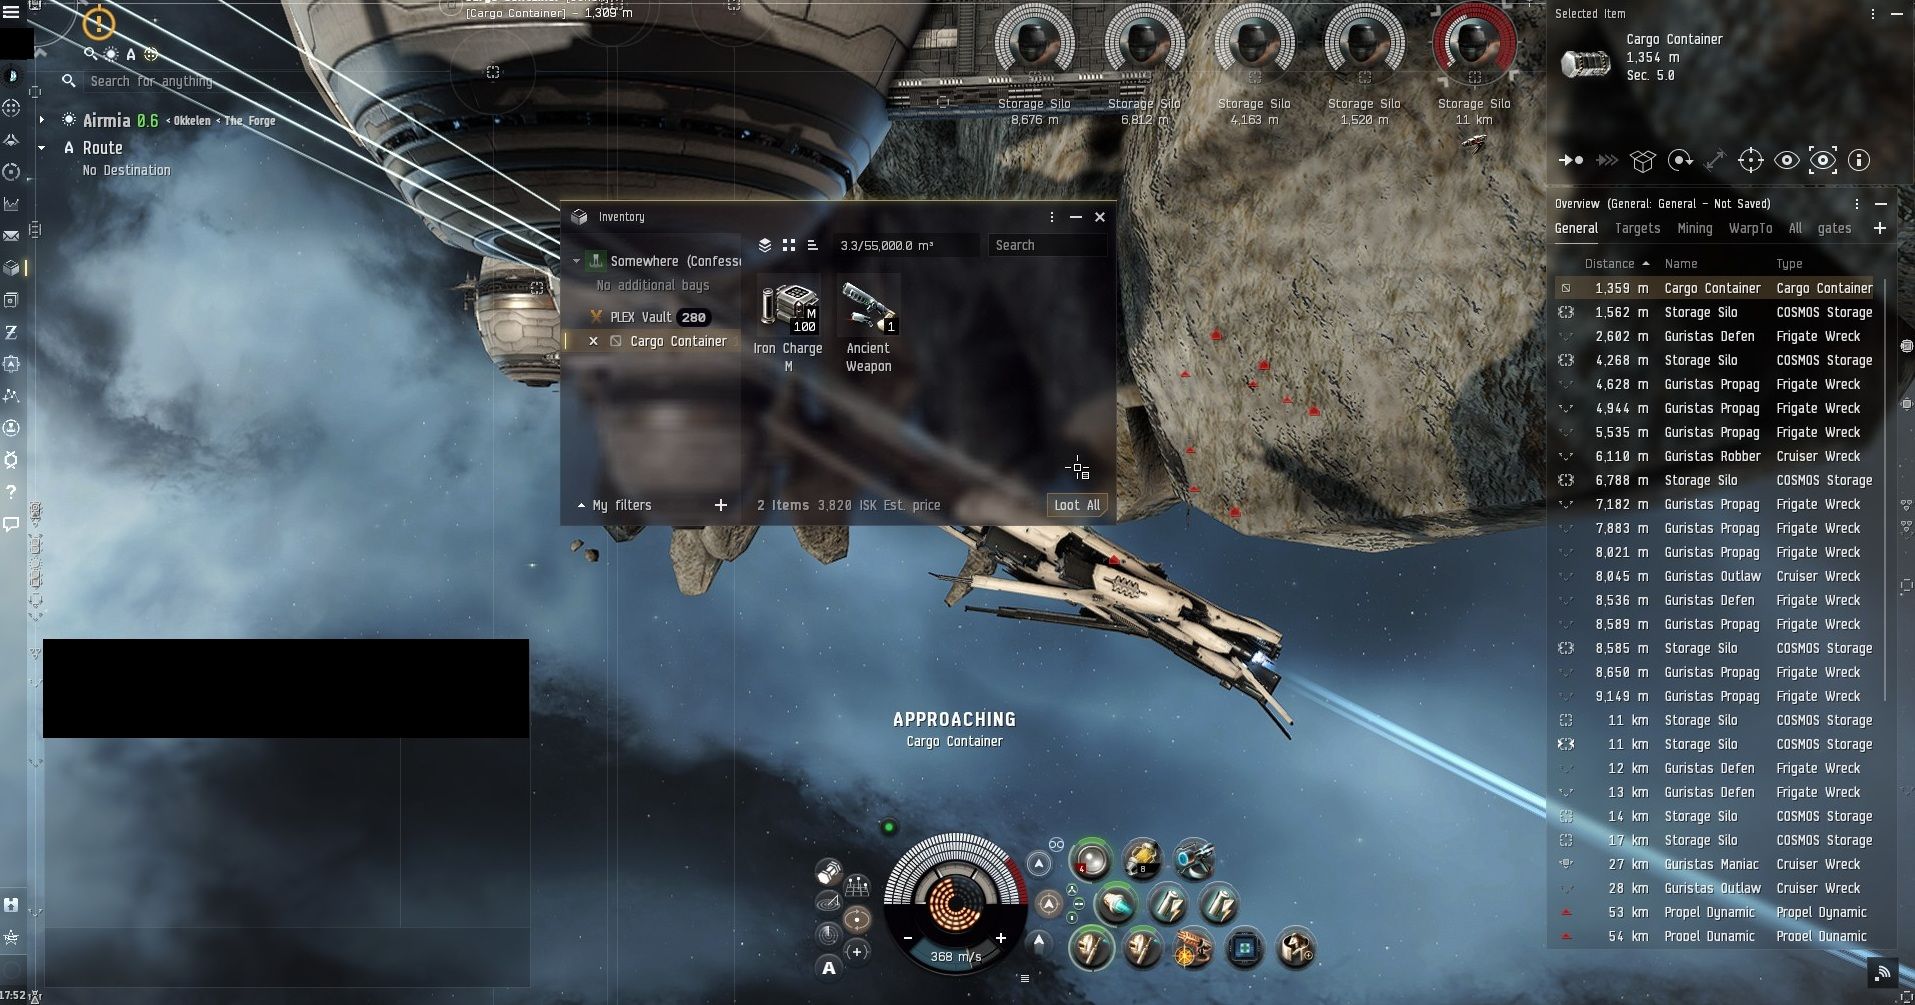
You will also need 1 Ancient Weapon. These you get out of the Storage Silos in the Contested Scordite field. NPCs in there can respawn before you destroy all the silos, but you only need 1.
Finally, if you decide to bring along the Data Analyzer, you can hack cans in the Guristas Spy Station pocket. I preferred to farm everything else. Then, at a later time swapped out a cap recharger for the analyzer once I was done and knew what I needed to manufacture items from the BPCs I got. They were easy cans with a Tech 2 analyzer.
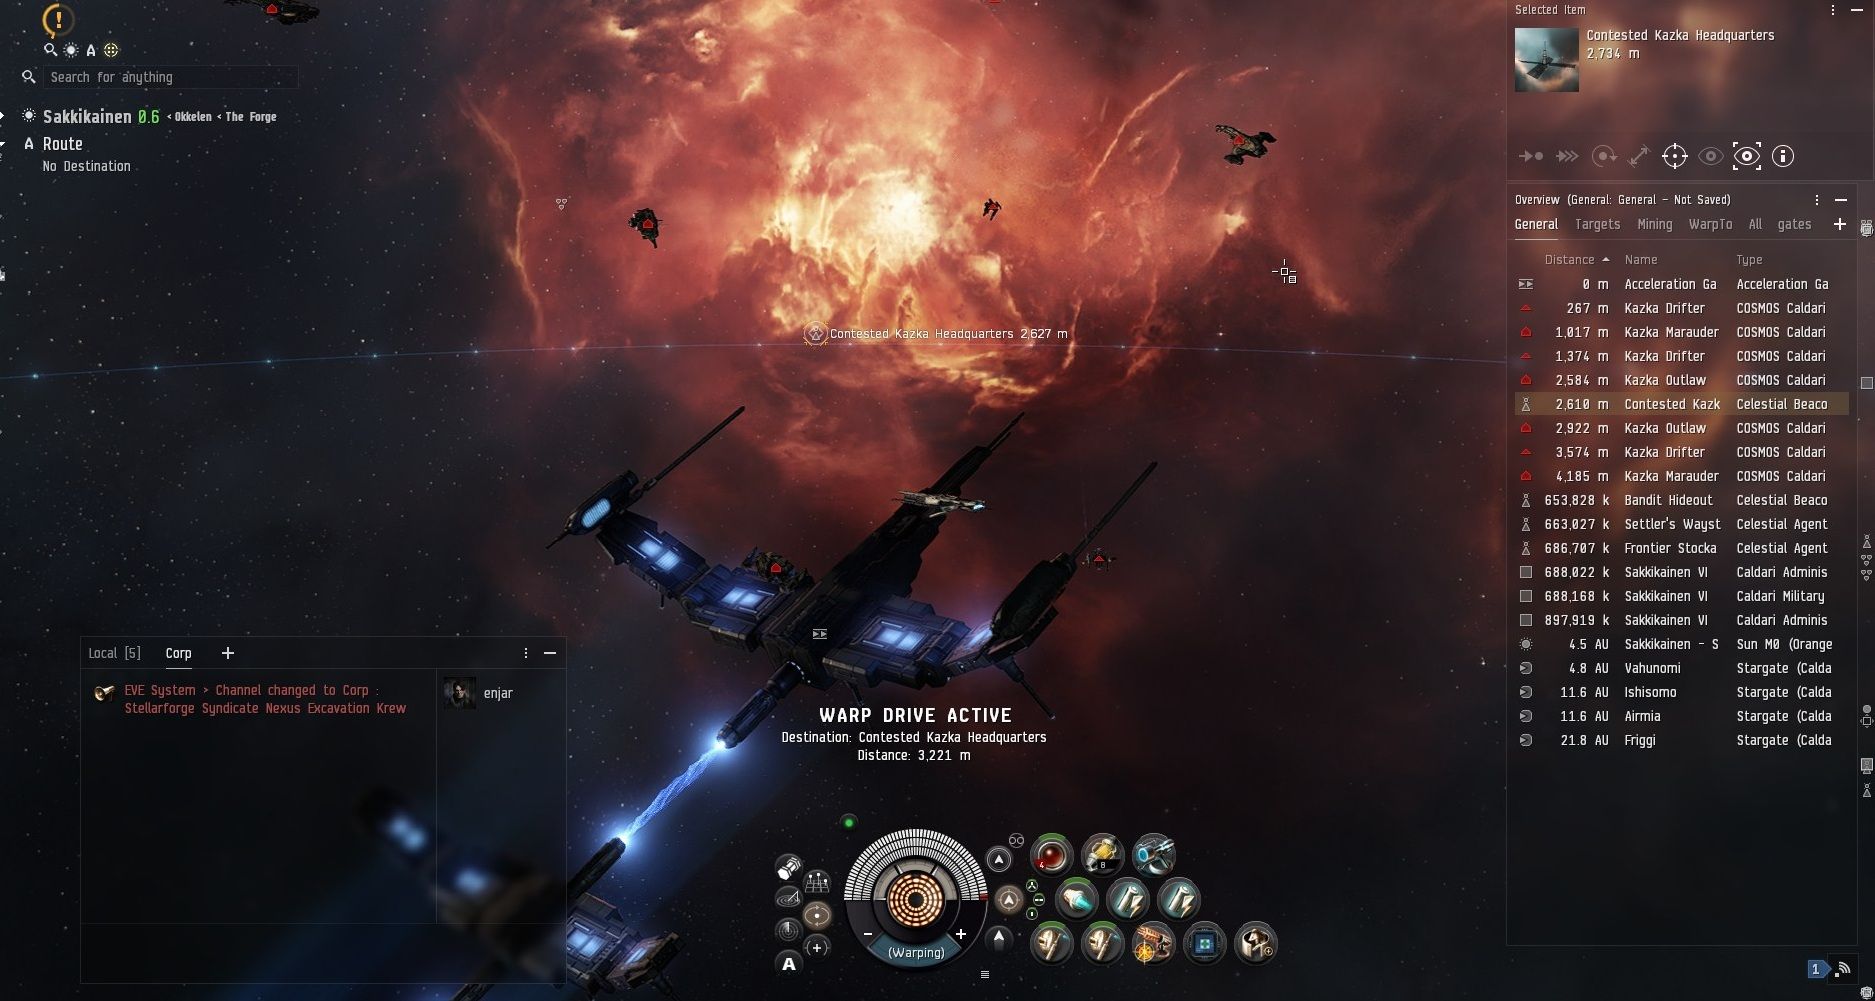
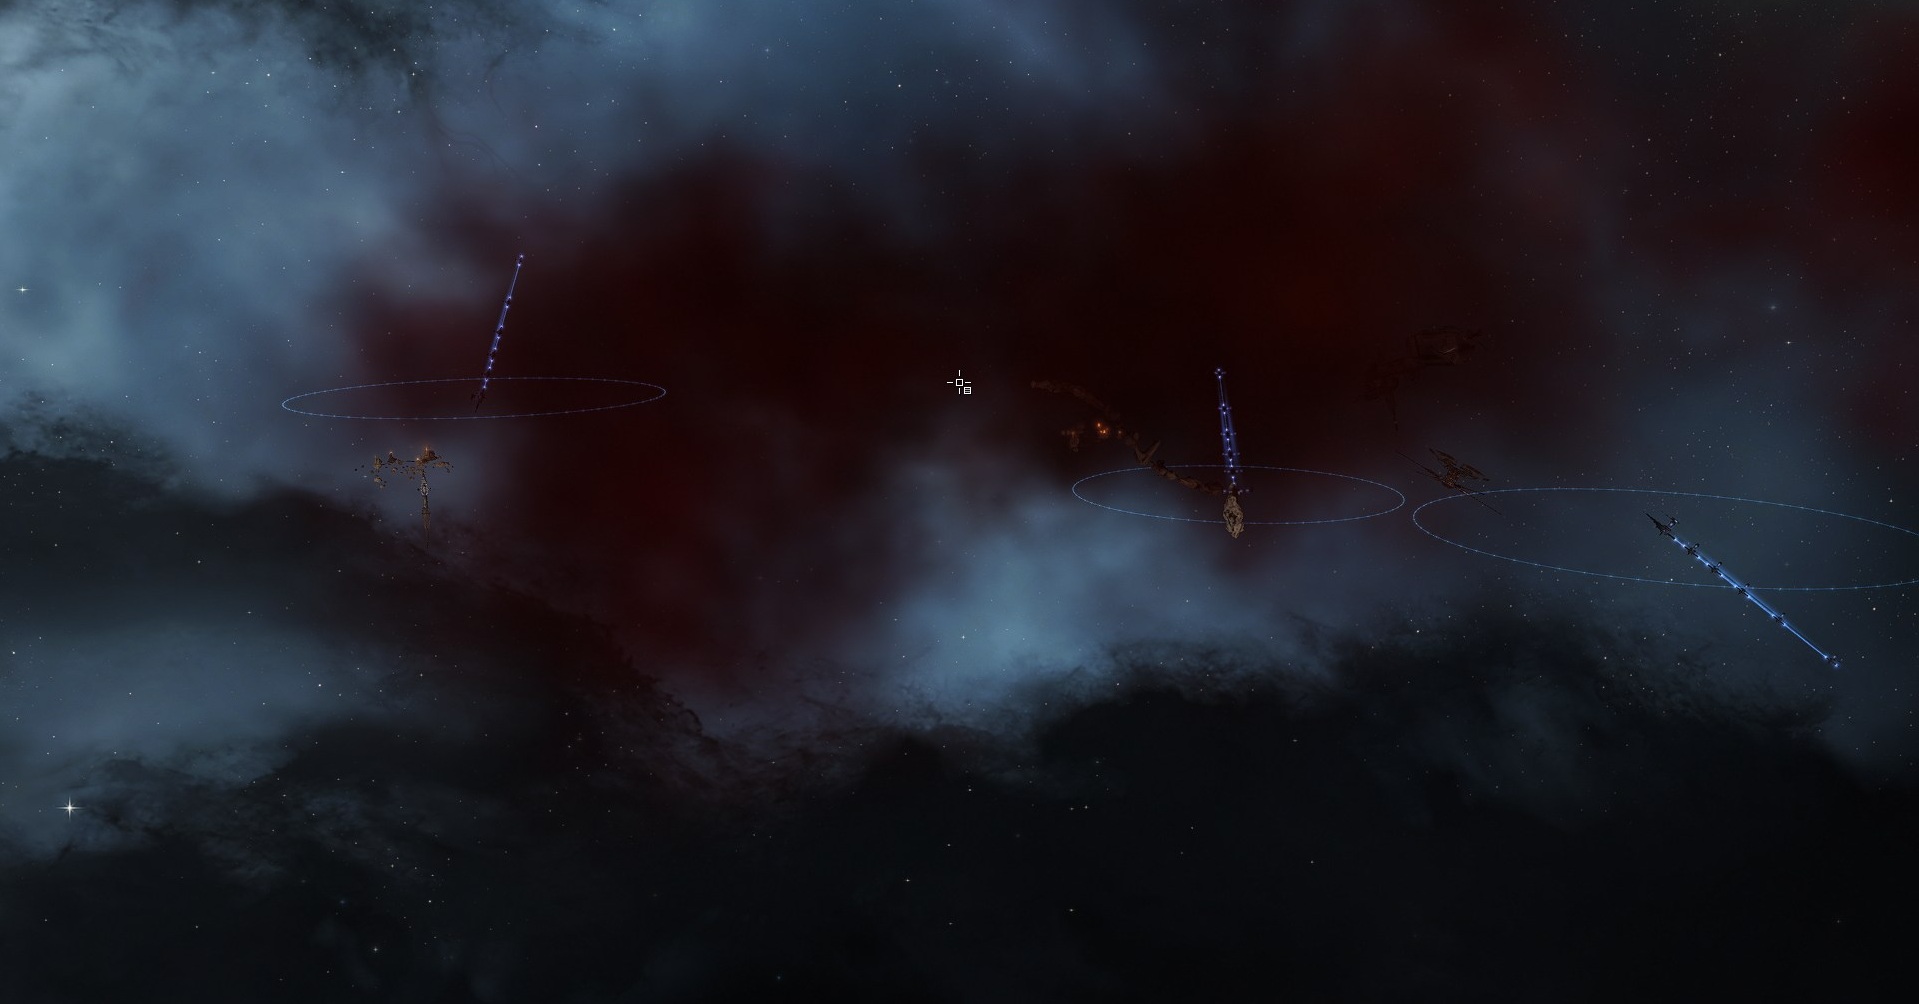
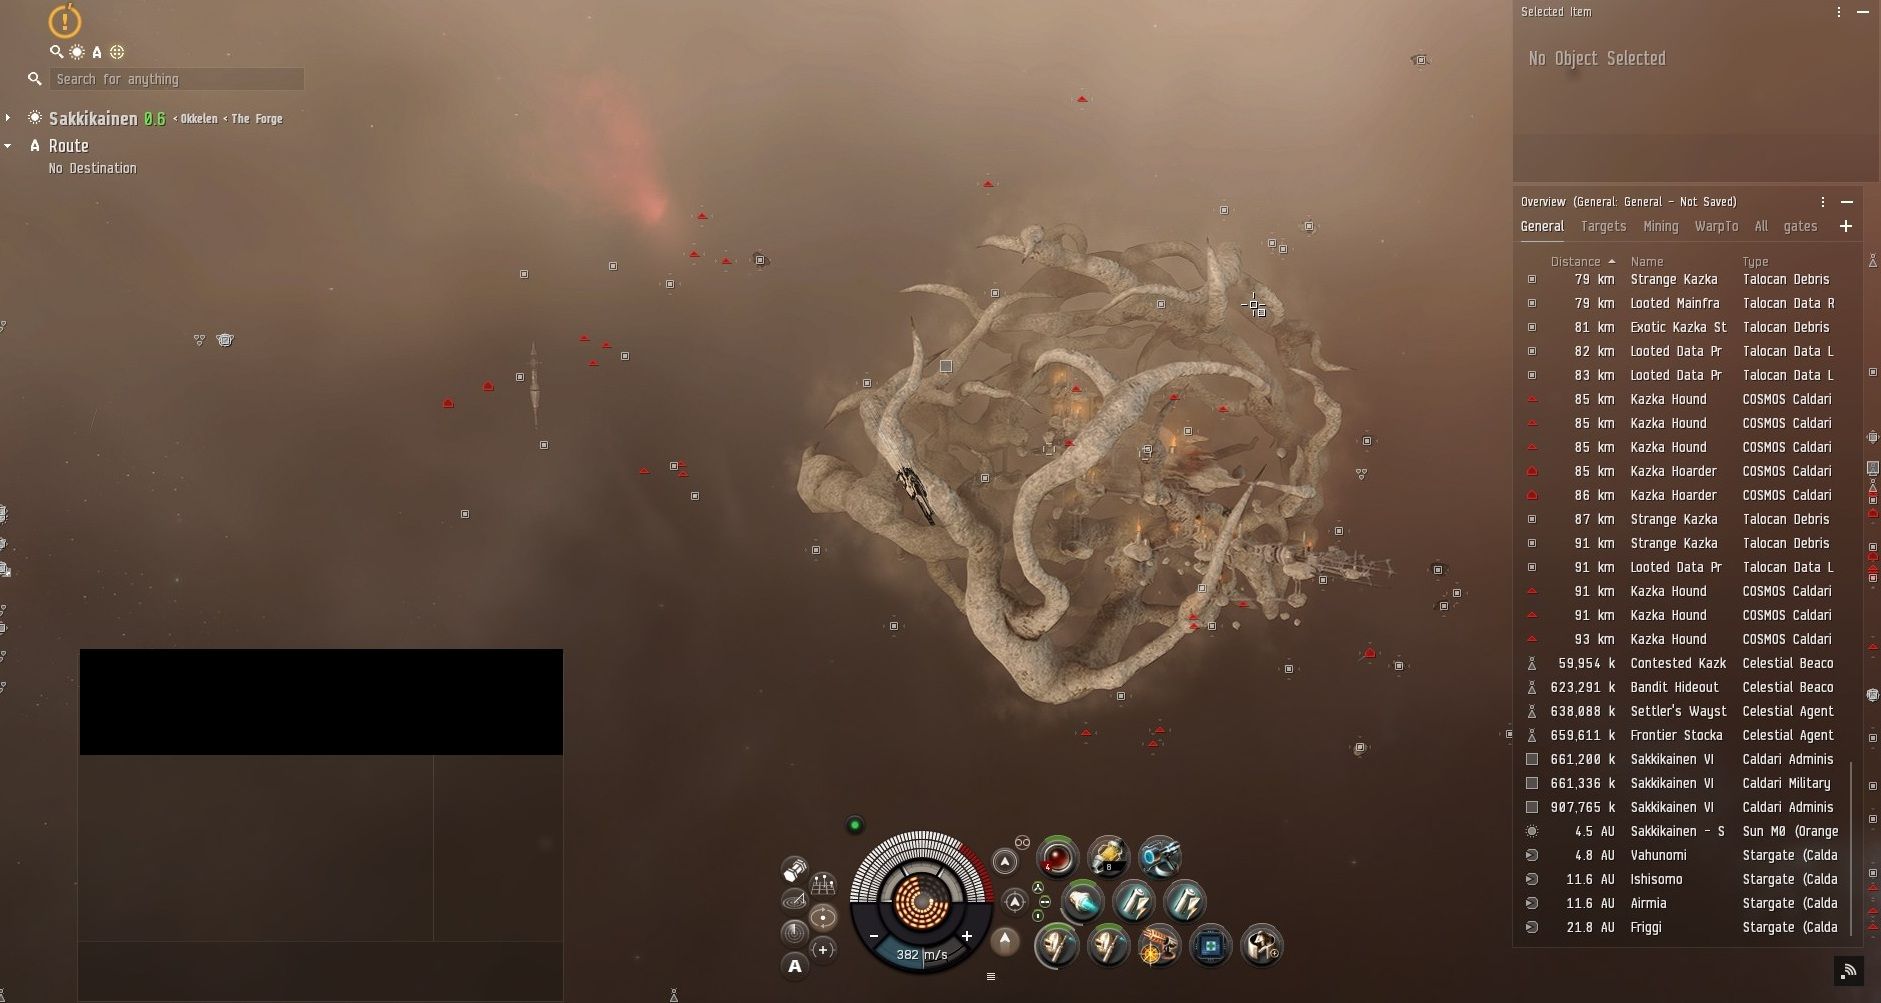
This system has two sites where you can for some drops. The Bandit Hideout and Contested Kazka Headquarters. The latter is where you will be spending most of your time.
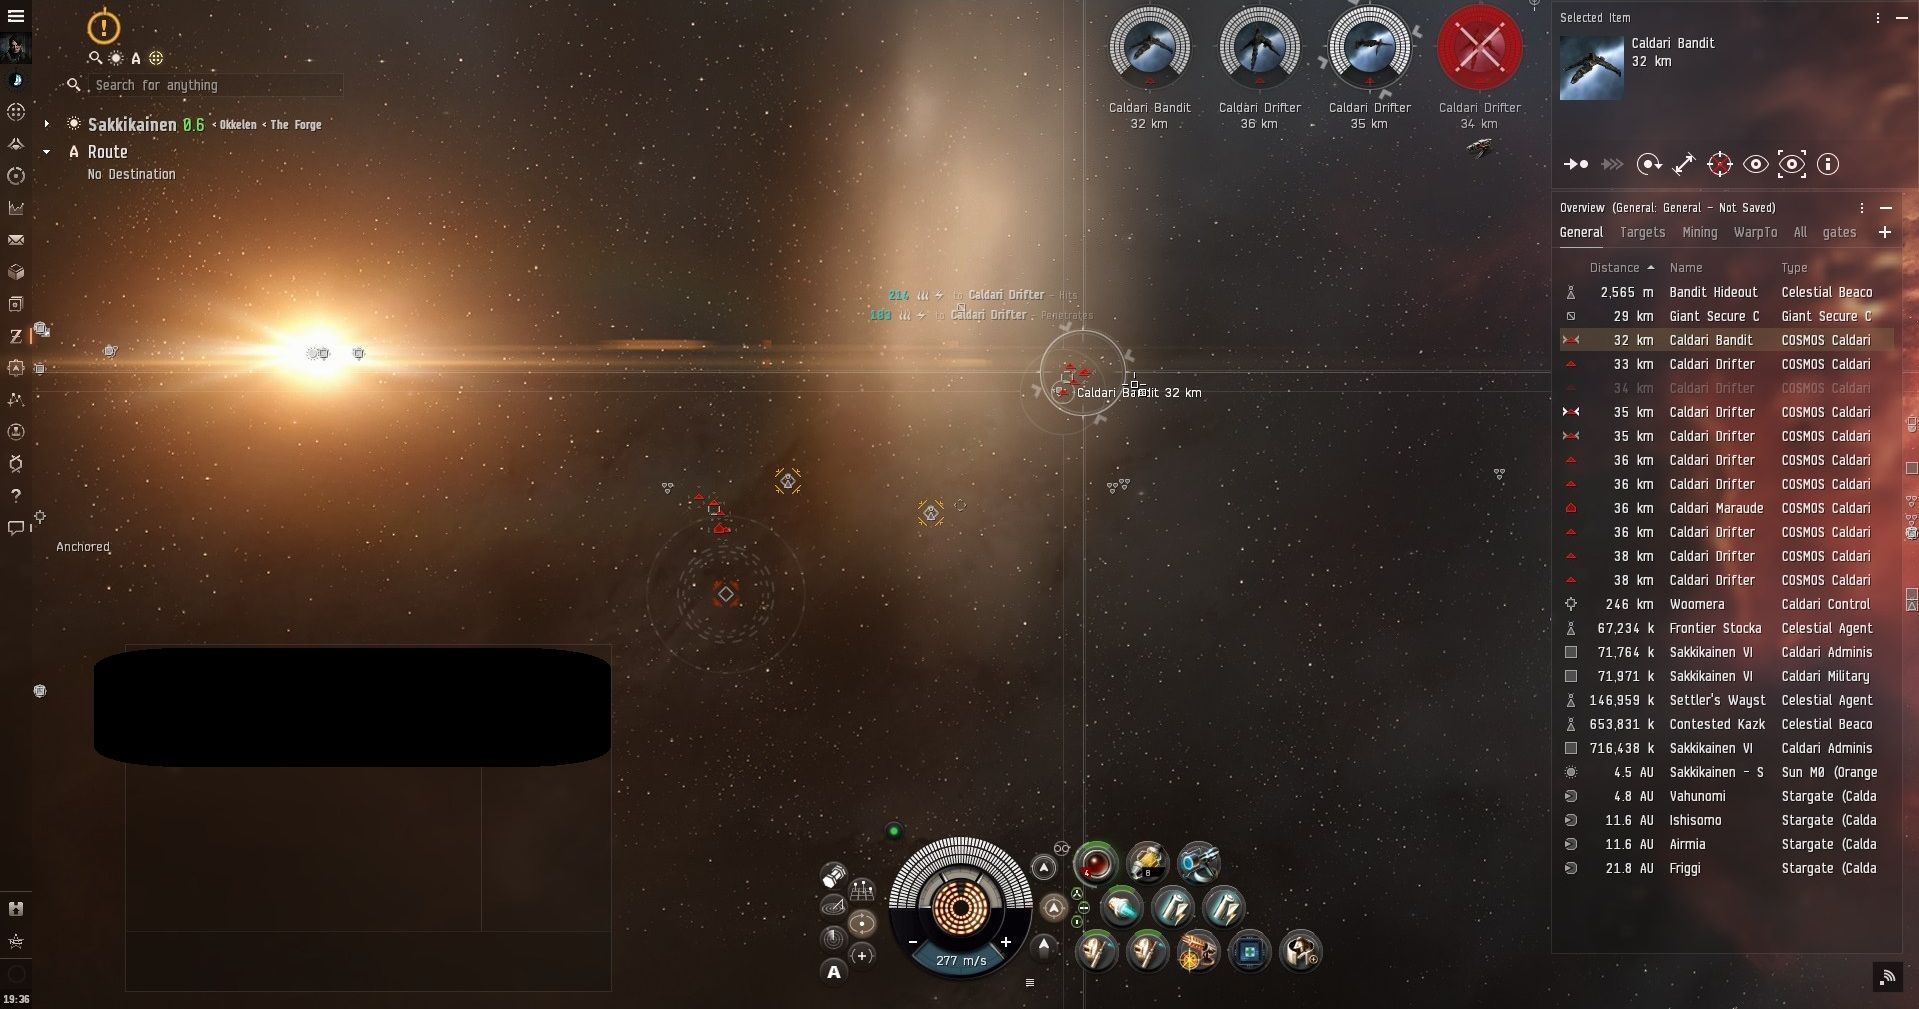
Since you need 60 Drifter Spurs (30 for each mission that requires it). Jumping into the Bandit Hideout and taking out the drifters can be a quick way to get a couple of spurs. This site is usually Drifter-heavy heavy and there are only a couple of NPCs in here, making it an easy site to hit.
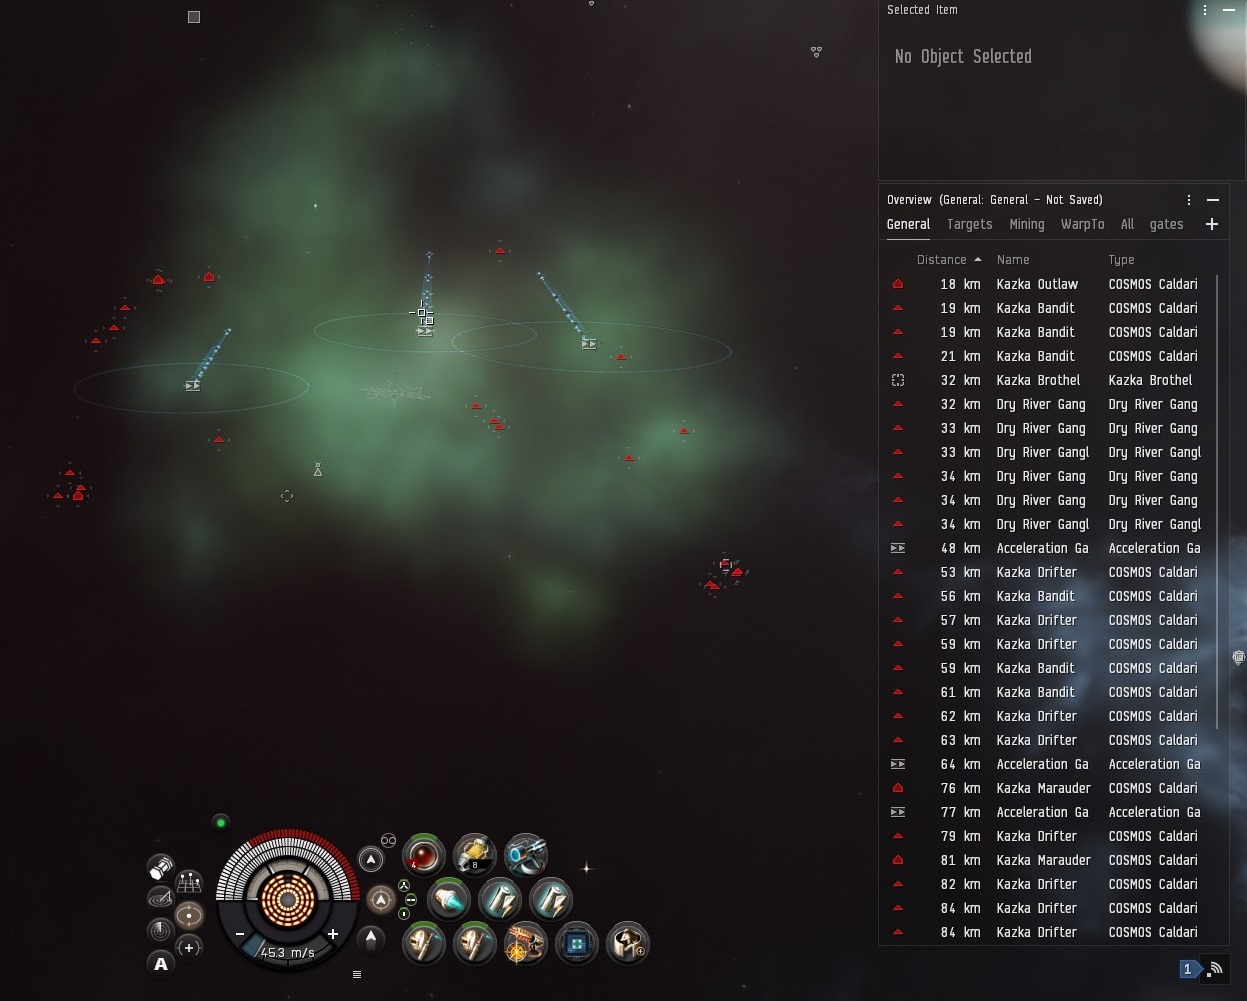
All gates are unlocked in the Contested Kazka Headquarters. The only thing stopping you is bandits that web and scram you. I usually just jump right in after landing on the first gate to the main room.
The small group of four on the left and right gets range aggression when you land. Since three of them are bandits, I usually take them out first before picking where I want to go in the pocket. The three remaining clusters can be pulled independently of each other.
In the far bottom right is a group of Dry River Gang. They drop Bags. Of Counterfeit. While you need 500 of the bags, they tend to drop in groups of 40 or 100.
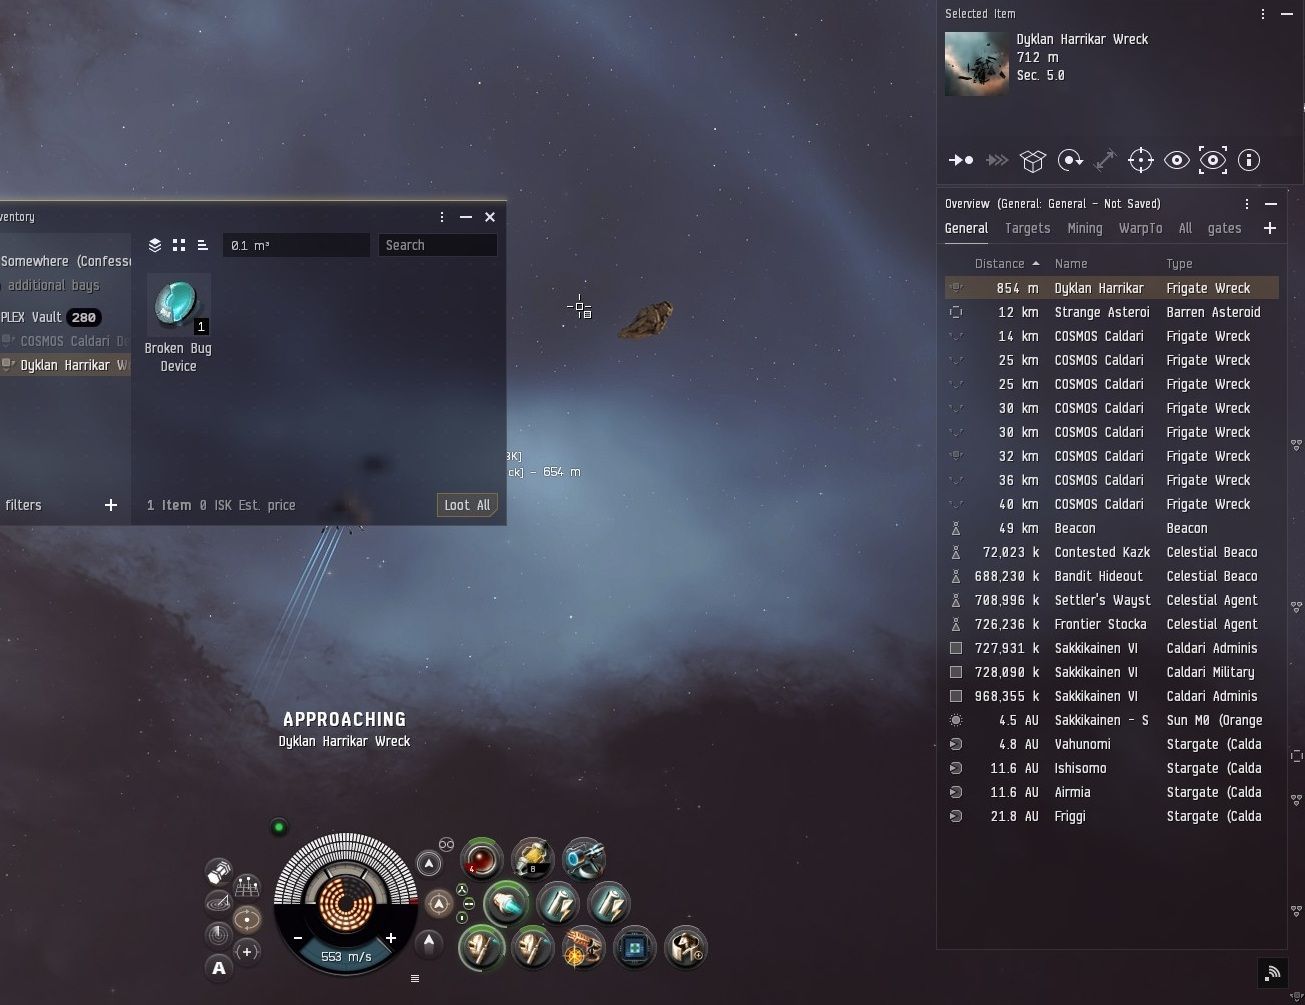
Broken Bug Device can be found by killing Dyklan Harrikar in the Kazka Development Depot pocket. While Quao Kale is also supposed to spawn in that same pocket for a drop by the same name, I've never seen it up.
Once you have all those items. You just need to finish farming for 60 Differ Spurs by clearing the different pockets. The only pocket to avoid is the Kazka Trophy Room, as you won’t get spurs out of there. It has quite a few NPCS and over 40 cans to hack for crafting materials.
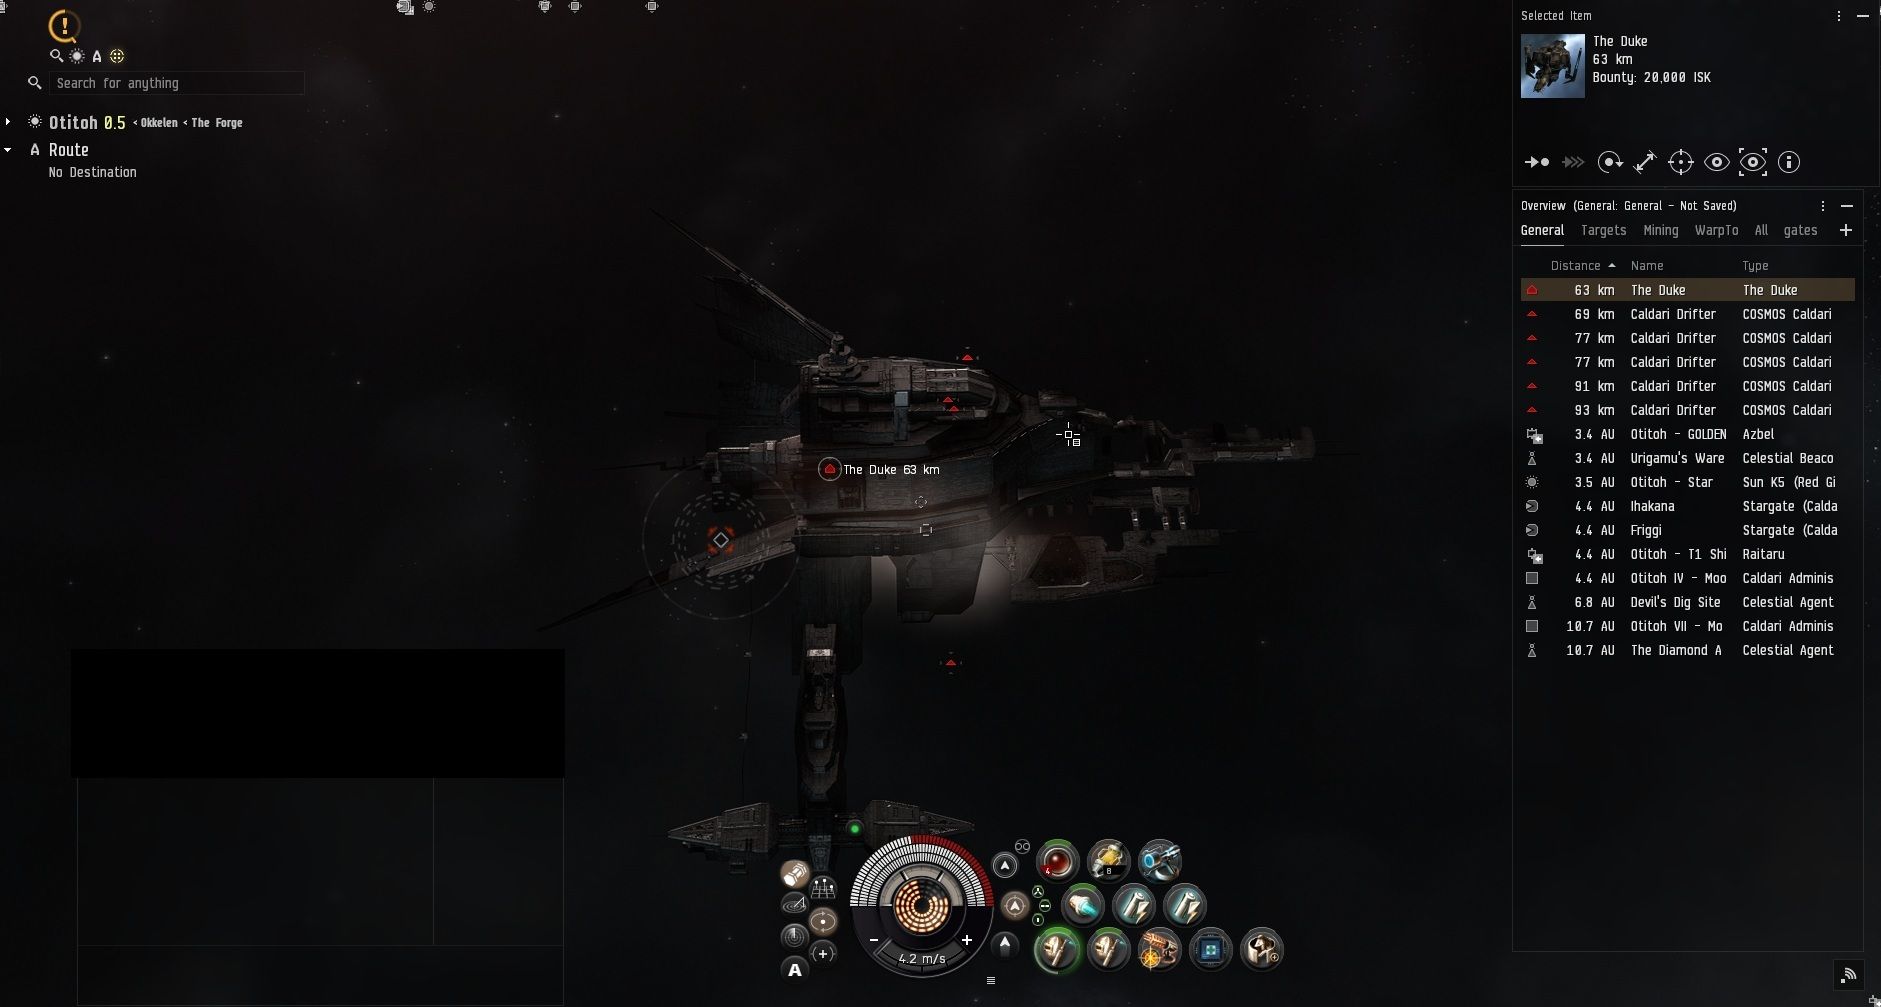
This location is a bit odd, as you don’t have a beacon you can just warp to. Instead, you need to go to the Otitah system. Then warp to the third moon on the sixth planet. There you will find off in the distance, The Duke and some drifters to take out.
The Duke drops Cheri Mirei’s DNA. I was able to snipe everything before it came into range. It was quite an easy site to run. One that you only need to go to once.
While that seems like a lot of stuff to go farm. Once you have it all, it makes running the missions rather quick. There are still some kill missions and quite a few courier missions. You have now done the bulk of the work by just getting all of these items ahead of time.
In Part 2, I'll be going over running the missions themselves. While also showing some of the possible loot. The rewards you end up getting are random, so sometimes you could get up with something amazing, and other times it's not worth the effort.
New to Eve Online or a returning player? Use my recruit a friend referral link and get 1 million skill points on signing up or logging into your Eve Online account (can only be claimed once per account). Disclosure: I might receive in-game rewards.
Screenshots were taken and content was written by @Enjar about Eve Online.

Windrose Review

Taking A Look At Alaska Gold Fever

The Making Of The Anathema Adventures Series

Taking A Look At Starminer

Making Billions During Capsuleer Day XXIII Warpath Event In Eve Online

Starminer | Trading From Station To Automation Guide

Taking A Look At Project Mist

My First 100 Hours In Starminer

Making Billions In The Gallente Election Event In Eve Online

Taking A Look At Windrose