
Enshrouded | The Alchemist And The Dungeon

The Union Station Subway instance on Rocktropia where you need a Lockpick to get into is brutal. The thing is a massive maze in a sewer system filled with zombies. There are also many rooms where you trigger hordes of zombies for staying in them for too long.
I hate to think how many people have lost a lot of PED trying to run this instance and were unable to find the loot create at the end to complete it. Since it is that bad I thought I would include a full walkthrough of the entire thing.
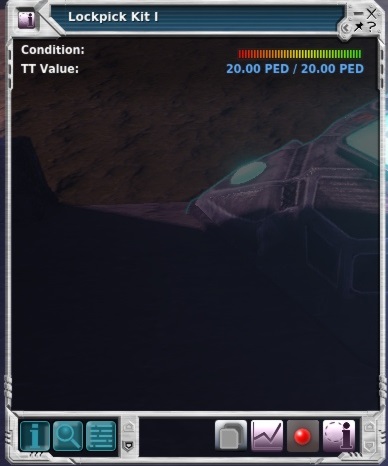
While the lockpick Kit I is a crafted item. Chance you don’t have the blueprint for those and since you can usually buy one for TT+2 they're quite cheap to get. Make sure to repair the thing to the full 20 PED before you use it.
This instance will be filled with Decomposing Zombies mostly of the maturity of teen which have 40 health. Make sure to pick up any zombie-killing quest you can find such as once around B.A.M.F HQ which has a few Boot Camp missions. Here is the wiki link to the start of that mission chain if it is still around. Along with having a gun that won’t take forever to kill something with 40 health in the event you end up with twenty or more zombies on you.
For me personally, since I’ll be doing a lot more running than killing. Also since there tends to be a huge horde of zombies in here. I’ll be wearing a set of Adjusted Pixie armor to deal with the stab, cut, and impact damage they deal. I have found in my testing that it cuts down healing enough that it is worth the extra decay over a lighter set of armor. Anything beyond that is overkill at least with my evade skills. You also get some armor decay back at the end.
Since the entrance to this is underground the stairs to get down into the subway are located at 135638, 87943.
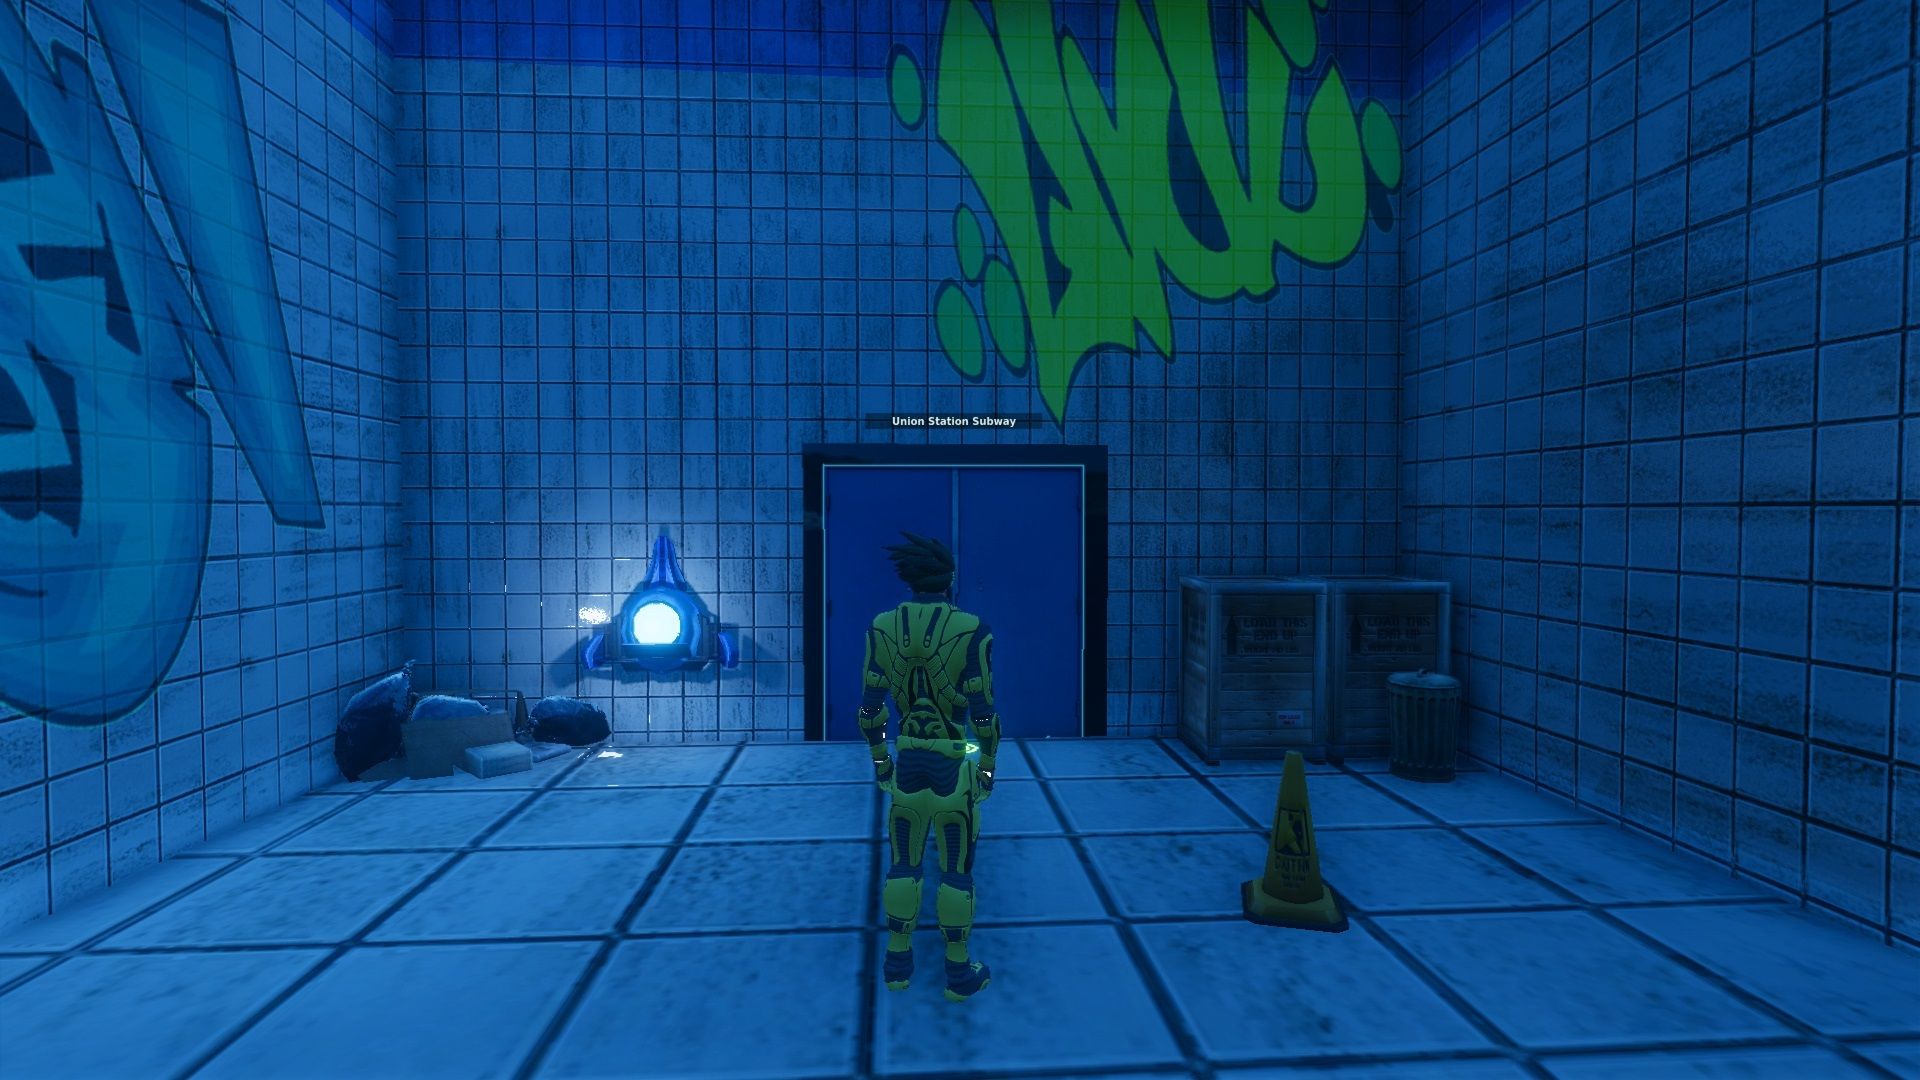
This instance should tell you at the start not to panic. As that sinking feeling that the more zombies you shoot the less likely, you are going to find the actual end. This is because not only are there multiple large rooms with a few different directions to go. There are long sections of tunnels with T sections in them. Making this quite a challenge for those that have not been lucky enough to know someone who could pass some vague directions down the path through it.
If you think just killing zombies and allowing that to be a way to work out where you've been will work out. Hordes can respawn and it starts to get rather insane. It can be easy to get lost or miss checking out a tunnel. The longer you are down there backtracking over the same areas the worse it tends to get.
First and foremost if you ever do get lost it is ok to press T and be teleported back up to the revival spawn. This will take you up to the top where the exit is. You then can head back down.
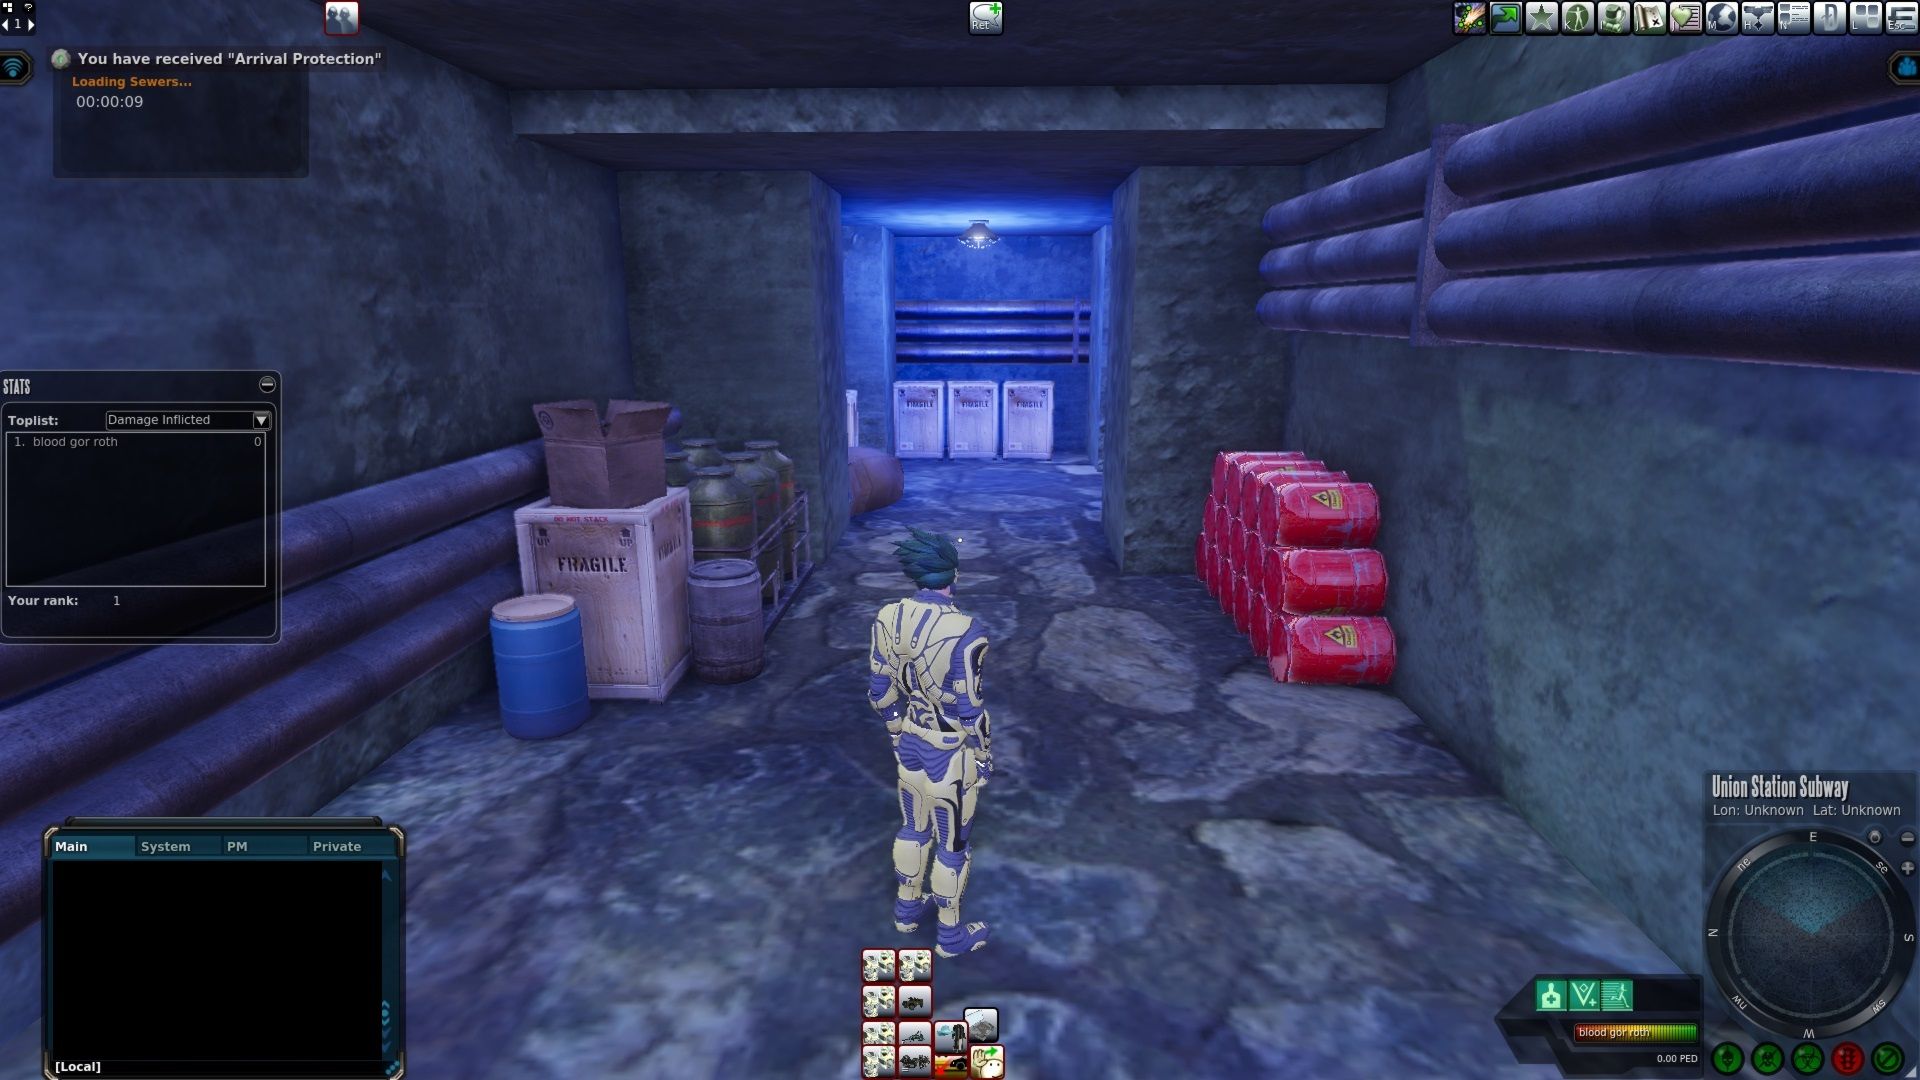
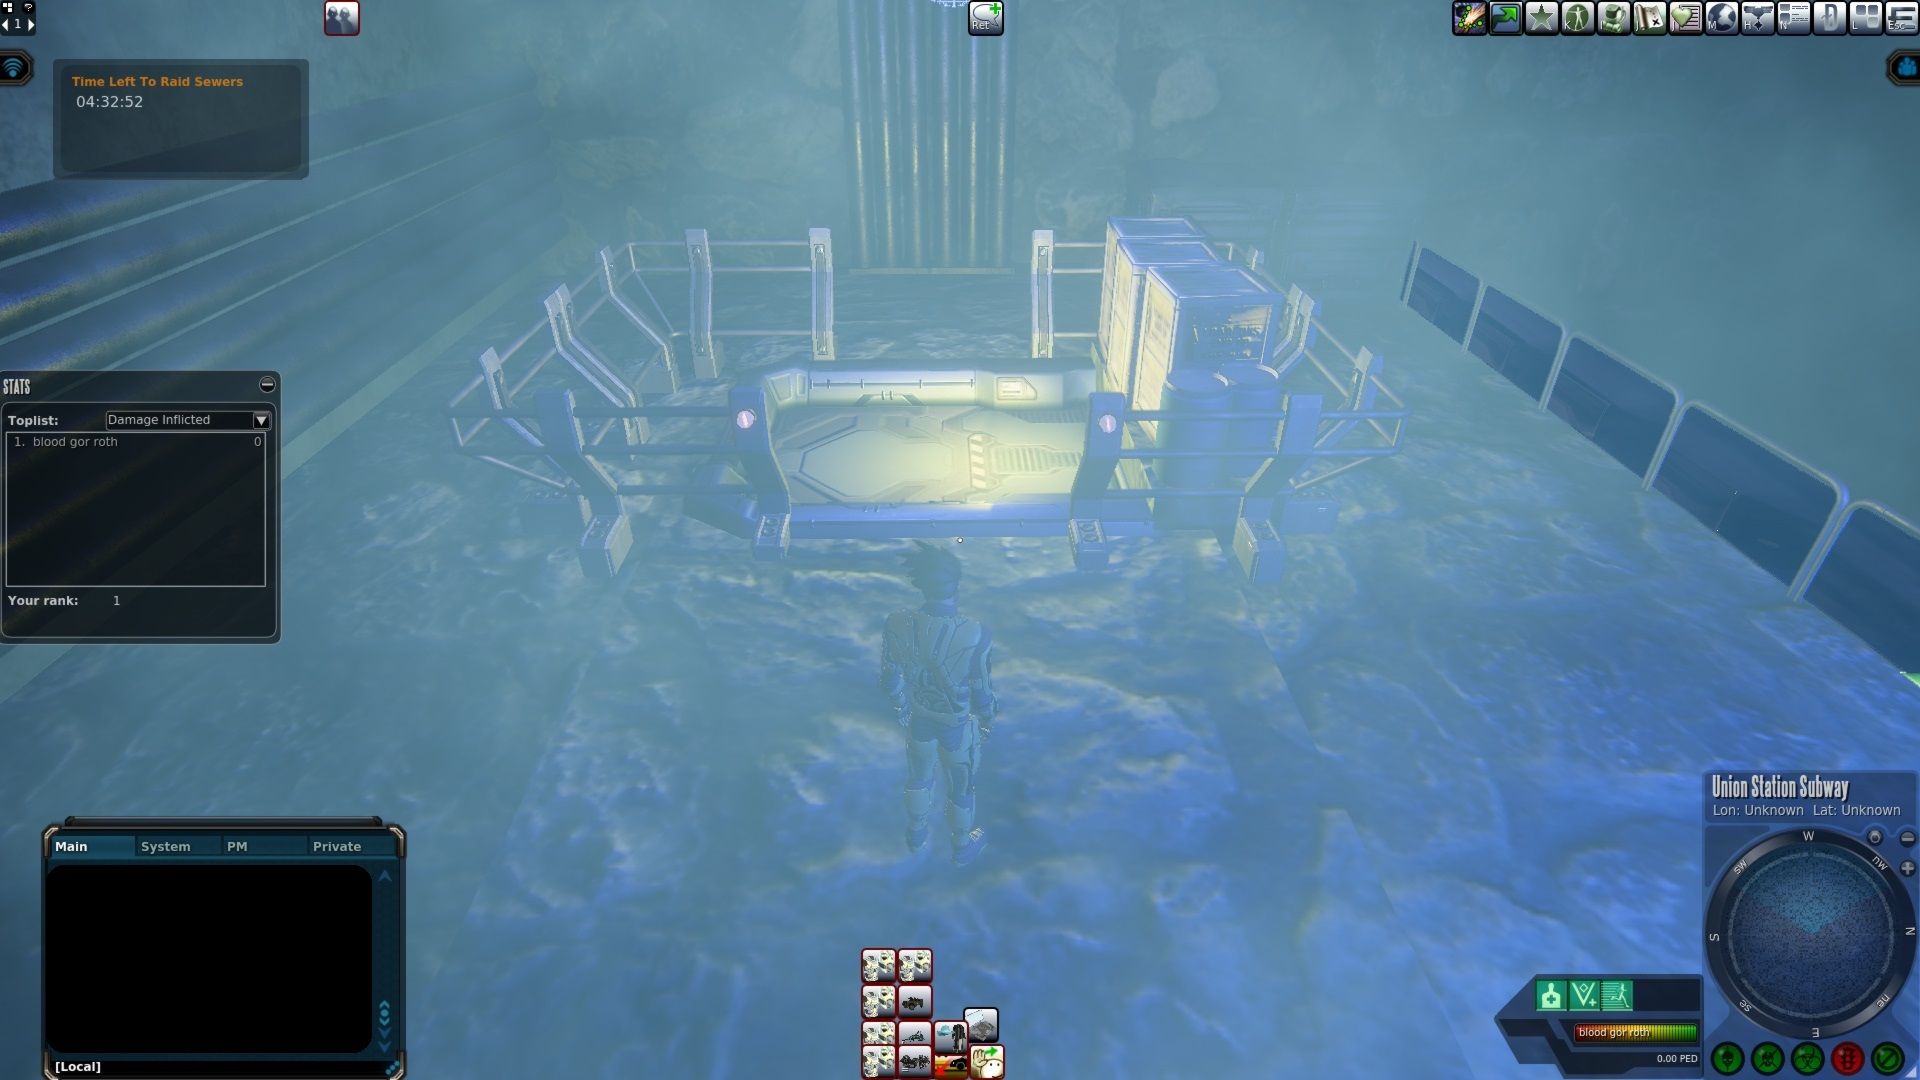
You will fall into the sewer water. The first thing you might consider doing is changing the brightness and gamma settings under the options graphics. You will want to do this if it’s hard to see or if the lighting is blown out.
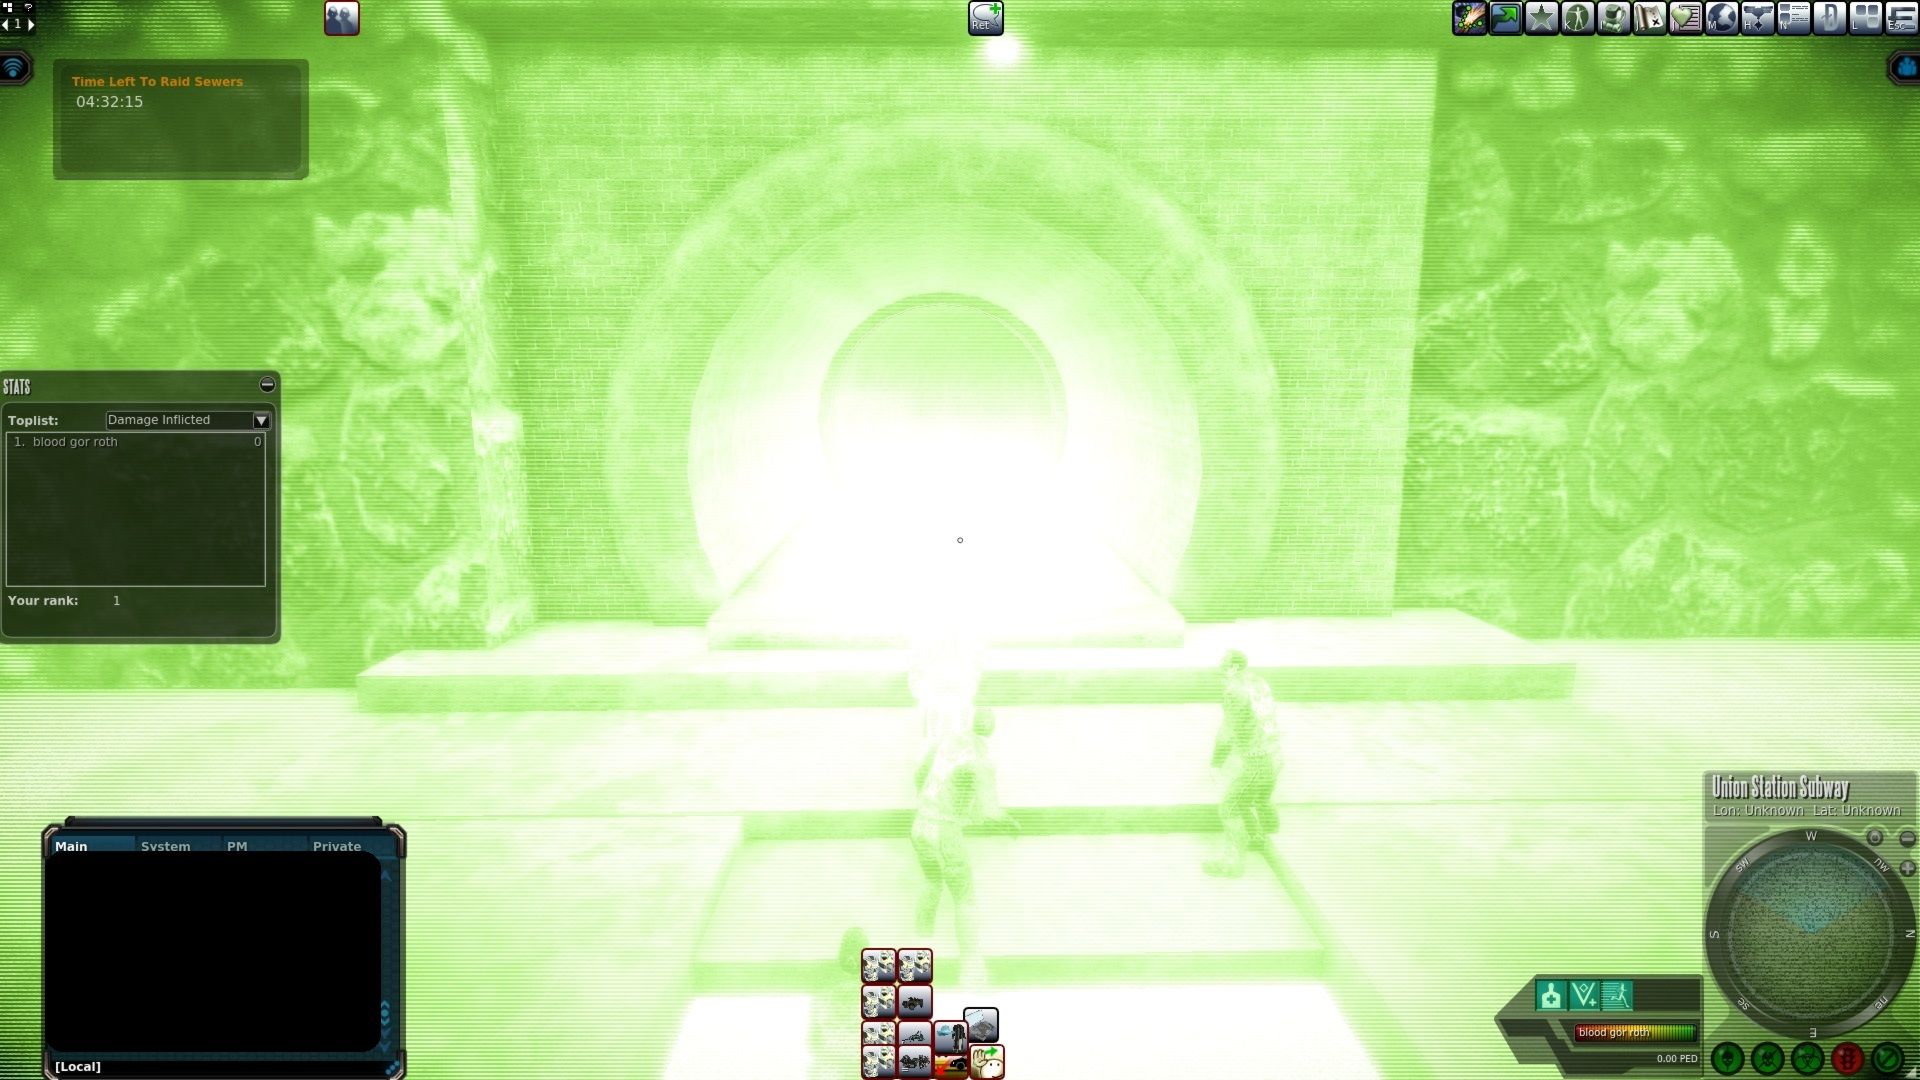
Once you have exited the area you dropped down into. You will want to take a right heading west down into that tunnel.
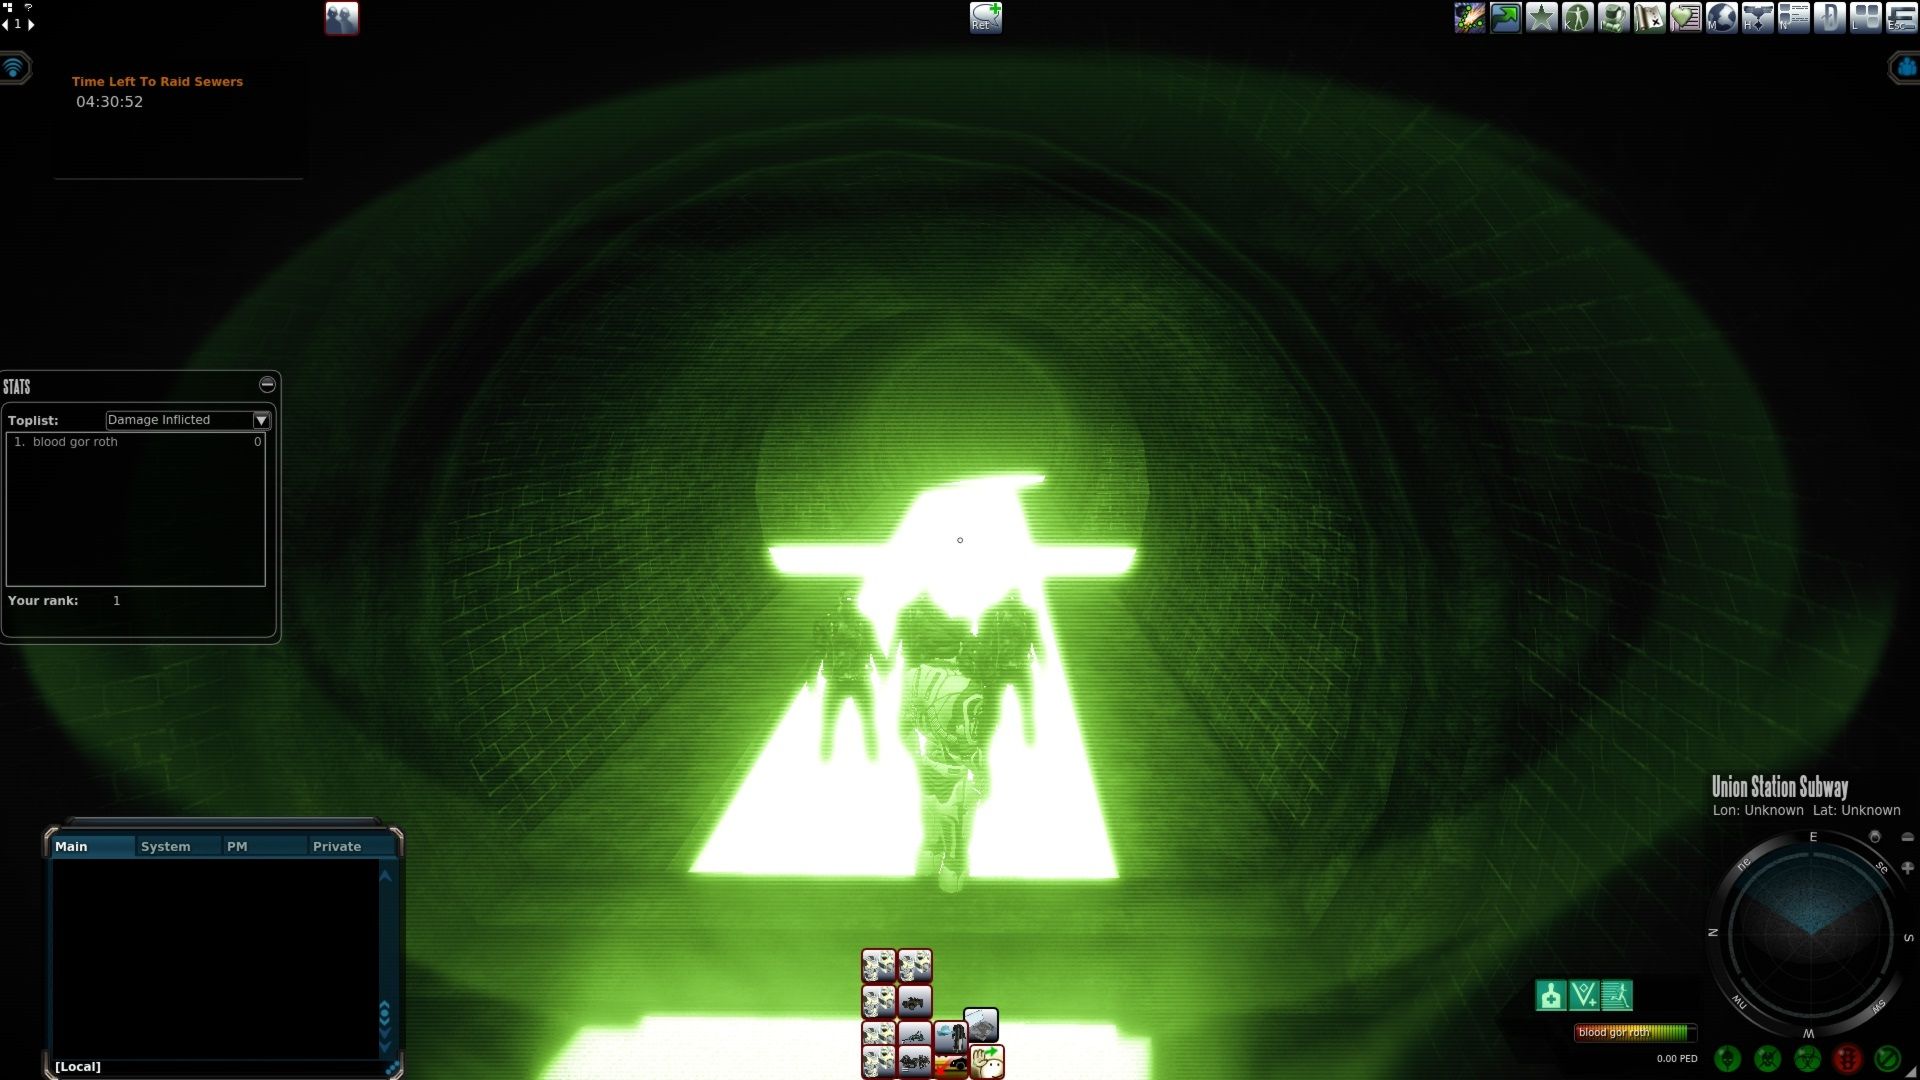
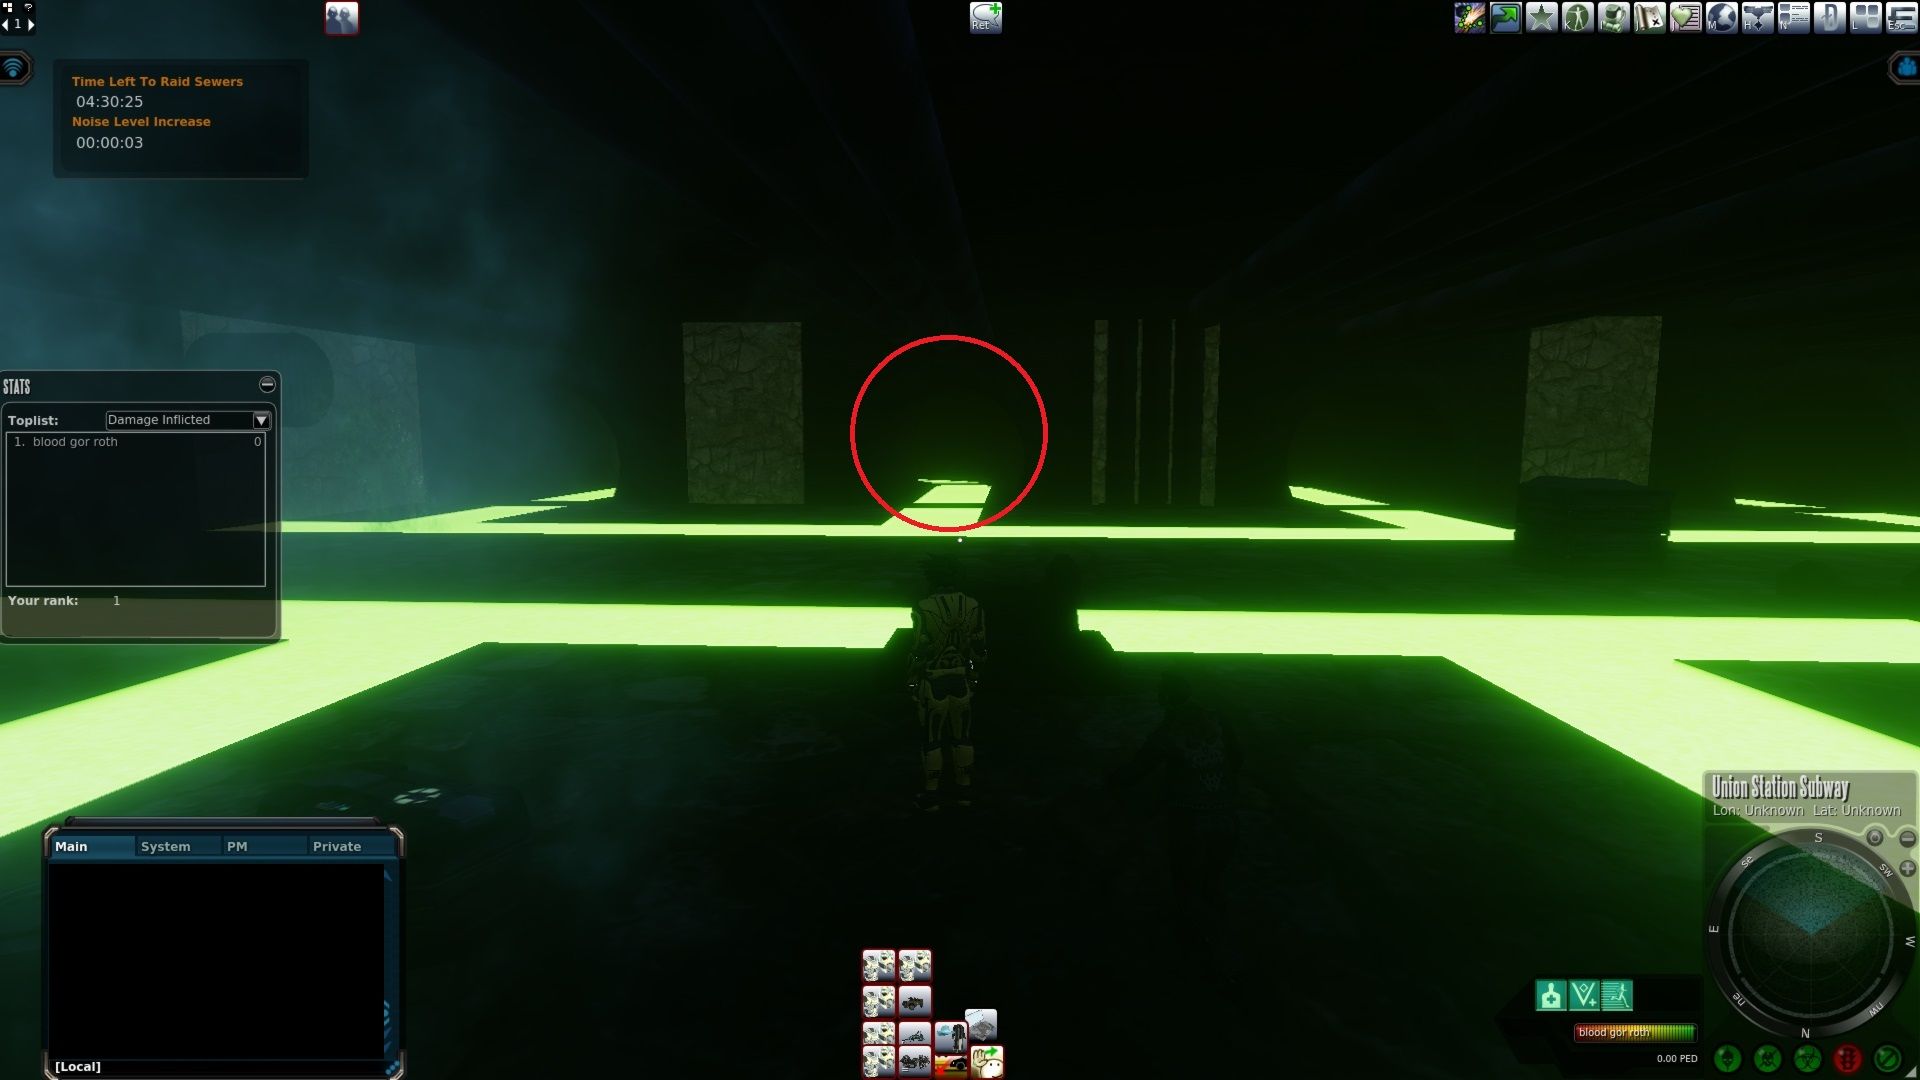
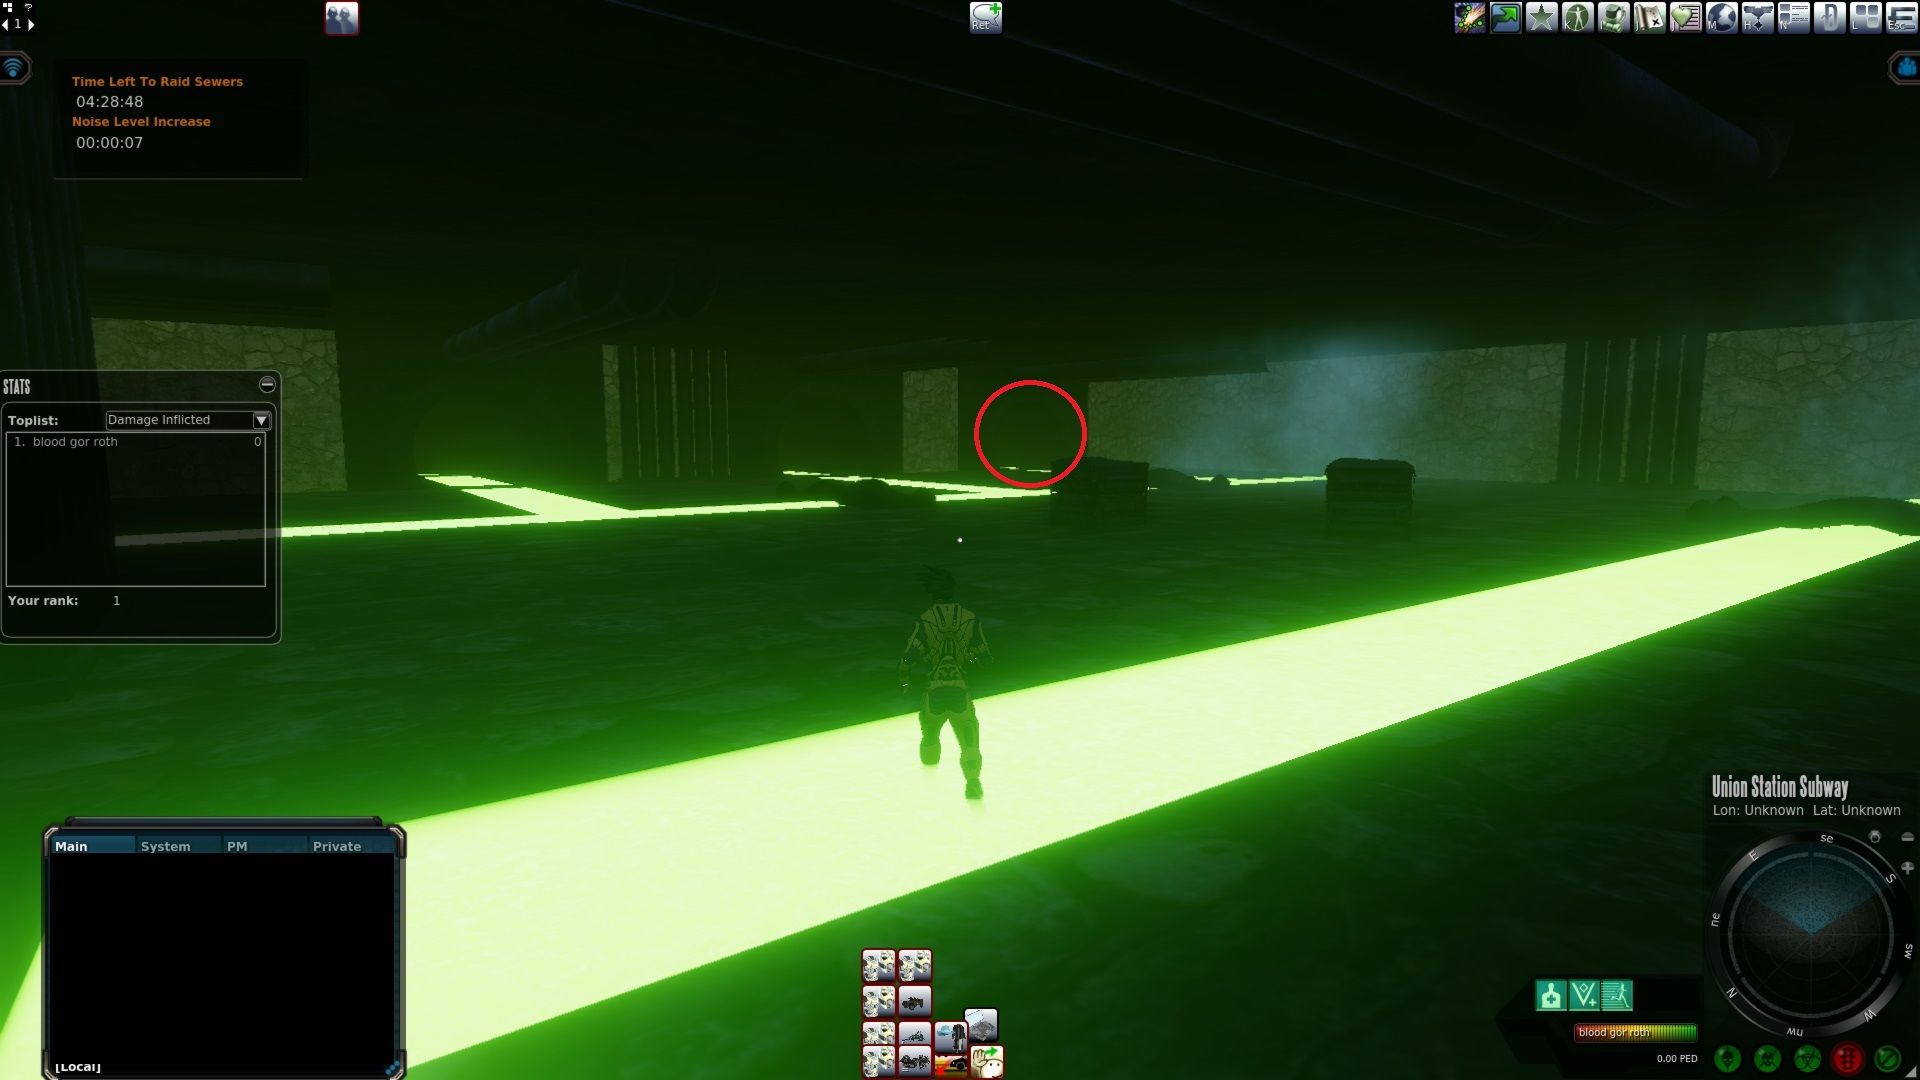
You will want to head south picking the second tunnel on the left. I have placed a red circle around the tunnel you will want to take.
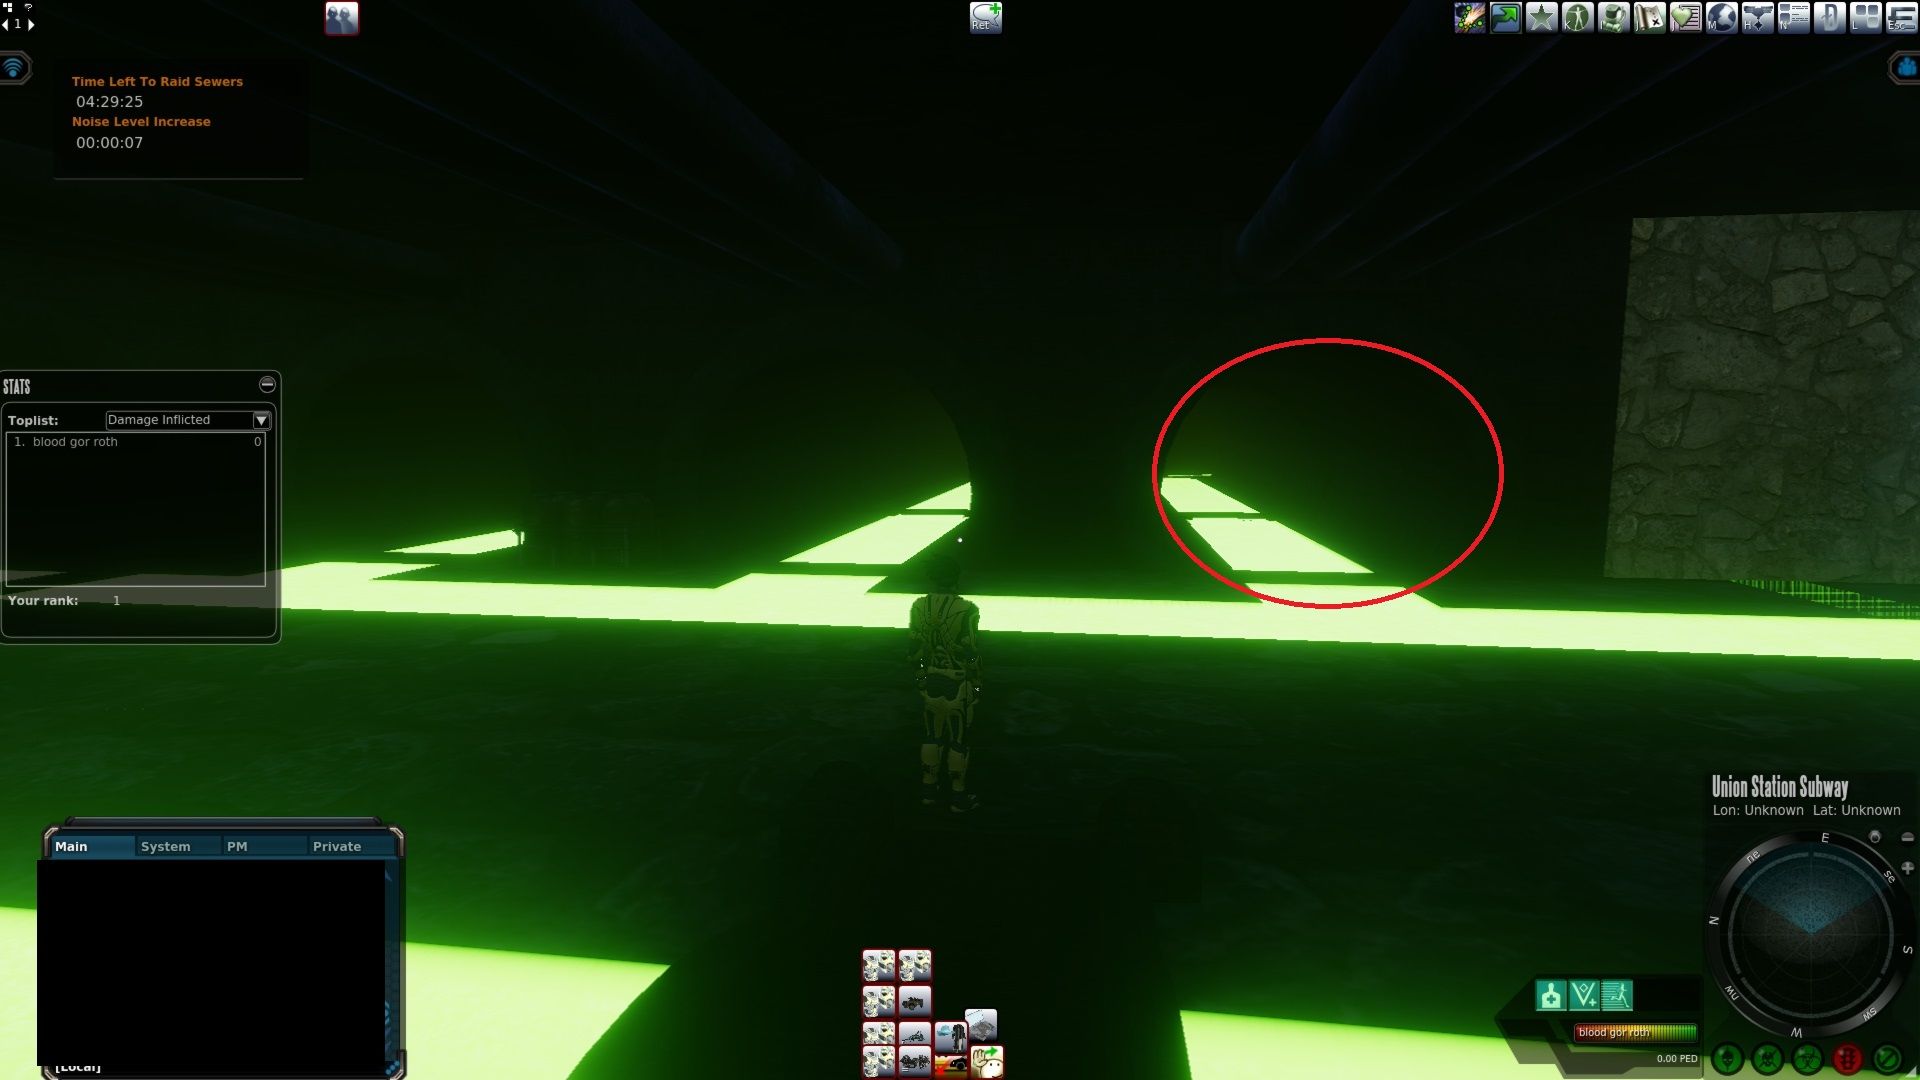
This next section contains going through a bunch of different tunnels.
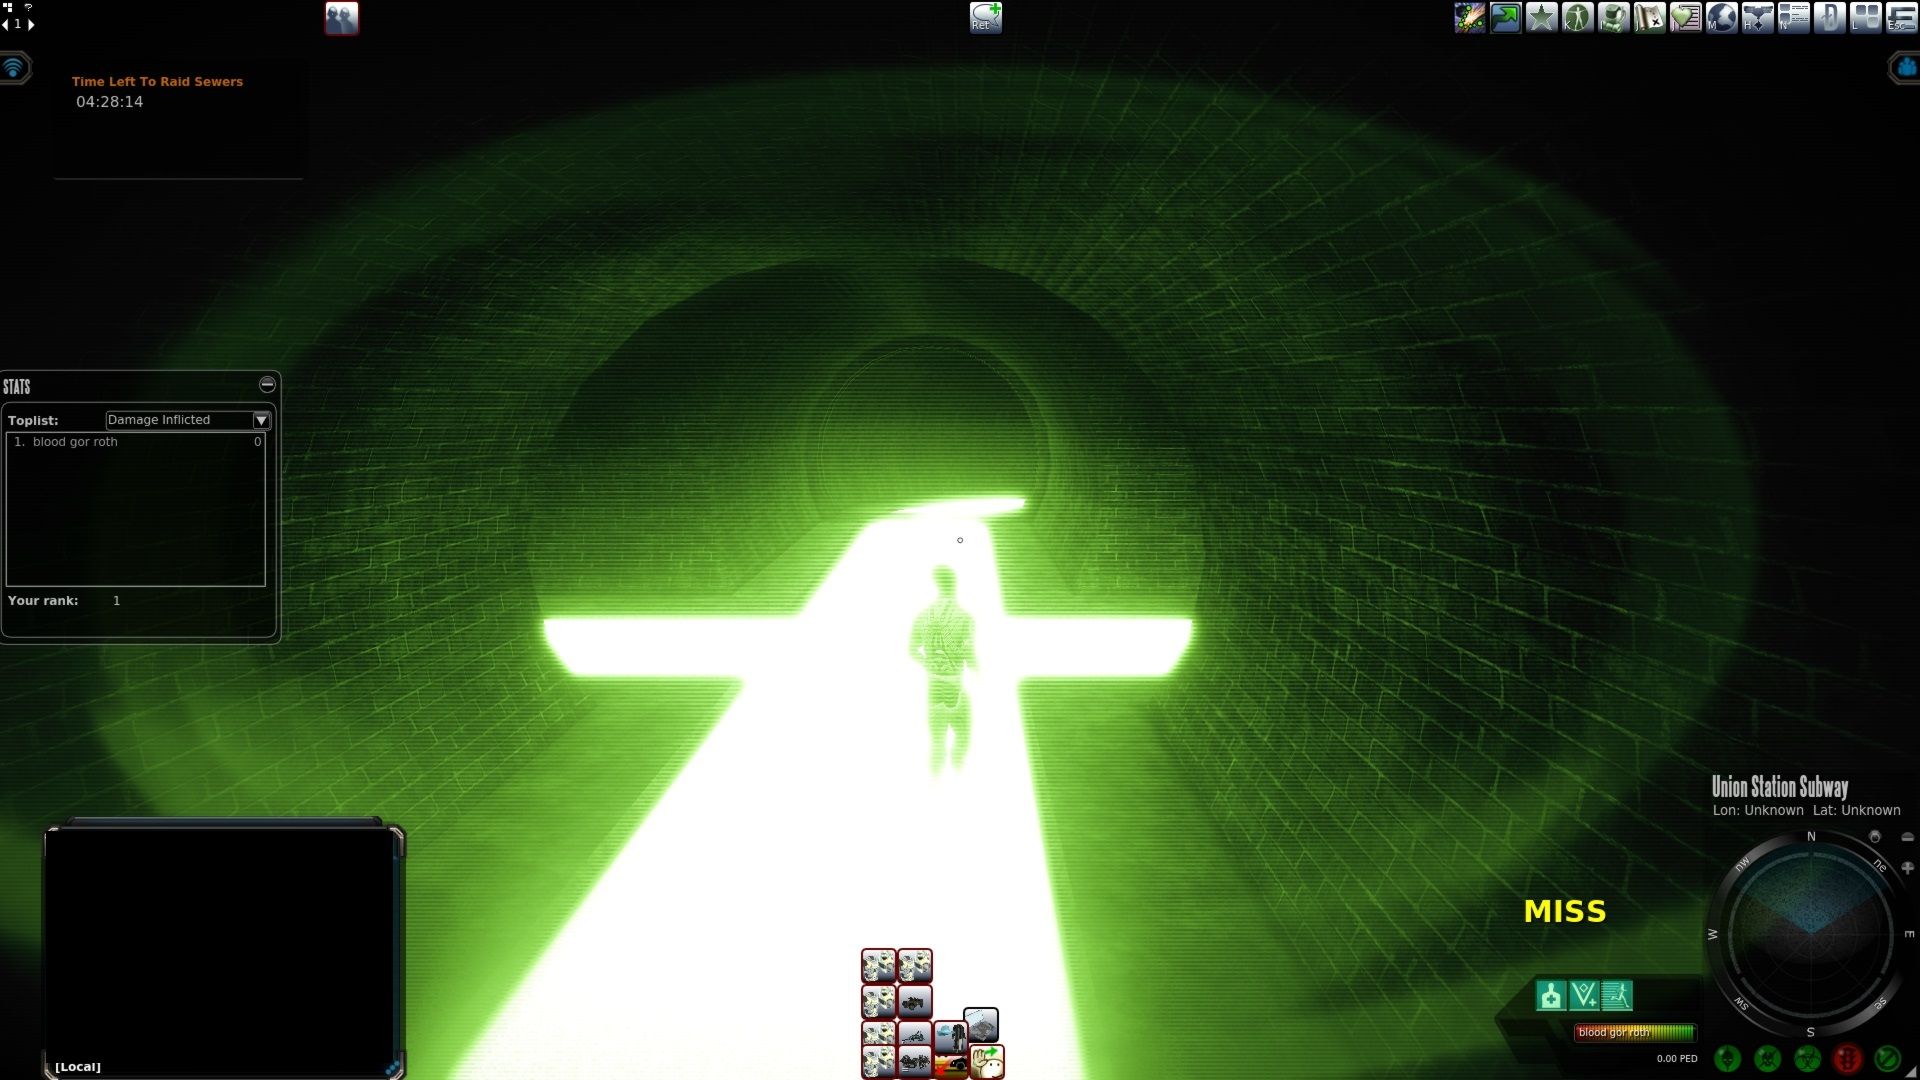
Head straight when you reach the T section. You will be heading north.
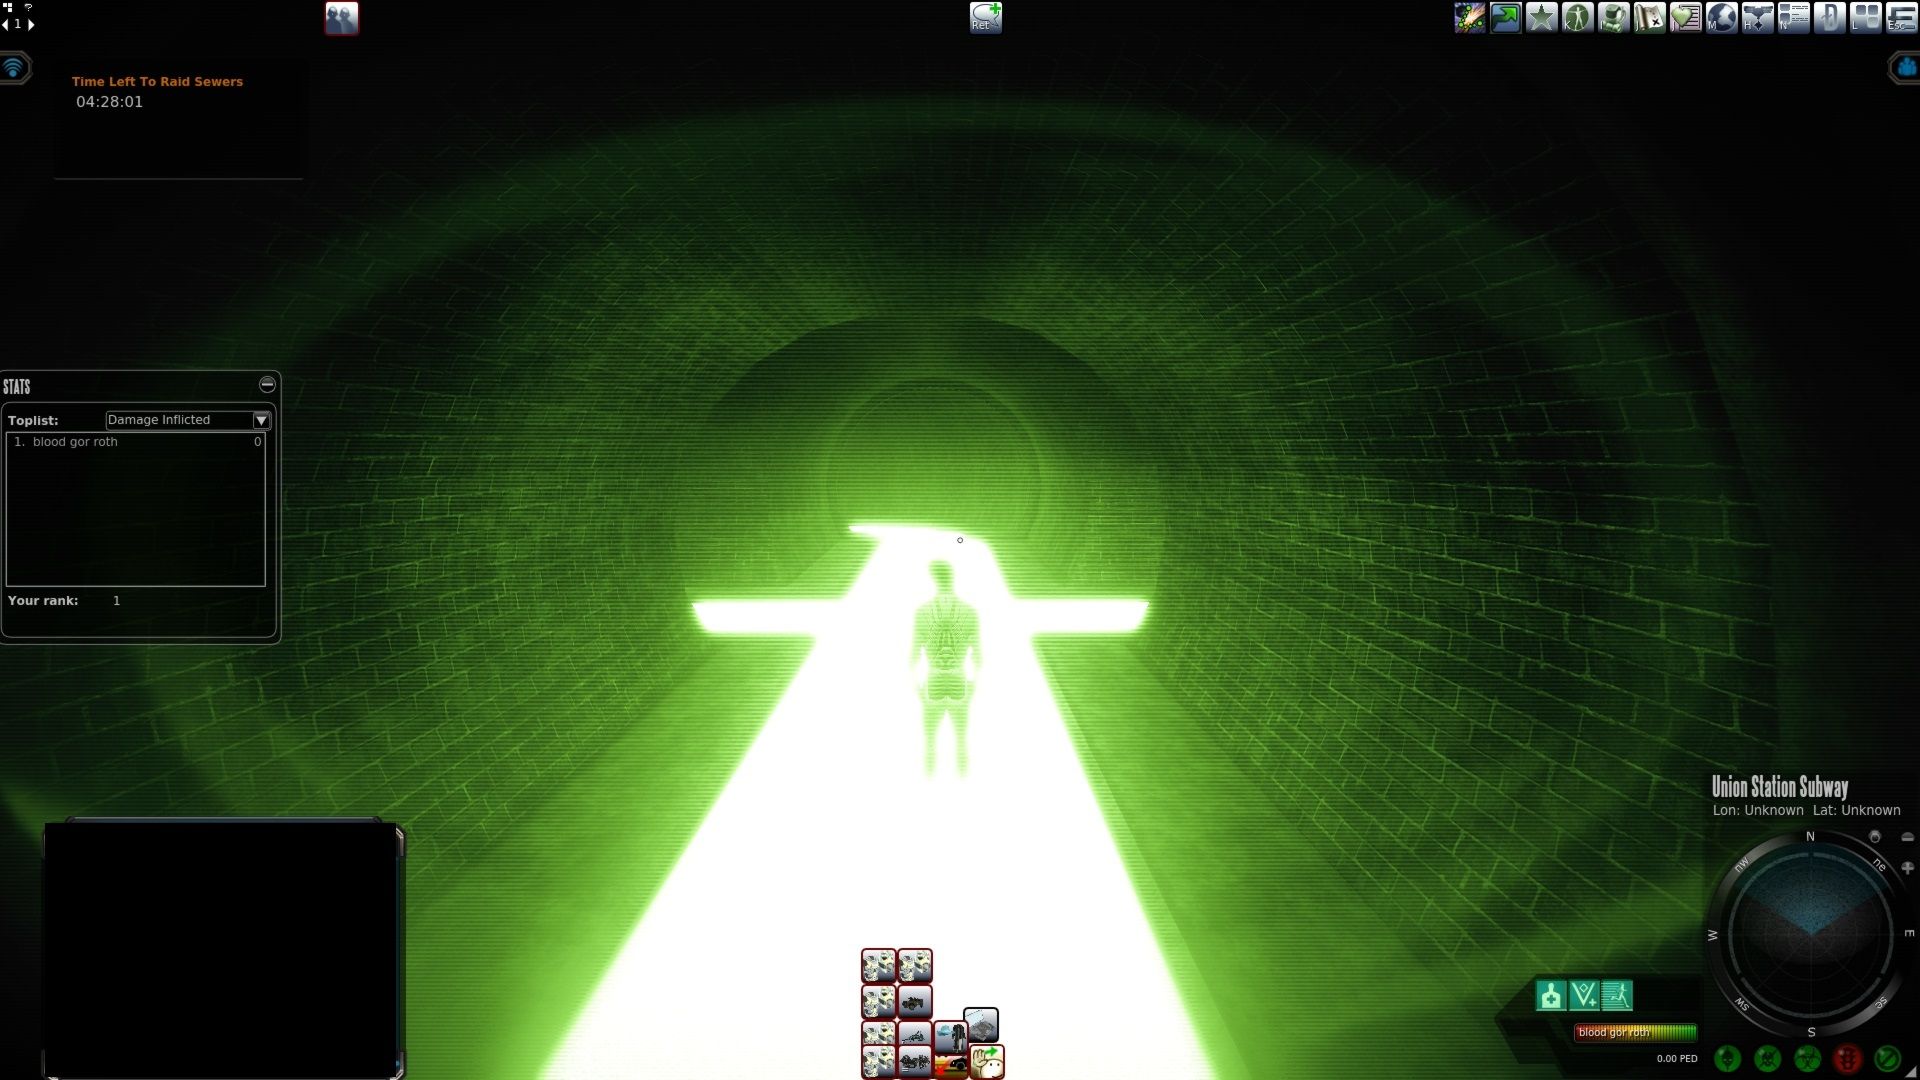
In the next T section, you will again head straight going north.
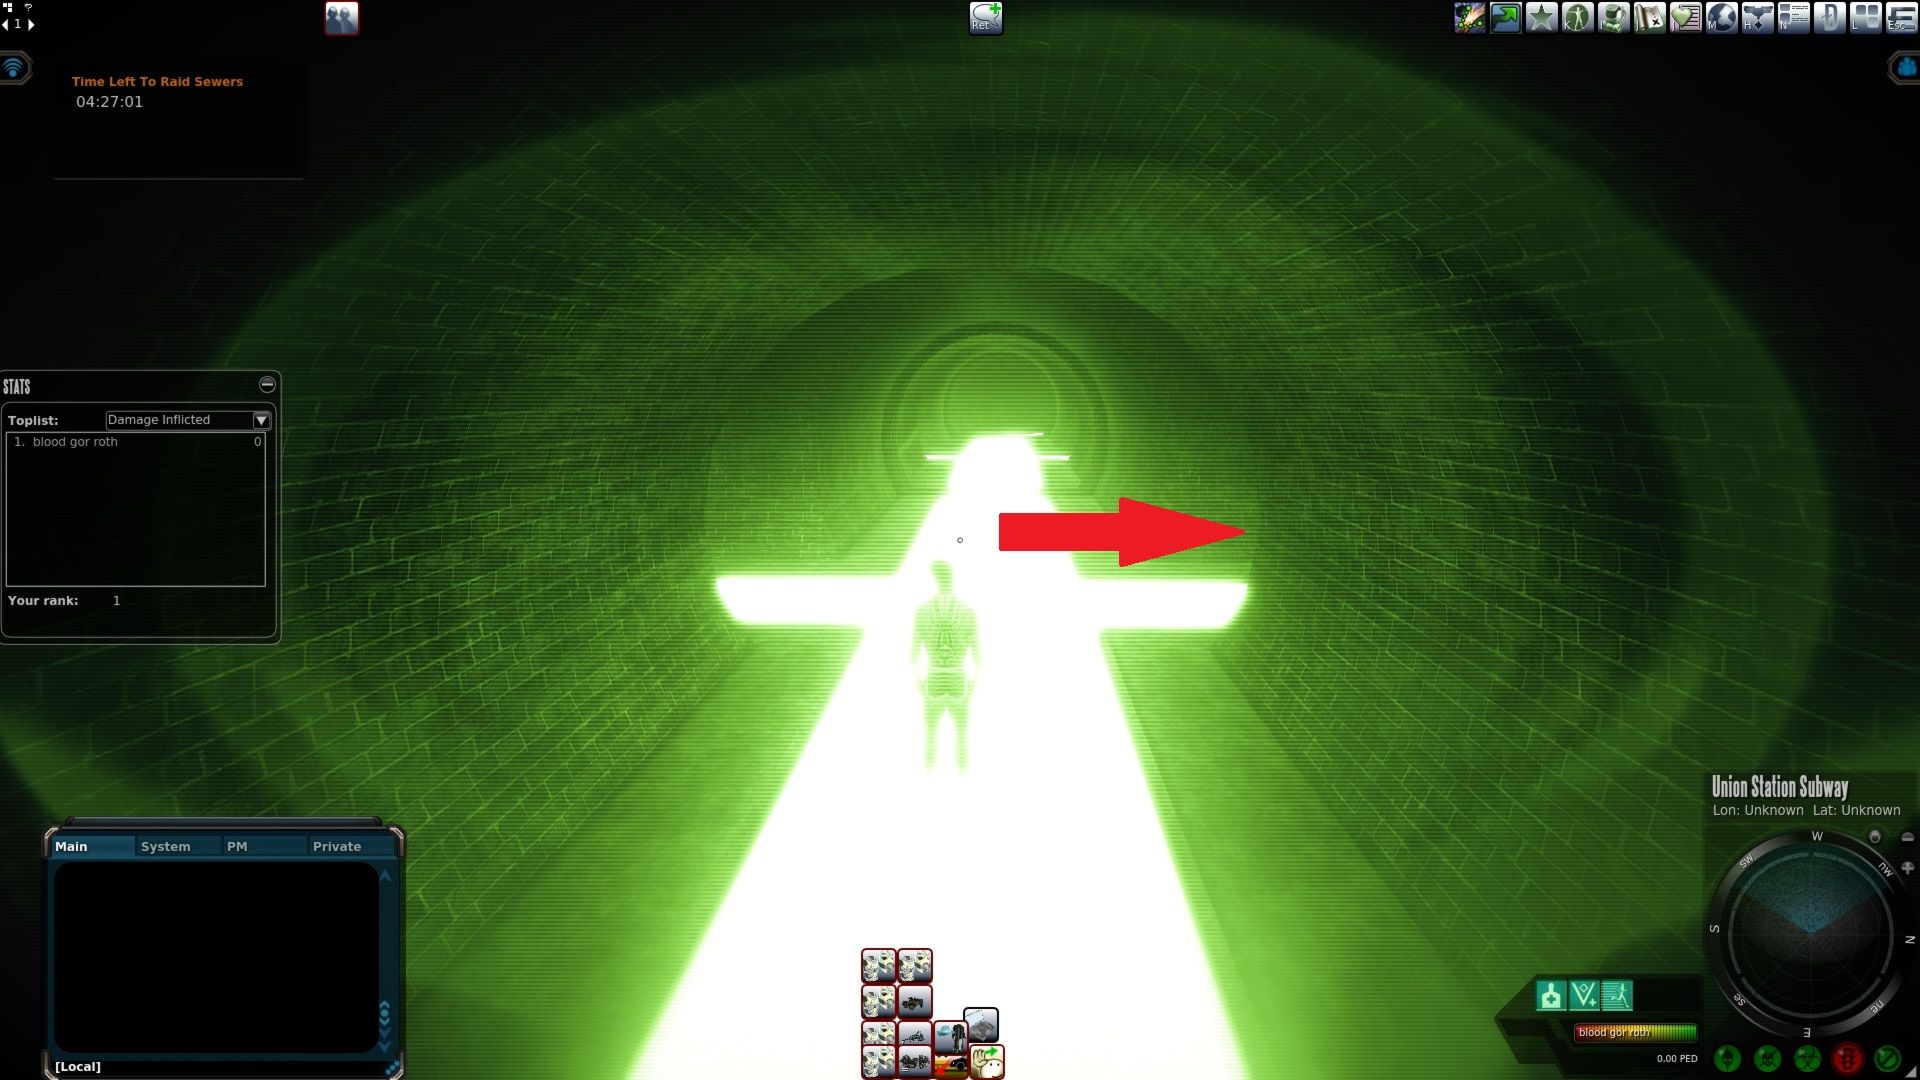
In the next T section, takes the right heading north.
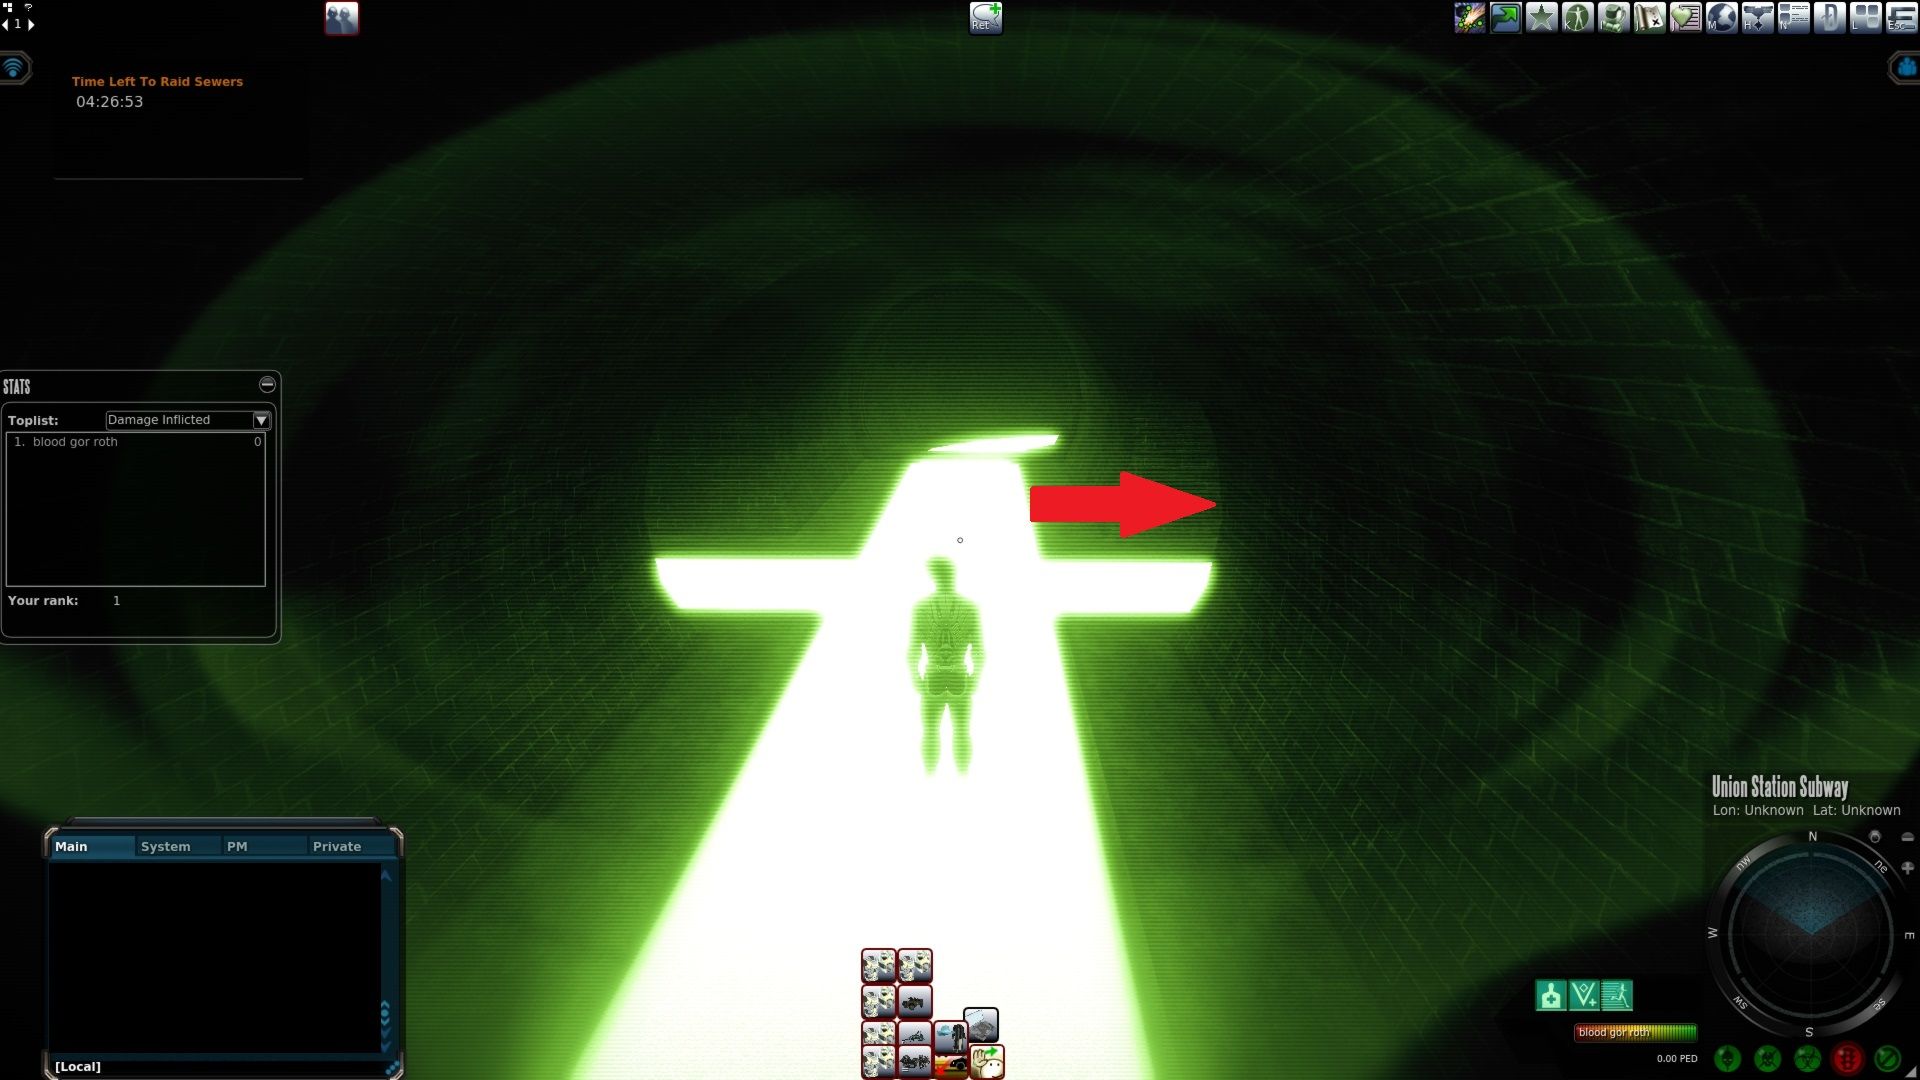
You will then come to another T section and again you will want to take another right which will be heading east.
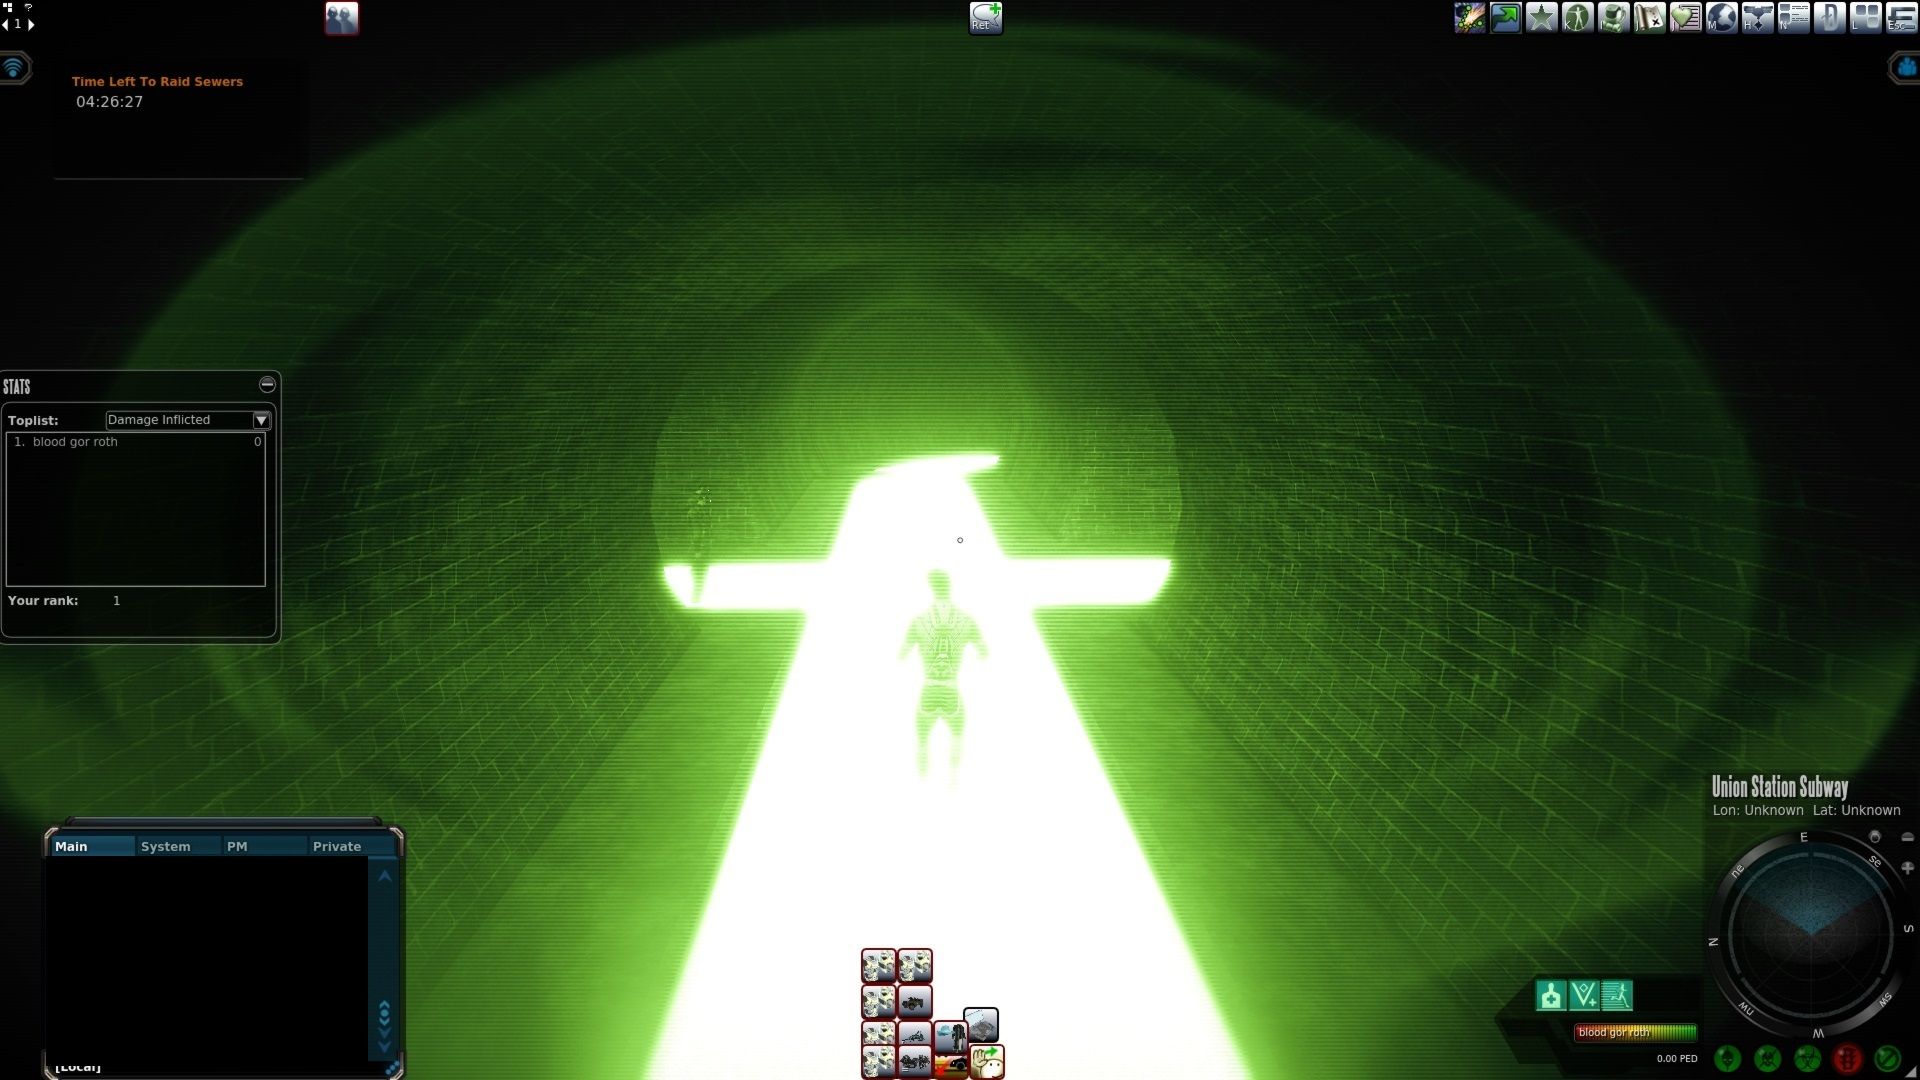
Go straight into the next T section heading east.
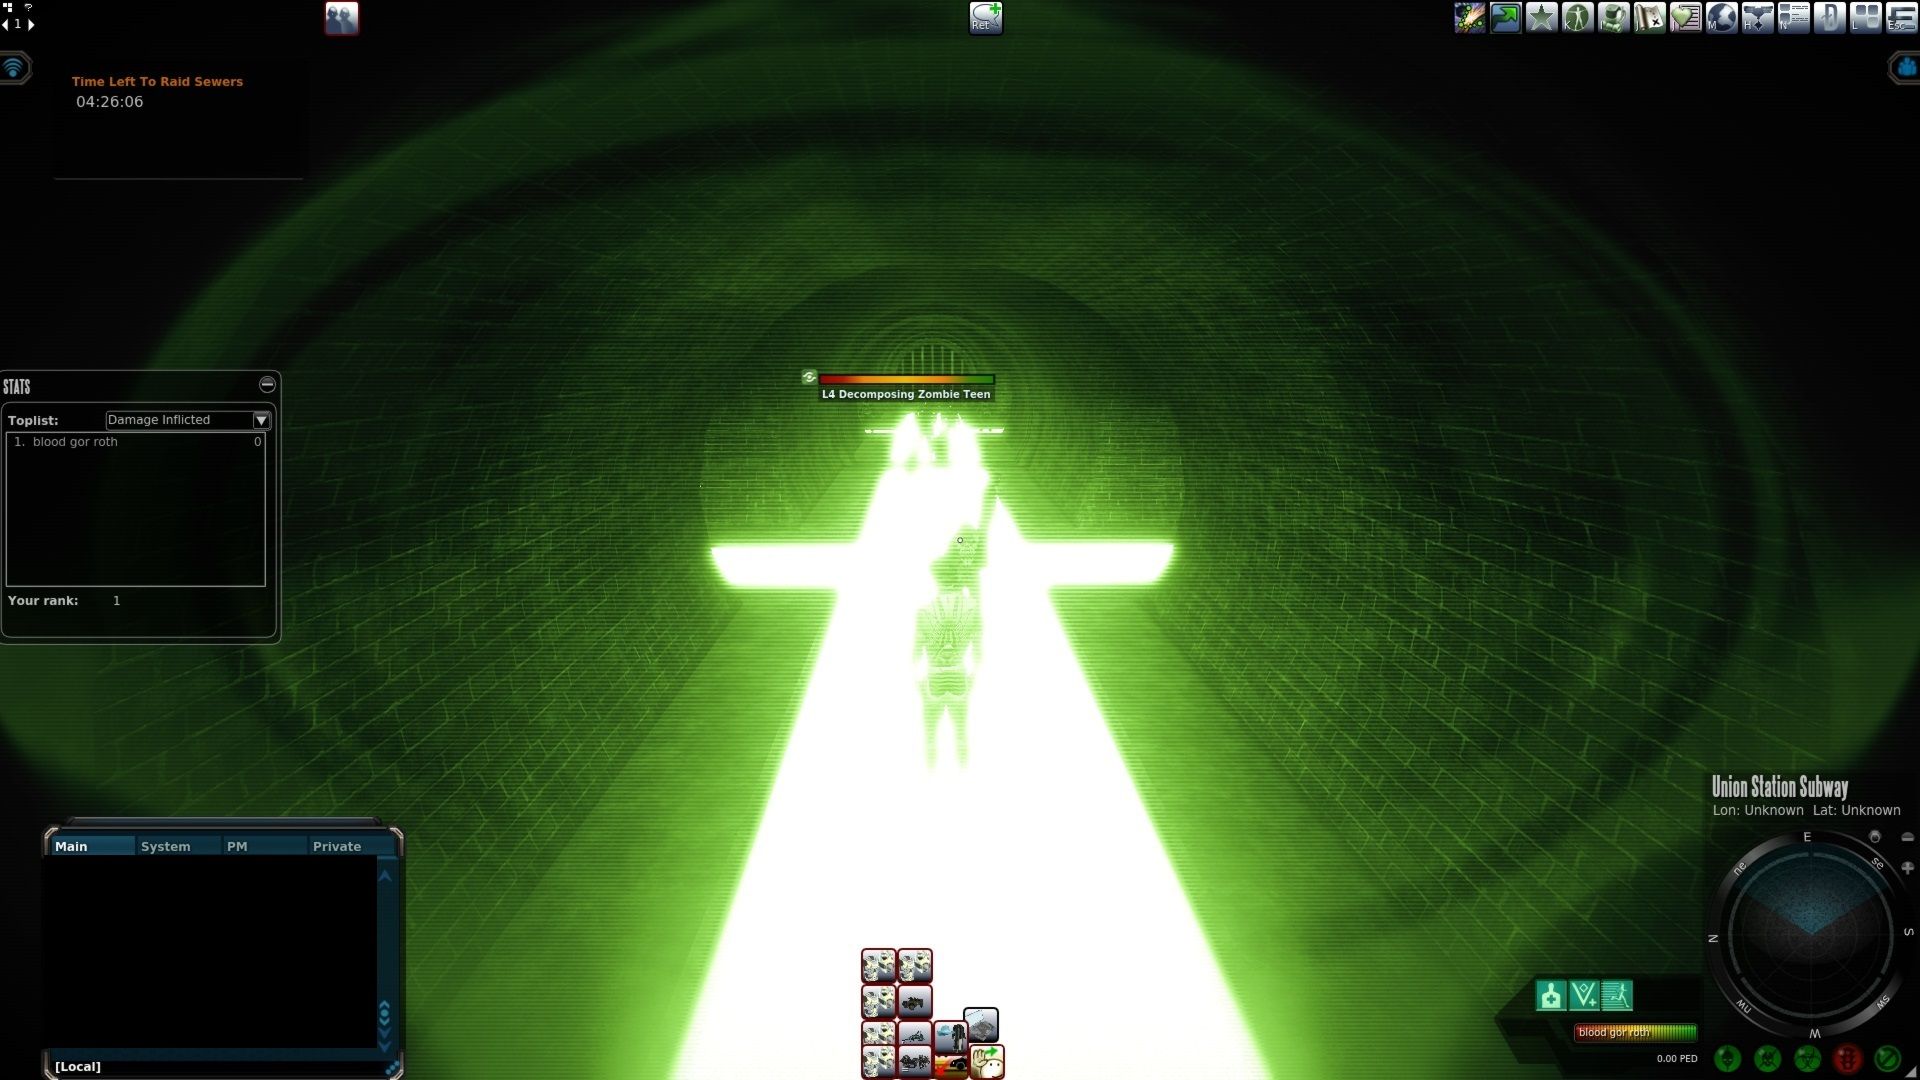
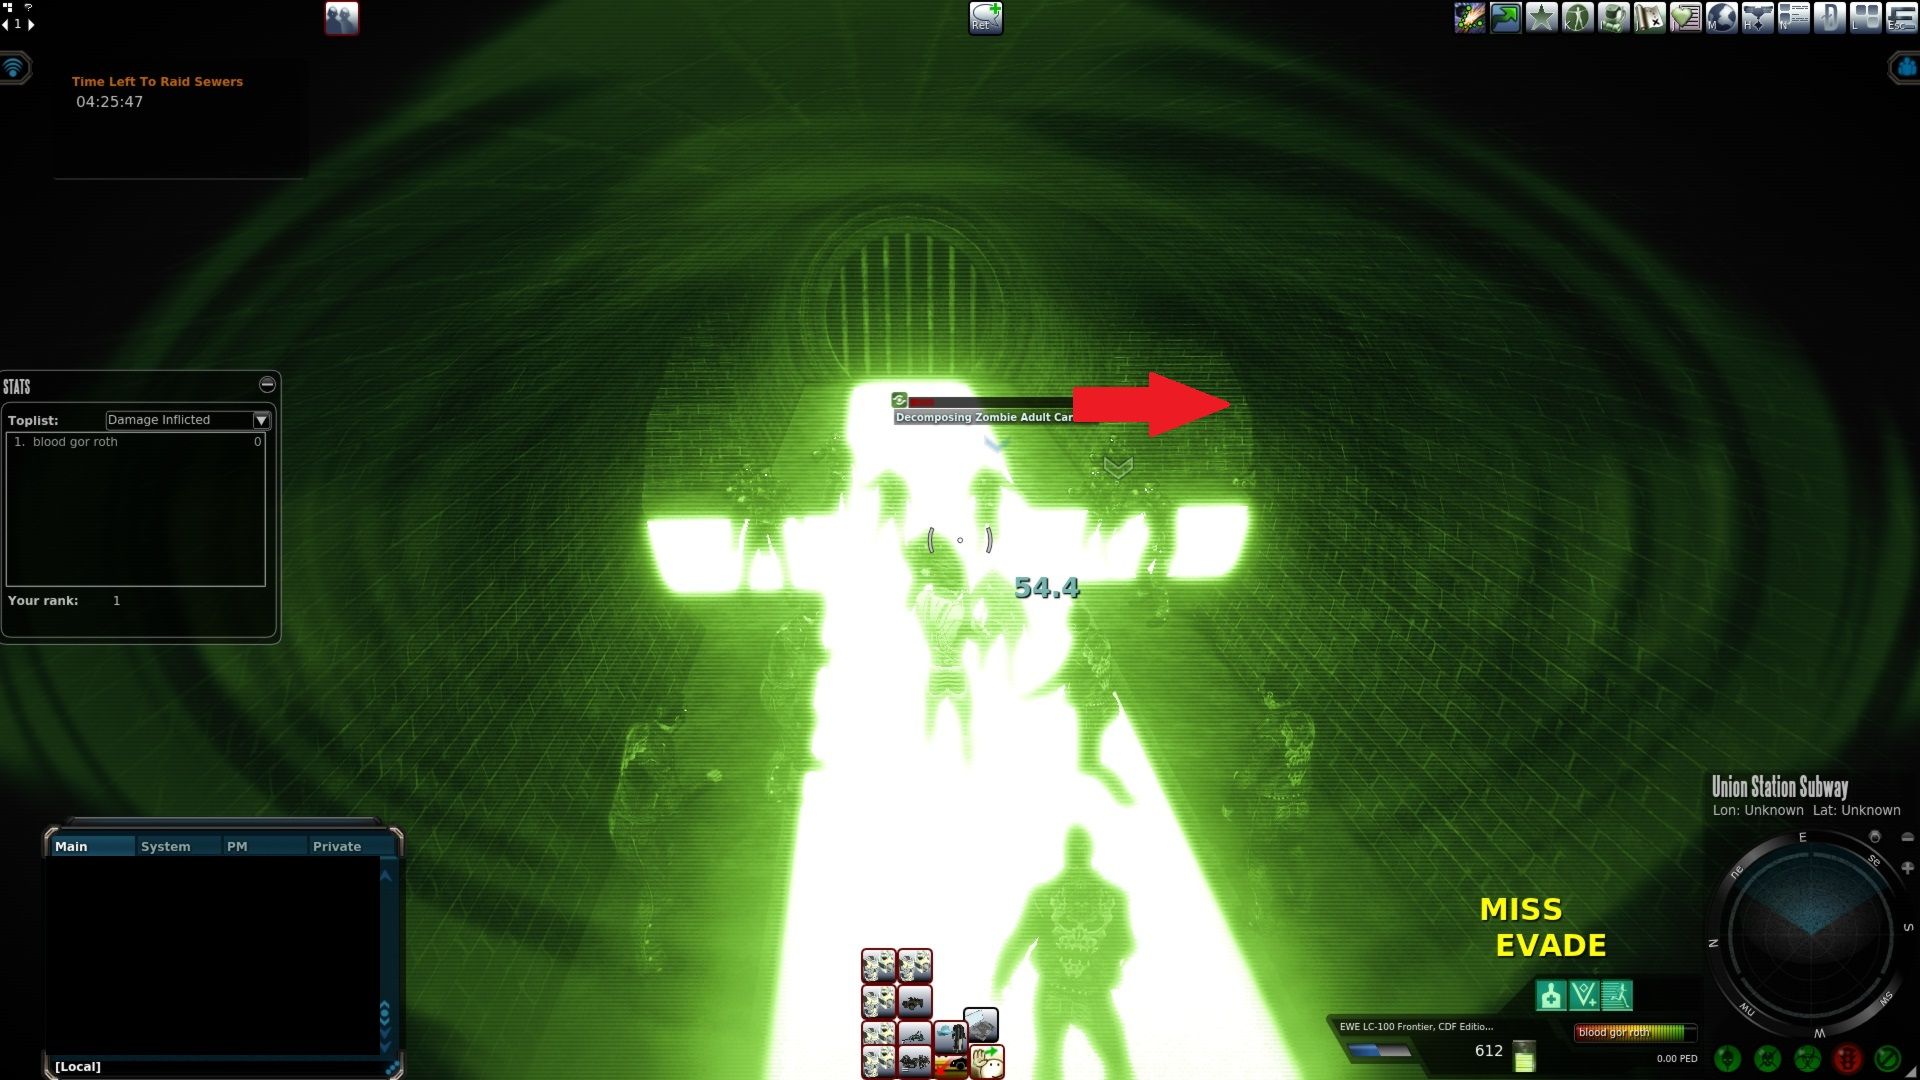
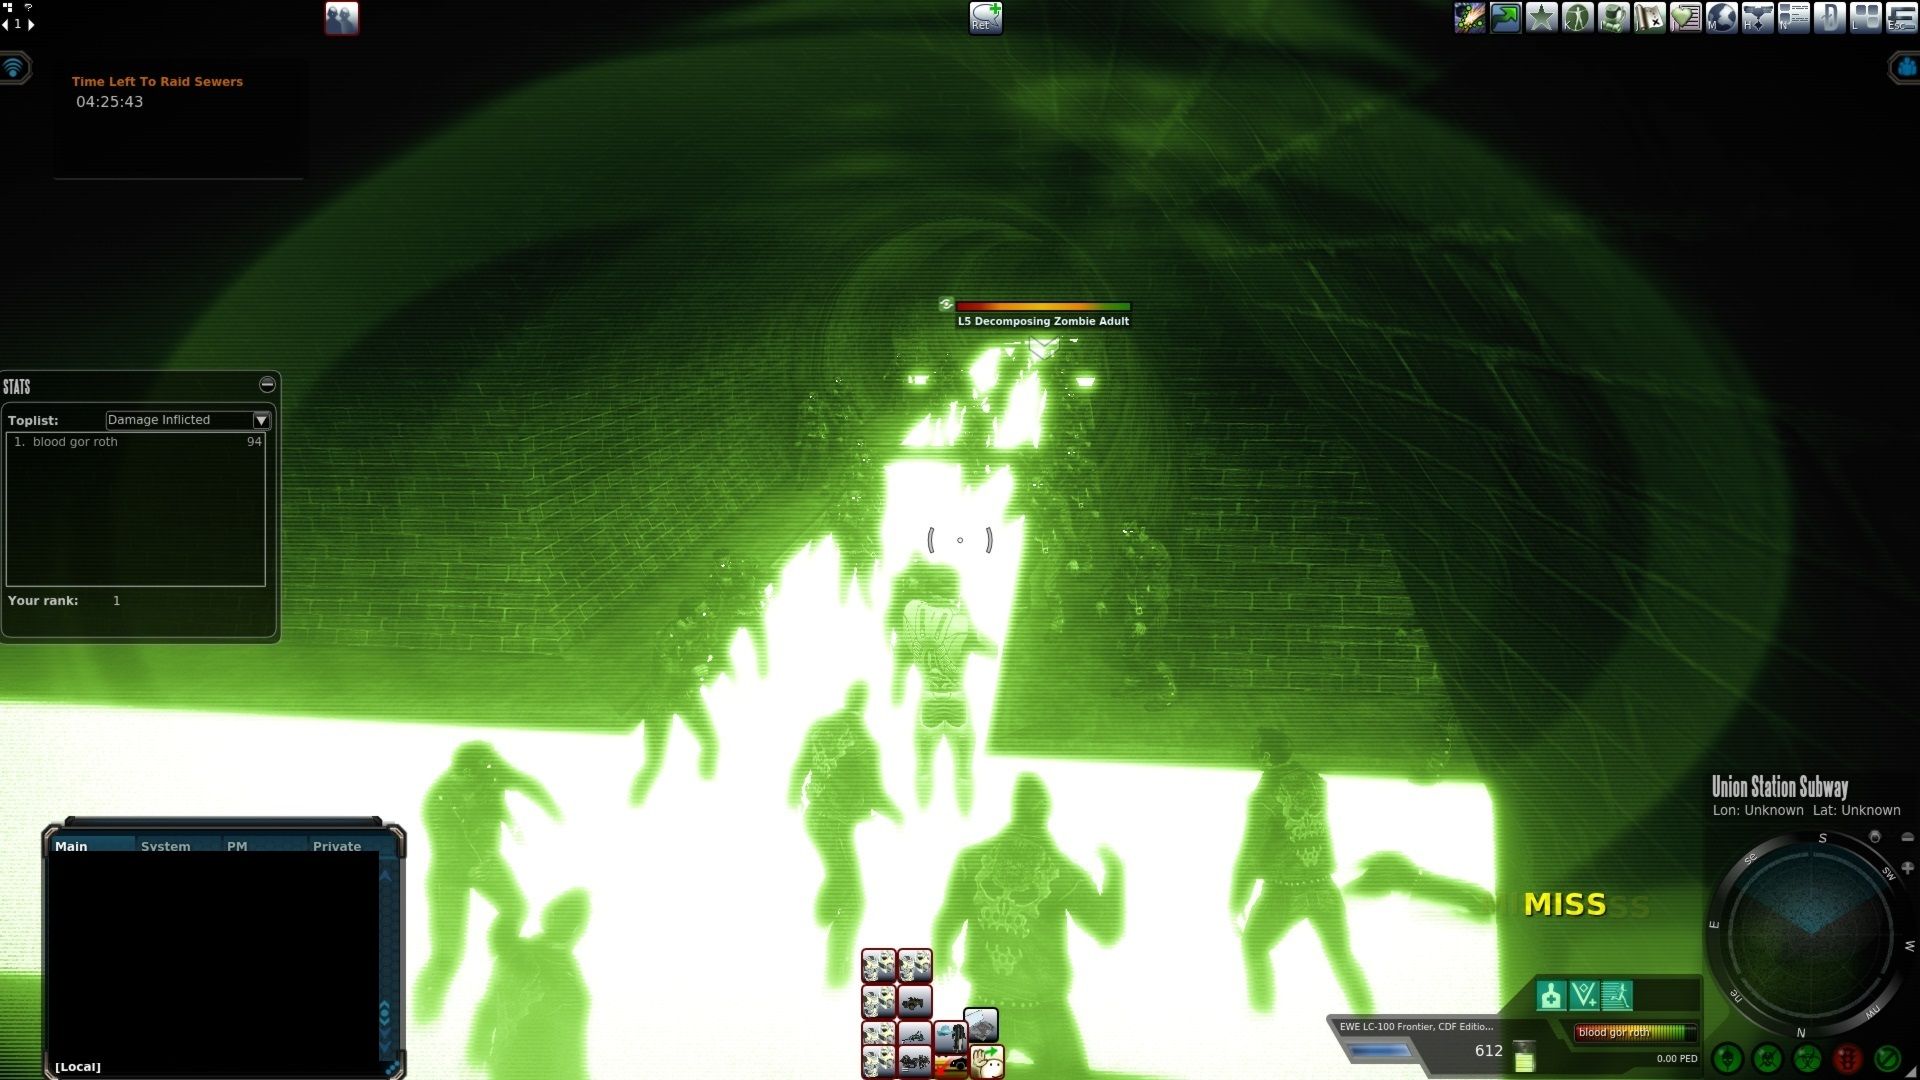
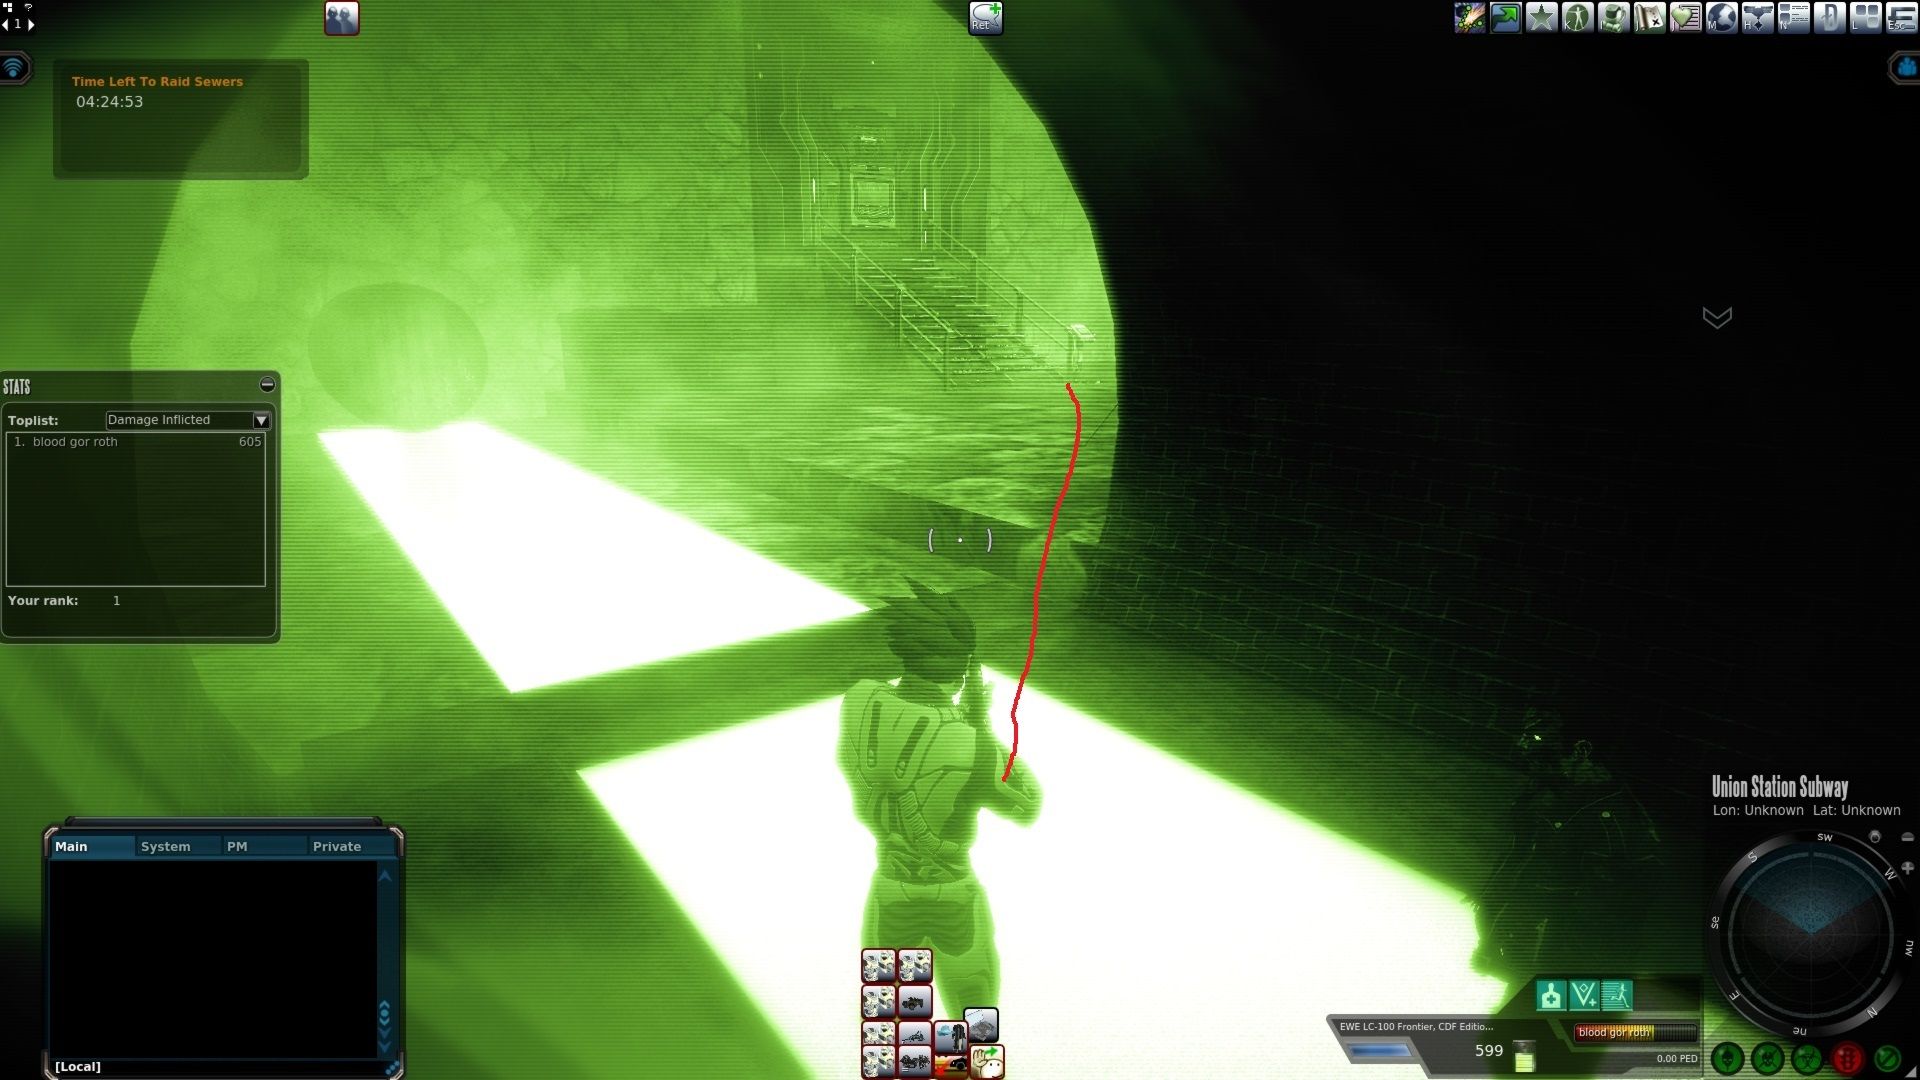
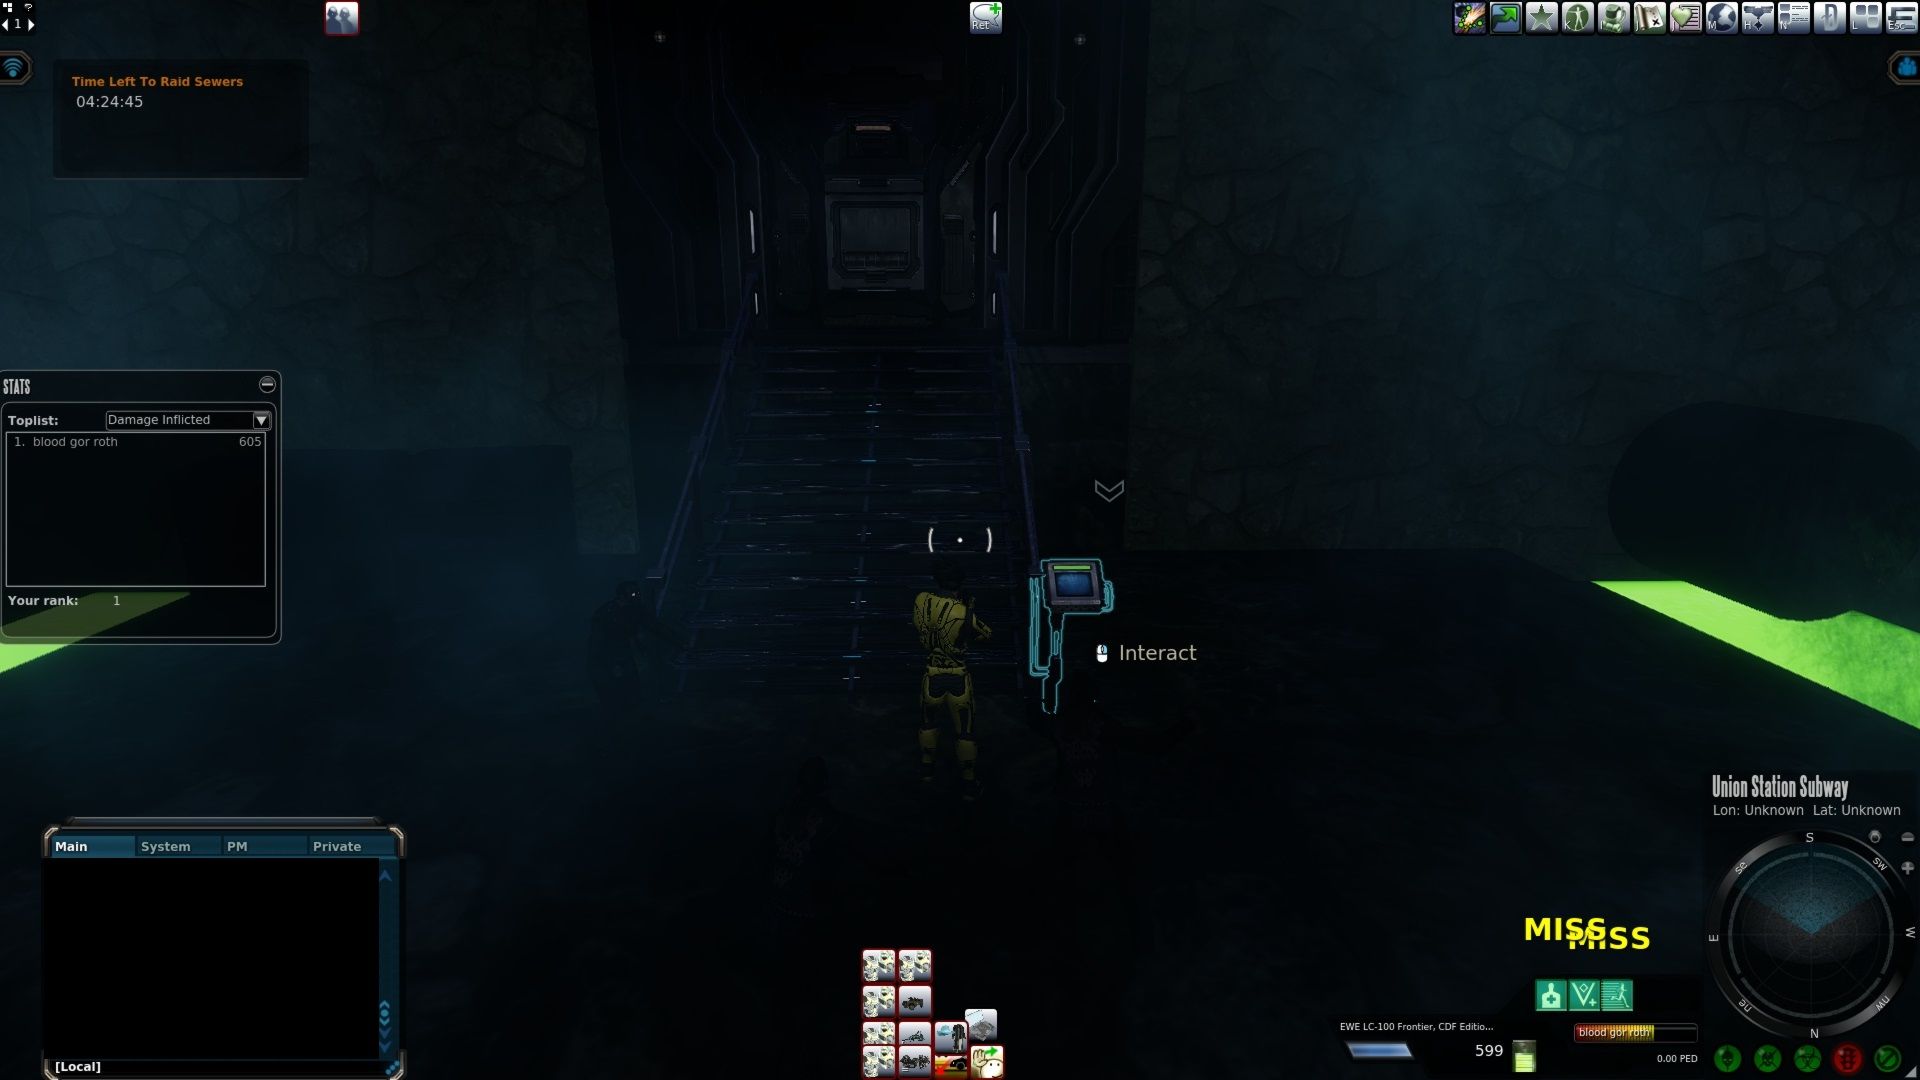
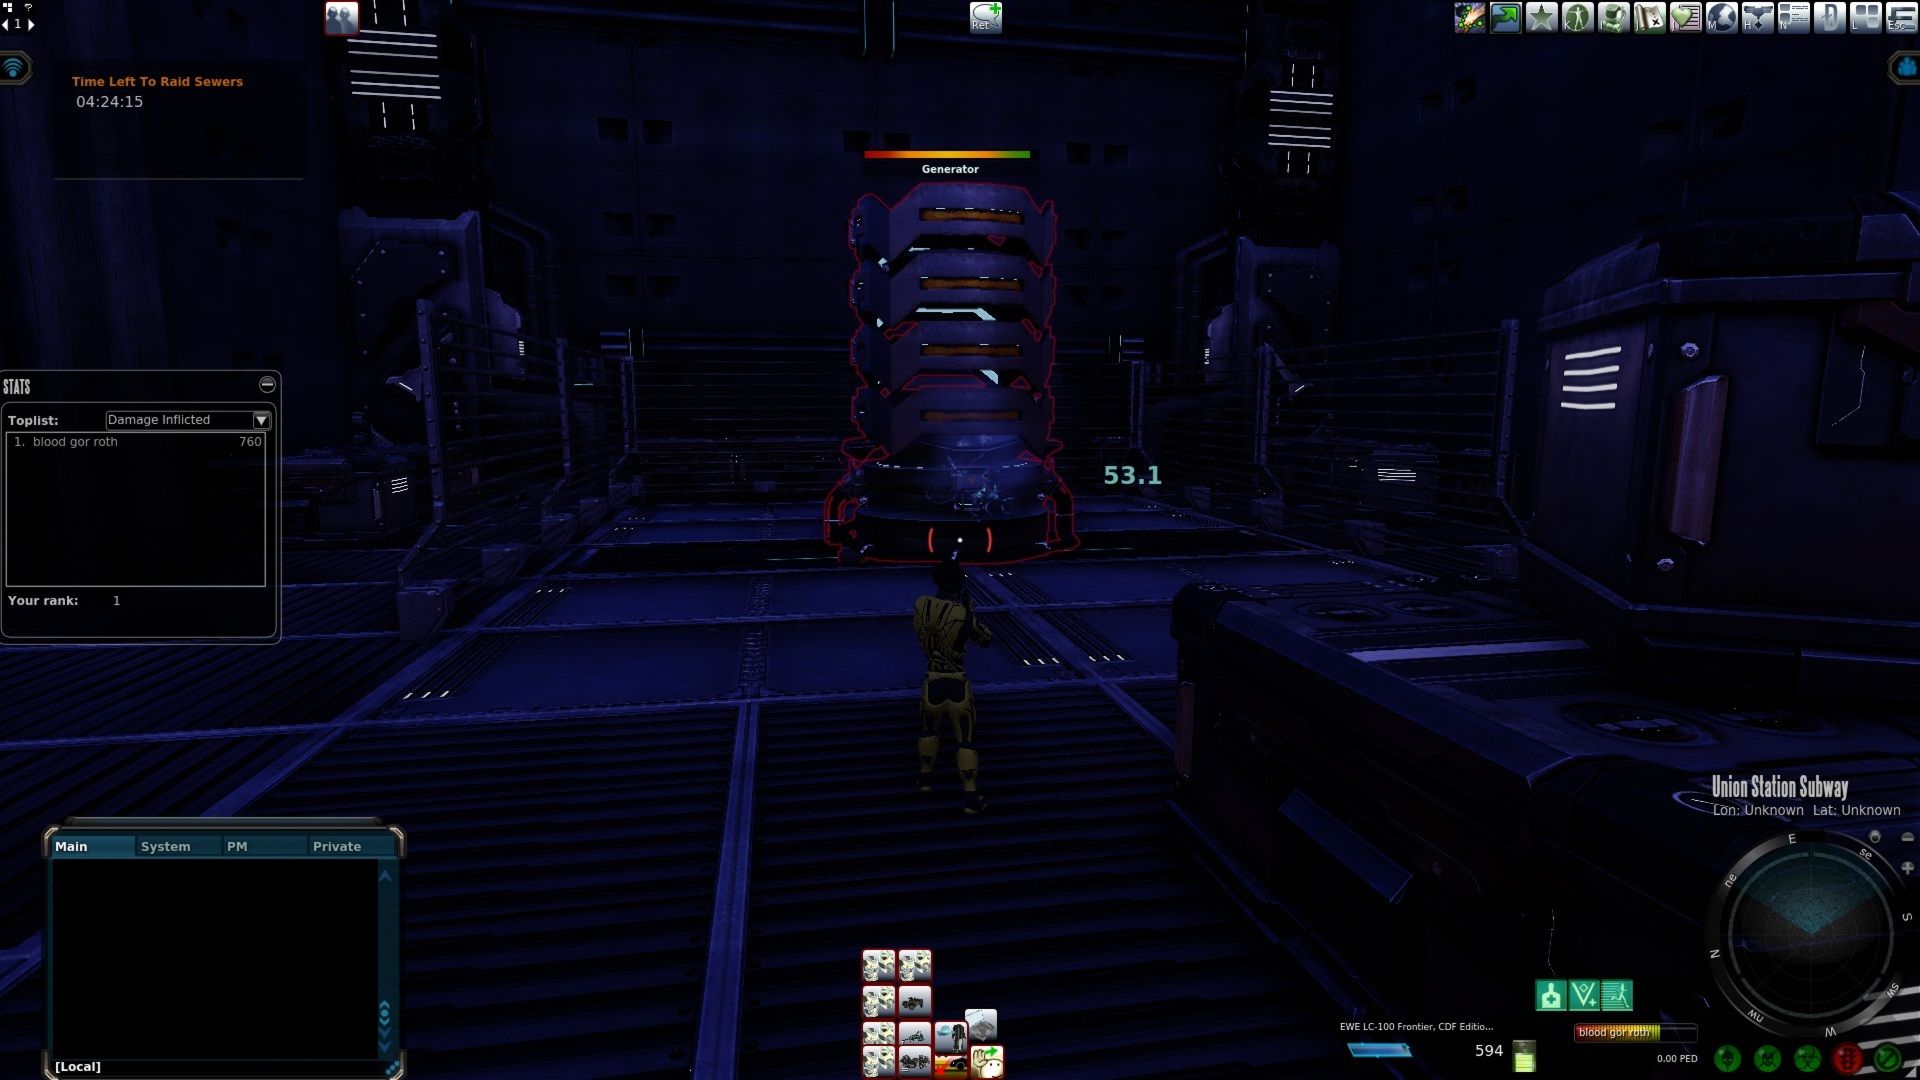
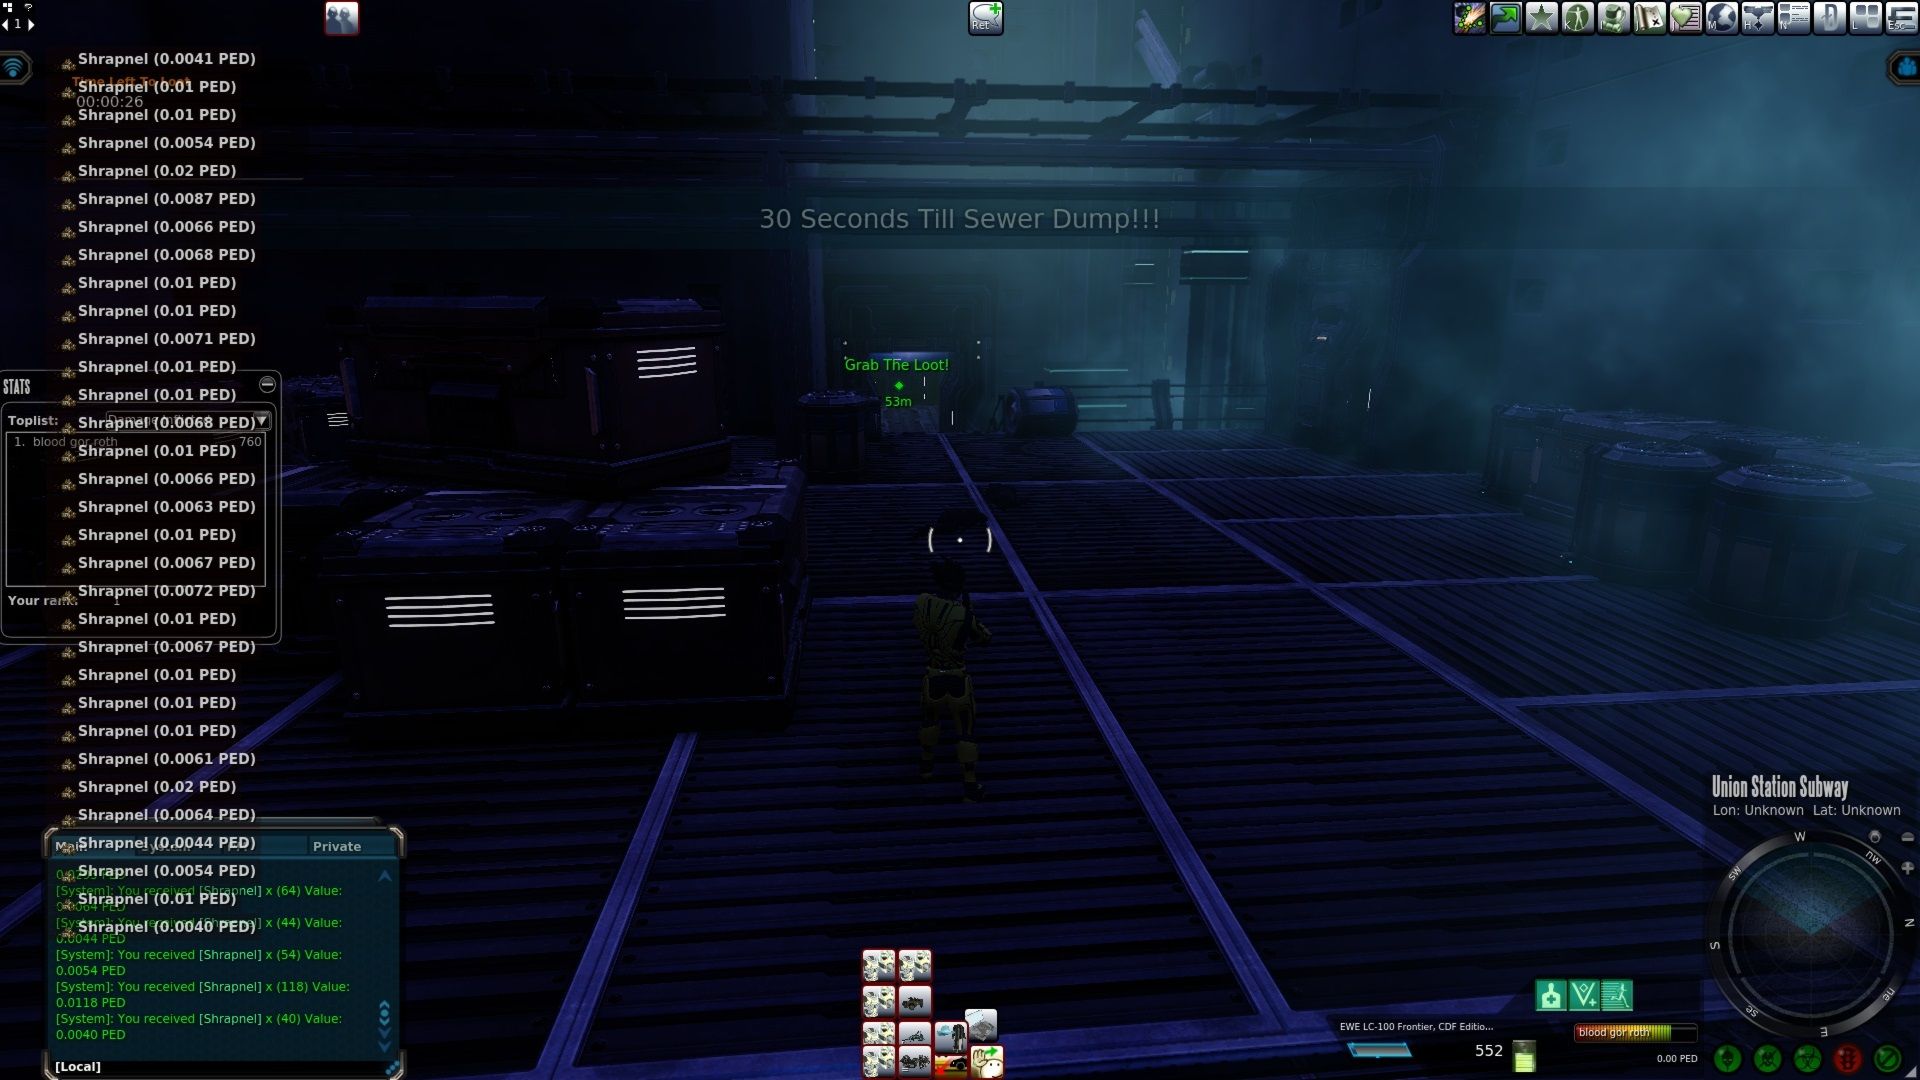
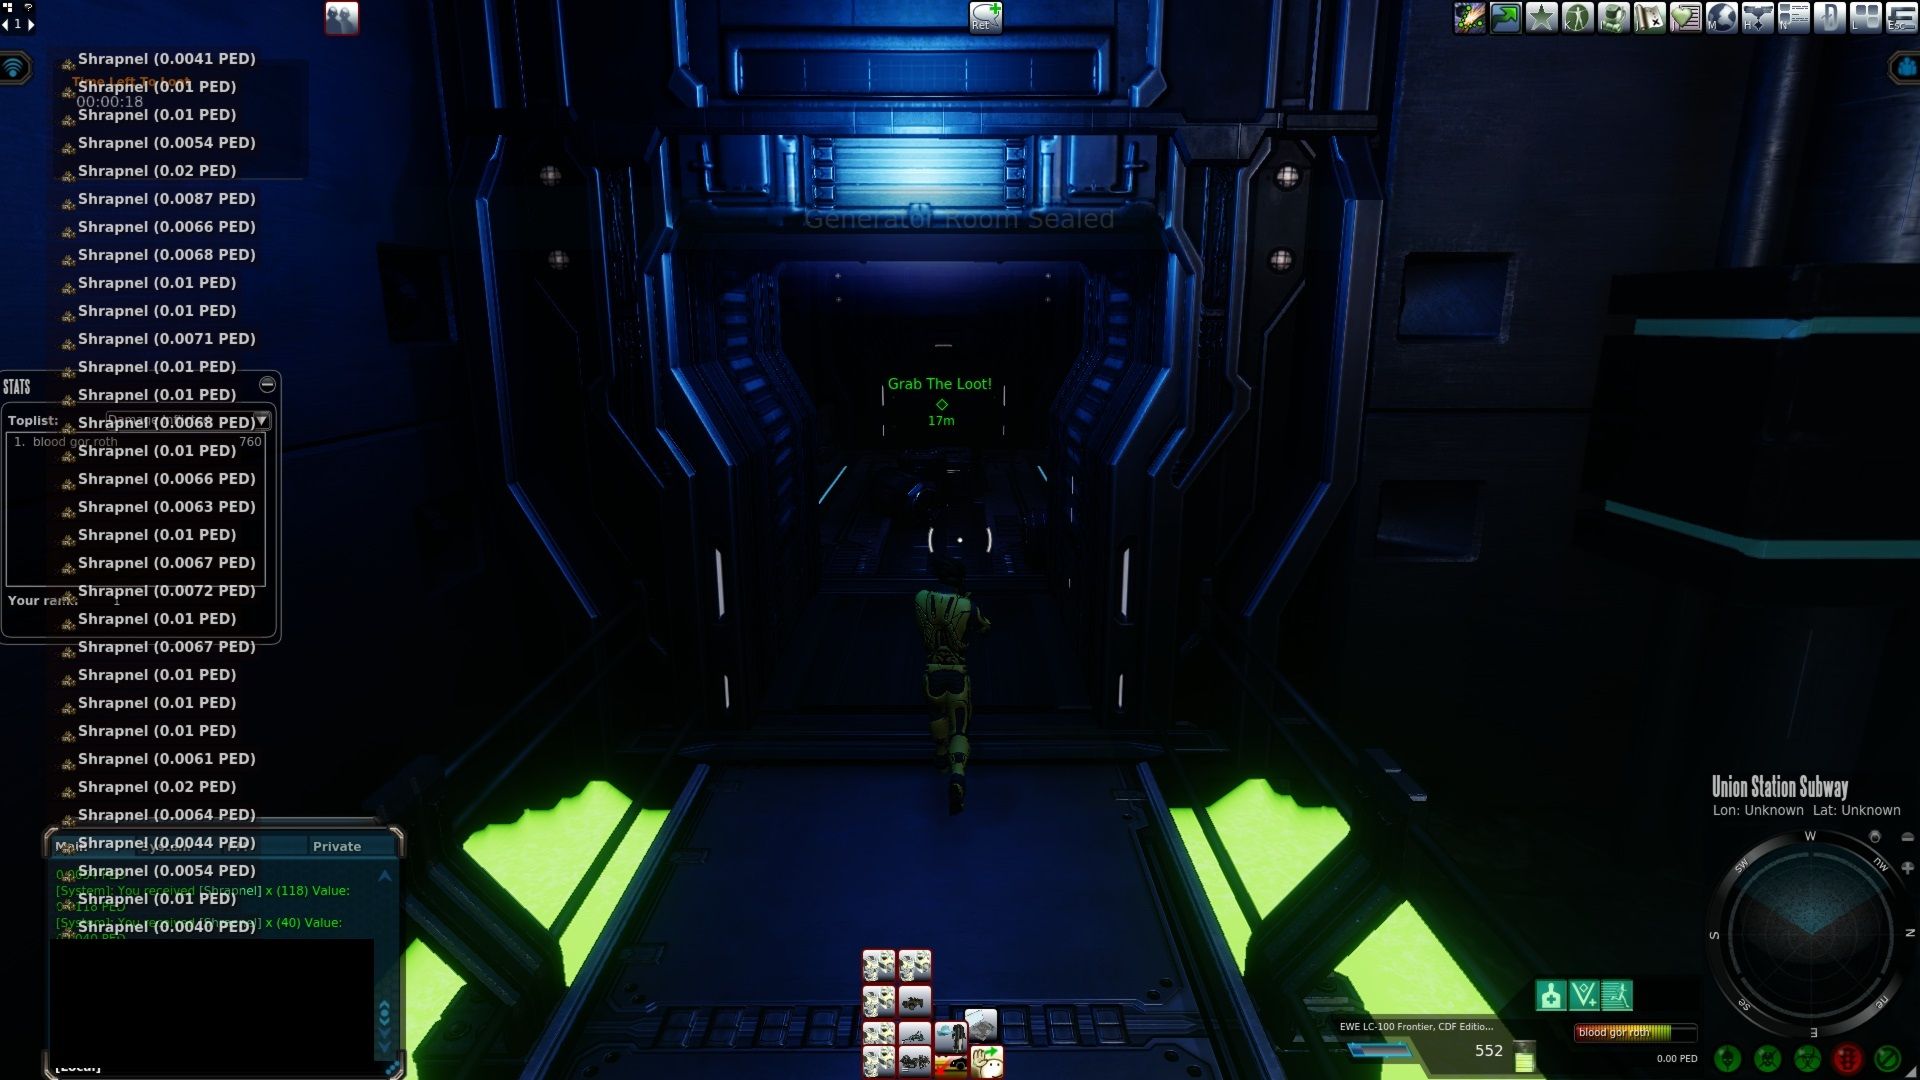
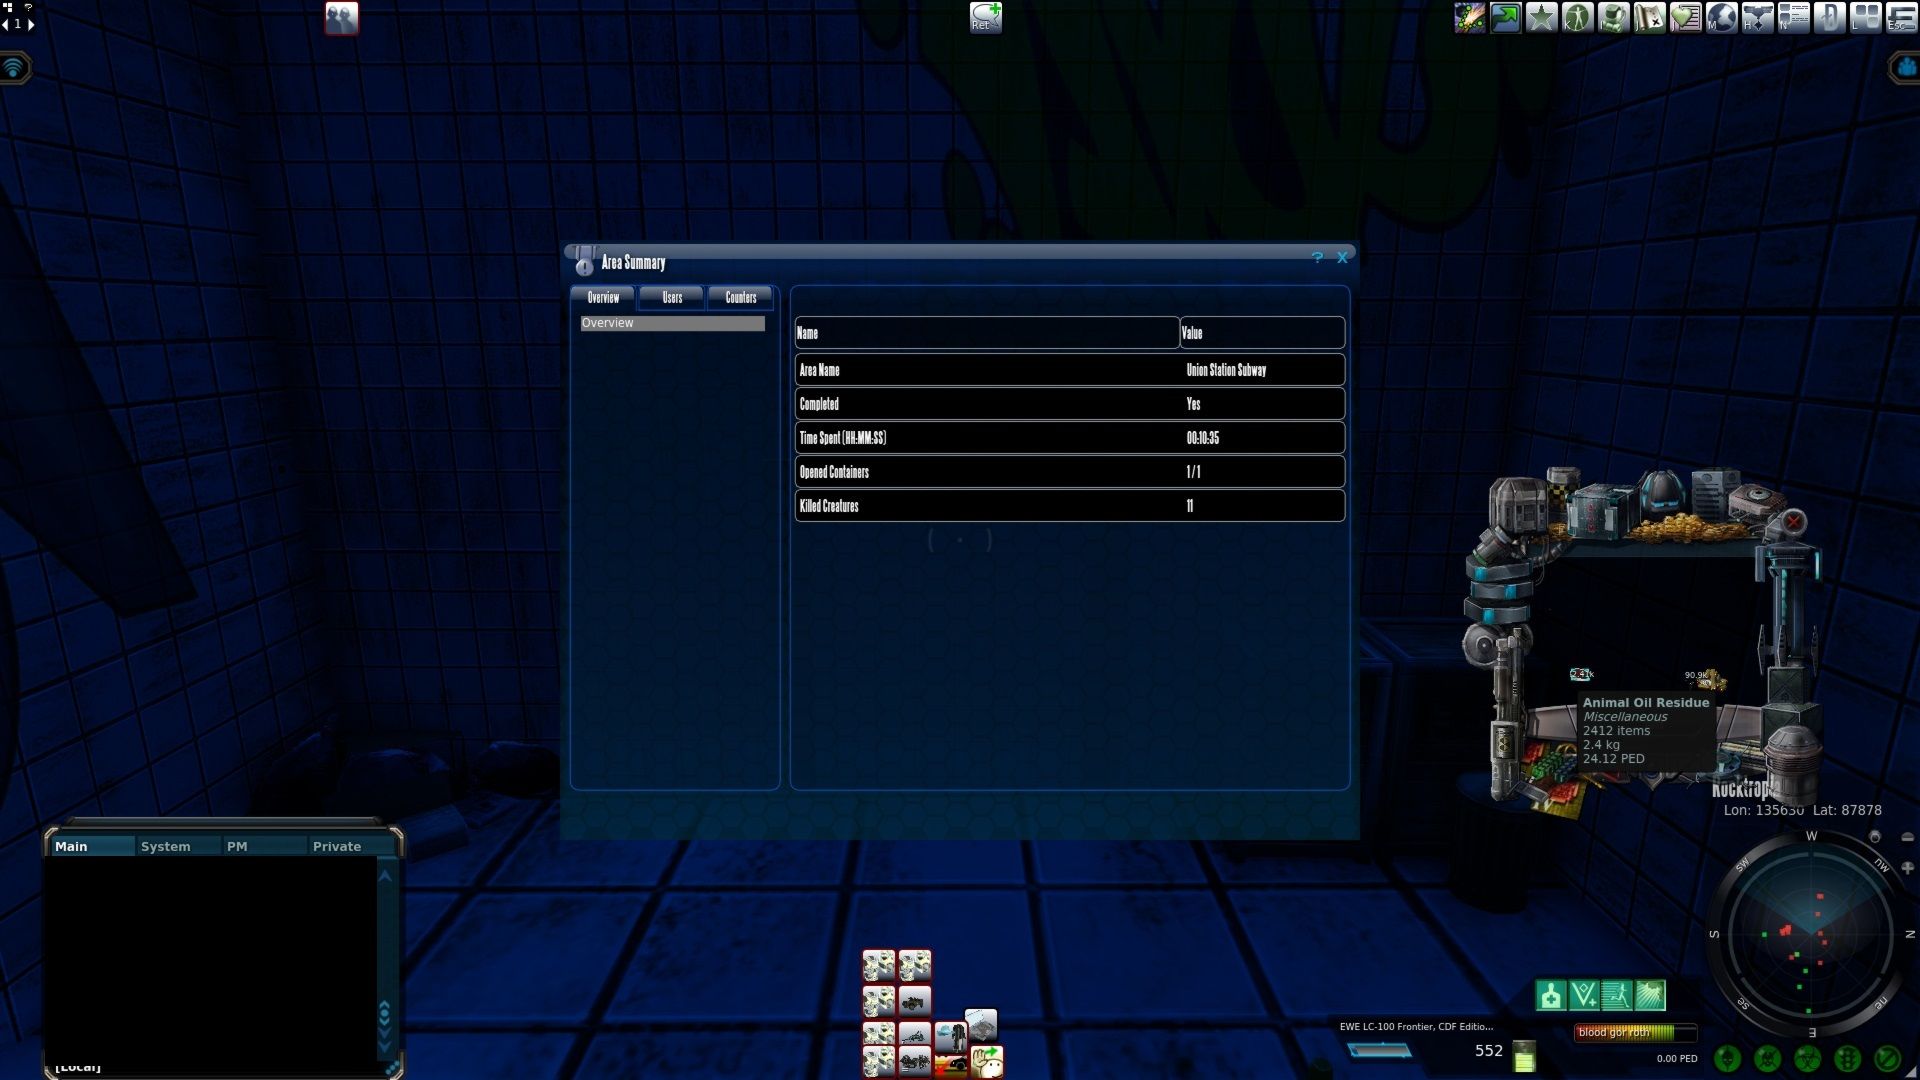
I felt a walkthrough of this maze was in order. There are too many horror stories that I know of from players coming in here and blowing many hundreds of PED in ammo and racking up insane armor decay bills to not find the end.
You would think with that in mind getting to the end would reward some insane amount of stuff from all the failed people who never got there. I’ve run it a couple of times now after working out how to get to the end.
Nothing that great so far. This run while a new personal best for how quickly I got to the end. Awarded rather a junk near zero markup items. At least it was not like the first time I was in here. That was a total horror show of hours spent lost trying to find my way.
Don’t forget if you are a player like me that prefers to adjust the gamma and other settings to change those back to how you had them.
Screenshots were taken and content was written by @Enjar about Entropia Universe.

