
Windrose Review
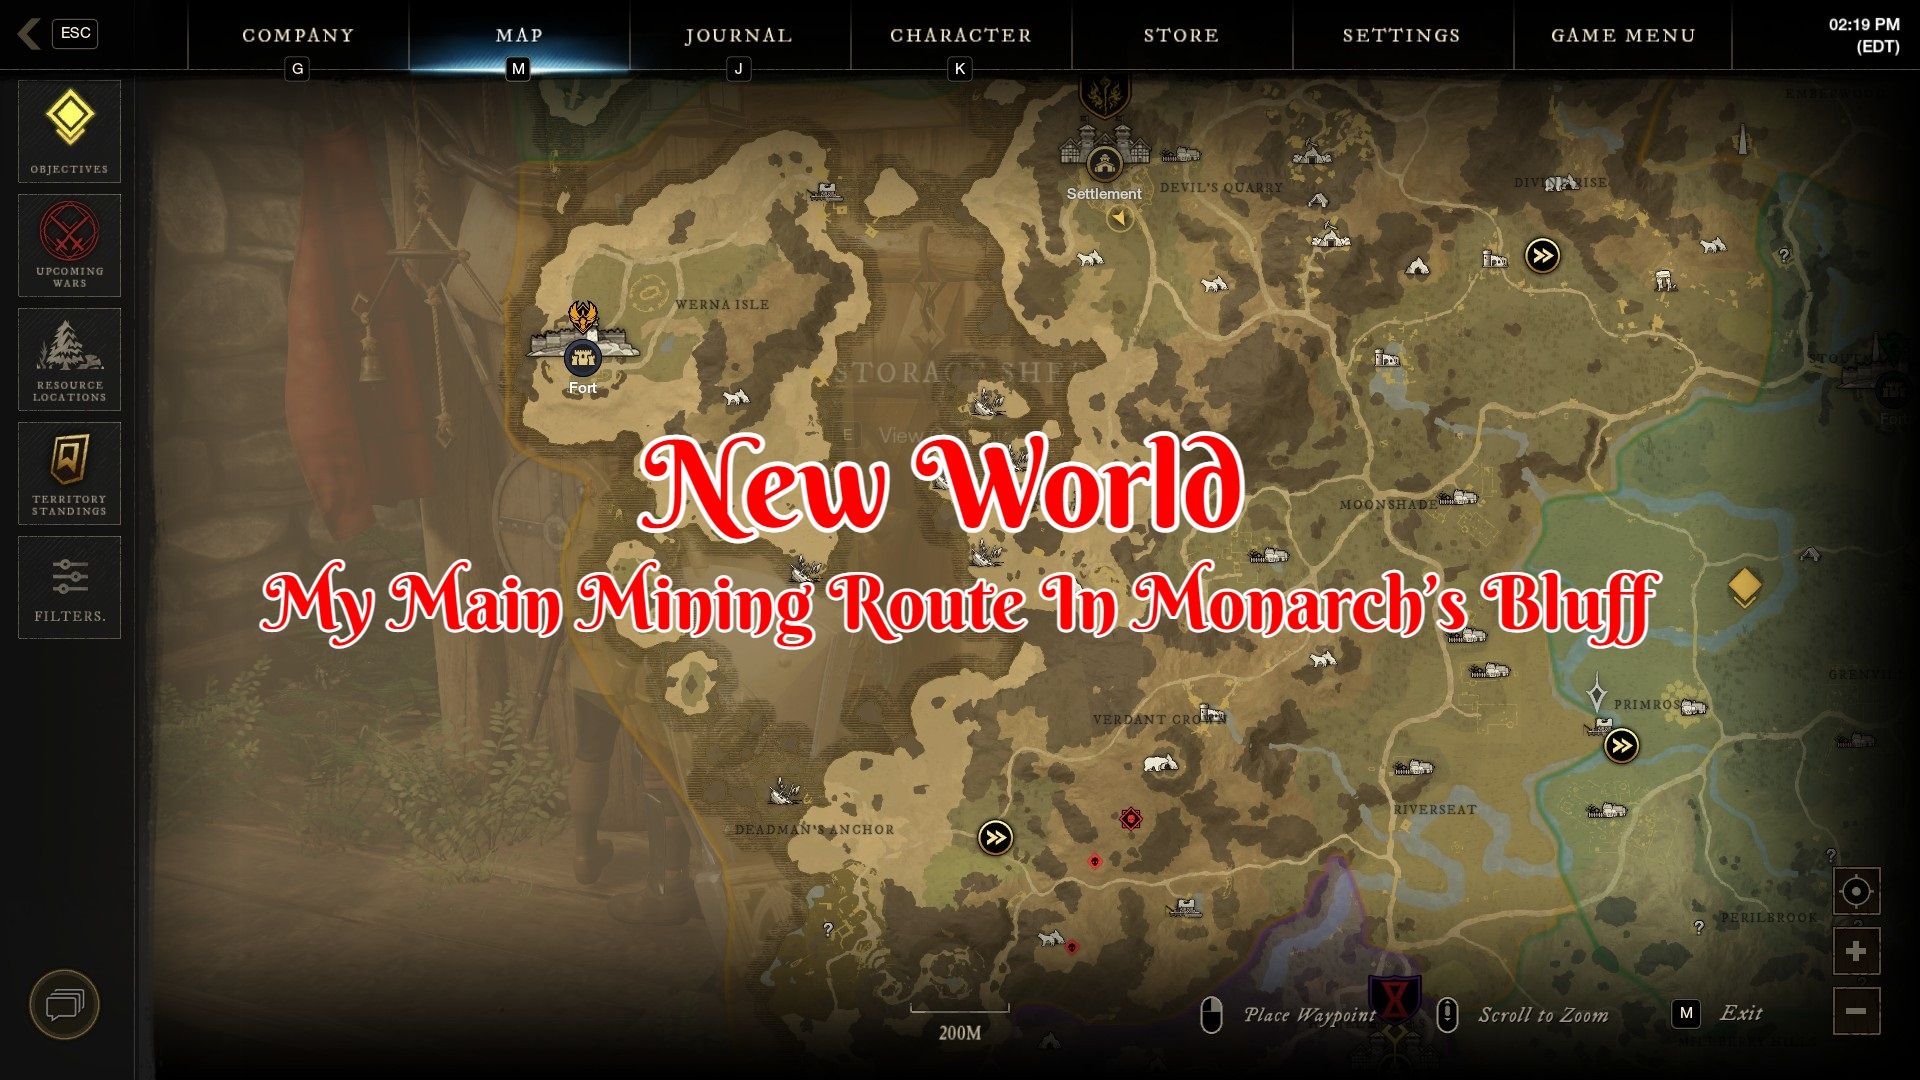
This run is going to be broken down into a few different routes and even options to take. I use to run this when competition for iron and some other materials were quite high and I needed a lot of different areas to hit up. Some of these areas are just fine to gather, take a short break, and farm once the respawns are up. While others cover wide areas that have a lot of different stuff in them that once you learn the area you might enjoy even more.
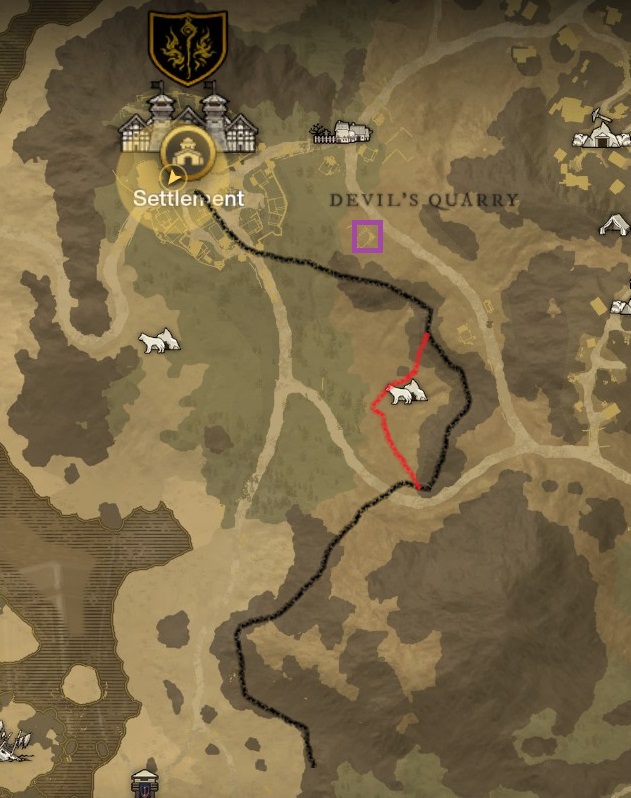
If the nodes are down or someone is ahead of you mining it’s best to jump down from the cliff. The red line has you go near some silver if you need some. The main point of jumping off the cliff is to get a giant iron node that is usually up that most skip over. There are also some iron nodes right where you reconnect to the black line that you can usually beat the person farming at the top too.
After that, there is a bit of dead space till you get to the next spot. You just need to make sure you get back onto the cliff and stay up there. Once you have down it once or twice you learn where you should be so you don’t end up back off the cliff for entering into the next part of the route.
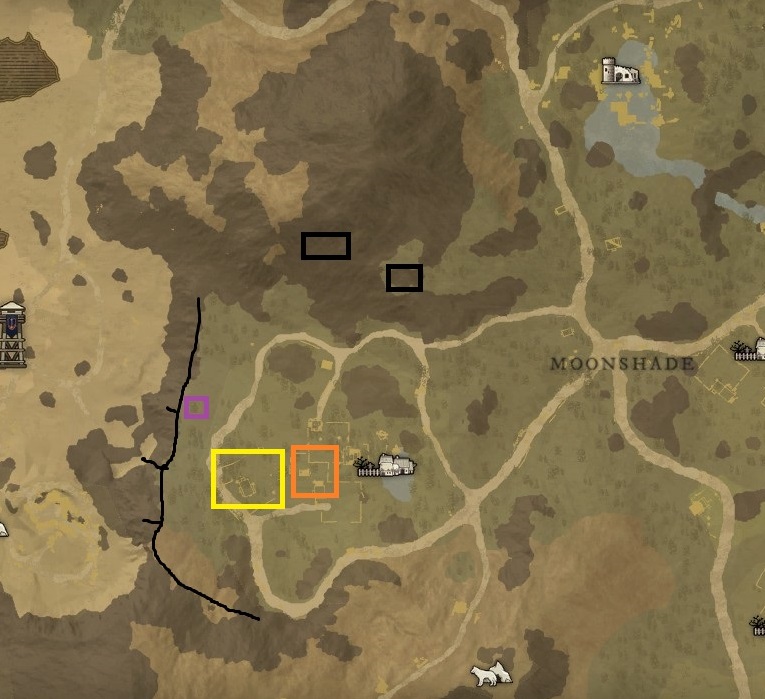
This place has some natural protection from other players. If you don’t enter and stay on the ledge of the cliff it can be hard to get up there. Keeping away a lot of random players.
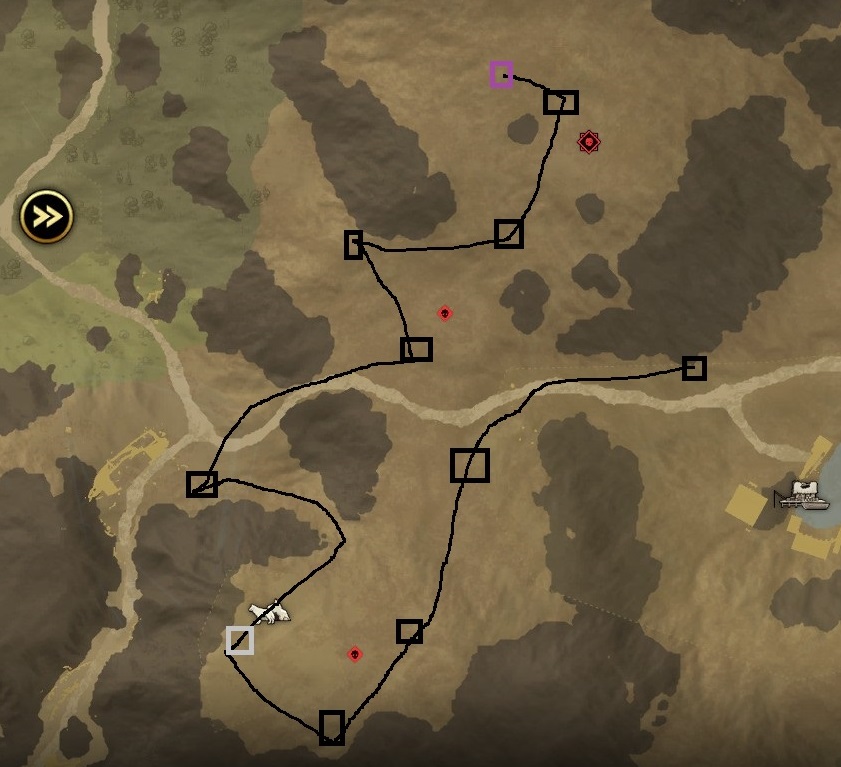
The first two iron nodes tend to get picked off by miners that run a different mining route. Up on the mountains to the east are some more iron nodes I’ve marked in black boxes. It’s possible to get up there but not something I tend to run for unless I’m sitting in the area for a while. It’s also where the other players' mining tends to come from.
There is also a giant patch of hemp to farm marked in a purple box.
If you need food items the farm contains a few different things. Corn is marked in yellow. With squash is in orange. There are a few other things up there as well.
If you have a decent ranged weapon and need farming there is a lot of elk up on this ridge to farm as well. This can be a great area just to sit in and collect quite a few different resources. It’s also not that far from town so running back when you fill up your bags is not that big of a deal.
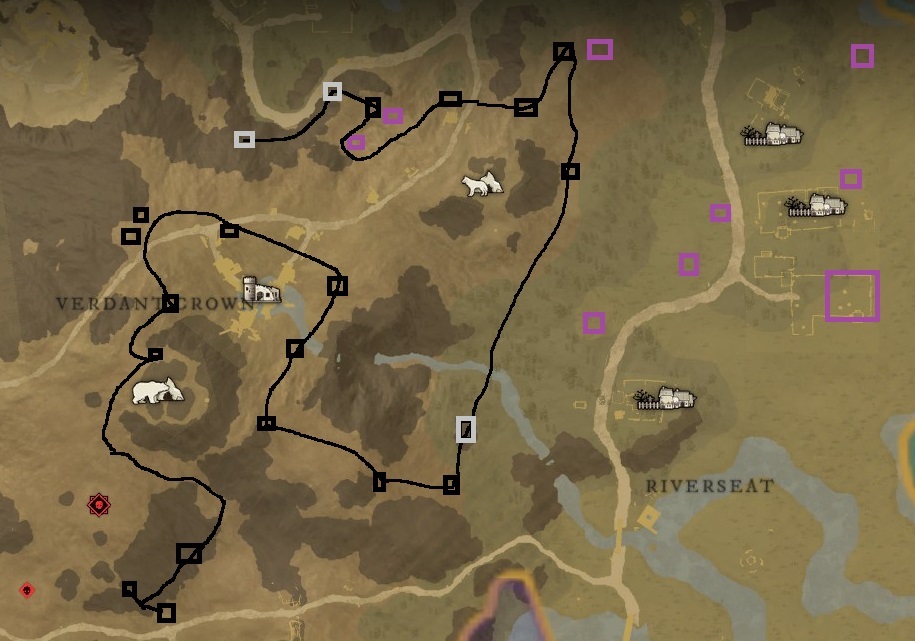
The next part of the route takes you all over the place. There are quite a lot of different things you will find along the way. This is sort of the path I take to get through it. With the main object to end up at a spot with a cluster of iron on a mountain.
Don’t mistakenly jump off the cliff onto the road. Until you pick up two more silver nodes before doing so which are in silver boxes. After that, you get a bit of a break from needing to stay on cliffs for the most part. Since this is not like the first two parts of the route where you can easily follow along the edge of a cliff and find all the nodes. I’ve added some black boxes for approximant areas of iron nodes.
Depending on what your target is you might even decide to skip a part of this and go across the river down to the endpoint where there is a cliff with a few nodes on it. There is also a lot of hemp in the area that I’ve marked in purple boxes.
Since this place lacks protection from wondering players it’s not uncommon for a lot of nodes to have already been farmed. It can also be a bit easy to miss parts of it if some of the nodes are already mined. The black boxes are just approximations of where you should find some nodes to farm.
At this point of the journey depending on how many different things you have been gathering. Along with if you ran into a lot of other farmers your bags should start to be getting full. If you are someone who has a giant bag and you are only farming iron you will still have a nice chunk of space left.
The nice thing at the end is if you have a bunch of rooms you can always run back to the area for the second part of the route and start from there. Everything will be back up unless another player farmed it. The trick is finding the easy path back up there. Which I’ll leave you to discover for yourself.
You also have the option if your bags are full or almost full to just recall back to the inn in Monarch’s Bluff. If your recall is down you can always use the shrine that is already marked on the map with >>. This makes it great as you will have times when you are full but your recall is not up yet.
Then you just dump everything you have gathered in your storage shed and head out repeating it all over again.
The route is long enough even if other players are out and about or even following it. There is a good chance you will find lots of nodes still up. You might need to adjust sometimes if you find one area is always farmed by players running their routes in an area by skipping over it. As is the case I displayed in the first part where you could take an alternative path. There are many areas in part 3 or 4 that you could skip over if they are constantly being farmed.
Screenshots were taken and content was written by @Enjar. Screenshots are from New World.


Windrose Review

Taking A Look At Alaska Gold Fever

The Making Of The Anathema Adventures Series

Taking A Look At Starminer

Making Billions During Capsuleer Day XXIII Warpath Event In Eve Online

Starminer | Trading From Station To Automation Guide

Taking A Look At Project Mist

My First 100 Hours In Starminer

Making Billions In The Gallente Election Event In Eve Online

Taking A Look At Windrose