
Windrose Review

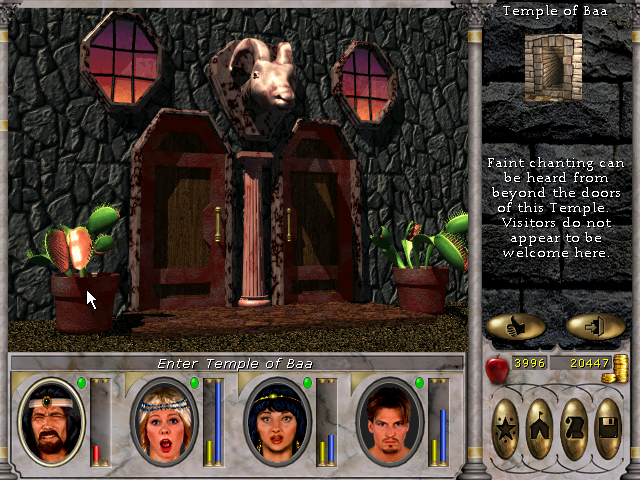
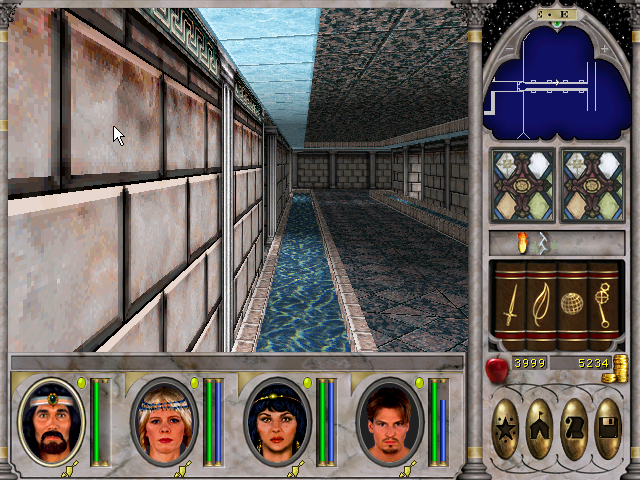
Temple of Baa in Might & Magic VI I feel can be almost overwhelming if you are not certain what to do. There are quite a few large open areas with an insane amount of creatures to clear. This is also one of those places if you are not ready it will end quickly not in your favor.
This was not my first time entering into the Temple of Baa. I had done so a little while back for a huge spider bounty. At that time I discovered I did not quite have the damage output I would have liked to give this place a decent run.
There are four massive caverns in the Temple of Baa that I decided I would work on clearing out first. If I recall but it’s been quite a long time now that not clearing them out is a bad idea. They also provided at my level a decent amount of experience.
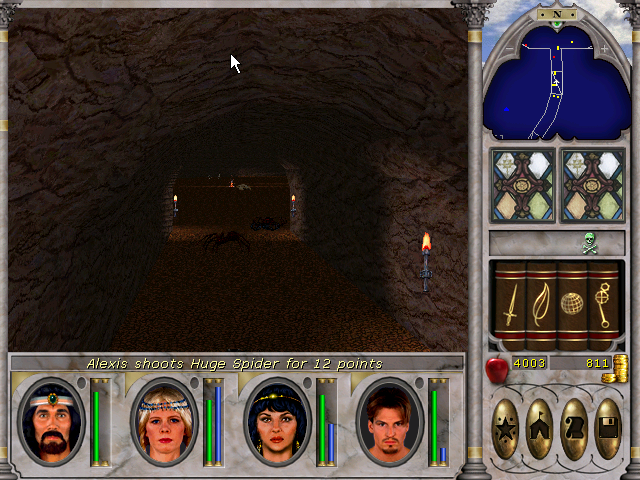
The trick with all four of these is to take them super slow. You only want to pull enough that by the time you are back in the main area of this dungeon, they are all dead. Otherwise, they spread out creating a lot more opportunities for themselves to get some blows in on the party.
Because of that, I ended up taking a lot more damage than I would have liked. Some of my casters were already getting low on mana anyways. So this provided an excellent reason to let them rest instead of using further mana to heal up the party.
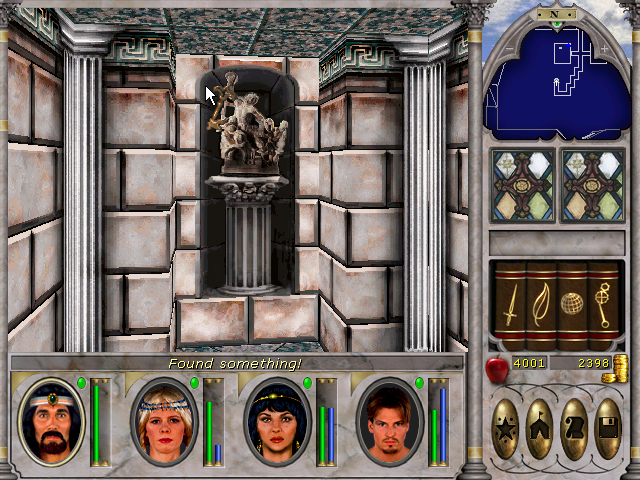
There are also things like piles of bones and trash. I tried clicking a few to see if I could find anything. The only thing I found was death and my character becoming insane. Perhaps I’ll try in a different run once this place has respawned to see if I get any better results than that.
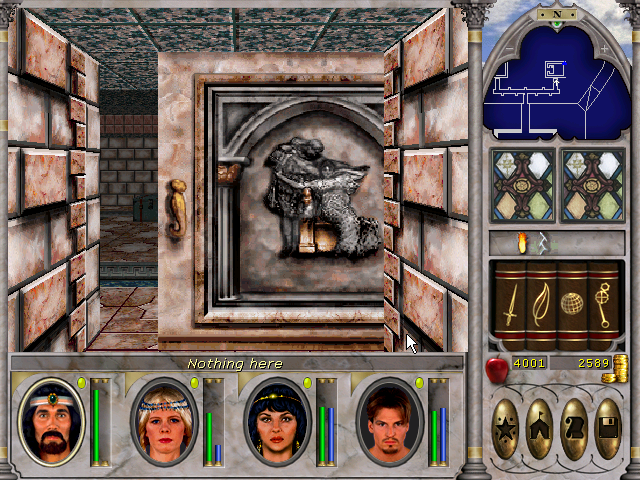
After that, it was about finding the right doors to open and looking for the keys. As you progress along creatures spawn in the main section. As such, I take it slow and re-clear any spawns before moving on to opening up more doors.
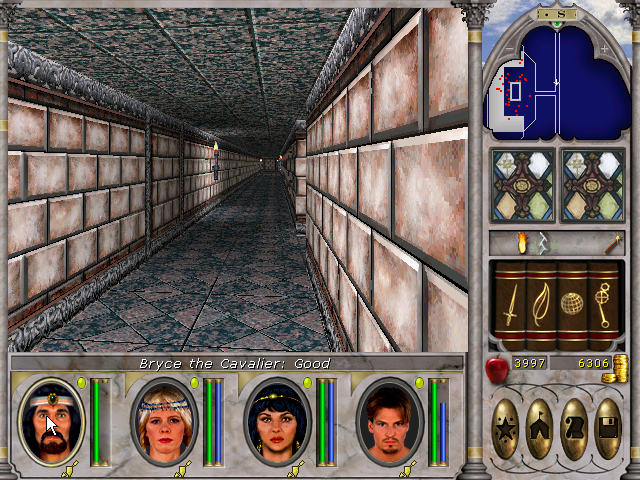
One of the benefits of clearing out the caverns and those tunnels they connect is having a nice spot to fight. While ideally any spawns I get while opening doors I’ll be able to lure into the narrow hallways and finish them off quickly.
Sometimes things are just tricky. Other times I just don’t have enough room that I feel I could kill everything with spells and range damage before I hit a dead end. When that happened I’d just run past everything and down into the tunnels.
That would force everything that was aggression on me into a better conversion point. Reducing in many instances depending on the type of creatures that spawned the damage I was taking since I could stay ahead of them. Along with keeping everything in a single plane of sight for dealing damage.
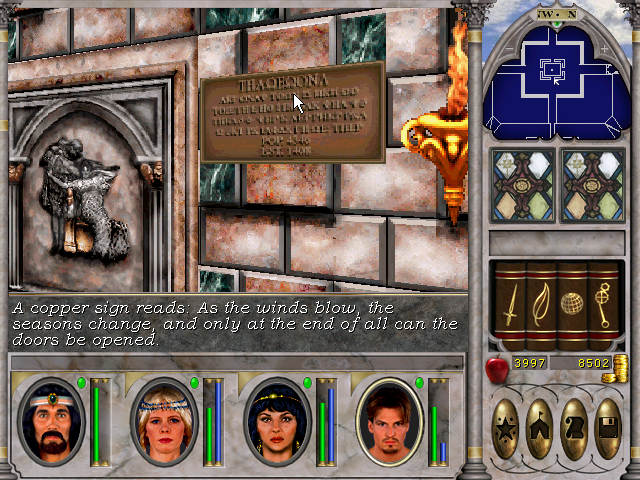
I then went over to a door I was avoiding opening. There is a fireball that shoots every few seconds and I’d rather have it contained as long as I can. I also skipped out on doing the puzzle in the middle of the dungeon for the time being as well. As once you get those doors open the fireball shoots into the exit of the dungeon. A bit annoying to deal with if you need to get out of the dungeon in a hurry.
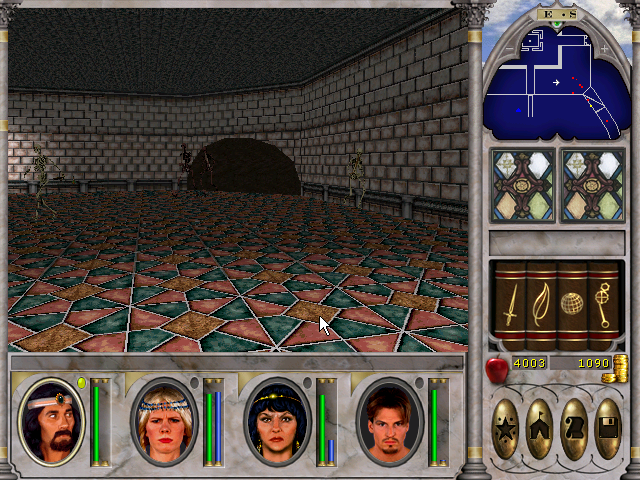
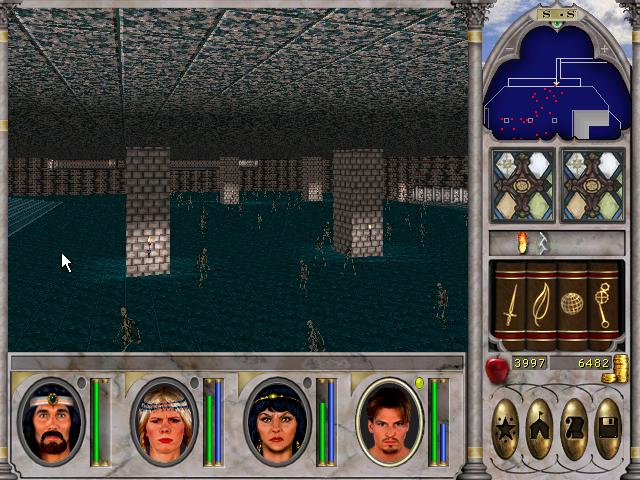
There then was quite a lot more fighting as you end up in a massive room. This is where things can start to get tricky for people who don’t know any better.
Since you are first fighting a bunch of persist you can use the pillars to try and block their spell damage from hitting you. Allowing you to just focus on a couple at a time. You could also run back out of the room and try to lure a few of them at a time out.
As long as you don’t run up to where the gong is while the priests are still spawned in and attacking you. Things tend to not be so bad.

There however comes a time when you need to run up to the large table. On it was a gong that I picked up. I then darted between the two torches on the wall and opened the hidden door with the key I had. That leads me into a nice long corridor that both help protects me and gives me all the range I need.
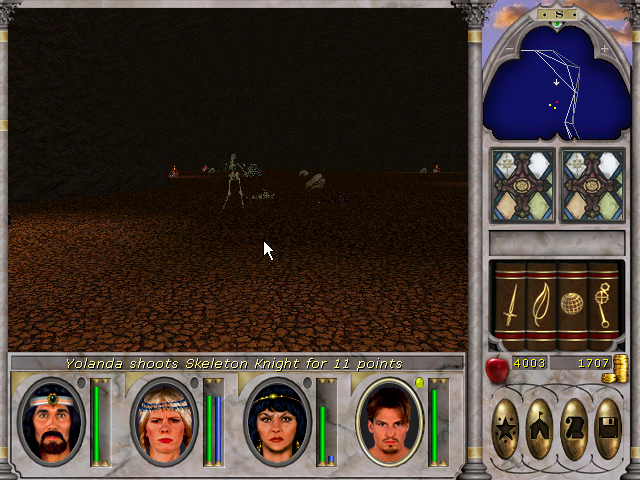
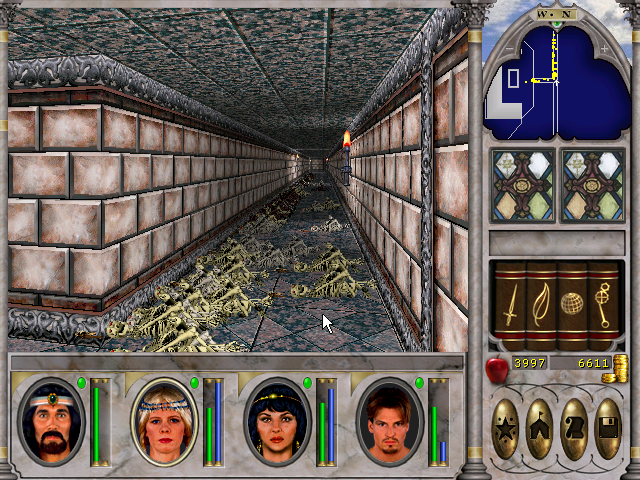
I would take my time. Slowly walking up to the door entry into this hidden section of the temple. Till I knew I would be lured in a couple of skeletons at a time. Then I’d run back and take them out as they came in. Repeating this process many times.
While it is tempting to try and kill as many as possible while standing on the ledge. That just creates a lot more work when looting. I would just run back to the opening of the corridor and lure them in like before.
Besides after you kill a few of them they get under your line of sight on the ledge anyway. Not to mention all of them running around side-to-side makes them harder to hit than them running right at you in the corridor.
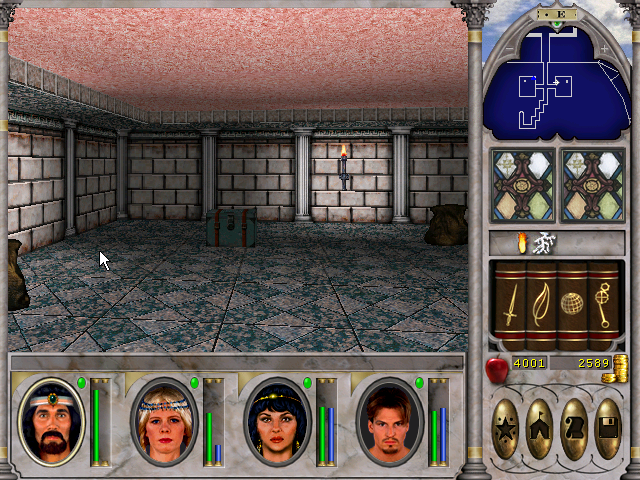
After that was done I ran back downstairs towards the entry of the dungeon into the middle section. There was a puzzle I left unsolved till this point in time.
Once you open the chest a lot of creatures spawn in. I had some clearing spells I could burst out some damage to make a getaway path. I then ran towards one of the tunnels leading down into a cavern. That would help group everything up better making it easier for me to kill.
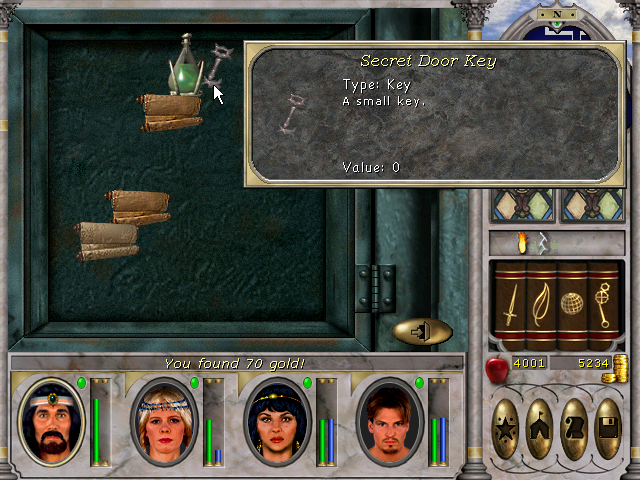
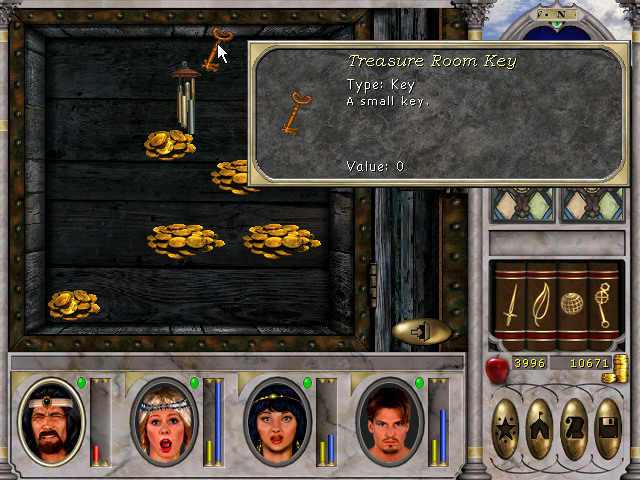
The key I looted from that chest was the final bathhouse key I needed. Once everything was dead I went into that final bathhouse on this floor and looted myself a treasure Room key.
The Chimes of Harmony that I looted out of that chest I would later take back with me to New Sorpigal. Janice in the town hall is looking for them and gives a nice reward for their return.
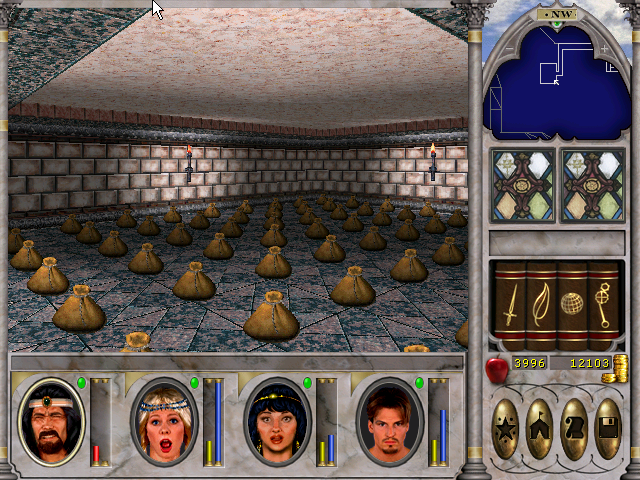
I then used the second treasure key to open another hidden door on the other ledge. That room was filled with bags of gold. I’ll be buying quite a few spells with this haul of loot.
Once done it was finally time to leave. I ran off to the healer to cure my character. Along with selling a lot of junk, I was not going to use it. Yet another dungeon was completed. I’ll more than likely run this one again if I ever notice it has respawned. That however takes a very long amount of in-game time.
Screenshots were taken and content was written by @Enjar about Might & Magic 6.


Windrose Review

Taking A Look At Alaska Gold Fever

The Making Of The Anathema Adventures Series

Taking A Look At Starminer

Making Billions During Capsuleer Day XXIII Warpath Event In Eve Online

Starminer | Trading From Station To Automation Guide

Taking A Look At Project Mist

My First 100 Hours In Starminer

Making Billions In The Gallente Election Event In Eve Online

Taking A Look At Windrose