
V Rising | The Athenaeum

Hall Of The Fire Lord is perhaps one of my least favorite dungeons in Might & Magic VI although I recall I have some others that are far worse. It’s not that the creatures in here are that hard to kill. It’s just the place is a bit like a maze; granted, many routes lead to the same place. As such it can get a bit frustrating.
Hall Of The Fire Lord can be found in Bootleg Bay. From the Ironfist side if you take a right before passing the circus keep following that path you end up finding it.
Inside the first area, there are two chests with some amber in them. Amber gets consumed when you click on teleports back to the entrance of the dungeon. Characters that don’t have any amber in their inventory take damage. A decent amount of damage as well for one of my casters who was about to learn a hard lesson in this dungeon.
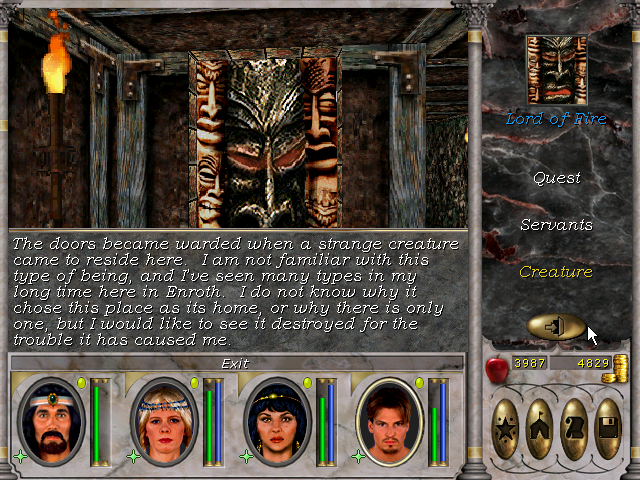
Back in the day Lord Of Fire’s quest used to be bugged. When you finished it you could keep clicking it to get the reward experience over and over again. That has long since been patched up. That is almost in itself a shame as having more levels than you can afford to train for is quite amusing.
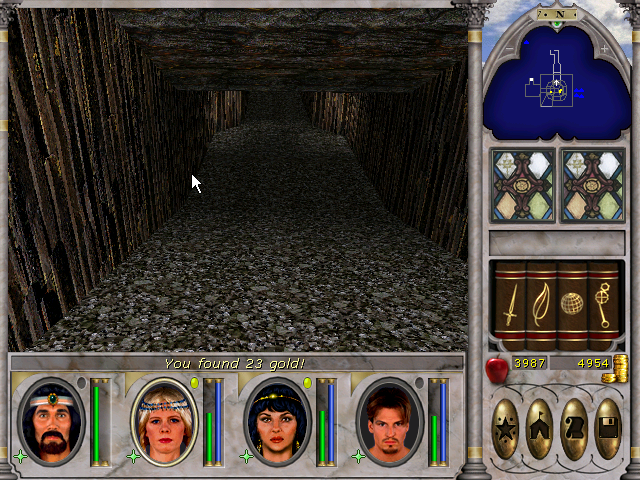
The reason for doing so is that once you drop down from the main entryway you find yourself up on a ledge. Below you are a bunch of further holes to jump down into. Without some decent recall ability or in my case note taking it can be easy to repeat entering the same places over and over again.
To make things even more complicated one area you drop down into can lead to another area. Usually, I would drop down into one of the four major directions (north, east, south, and west). Many of those then would lead you to a place that you could have gotten to if you dropped down into a hole saying facing northeast.
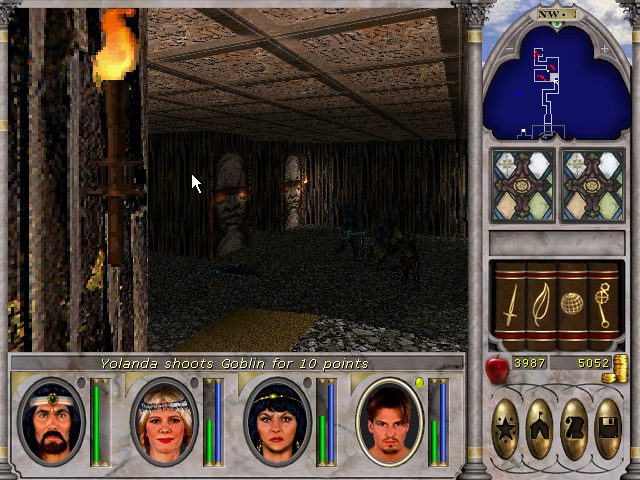
I first went north for no real reason. I cleared out some goblins along the way. Those giant heads with glowing eyes in the background take you back to the top if you click them. At least one great thing about this place is while you might corner into a dead end you are not stuck without a way to get back. There might not always be a teleporting face nearby however requiring some walking.
Not that far in I hit a deadened with a chest in it. That chest required a key. I made sure to highlight such things in my notes as I was going to need to know where this chest was later on when I found said key.
I then teleported back up to the top to start all over again. This time I dropped down east. This lead me to another connecting area that I could have dropped down in. This had a door that said something about all wardens must be broken.
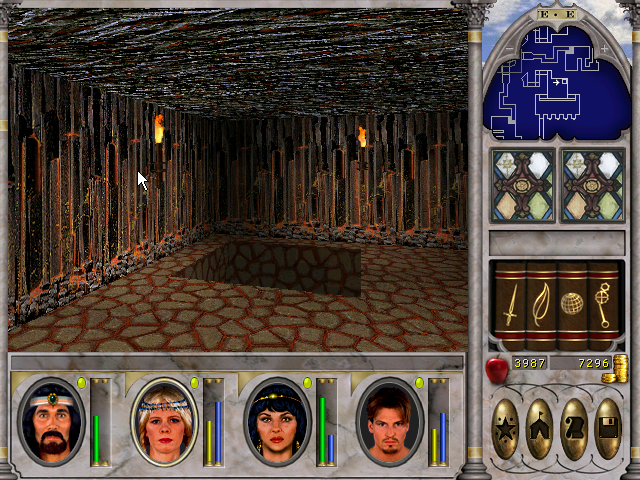
After that, I went south. South had several drop down points in it. I decided my best approach was to explore as much as possible first. Then pick one of the spots I could drop down into to see where it would lead.
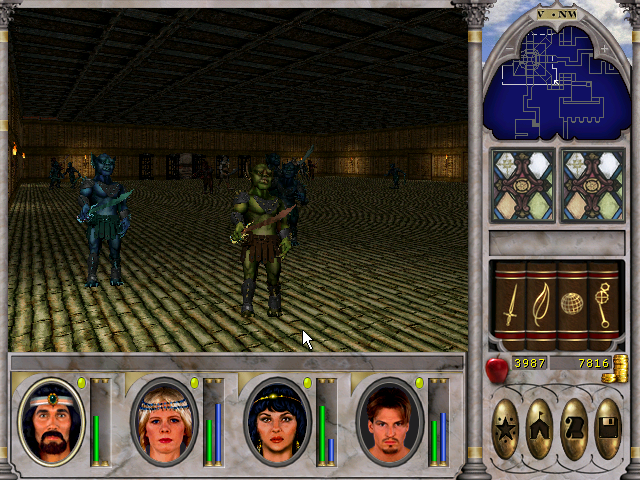
I had to think on my feet in the situation I found myself in when I fell into the room. I decided then and there I was going to try and kill as many goblins as I would. Right before too much of my party was heavily damaged I would click on one of the heads and get teleported back to the top. I would then recover for a bit.
Being at the top again I decided I’d go and check the final direction west I had yet to go. That led to quite a few tunnels and other areas that I explored. Along with another drop-down that I decided to take.
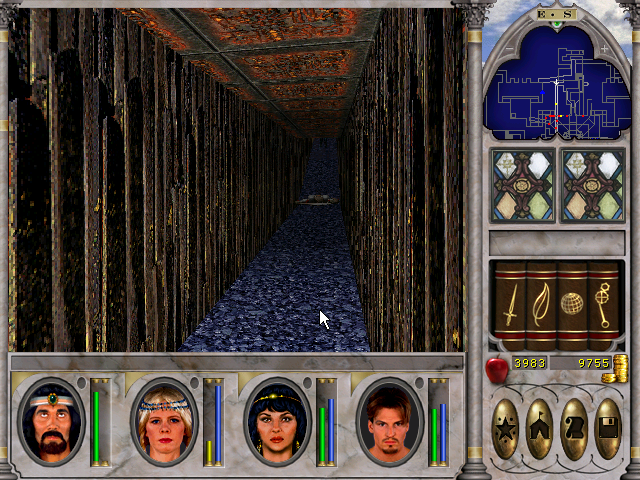
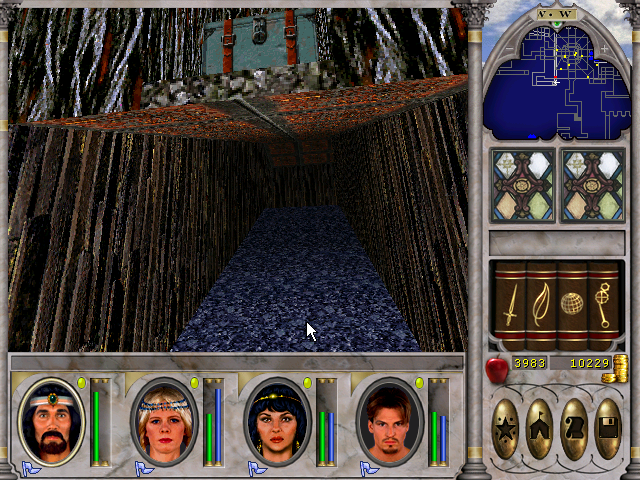
This made clearing out the rest of the goblins easy. On top of that, there is also a kind of not so secrete chest to loot. It is however hidden above and it’s quite easy to miss unless you notice something fishy on the mini-map that caused me to further investigate what was causing it.
Inside I found a steel helm that had +4 might on it. Not too bad. While I won’t be wearing something like that forever on my knight as the amount of armor on a steel helm is not a lot. It was at least for now an upgrade.
With all the goblins dead it was time to open up all the remaining doors. You would think this would have been no trouble at all. It however caused a situation I was looking to avoid. One of my characters got knocked out fighting while the party was clearing out a chamber.
Since I can’t rest down there I decided to teleport back to the top. That is when discovered to my horror that party members did not have any amber in their inventory. Since they were already knocked out enough life was taken from them for paying the price to teleport back out that it killed them.
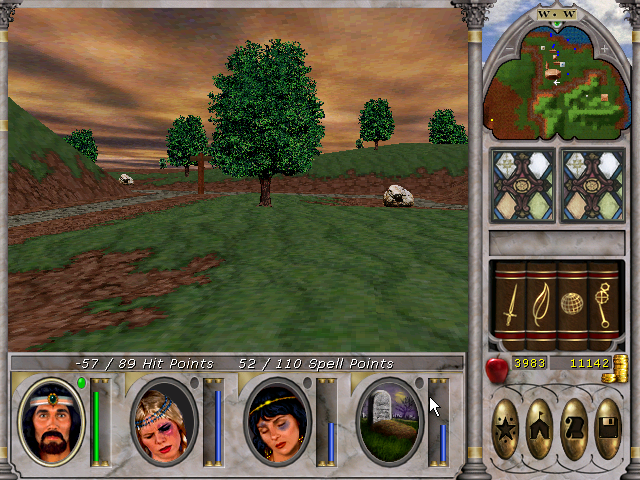
While there is a church in Bootleg Bay it was going to be a bit of a walk to get to. Thankfully I had cleared the path to the town as my party was in no shape whatsoever to get into any kind of combat.
Thankfully my one character only died and not nothing worse than death occurred. As such it ended up costing me 1,200 gold to bring them back from the dead. At least this was a situation that could still be resolved just a costly one.
Later in the game, I will be facing far worse consequences than one of my characters or the entire group getting killed. There is some rather nasty stuff you can run into. Making Hall Of The Fire Lord not so bad of a dungeon to do instead.
Once everyone was back alive and rested up. I headed back in. I jumped down some holes till I found myself back in the large chamber. From there I still had some further doors to open and clear out. There were also three other holes to drop down into.
One of the holes I dropped down into just lead me to go back up so I could drop down into that large chamber. The other two drop-down spots take you to the same place.
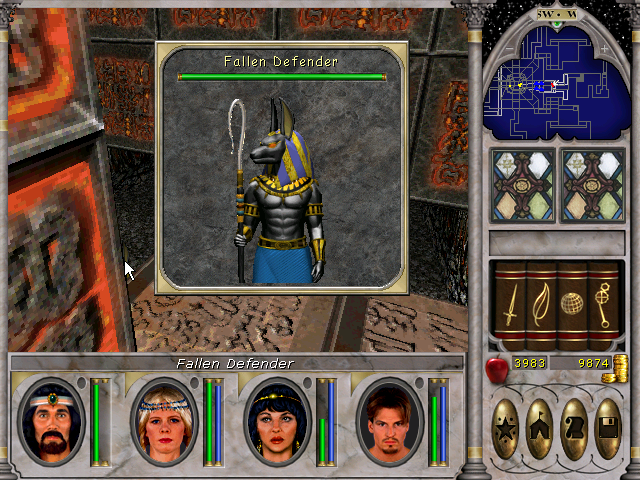
Thankfully since I did not just jump down but to the other side instead I could move up to the edge’s ledge and deal damage. Once the Fallen Defender only had a small amount of life left he started to run away. It was then that I dropped one and finished him off.
For doing so I ended up looting a chest key. I then teleported to the top again where I talked with the Lord Of Fire to finish off the quest for this zone.
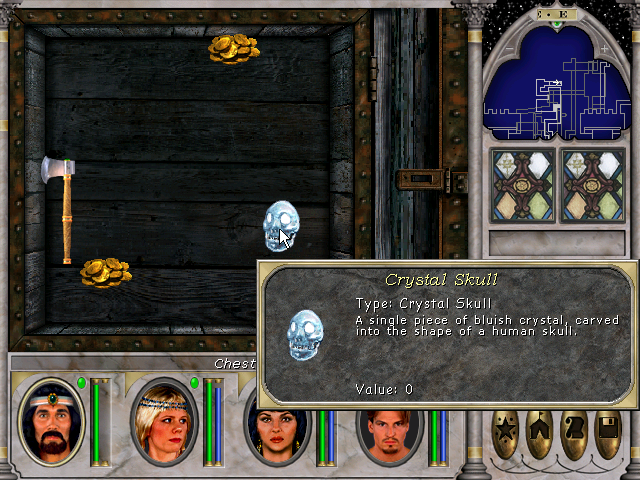
Screenshots were taken and content was written by @Enjar about Might & Magic 6.

