
Windrose Review

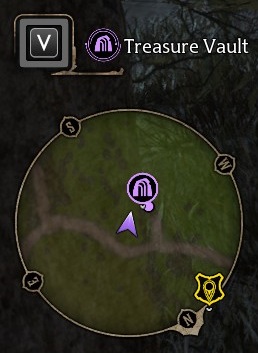
With well over 100 Treasure Vaults to find in Hogwarts Legacy, this can be one of those side activities you end up spending a lot of time doing. While most of them reward quite poor armor there is always that chance of walking away with something amazing.
Many of these Treasure Vaults have their twist on things till you can get to the treasure. A lot of them do follow some basic patterns for the most part. This guide will go over a lot more of the common basics so you can understand the logic needed to work out how to run most of them.
There are some Treasure Vaults that have quite a nasty puzzle. For those, I’ll simply be providing the answers needed to solve them. As those tend to go beyond just understanding the basics and one of them even requires knowledge from books.
There are just that many of them. Chance is just by walking from one mission to the next you ran into quite a few of these. Often when just going to other challenge locations you will end up discovering a Treasure Vault nearby as well.
The great thing is even if you don’t end up using the armor you find it as if it was not an upgrade. You can still sell the armor for at least 60 Galleons. Meaning running all of Treasure Vaults will net you well over 6k Galleons. More than likely closer to 10k.
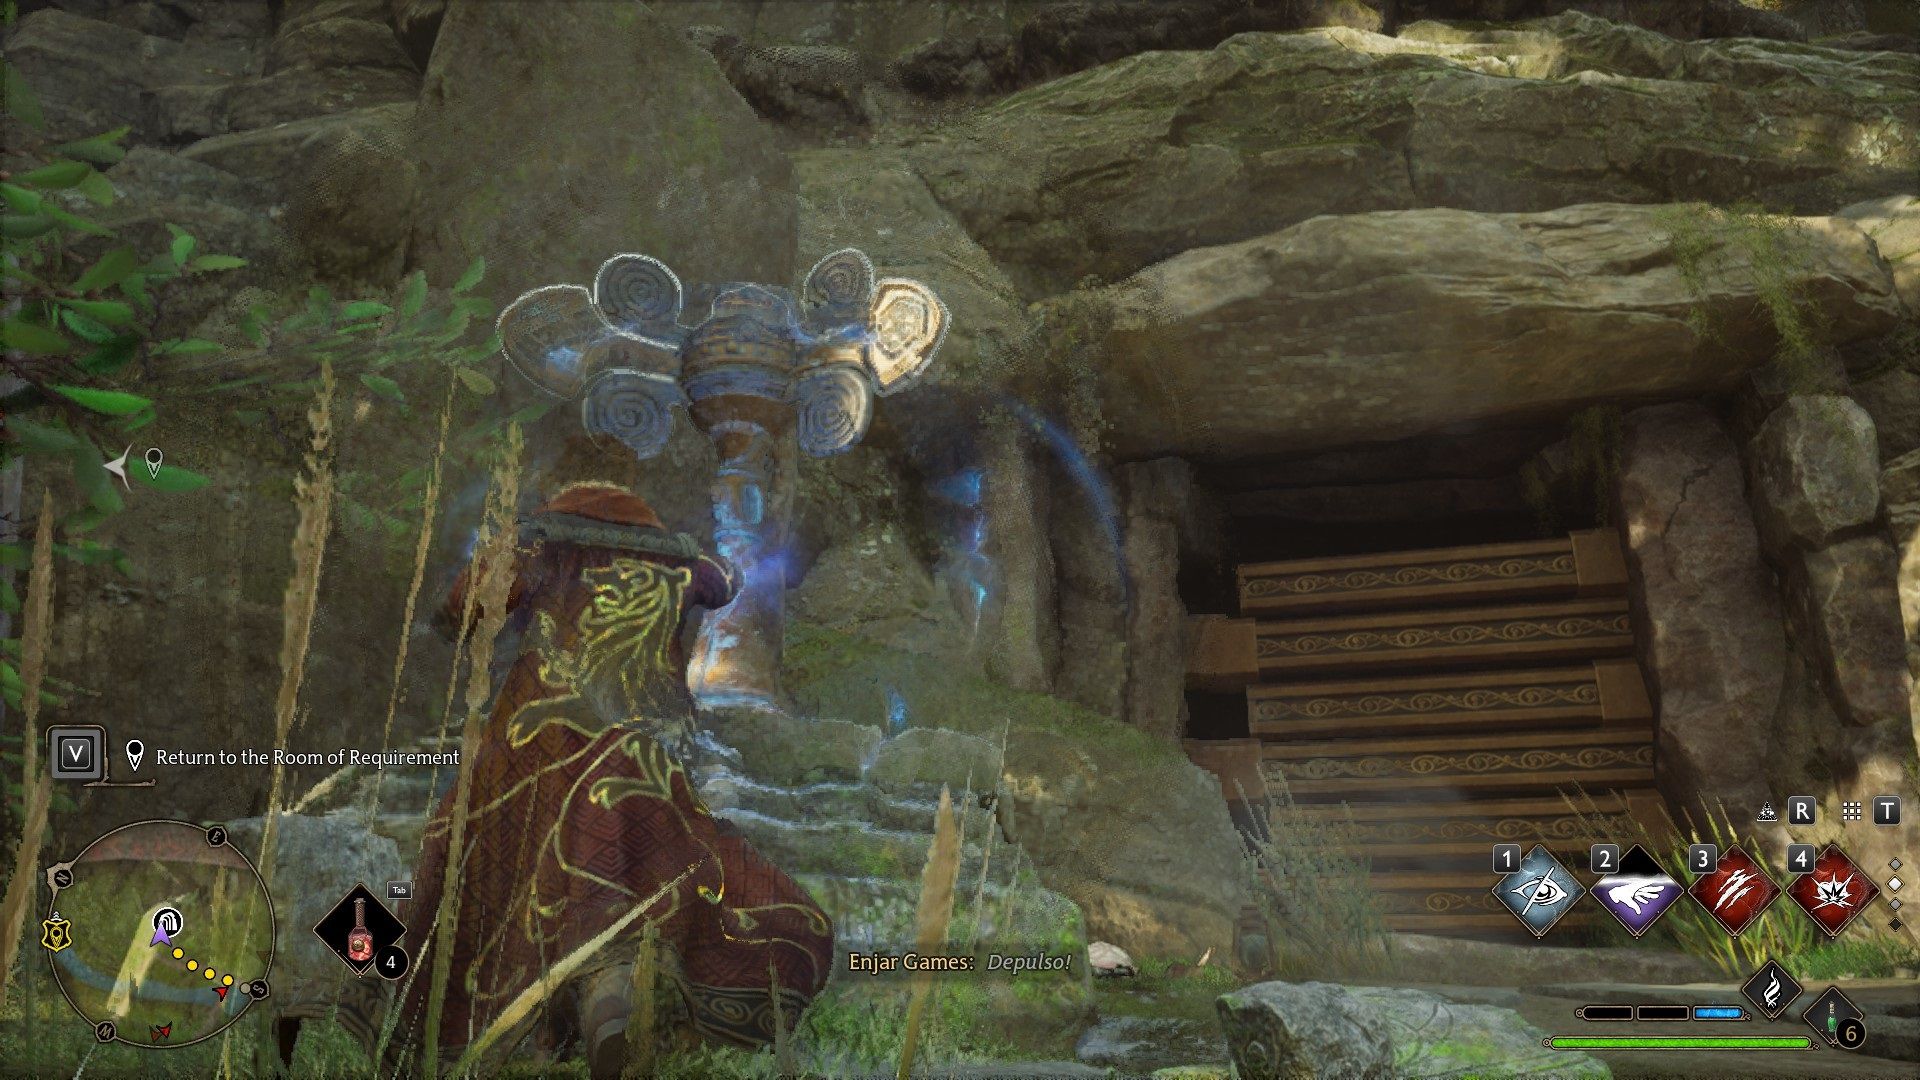
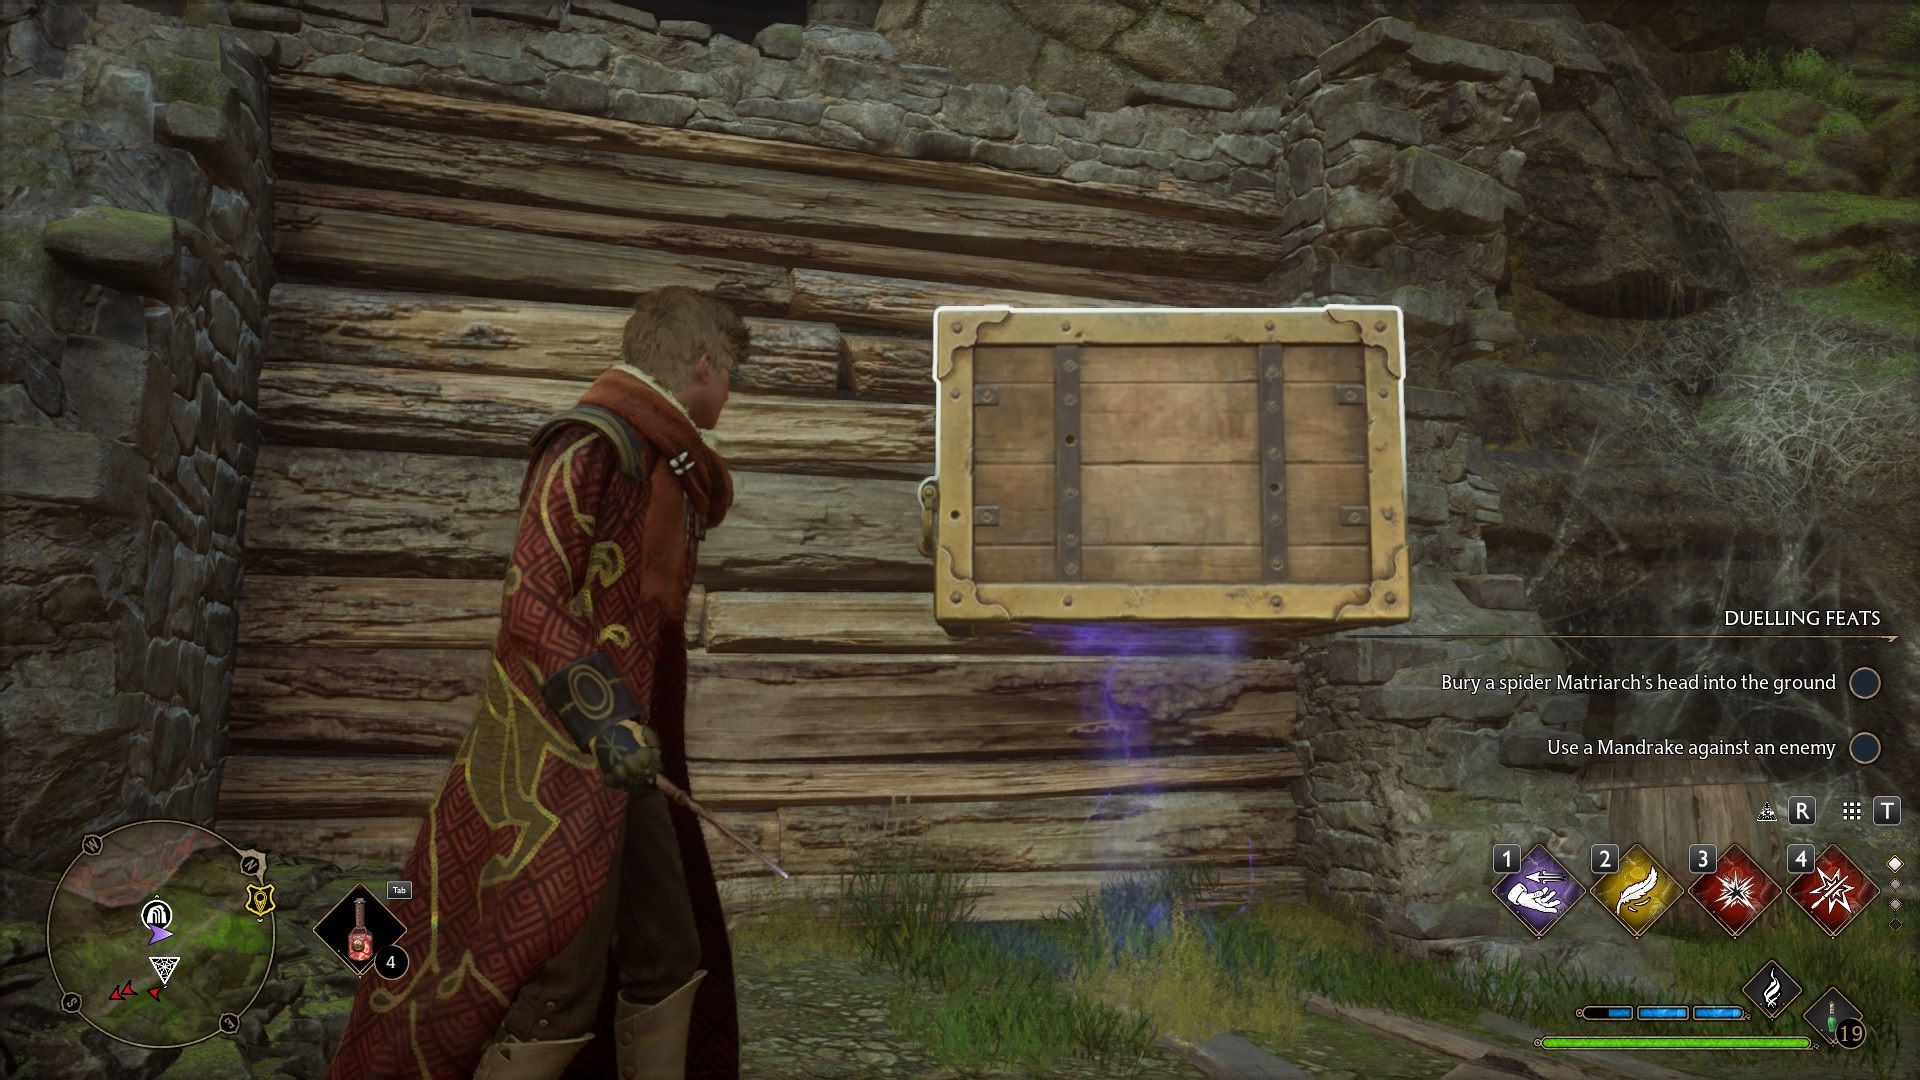
While the first kind of Treasure Vaults you are likely to find is quite easy. The rest of them at least the puzzles on the outside to gain access to go inside the caves are not that hard to solve either. They usually just require the right spell.
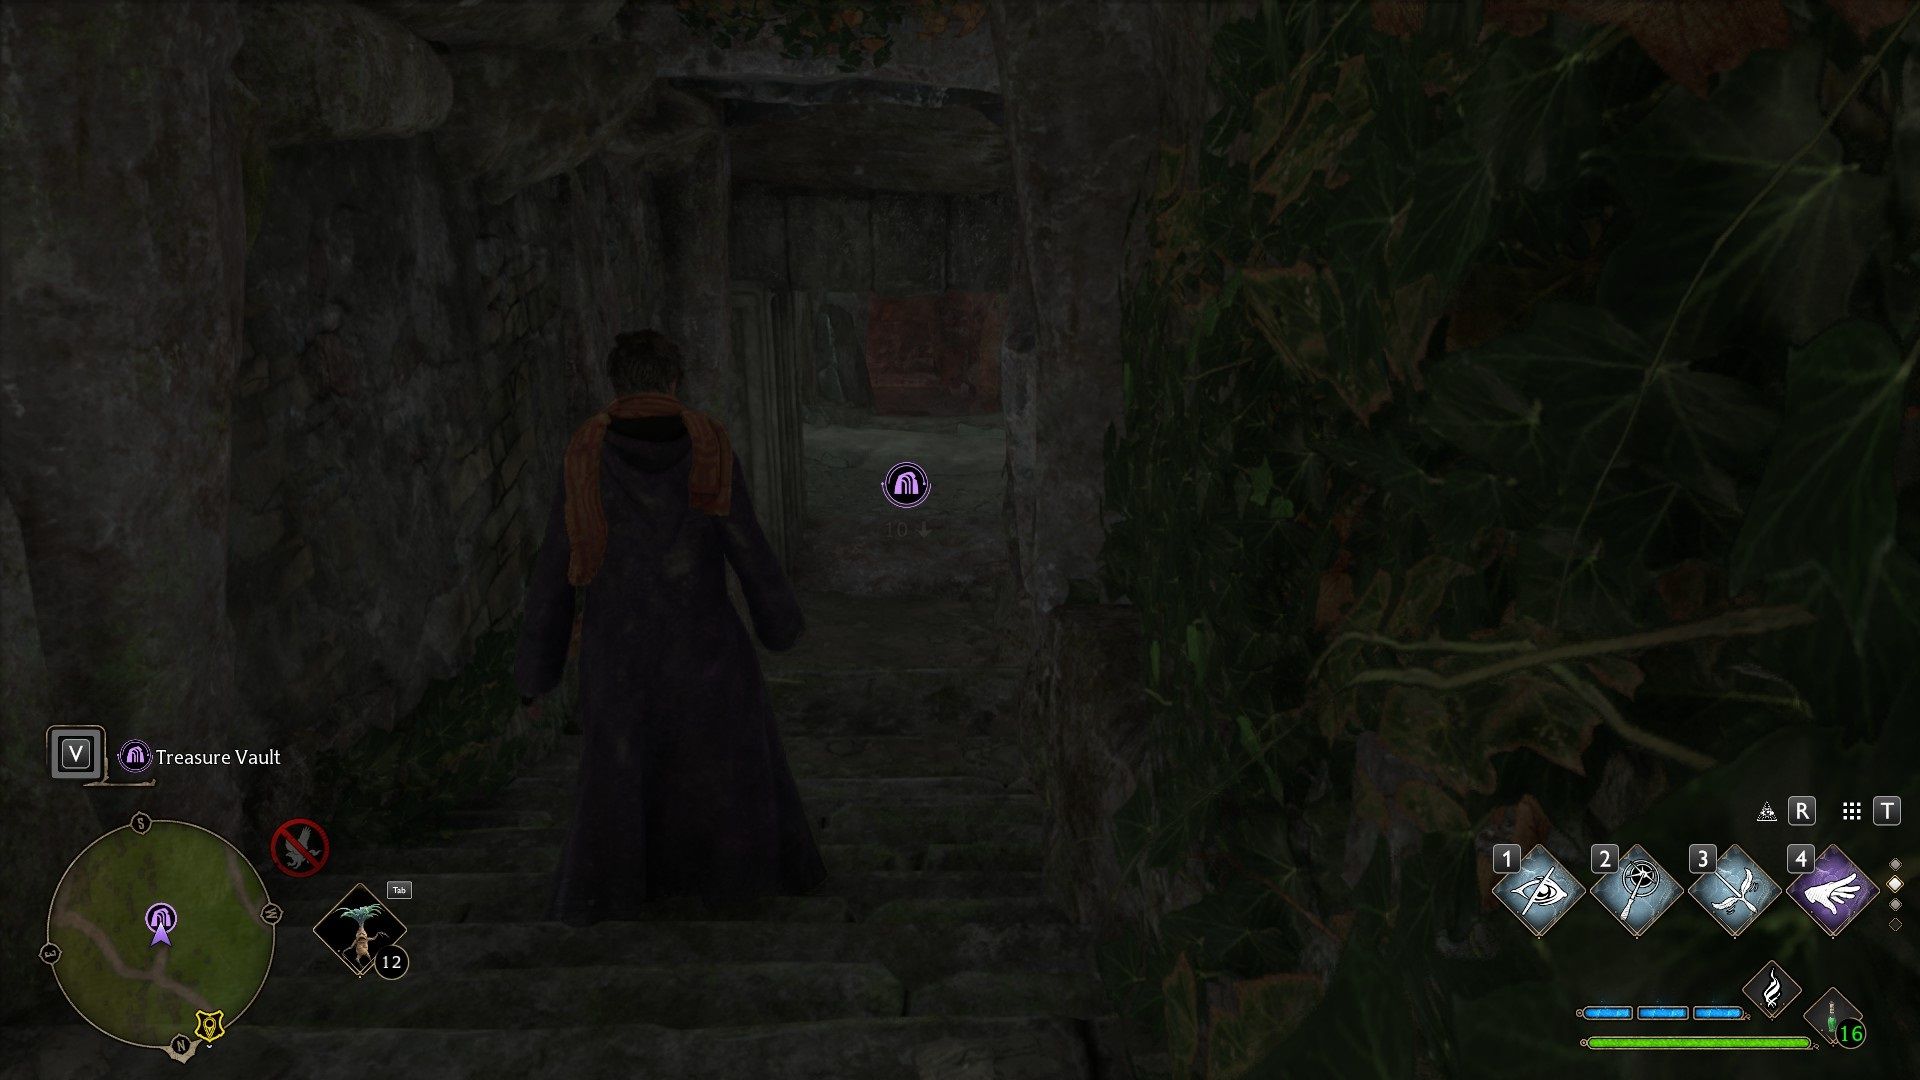
Like in most cases if you are unsure about a Treasure Vault. Try casting Revelio and seeing if anything is showing up in blue that is close by relating to the Treasure Vault you are at. Keep in mind since a lot of these Treasure Vaults tend to be near other activities you might see stuff that belongs to different types of puzzles as well.
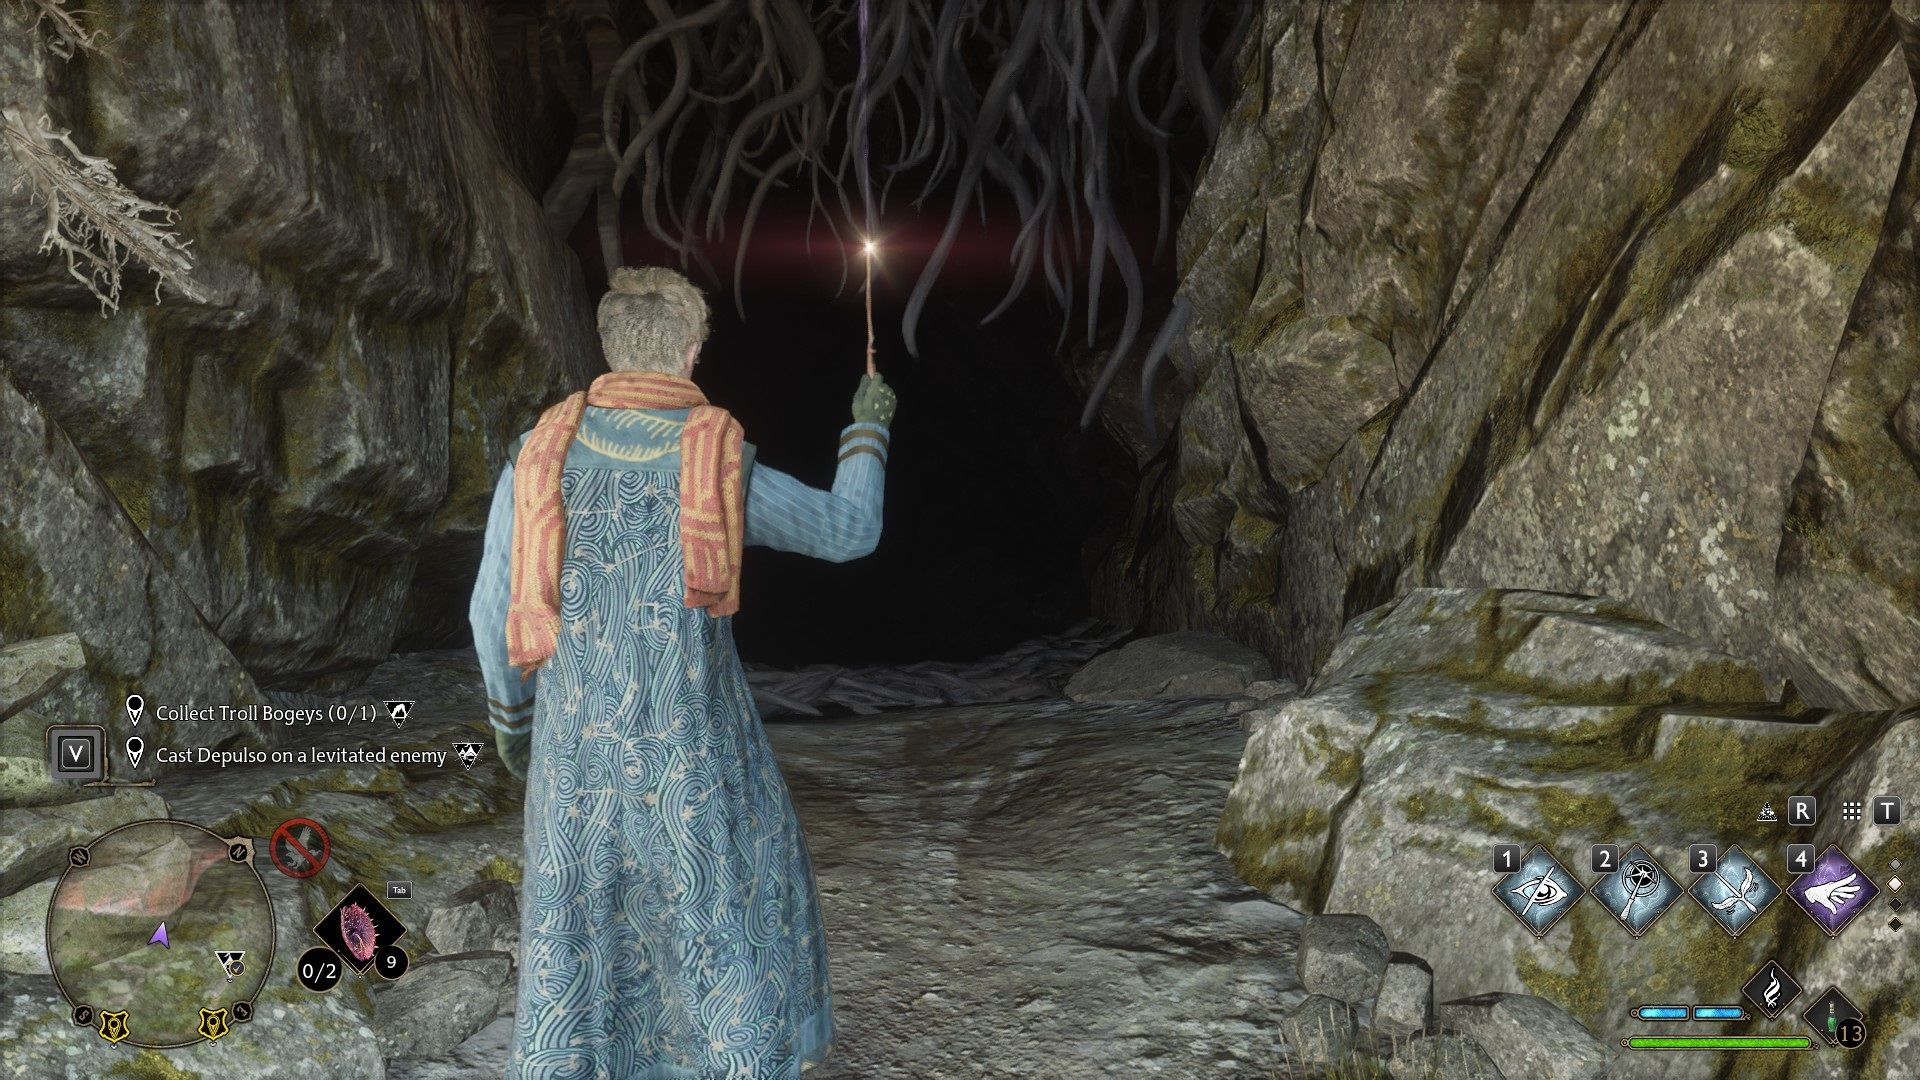
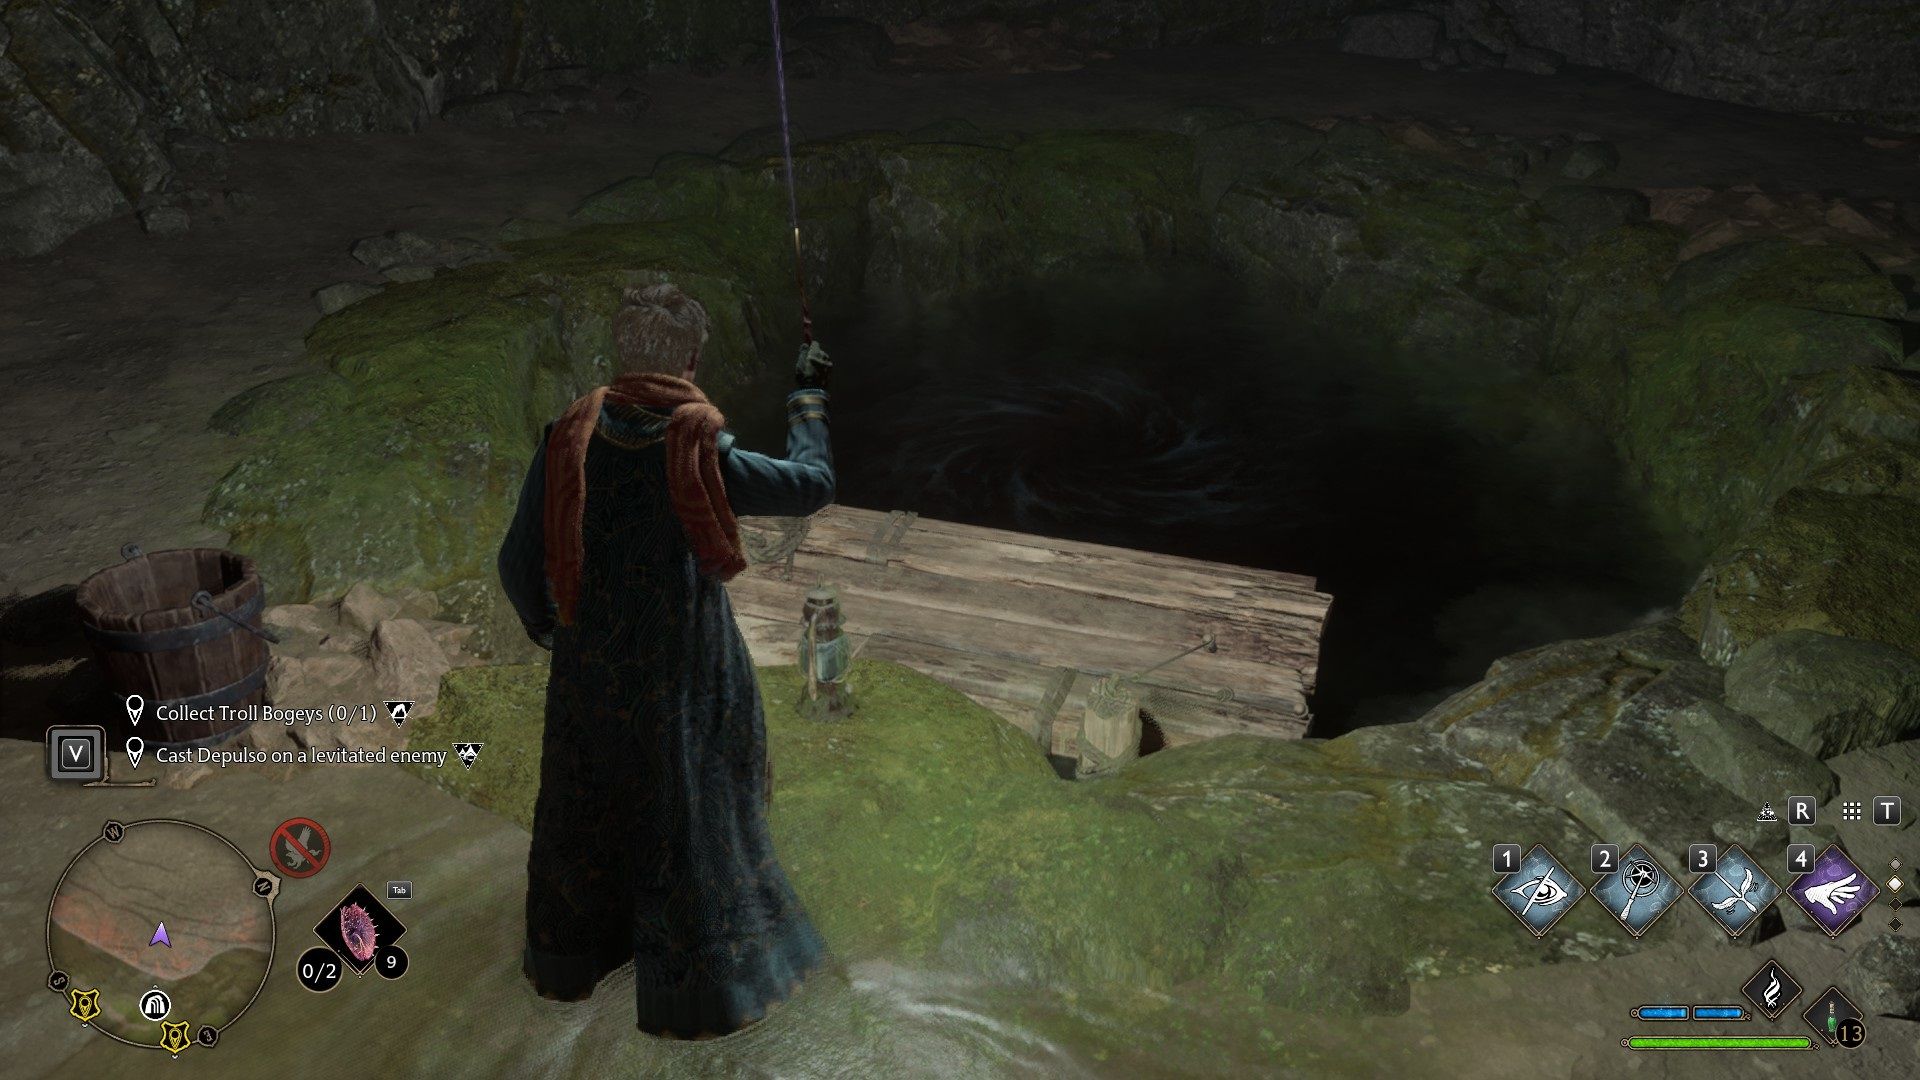
Another easy type of Treasure Vault simply requires you to cast Lumos and keep it cast. As you have to get around Devils Snare that is guarding the cave itself. Those types of caves usually lack any puzzle on the inside making it quite easy to get to the treasure itself.
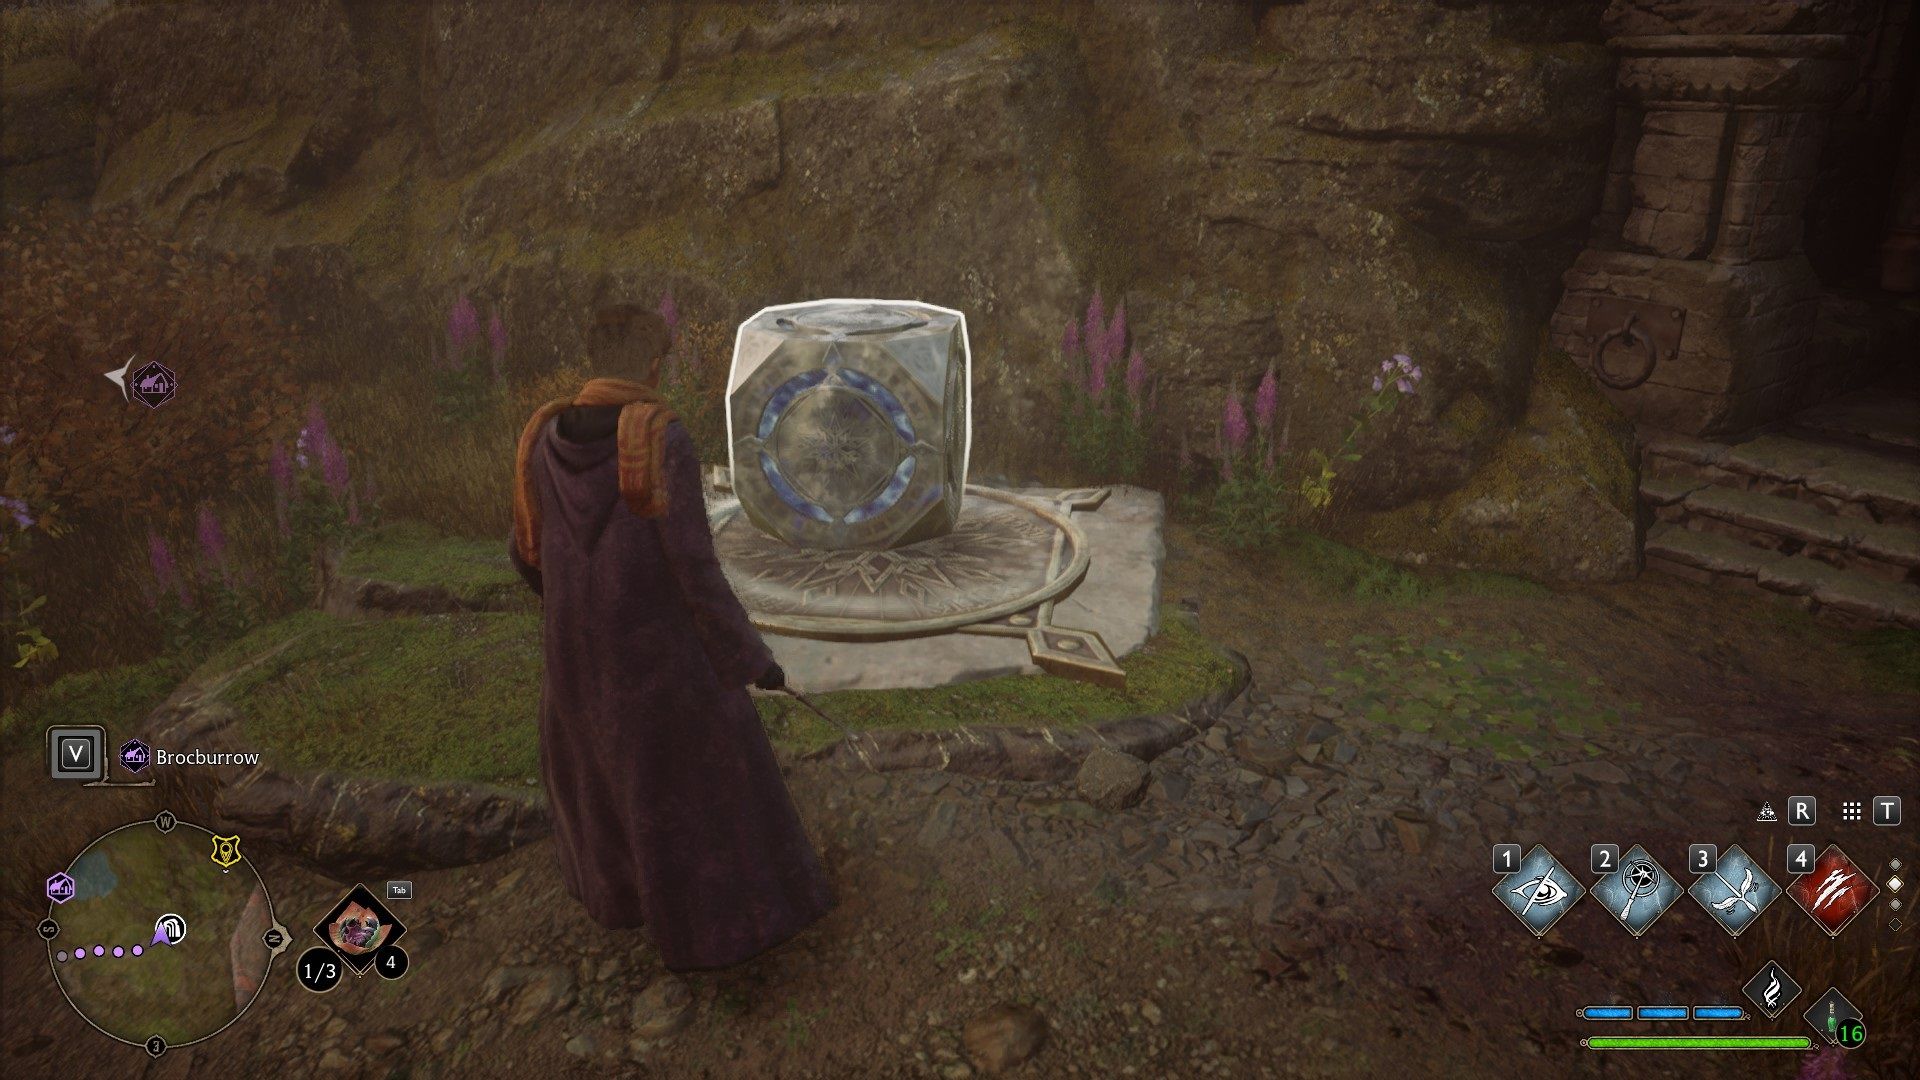
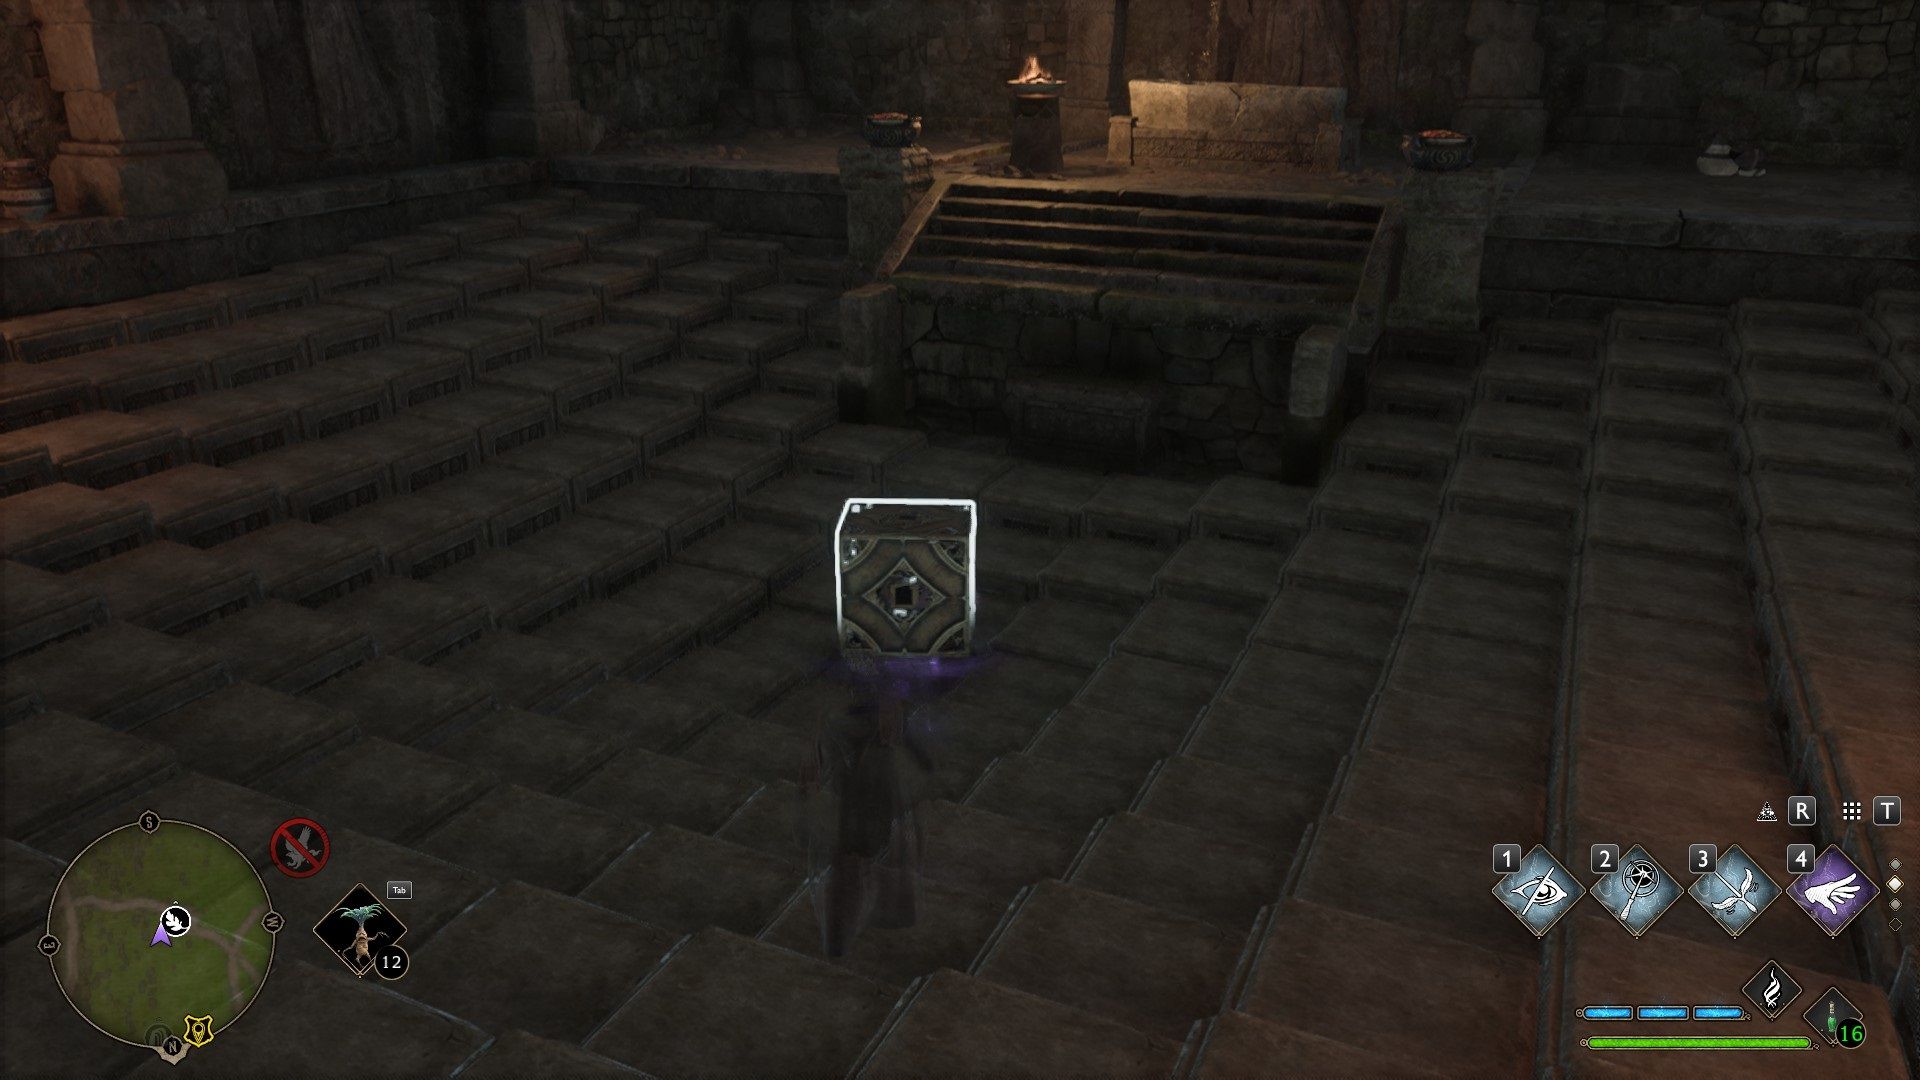
Most times the hardest part of these Treasure Vaults is finding the cube. As many times when you cast Revelio, you won’t see any blue cube icons. If that is the case make sure to check for any roads that are usually right in front of the Treasure Vault.
If that is the case take a short walk down the road. If you end up passing through say a tunnel keep walking to the end of that tunnel. Every so often cast Revelio till you see the cube. Sometimes there will be multiple roads you have to check first.
Once you do find the cube you can cast Wingardium Leviosa to pick up the cube and bring it back to the platform on the ground. Then drop the cube on the platform and cast the spell that matches the icon. Usually, you are either casting Leviosa or Glacius spell.
The only thing you can do for these kinds of Treasure Vaults is come back later to them once you have unlocked the proper Alohomora spell to open the door. I have a Lock Picking Guide on getting higher level Alohomora along with doing the mini-game for locks. I won’t be covering that in any further detail since that guide covers everything.
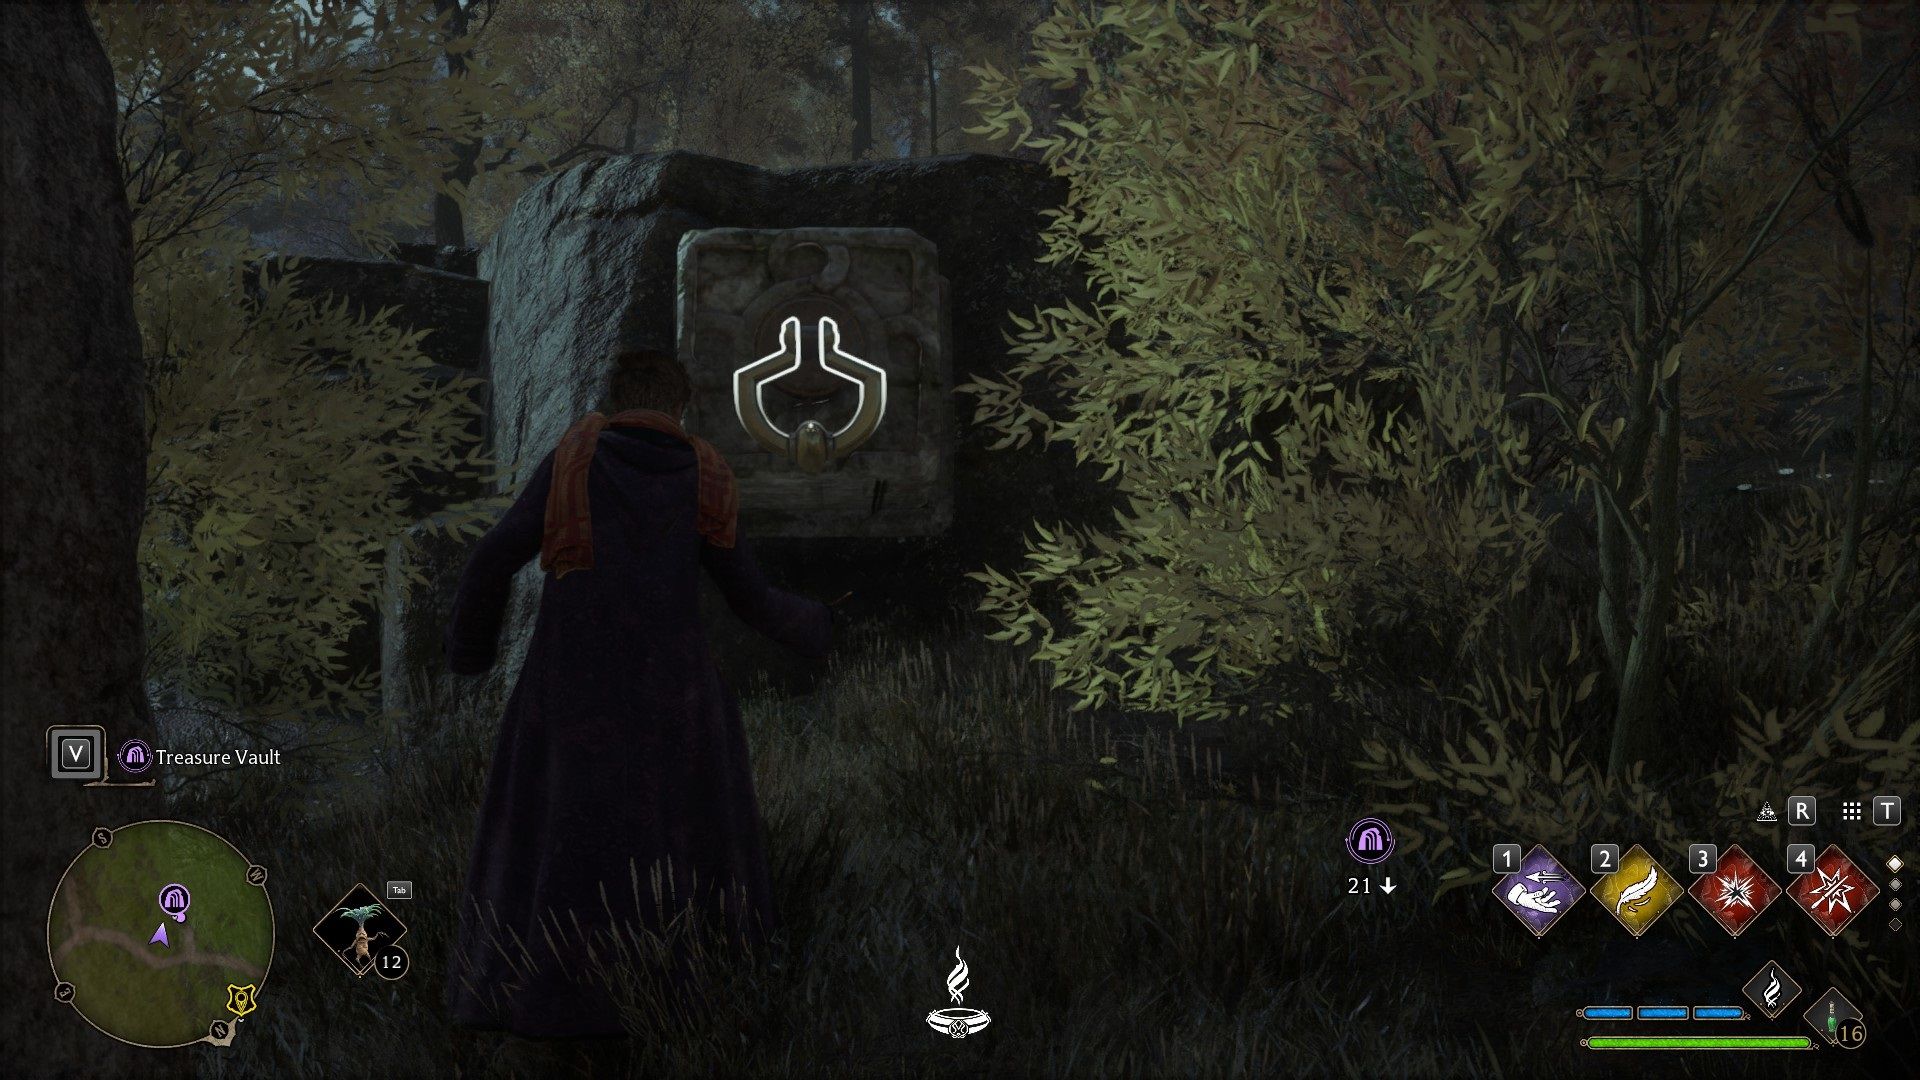
In some rather rare cases, you might come across more than one of these handles that you need to pull to open the door. Usually casting Revelio will show which pattern of three needs to be pulled using Accio if you happened to come across the more challenging variant.
If you spam cast Depulso they will spin. Keep spamming Depulso till they stop spinning which locks them in place. Then if there was a second one repeat the process. Till the door is no longer bared off and you can walk inside.
One type I recall running into that I never got a screenshot of was a Treasure Vault that had a gait eye over the entrance in. Simply cast or use an invisibility potion. Once the eyeball can’t see you the door opens.
Once you find a movable platform you can cast Wingardium Leviosa and drag that platform back to the foot of the cave the best you can. Then you can simply cast Leviosa on that platform itself to raise it slightly.
Once all of that is done. Simply climb up the platform. Then climb up the next level to get into the cave. These are that easy.
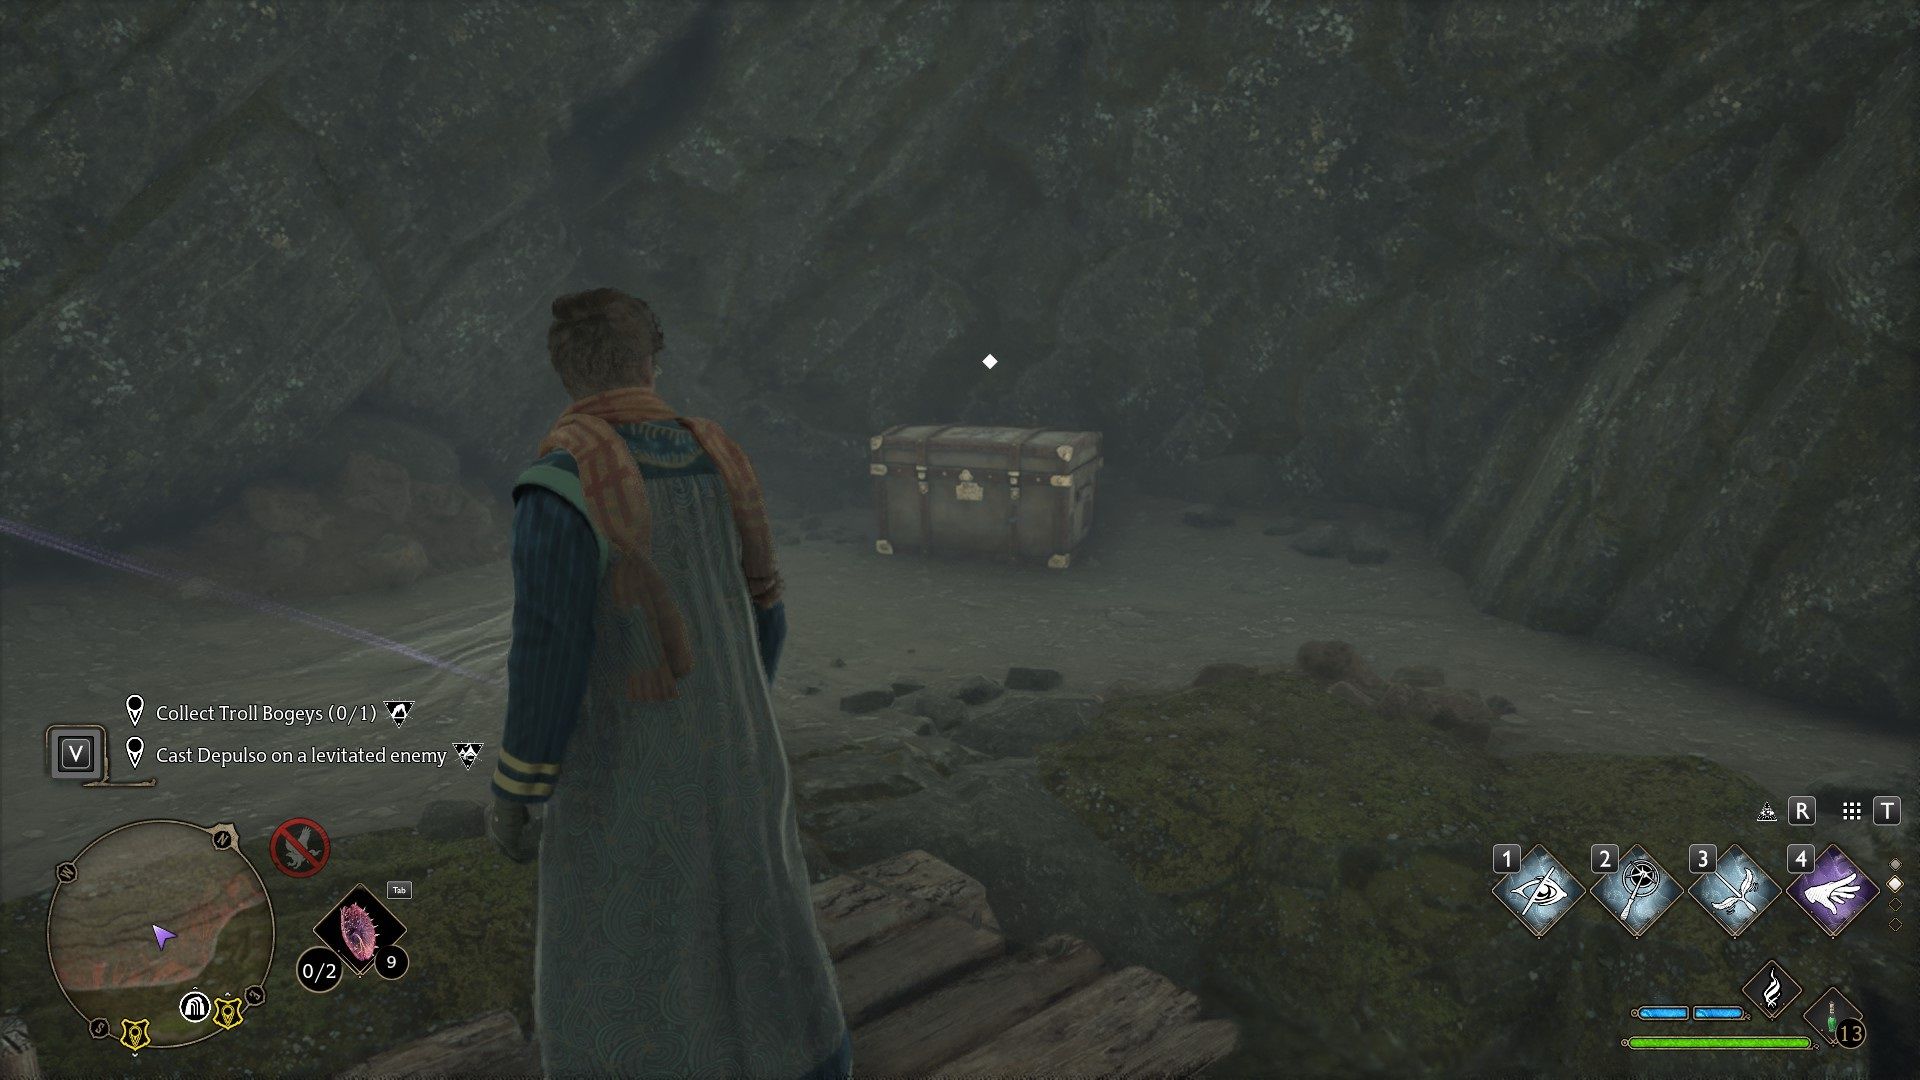
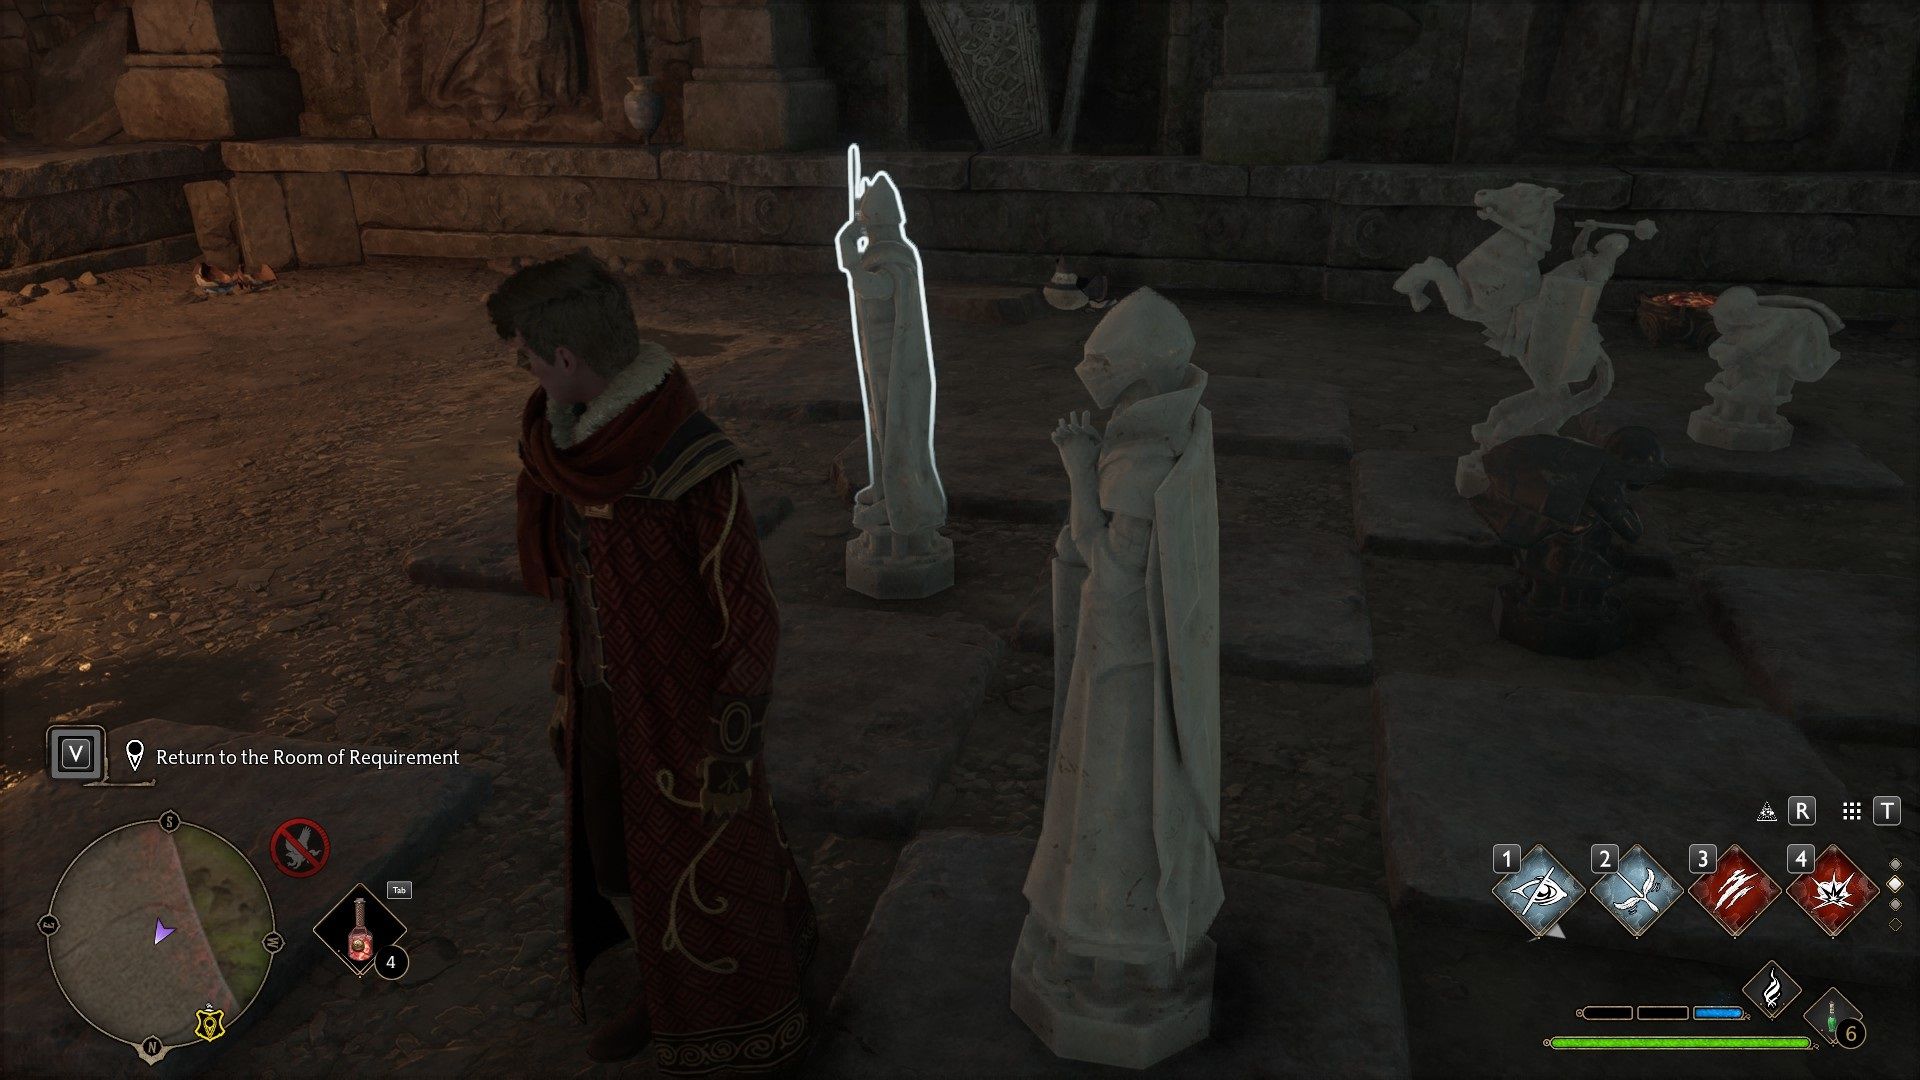
The next section is going to go over once you gain access to enter into a Treasure Vault. If you thought solving the puzzle to get into the inside of them was going to be it. Well if you luck out that might be. Other times after you wander in deep enough you end up coming across another puzzle to solve.
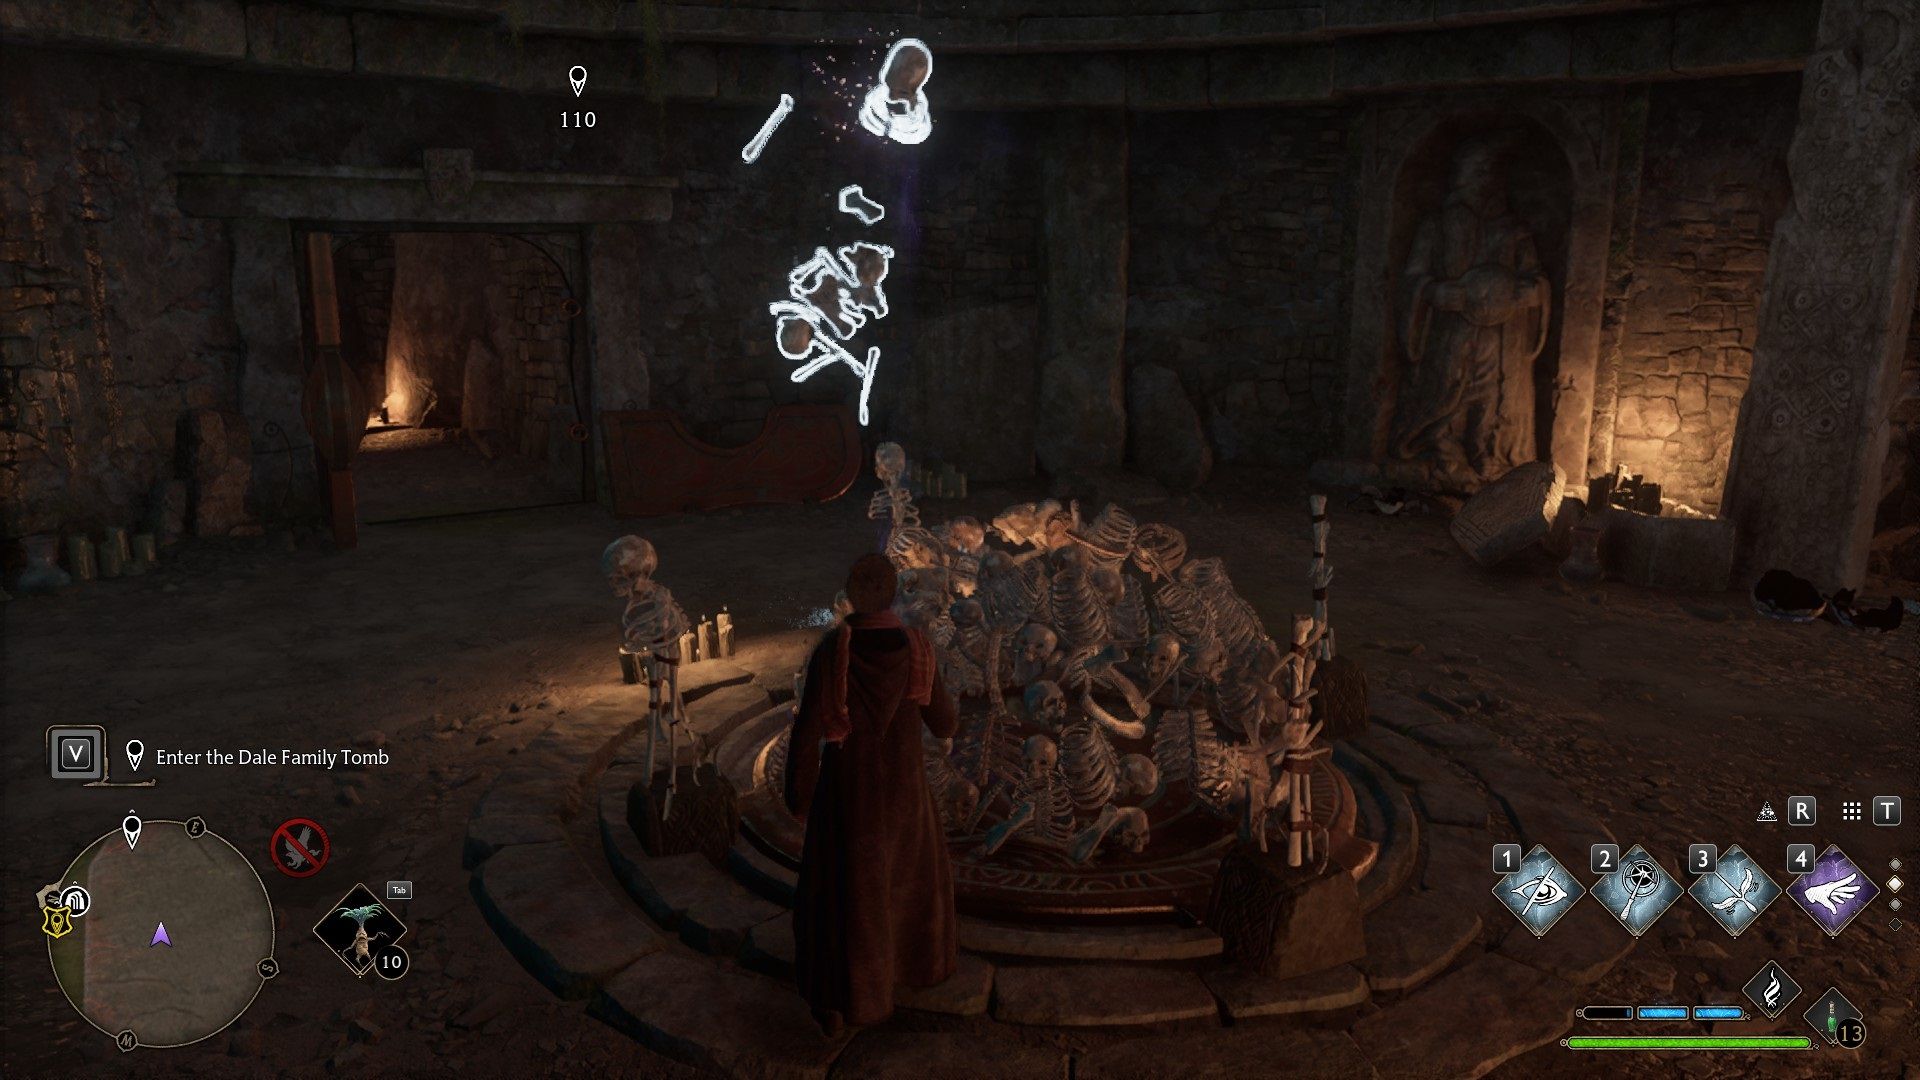
One of them will have a bunch of bone pillars in the middle of the room. Simply using Wingardium Leviosa you can drag the bones and drop them then on the different pillars. Once everything is done a chest will appear.
The other types of the bone puzzle will be somewhat similar. You just need to drag the bones with Wingardium Leviosa to the bone pillars. In some cases, they will then build a bridge you can climb up onto the treasure or unlock a door to get into the final room.
The Pile of bones can sometimes get annoying if they get stuck. The best thing to try first is taking a few steps back and casting Accio in hopes of pulling whatever got stuck to get unstuck. If that fails you can try blasting them out of what they are stuck with using Depulso that however can make things worse. If all else fails leave the cave and come back later once you have restarted the game.
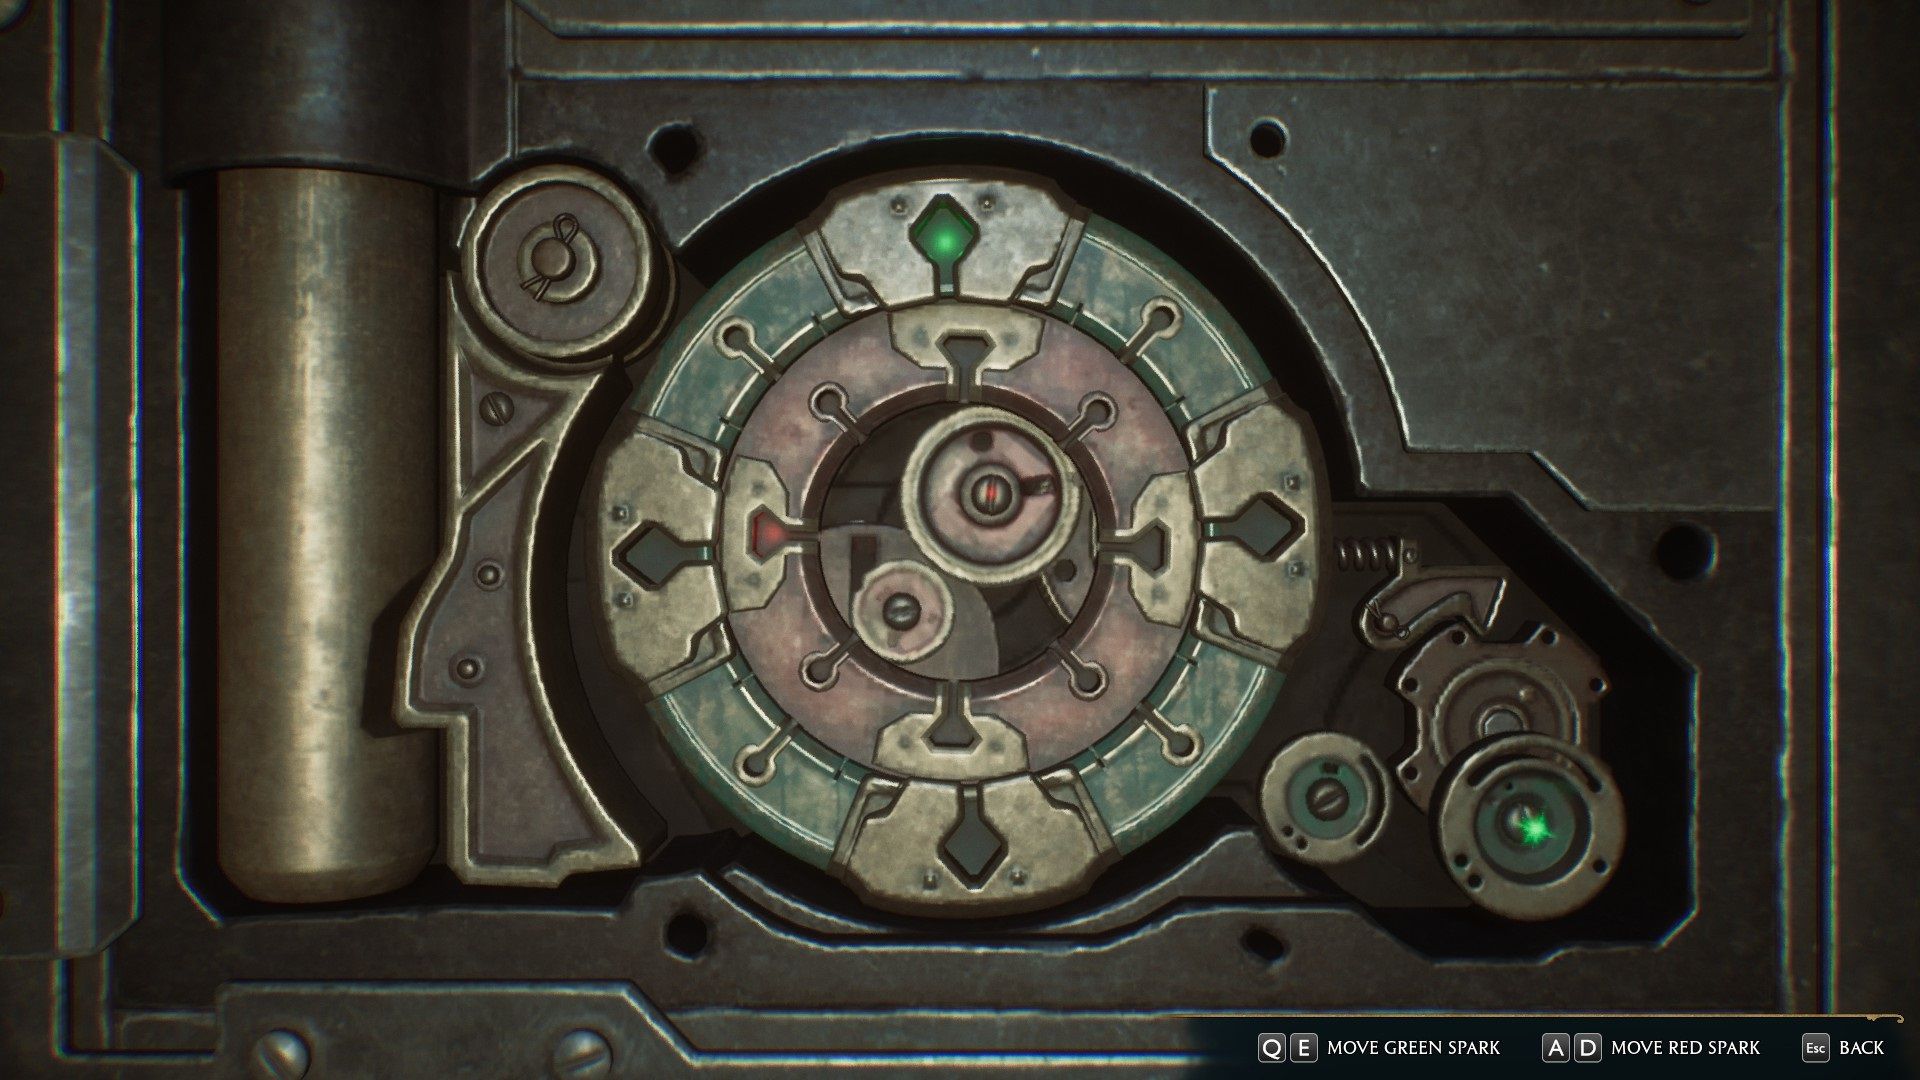
The first thing you need to understand is that you need to checkmate the black side’s king. However, if you just pick up the spare chess piece with Wingardium Leviosa on the side and spam place it everywhere on the chess board nothing will happen.
That is because while you are checking the black sides, king, with that piece. It’s the wrong piece to do it with. What you need to do is use the Transformation spell to change the chess piece once. That makes it the correct piece to get the checkmate you need to solve this puzzle
A different version of this has a chess chair that you can turn into the correct piece to place down on the board for checkmate. Just as you would for the one above.
You then can simply place it down on the board where I have my piece that is highlighted. Quite a nasty little puzzle if you ask me.
You can simply pick up the loss with Wingardium Leviosa and place it in the missing spot. If that does not work pick it up again with Wingardium Leviosa and rotate or drag the piece around till it flips pointing to a new direction. You then can try placing it down again and seeing if that unlocks the door to the treasure.
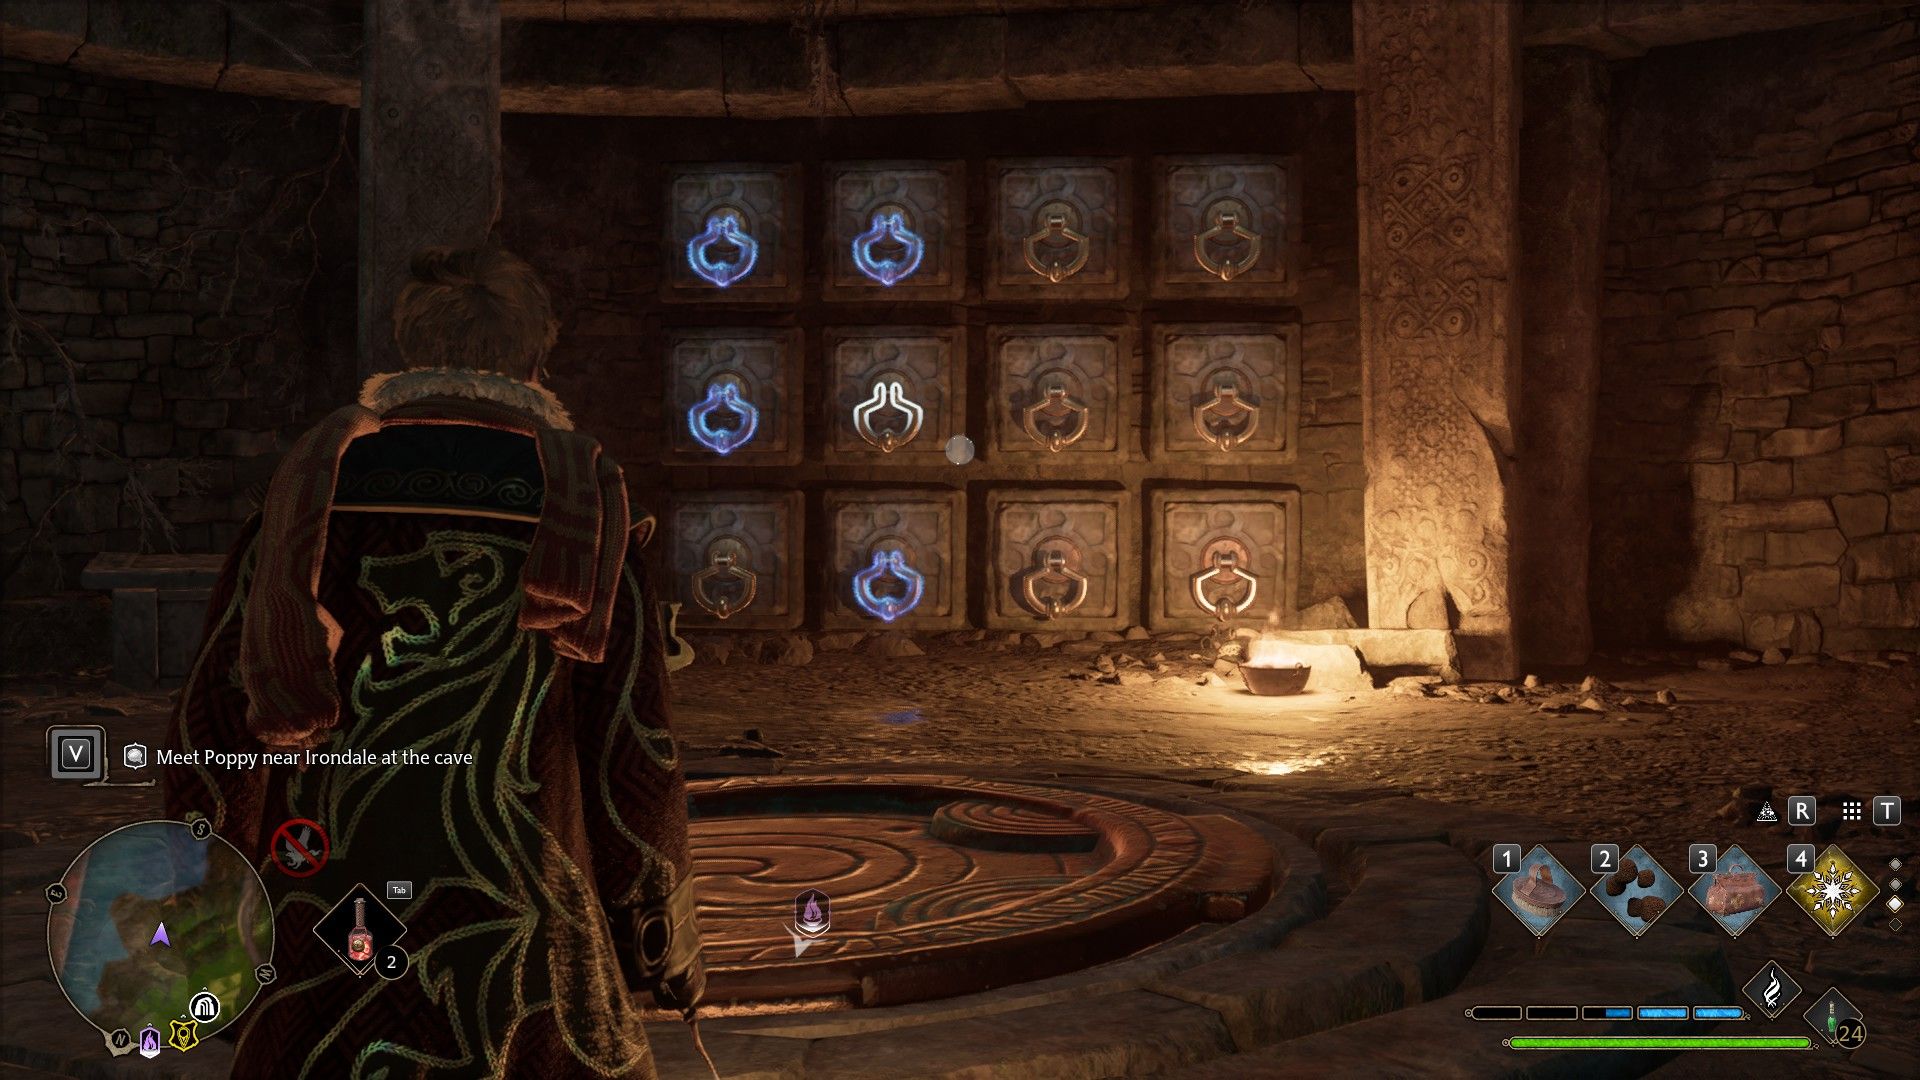
Like when you encounter the outside puzzle to get in that had handles you needed to pull with Accio. This type is the same except there might be a lot more handles creating more possibilities as to what the one or three-handle solution is. Casting Revelio will usually show which ones need to be pulled with Accio to unlock the door.
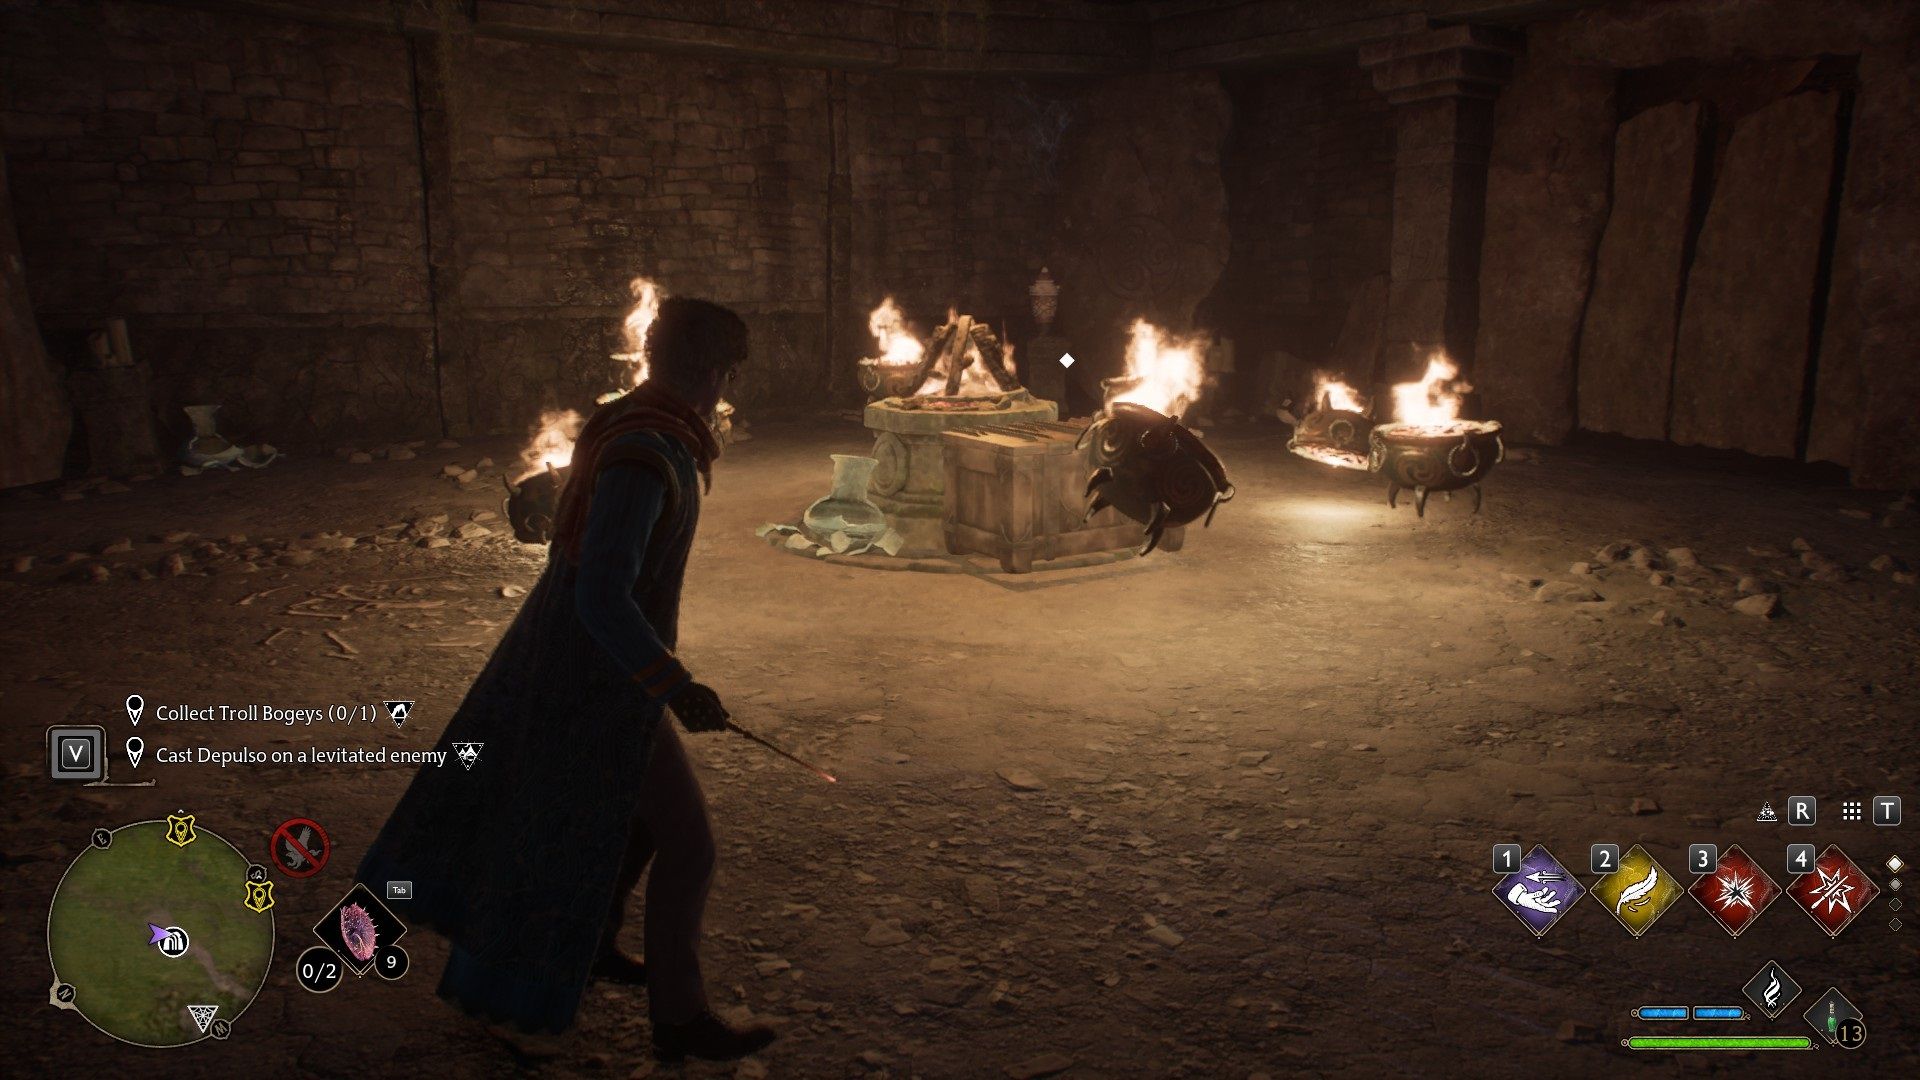
Often the locked door once you light all the braziers remains locked as it has no treasure behind it. While you can check through the slots in that door to see if there is anything behind it. You can also cast the Glacius spell on all fire sources such as the brazier to put them out and open the door.
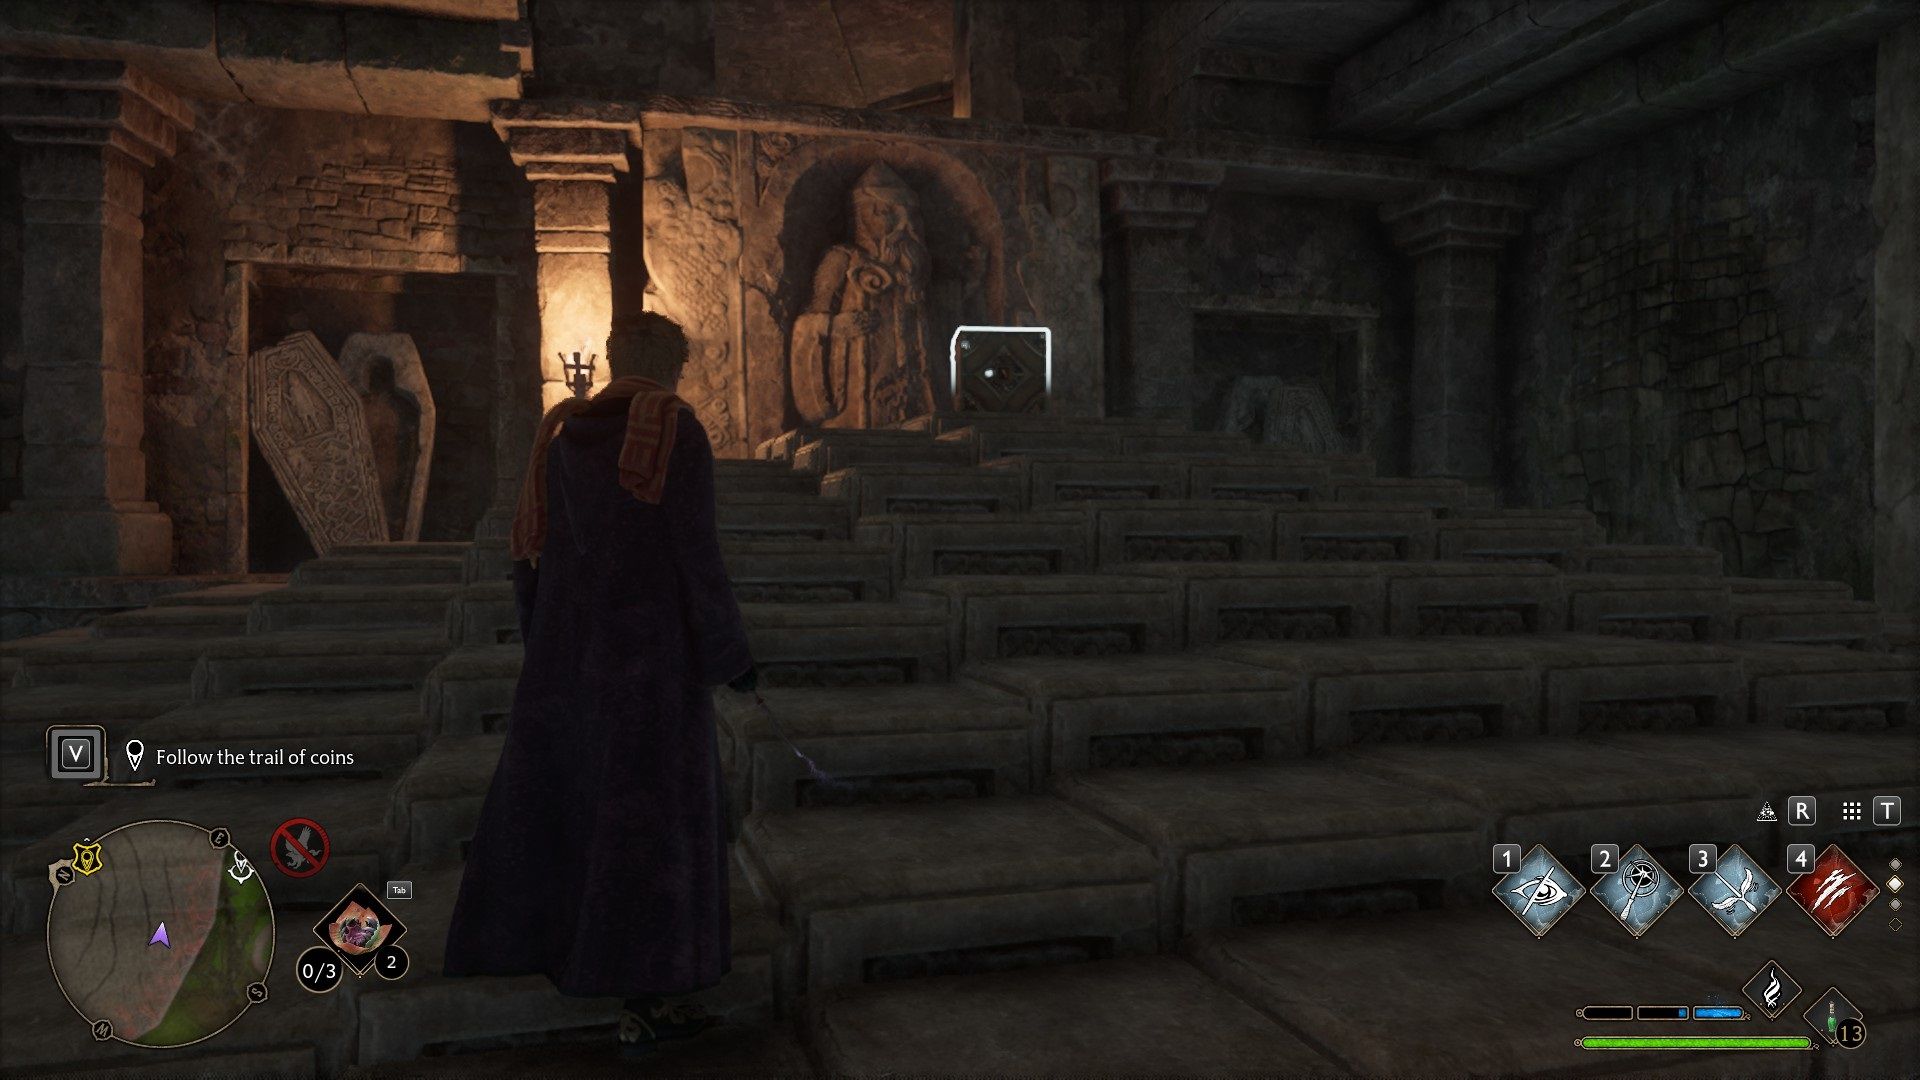
Inside some of the Treasure vaults, you will notice a checkered floor. If you cast Revelio you will notice the chest is either out of reach above or below. You will also notice there is a cube inside. If you use Wingardium Leviosa the floor changes as you move the cube around.
If the chest is up high on a ledge you need to move the cube around in a way so the tiles that get raised will create a ramp for you to get up onto the ledge to loot the chest. In most cases, they won’t go all the way up but far enough that you can jump up the ledge.
In other instances. You need to move the cube around to lower the floor in a way that you can loot the chest hidden below. You don’t need to fully reveal the chest. You just need enough access to it to press F.
In most cases placing the cube right next to where you need the floor to be the highest or the lowest point will solve this puzzle.
Hopefully, this guide on Treasure Vaults will help you move forward in looting the insane amount of these puzzles found around the game. While there are a lot of variants and one-offs as well. They can be a decent way to make some quick money and even find an upgrade once you understand the basics of solving them and running them quickly.
Screenshots were taken and content was written by @Enjar about Hogwarts Legacy.


Windrose Review

Taking A Look At Alaska Gold Fever

The Making Of The Anathema Adventures Series

Taking A Look At Starminer

Making Billions During Capsuleer Day XXIII Warpath Event In Eve Online

Starminer | Trading From Station To Automation Guide

Taking A Look At Project Mist

My First 100 Hours In Starminer

Making Billions In The Gallente Election Event In Eve Online

Taking A Look At Windrose