
Windrose Review
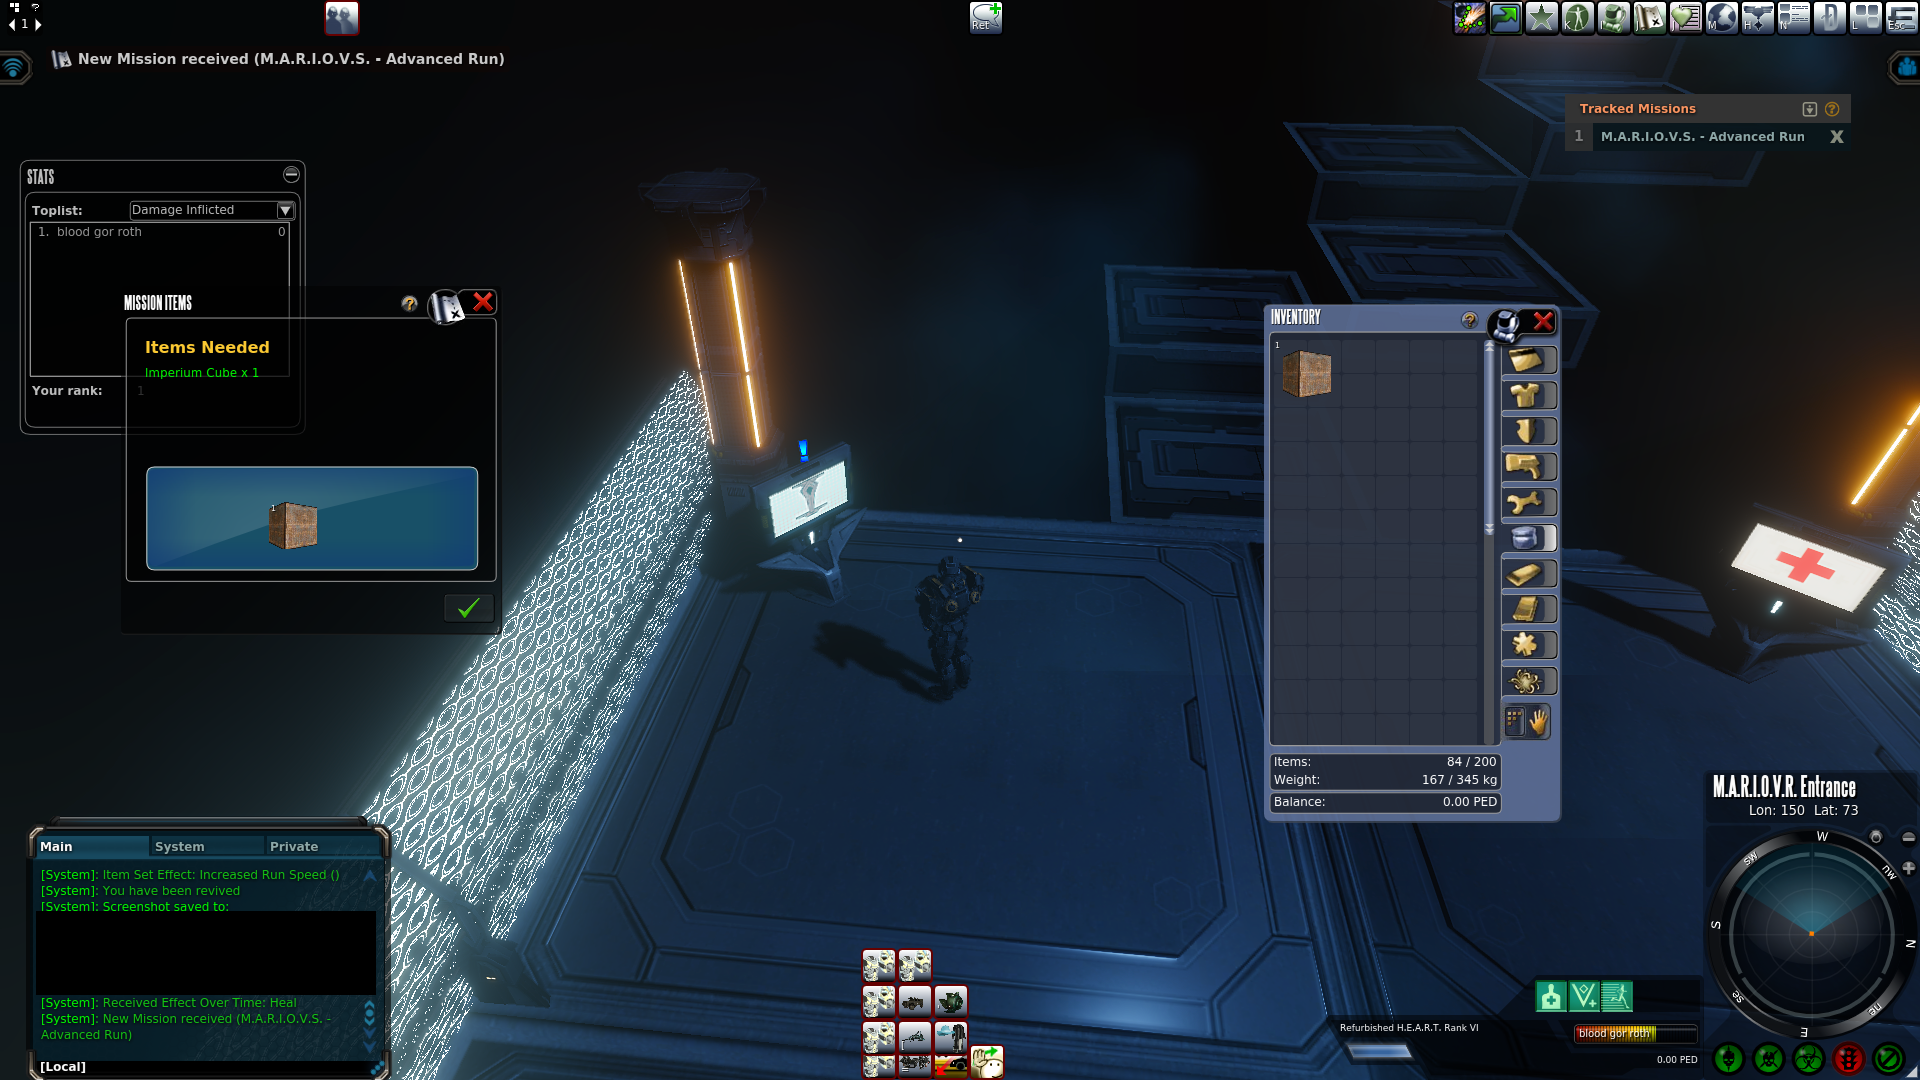
It can be found not that far from the0x101 Supply Depot teleporter just southeast around (138558, 77221), and has its teleporter in front of the small towers seen in the cover image.
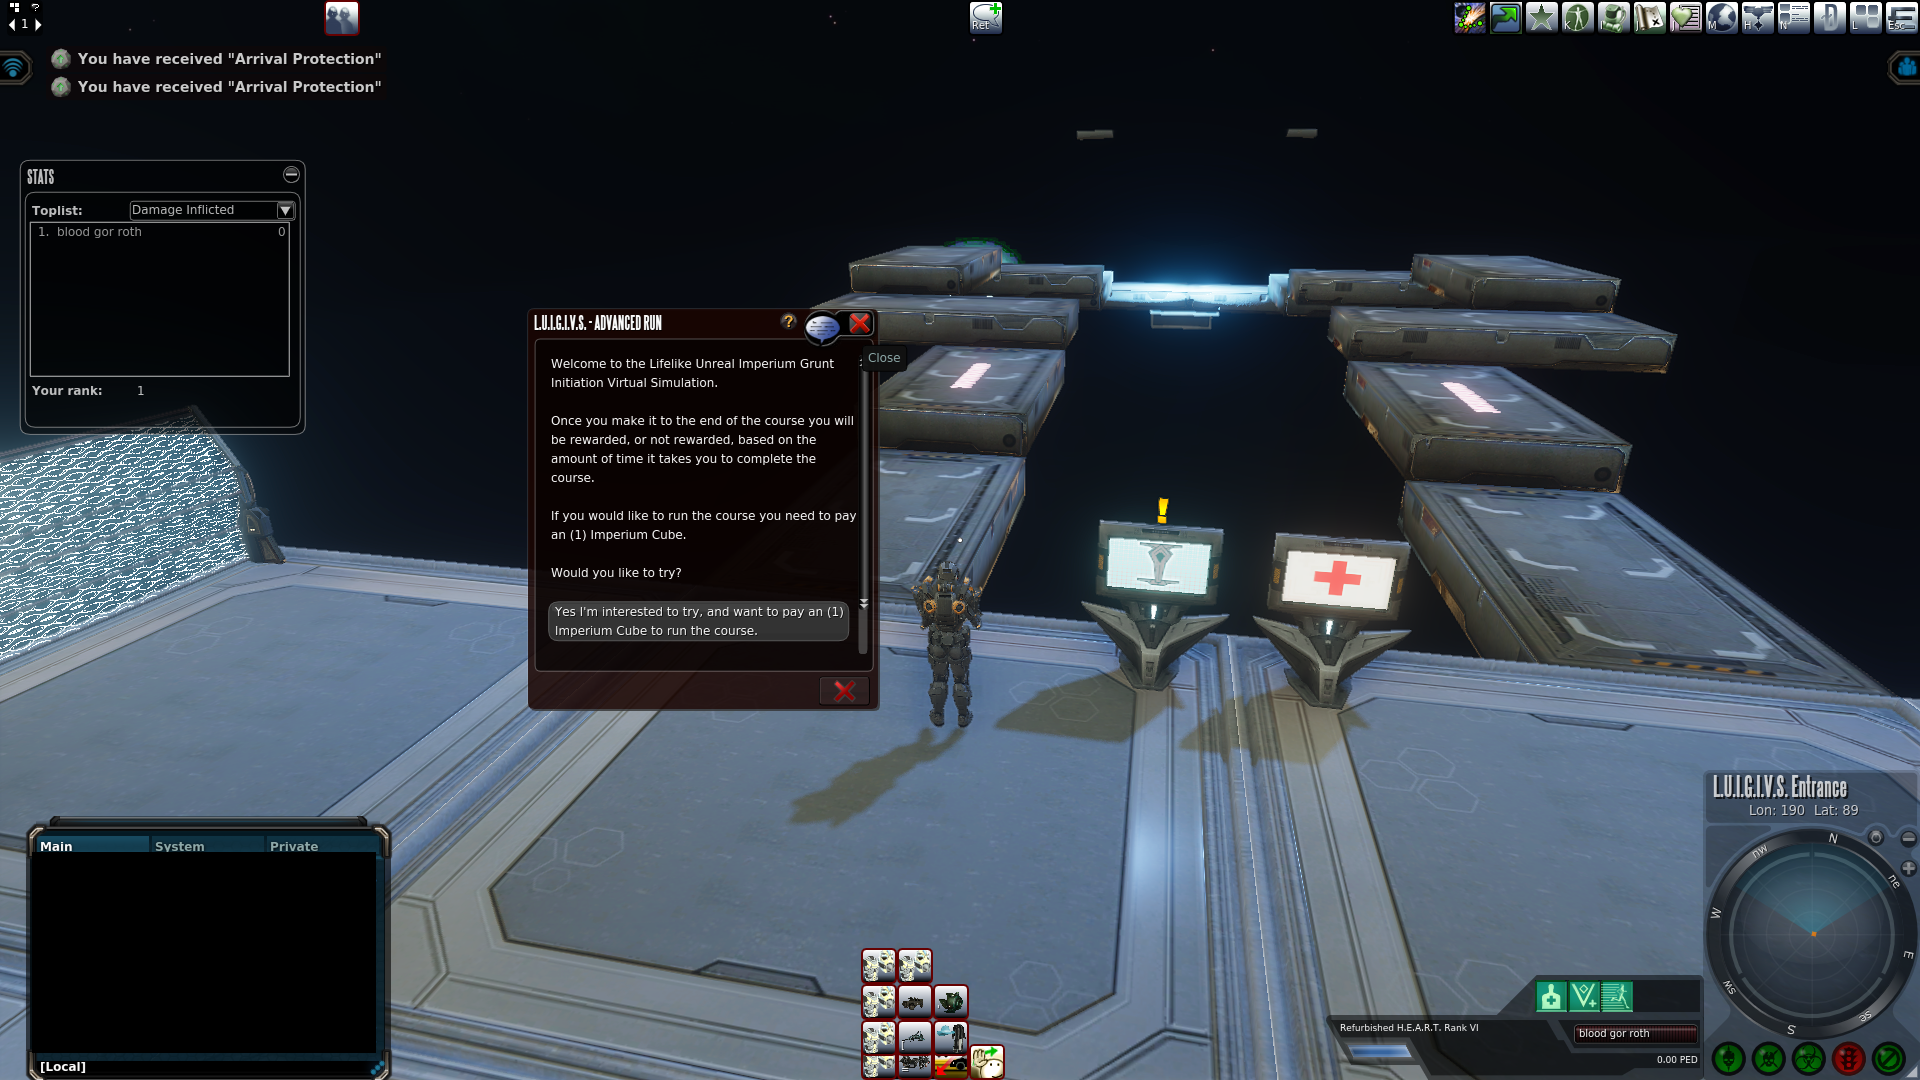
Unlike the other two courses, this one can be run for a free basic reward once daily. You can also do an advanced run by paying an Imperium Cub. Unless you are a crafter and a miner and plan on crafting all the 5 of the imperium cube components and then refining them to make an Imperium cub it’s best to just buy them.
There is no time limit for the basic free run. You can fail as many times as you like. As long as you keep trying there can be some kind of reward for getting to the end. A Cyrene Missions Token has quite a lot of uses on the planet.
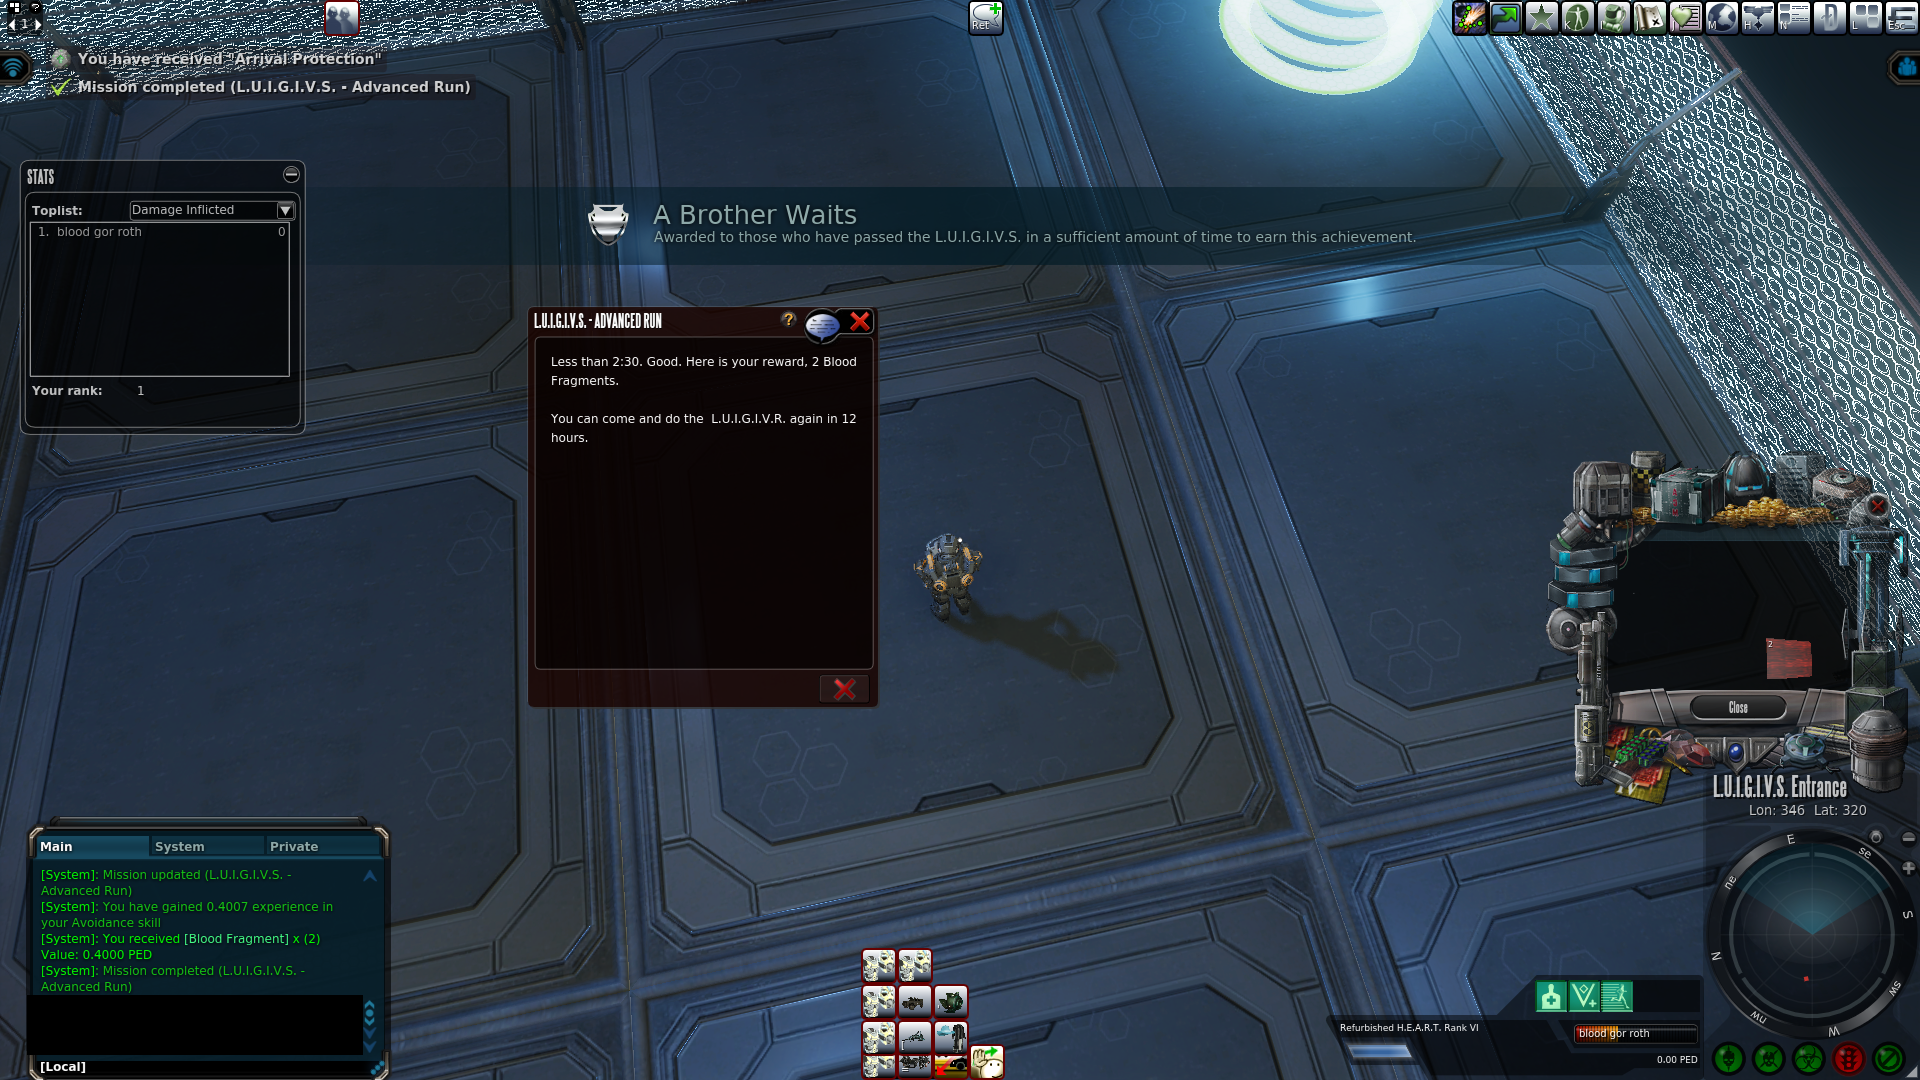
It is highly recommended that you do a few runs on any of these courses before attempting a more advanced paid run. Win or lose to meet the time and you will have to wait 12 hours before you can attempt another paid run again.
There are not any tips or tricks you need to know about M.A.R.I.O.V.S to get to the end quick enough for a reward. It is sometimes best to take your time and plan your next jump. Falling off the edge unless it was done right away will eat up to much time to make it to the end fast enough.
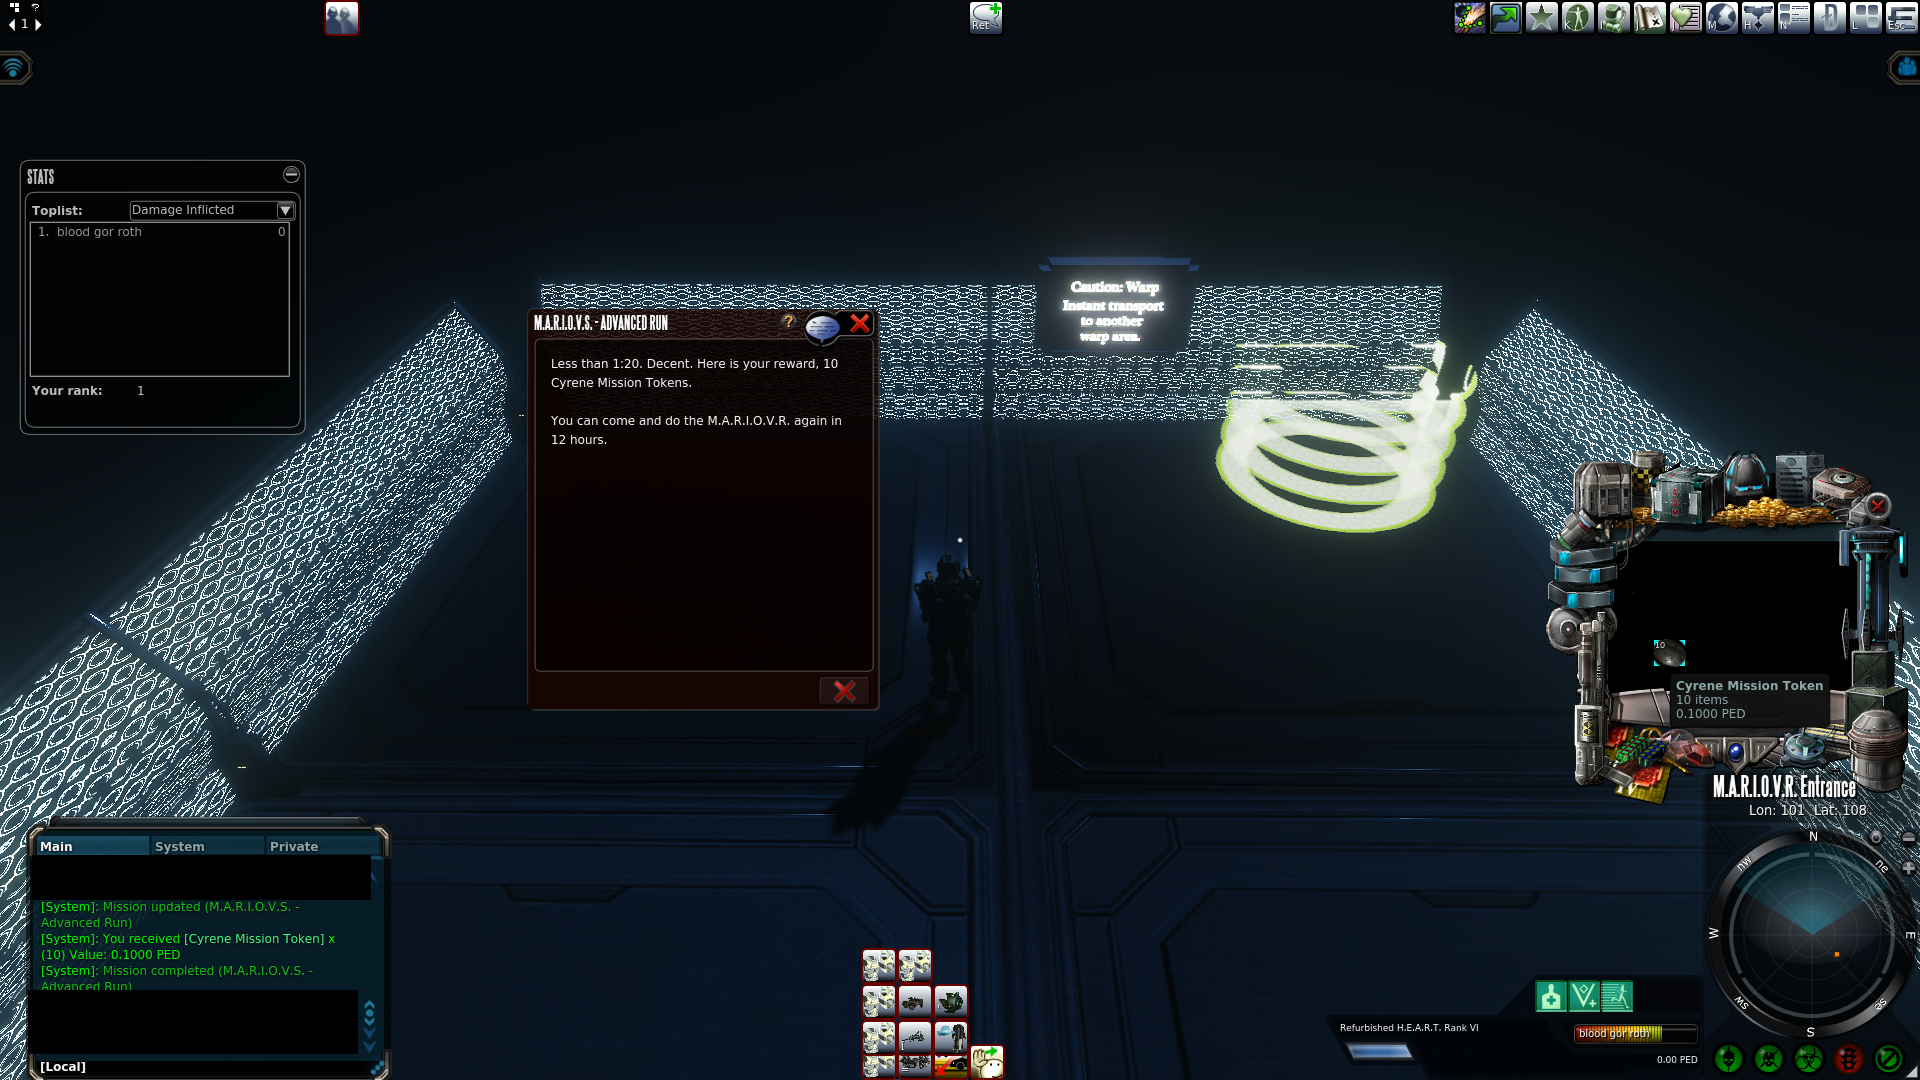
In this instance, I got to the end in under one minute and twenty seconds and was rewarded 10 Cyrene Mission Tokens. Not the most exciting rewards. It is how it is sometimes.
It can be found not that far from the0x101 Supply Depot teleporter just southeast around (138558, 77211), and has its teleporter in front of the small towers seen in the cover image.
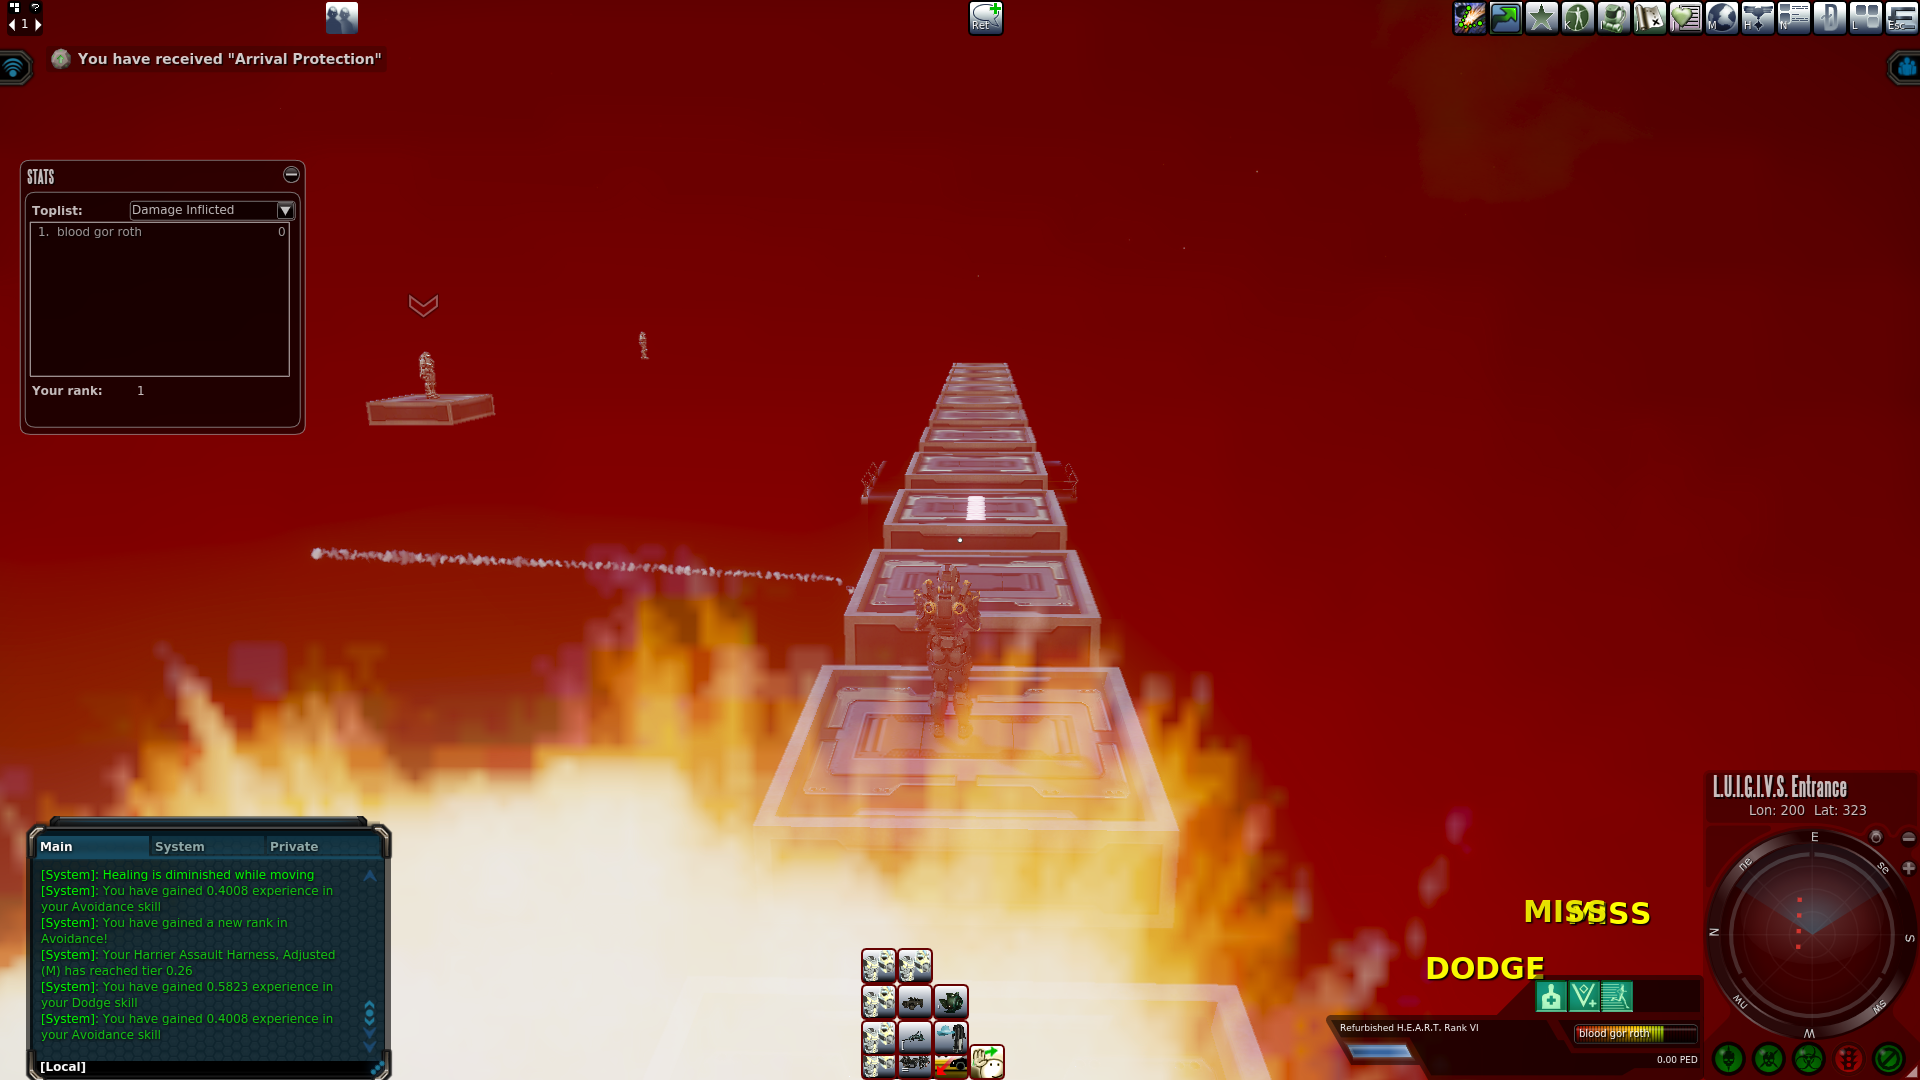
I also highly recommend that you fully heal yourself before making this run. Some areas cause damage by standing on them. Along with spots where they shoot at the grunt that is you. Finally, you will take fall damage when dropping down to the finish line.
The cost to run this one is a Imperium Cub like the first.
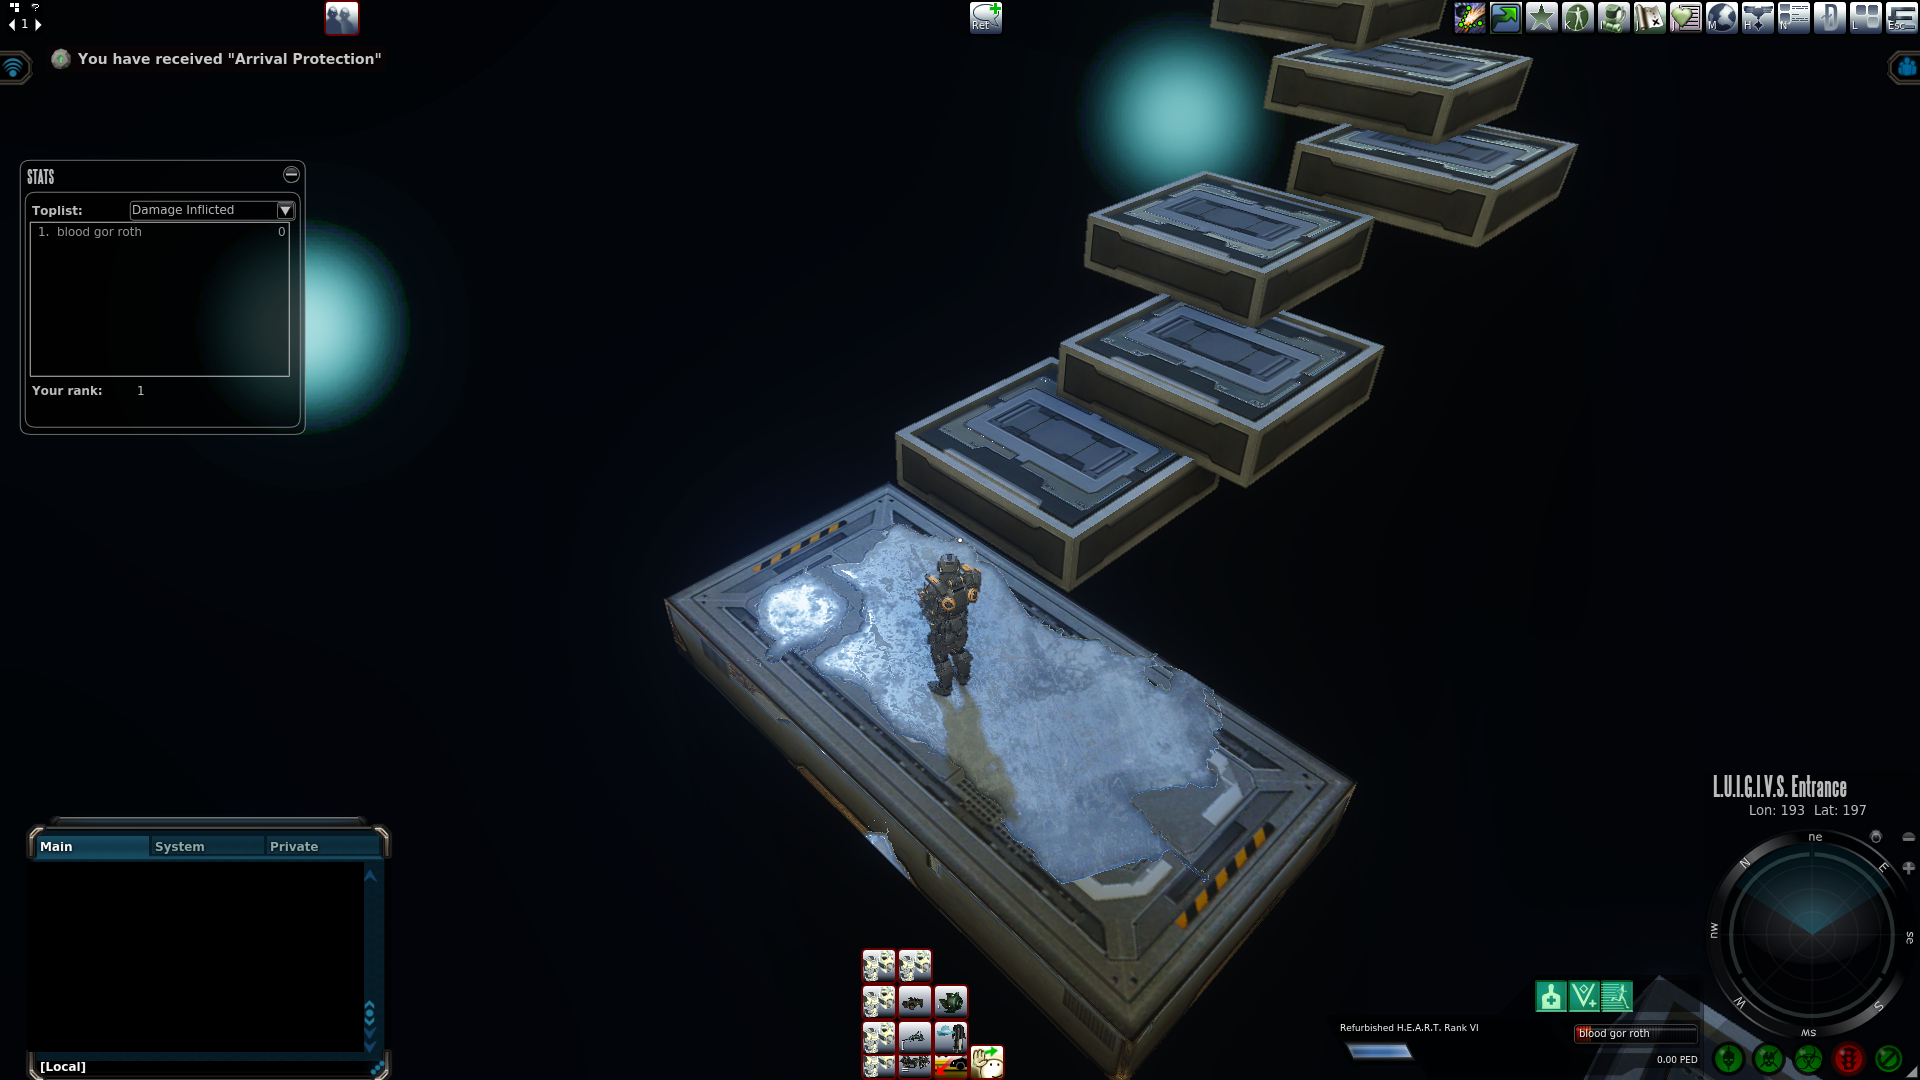
You will find some areas contain a trap like this ice. Since I’m wearing armor I am not taking any damage. The damage however tends to be the theme of this instance. You don’t want to stop and eat up time healing which is why it was important to be fully healed at the start.

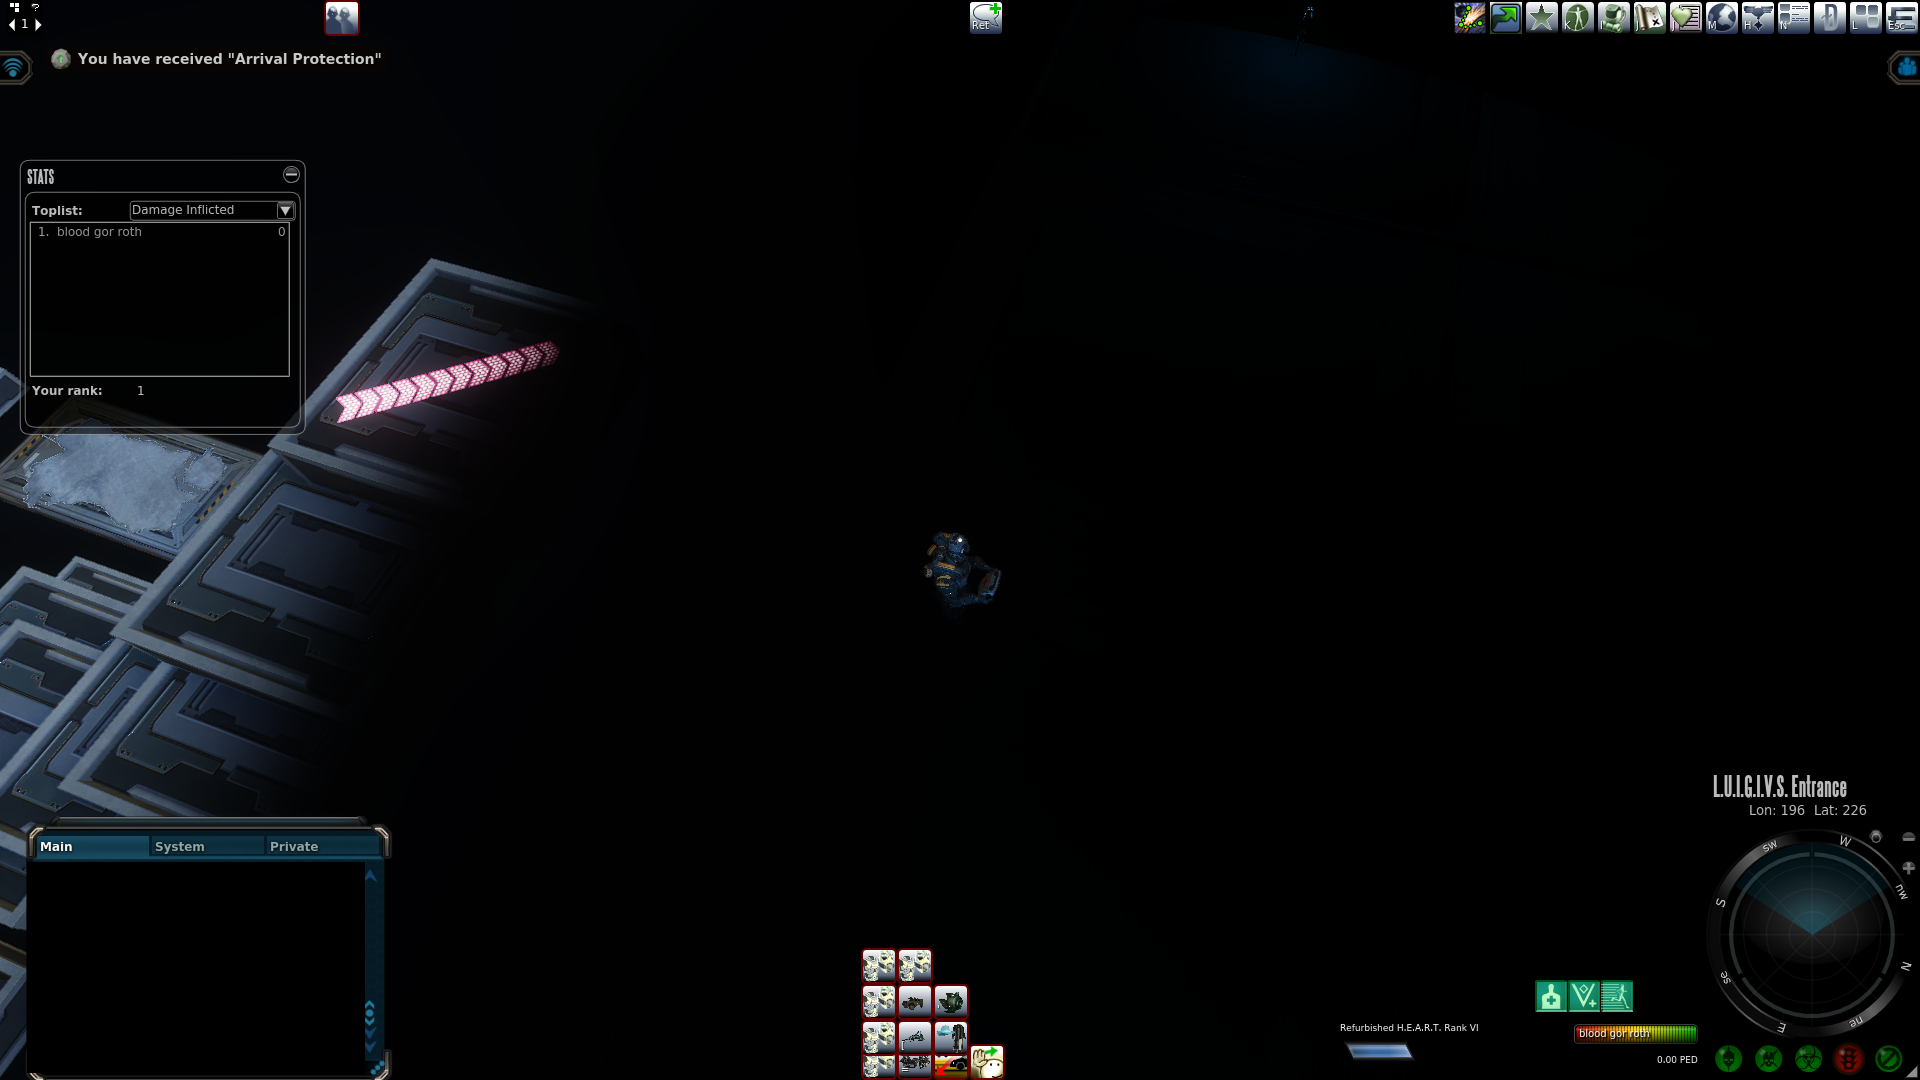
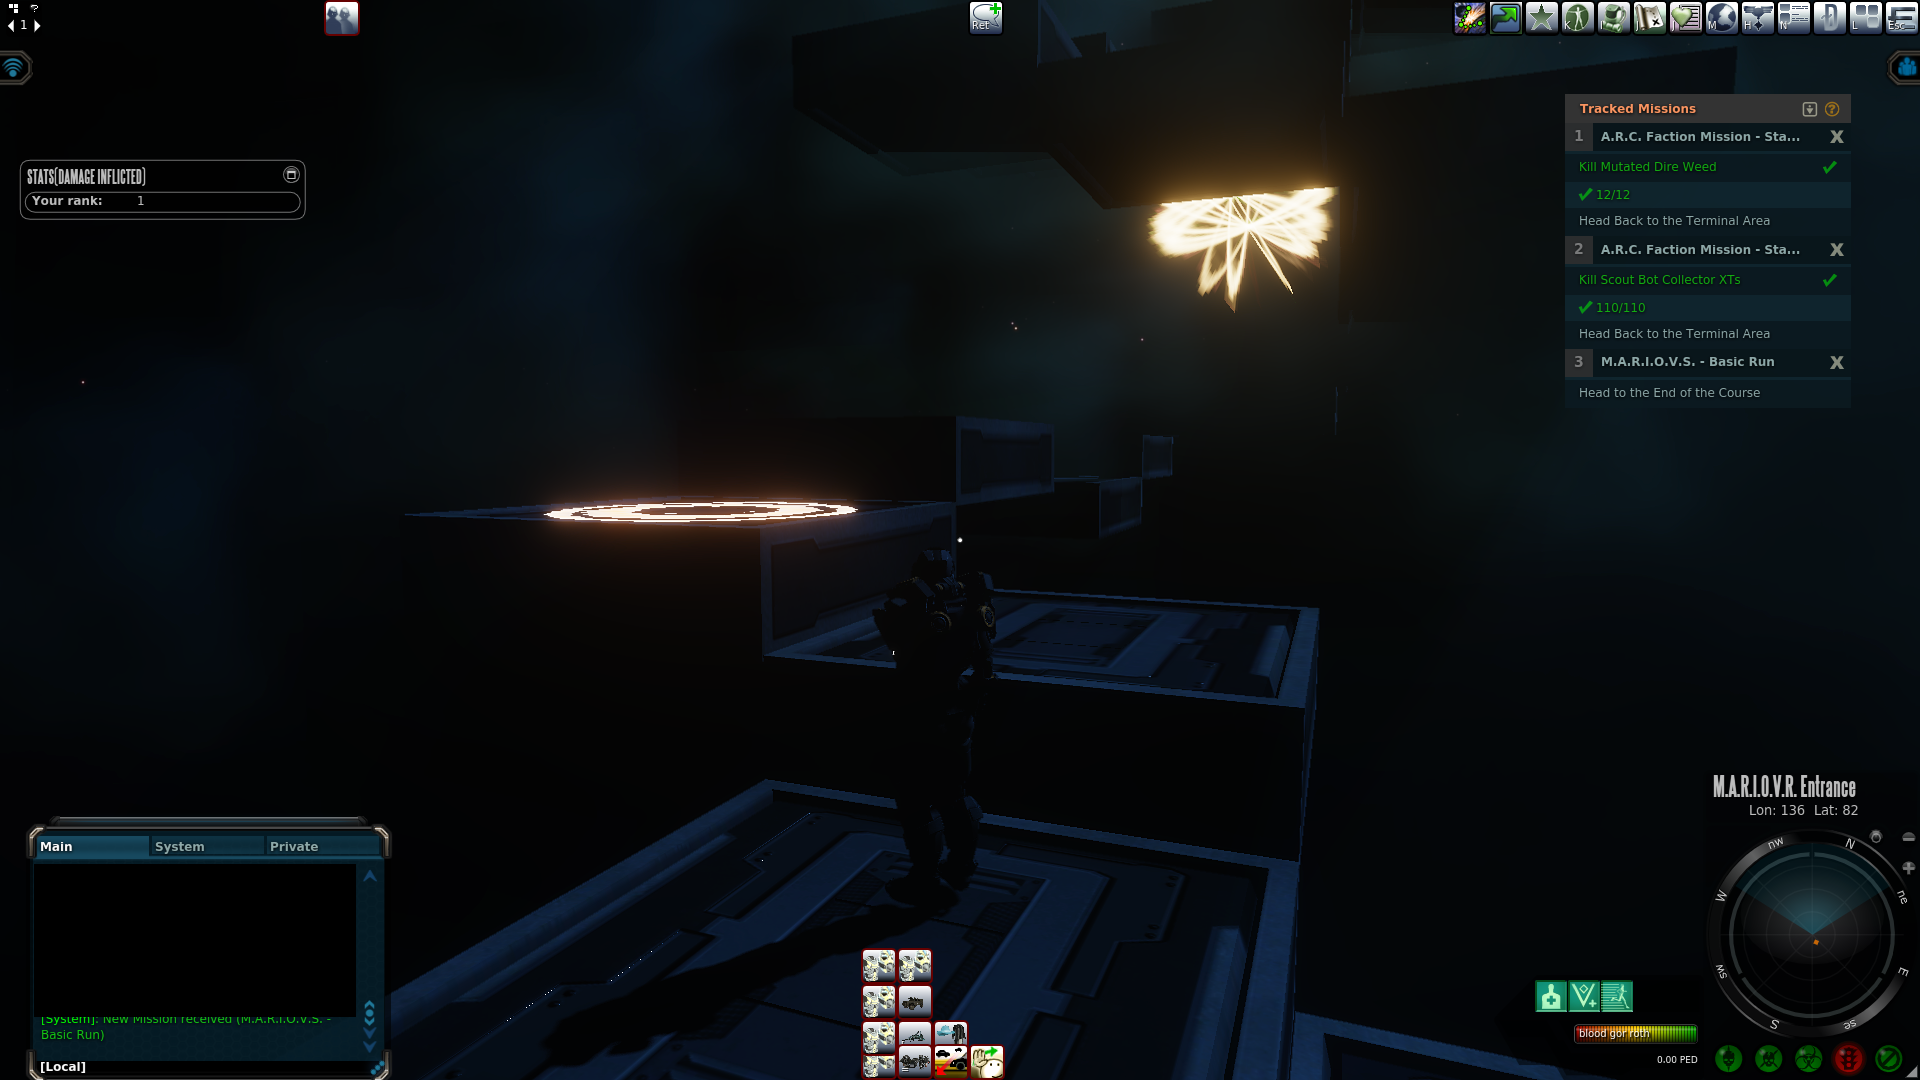
You will want to practice in this spot how to move forward without falling off the platform. You will want to move at an angle till you see the corner of the blacked-out circle area.
After that, there are some normal jumping platforms. None of which should be a hard challenge if you have made it that far.

Before you jump down to finish the course make sure you have enough health to take the fall damage.
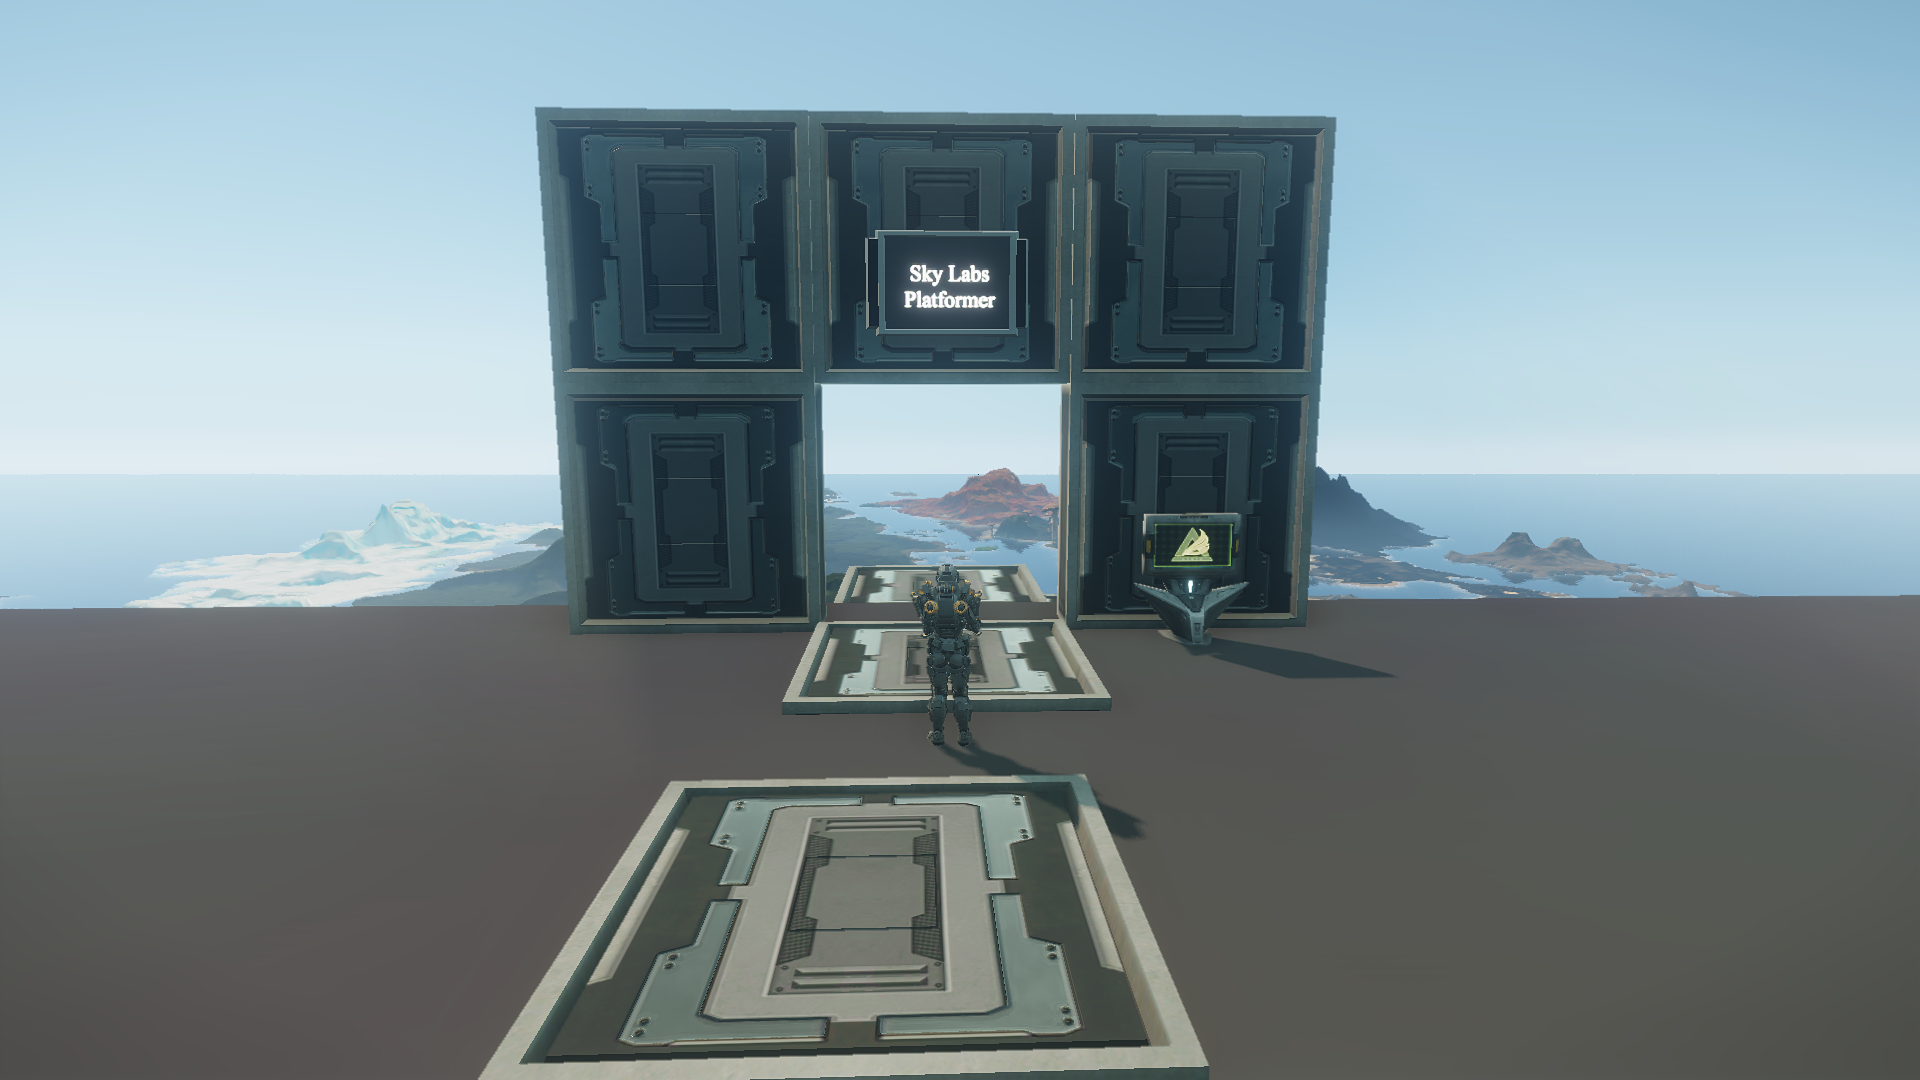
If you have ever teleported up to Sky Labs waypoint you might have wandered around a bit and not even have known this was here.
Like the others you can run it for free there are just no rewards for doing so. You can also pay an Imperium Cube to go for the advanced run.
You can run through this entire course and feel like it has to be the easiest of the three. There did not seem to be any tricks required or gimmicks along the way. The only real issue here is you fall to land in the ocean and have to press T to the teleporter back up. This costs you sixty seconds losing this one.
You will also notice that just running this like you think you should end up taking way too long. This one is all about speed and taking what looks like risky shortcuts.
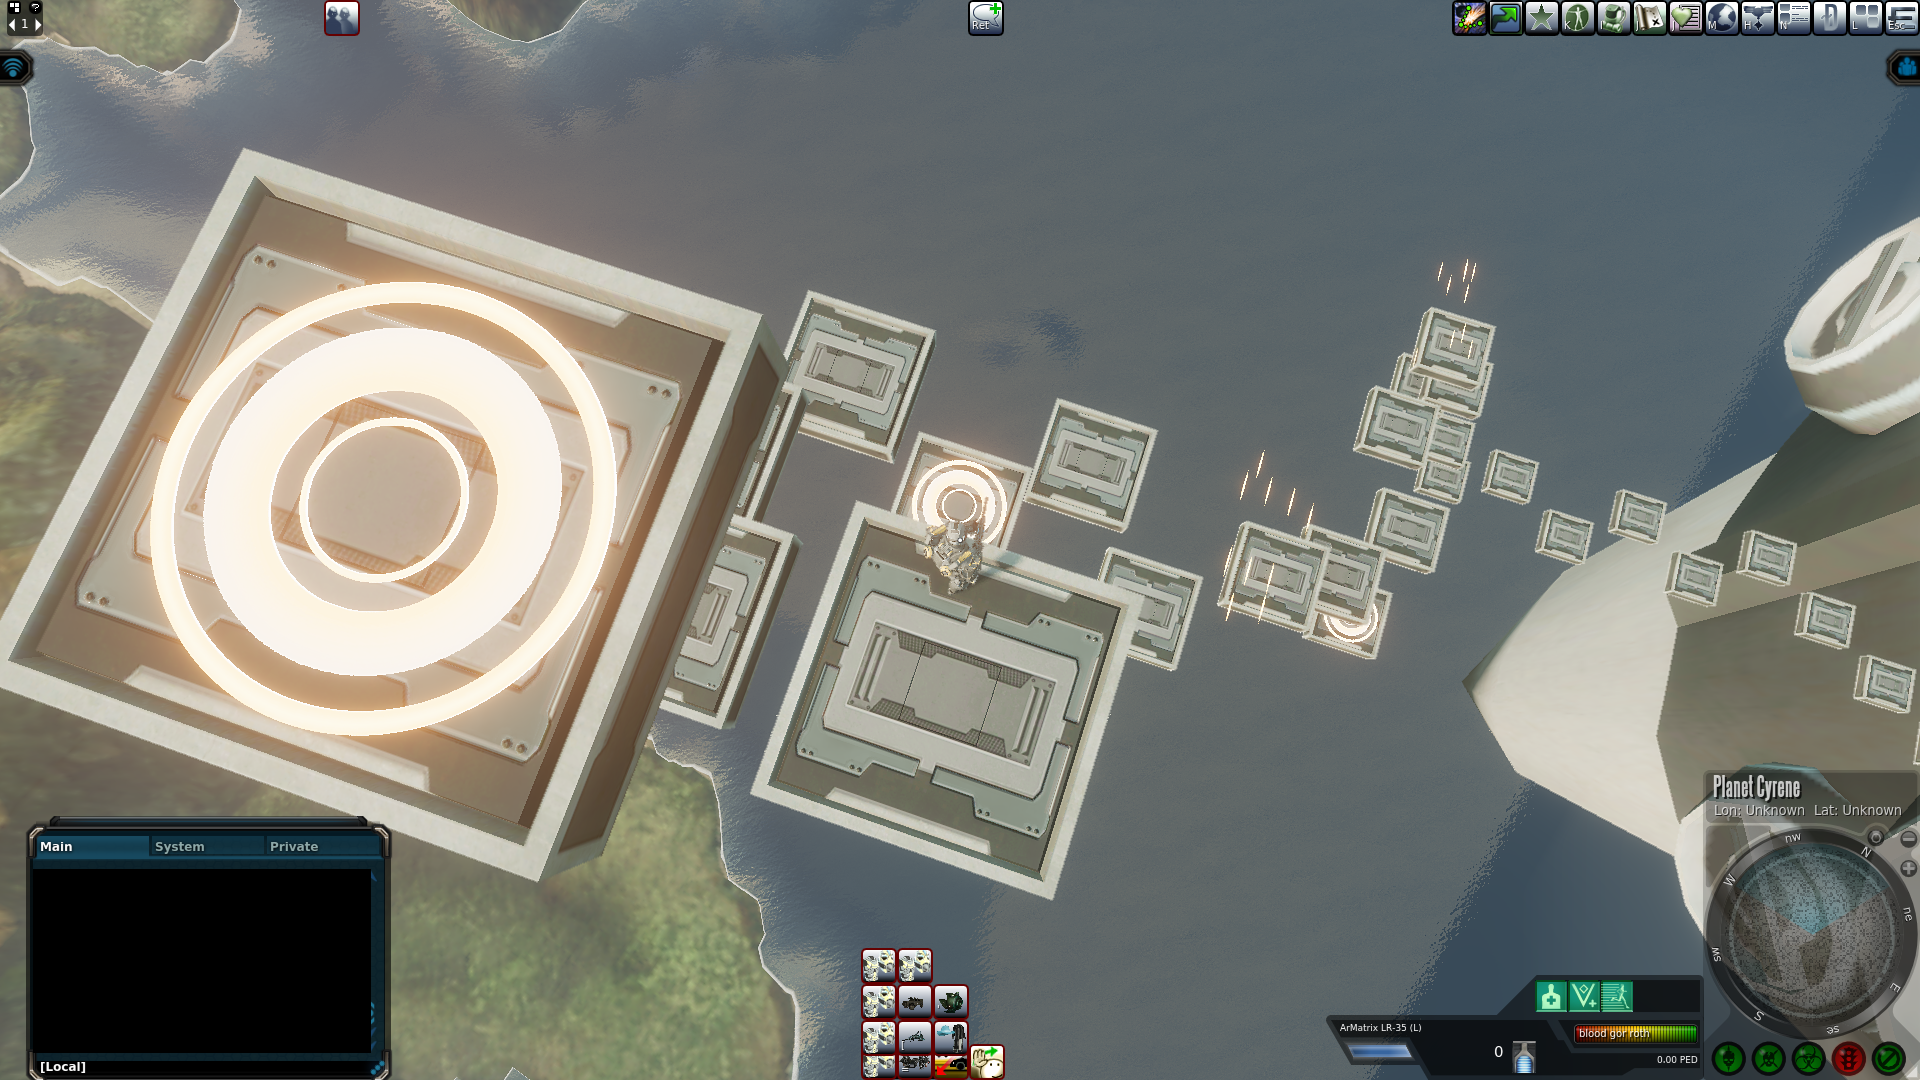
While I won’t spoil all the shortcuts or other risks you can take to shave a lot of time off the run. I will point this one out. That should be enough to give some insight into other spots you can try the same. Just don’t overshoot or you will be swimming with the finish down below.
Screenshots were taken and content was written by @Enjar about Entropia Universe.


Windrose Review

Taking A Look At Alaska Gold Fever

The Making Of The Anathema Adventures Series

Taking A Look At Starminer

Making Billions During Capsuleer Day XXIII Warpath Event In Eve Online

Starminer | Trading From Station To Automation Guide

Taking A Look At Project Mist

My First 100 Hours In Starminer

Making Billions In The Gallente Election Event In Eve Online

Taking A Look At Windrose