
Windrose Review

It was time to take a look at the Survival instance in Entropia Universe for the Halloween Mayhem event. This is a bit different than the other instance I’ve been running Annihilation as you need to clear and survive waves of zombies and dogs.
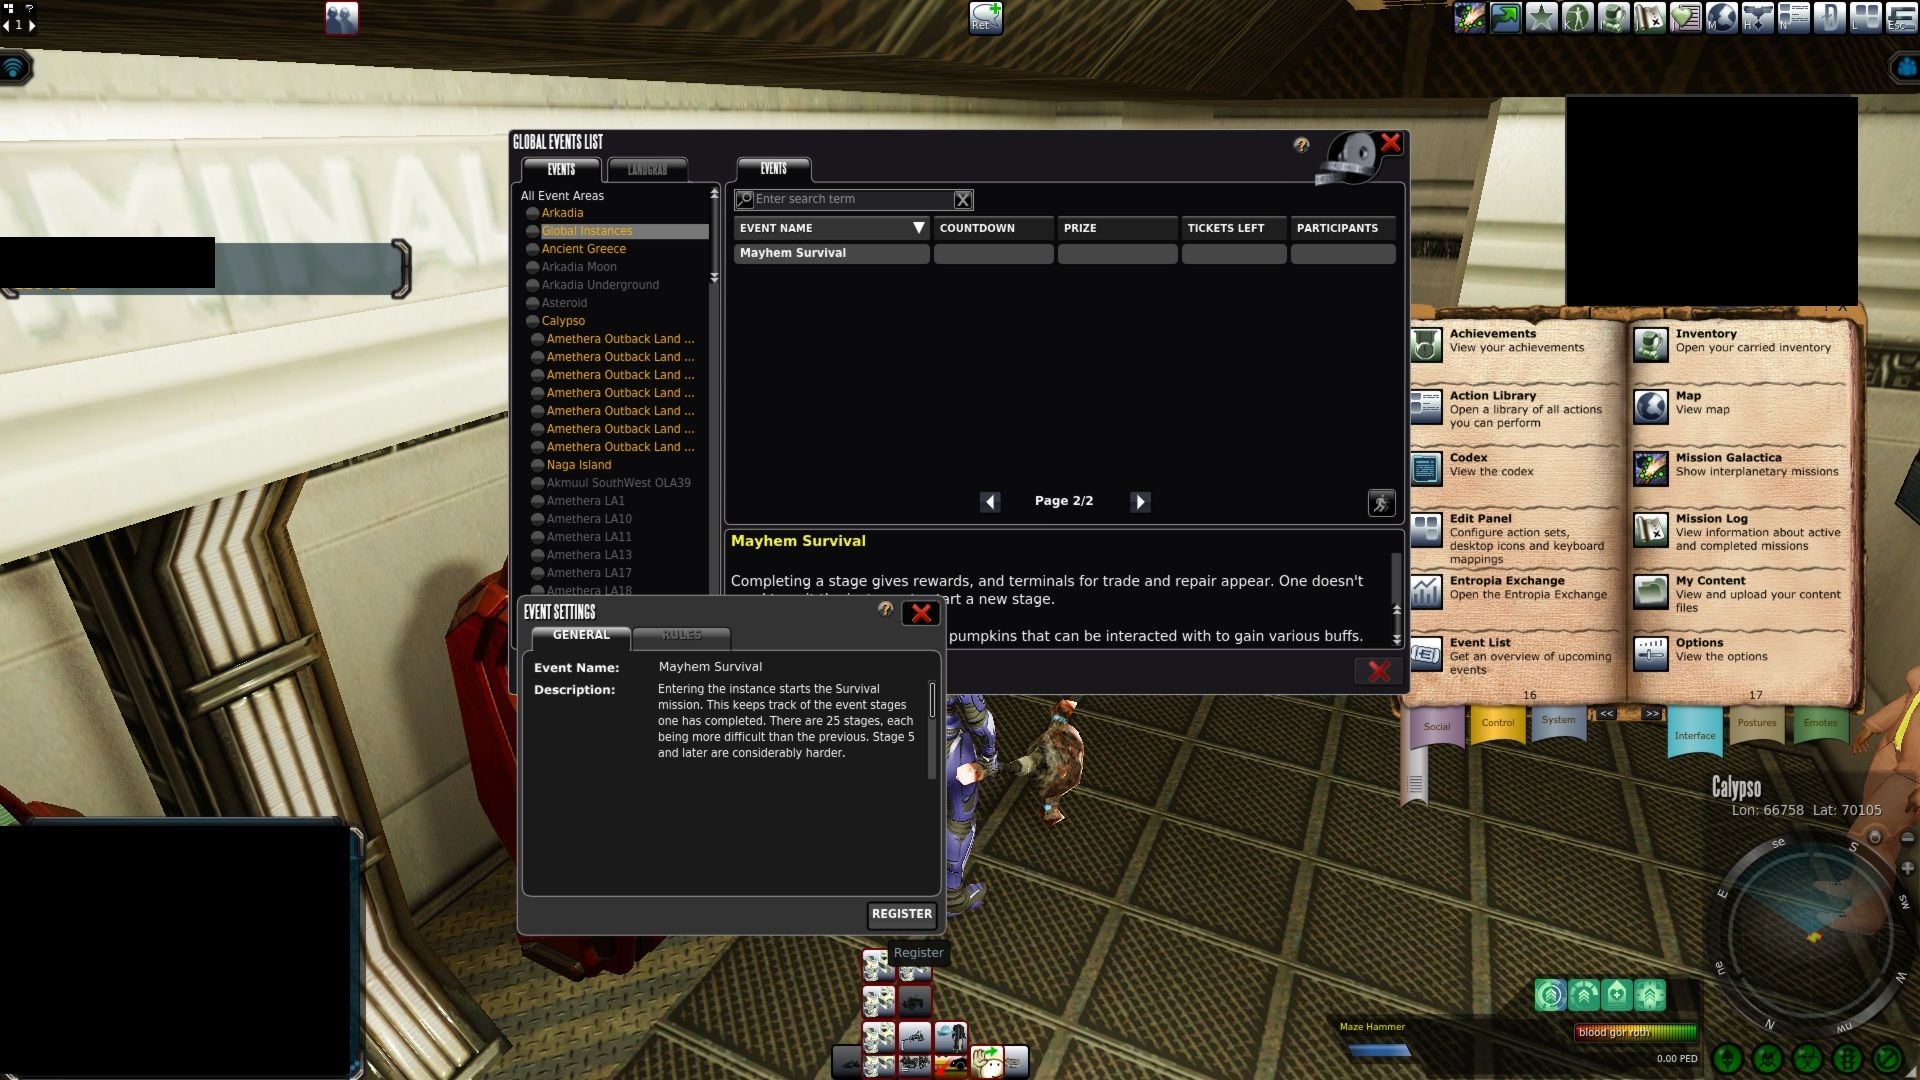
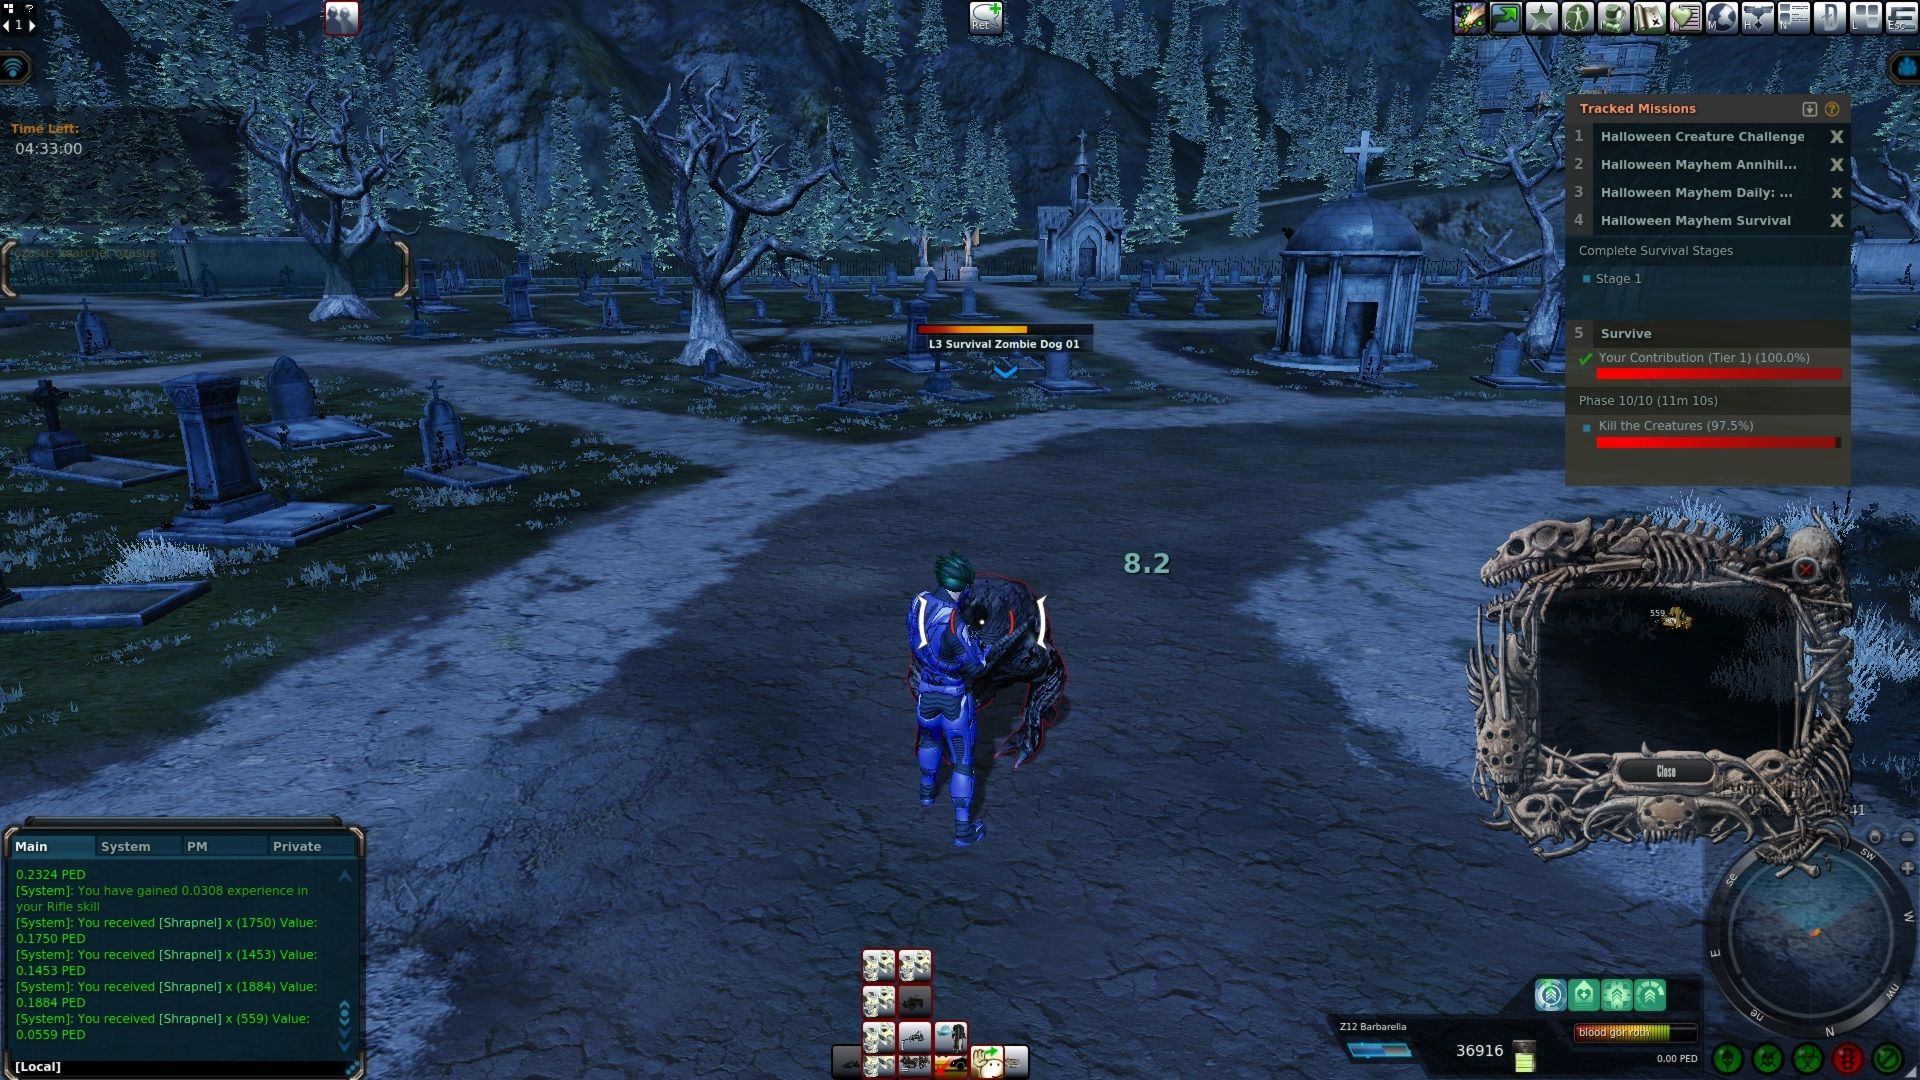
For now, I’ll just be doing the first stage. Each of these stages has 10 phases or as I see them waves. Three of these phases will have a checkpoint you need to capture at phases 3, 6, and 9. With there being a boss at phase 10.
As always for these instance events make sure to bring everything you need in with you beforehand. There is no storage inside. Once you have beaten a stage the instance will then spawn in a repair and trade terminal but not beforehand. So bring ammo, repair, and do what else you need to before heading in.
Those who want to go all out on these will want to bring all different ranges of damage to weapons, armor, and so forth. I won’t have that many different kinds of weapons so overkilling will be a bit of an issue for at least the first stages for me.
I’ll be wearing gremlin which is not the best for dealing with these sorts of creatures. It’s just what I have. Since this first phase is quite low-level creatures I’m that worried about it.
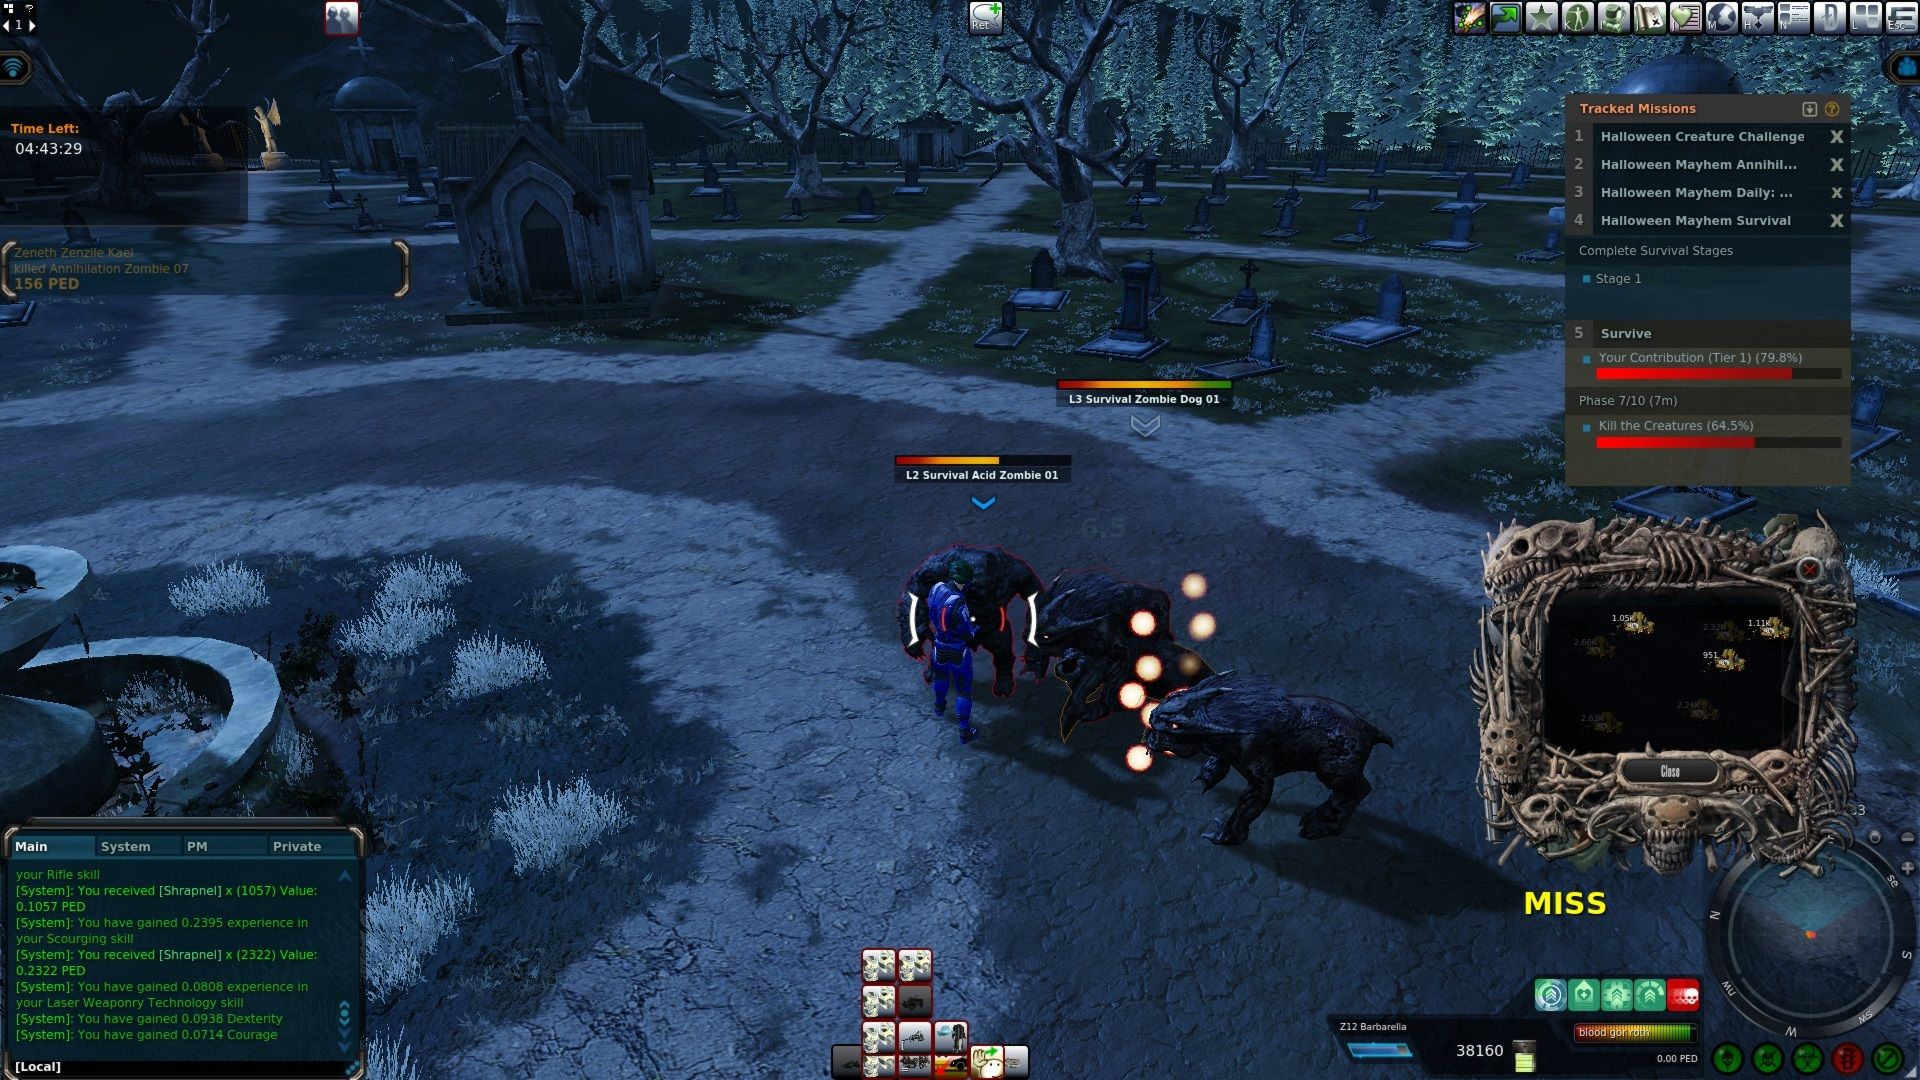
For the most part for the first stage, I’ll be doing my best to just stick with a Z12 Barbarella. While something like an Armatrix LR-10 would make things a bit quicker. I felt like in many situations I might have gotten away with just the Barbarella.
There were a few moments when I got quite a few creatures on me or the timer for the wave was getting close so I pulled out a much bigger gun. In those instances, I tried to use the Barbarella as my finisher gun as these are quite low-level creatures in the first stage.
Due note each wave has a time limit, sometimes a task like capturing a waypoint. Running out of time or bit competing for the task will fail and you have to start the entire stage over again regardless of how many phases you are into it.
Getting killed will also fail the stage. Don’t do that either. Thankfully I was so over-geared for this first one that I never felt in danger of failing. My repair bill for my armor was also only 0.20 which was rather cheap.
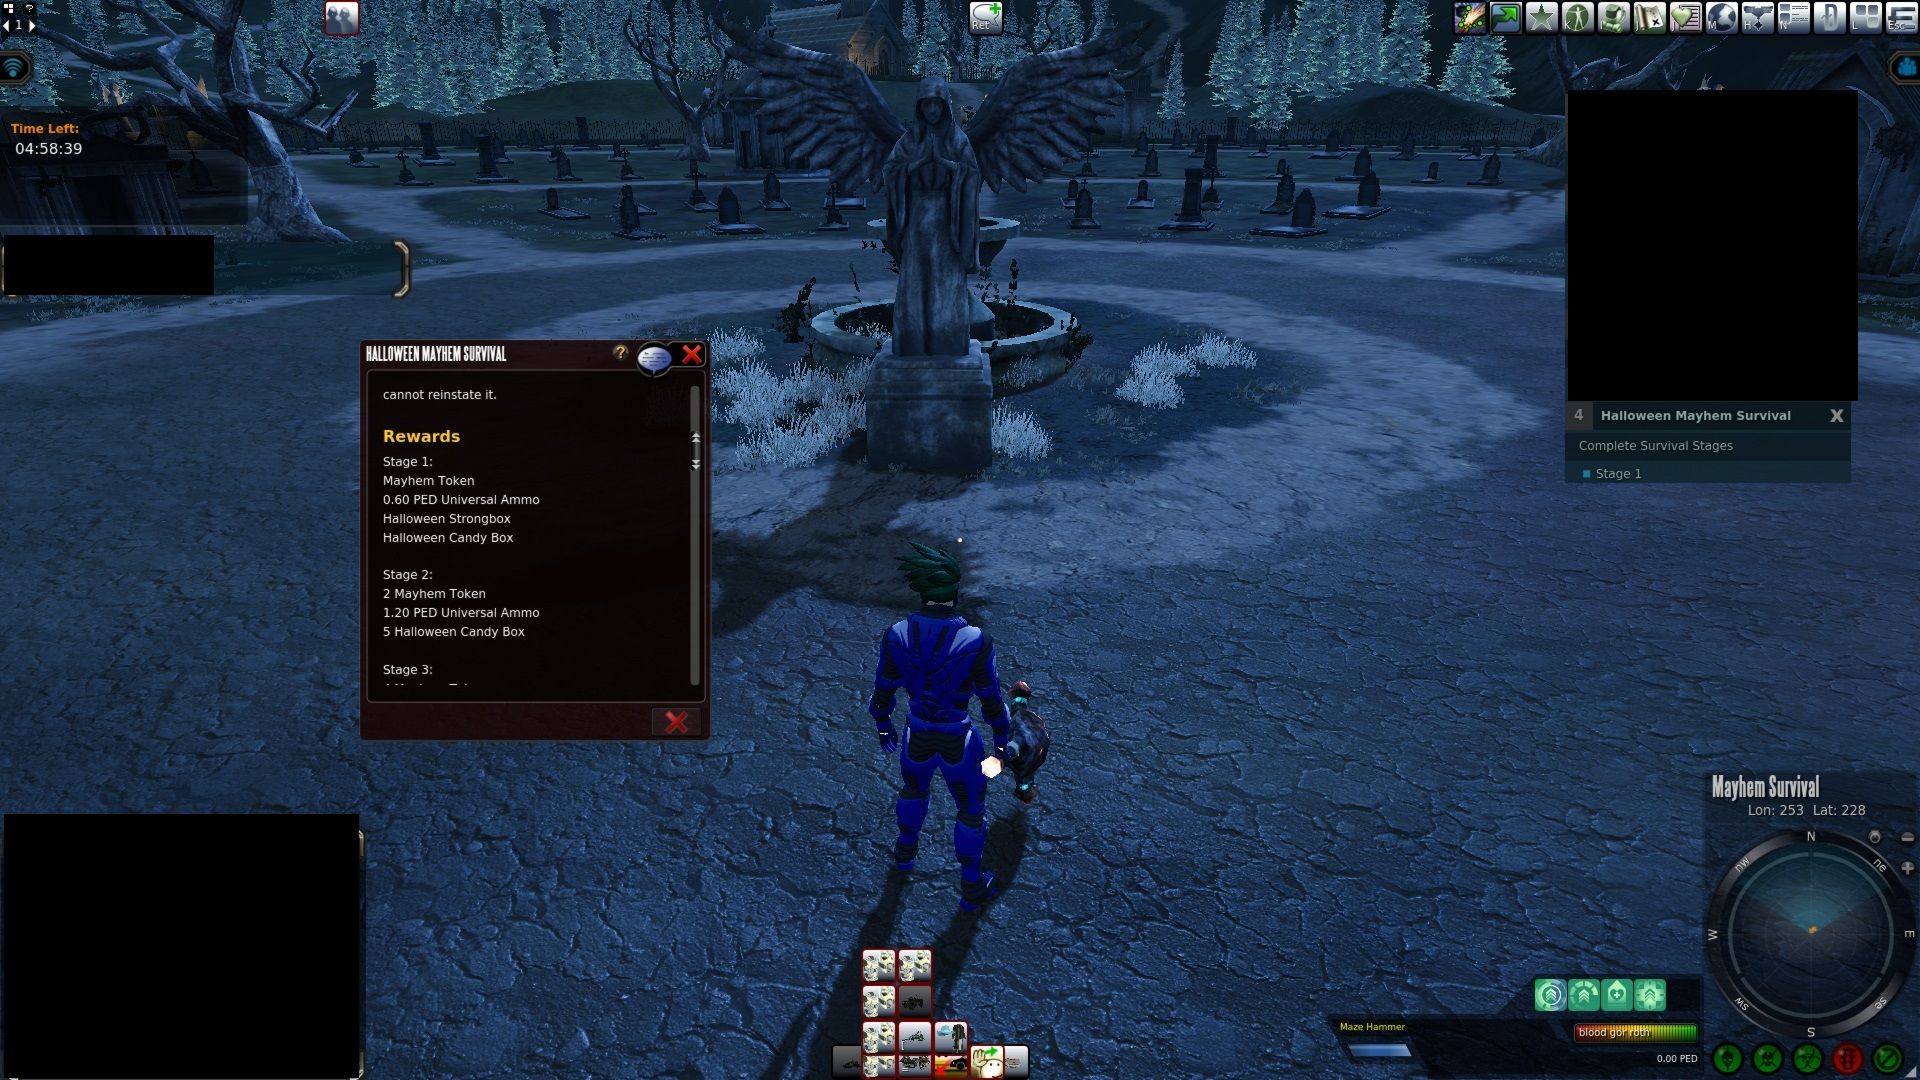
Once inside you will be given a mission. This is one of those you better not abandon otherwise you are done. It will keep track of what phase you have gotten up to. It goes over the rewards for completing each phase in the body of the mission’s text.
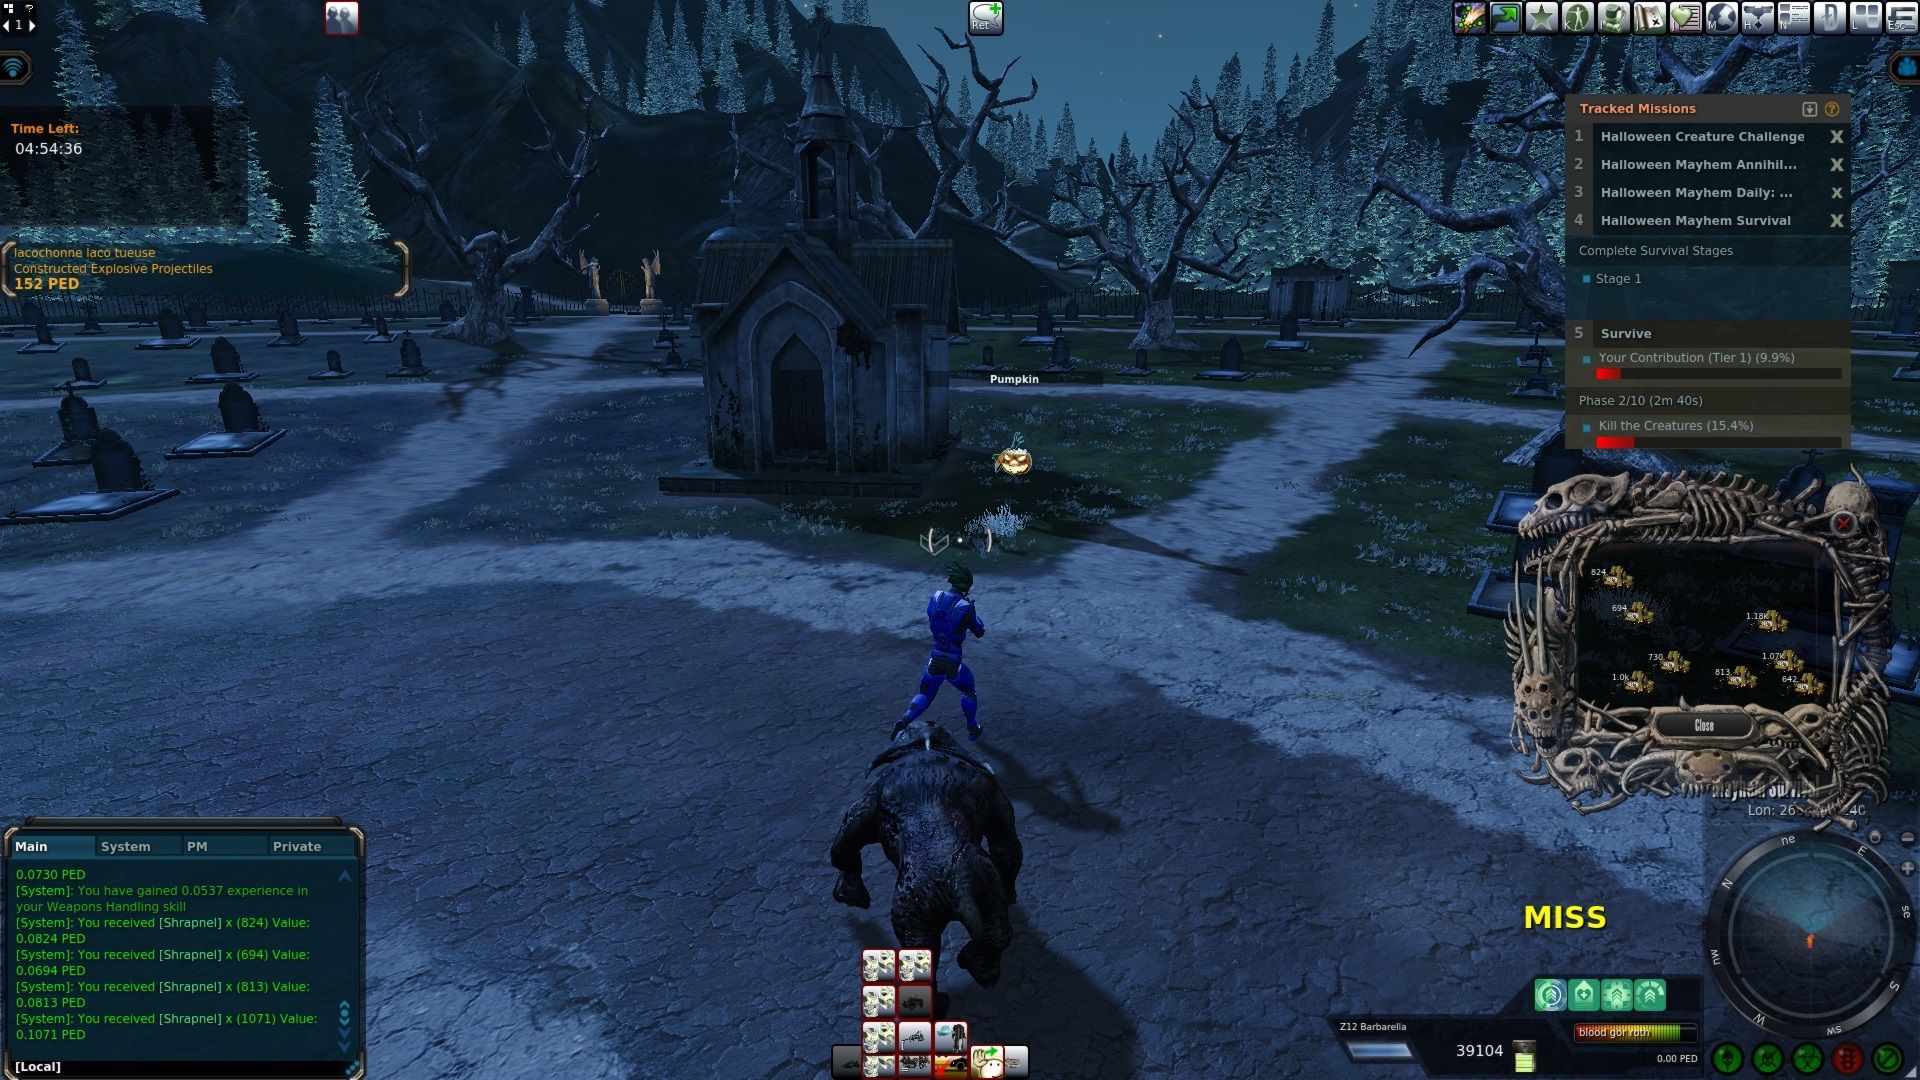
I’ve noticed you can only have a maximum of one pumpkin per phase. Also if you had just recently clicked on the pumpkin for a buff before the next phase starts you won’t get a pumpkin in that phase at least from my own experience.
The pumpkin will remain if not used in a phase. You however won’t be getting an extra one for not using it either. So keep that in mind as well.
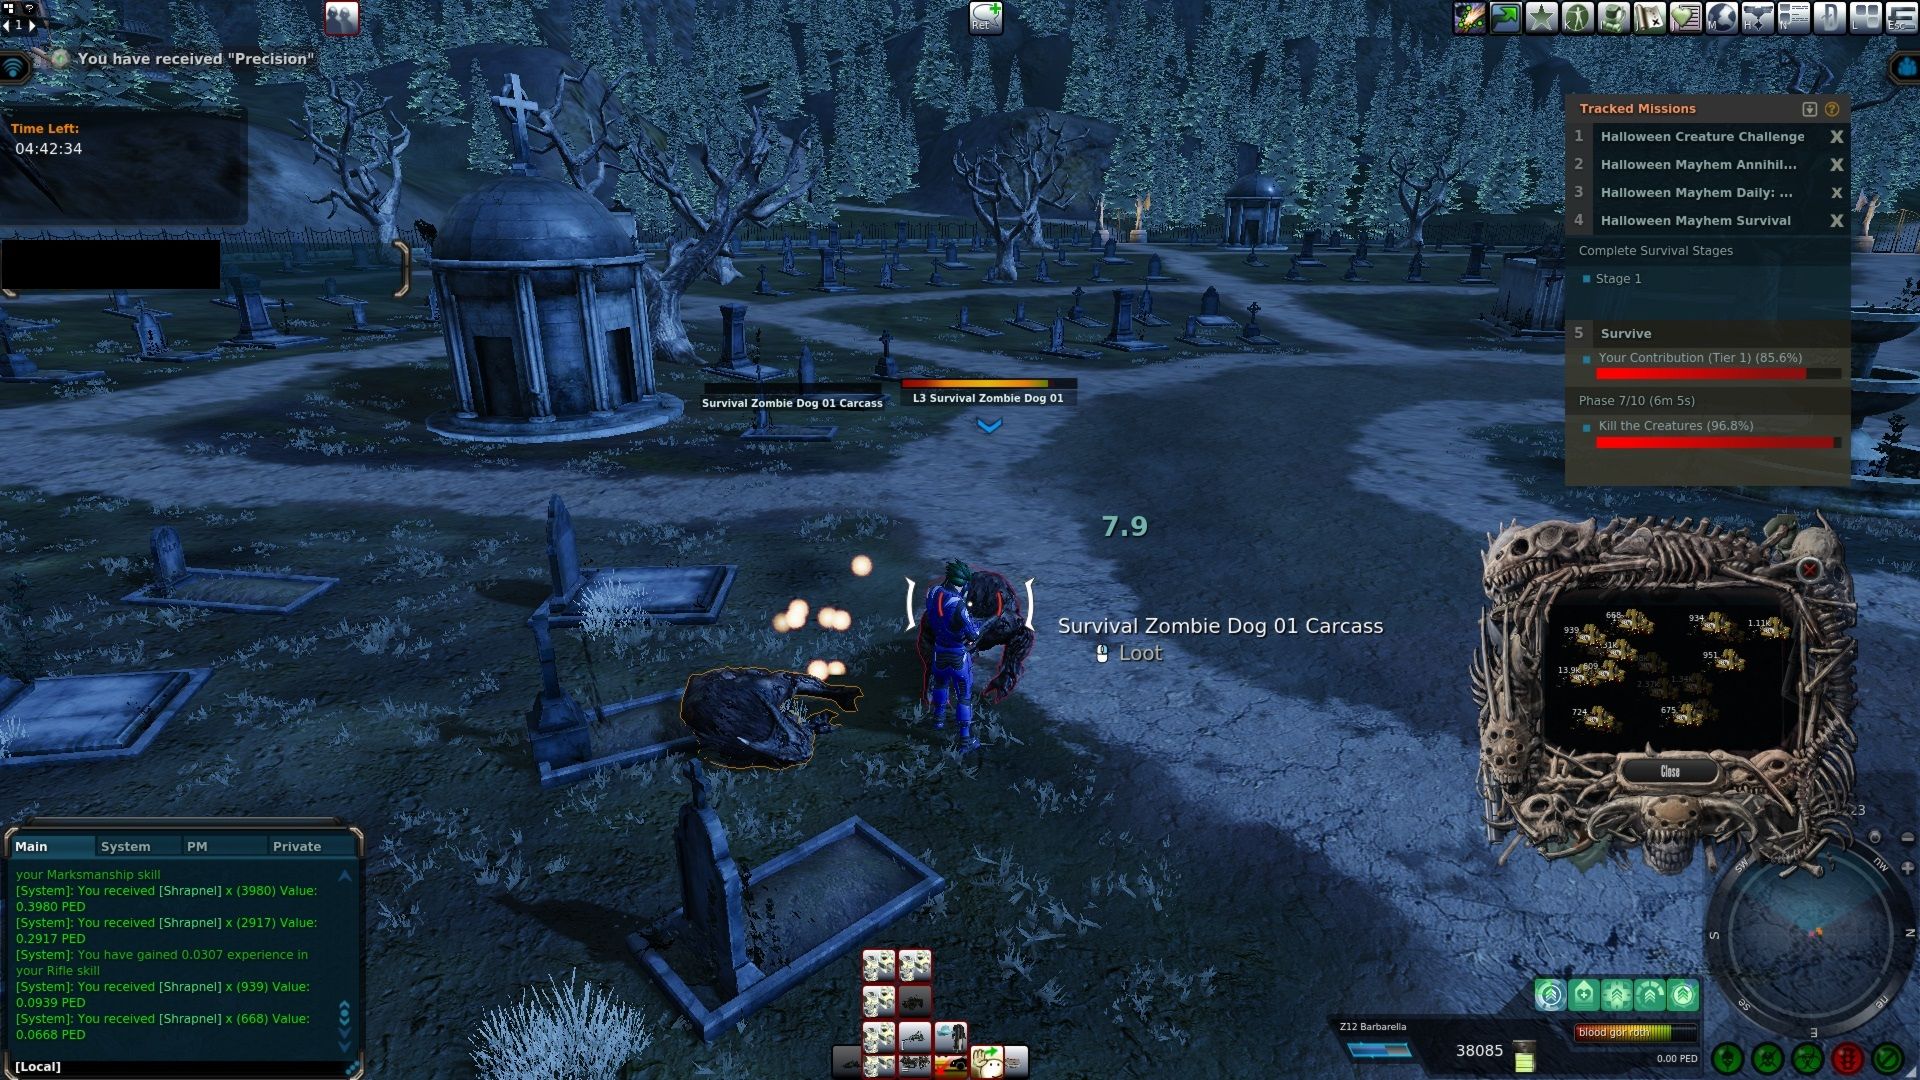
As far as buffs there are a couple of different types that last for around 1 minute. You can get things like Rejuvenation which gives you 10% of your max health every so often and is quite powerful. There is also a precision buff that increased critical hit chance by 25%. You could also get the buff resistance that reduces the total damage you take by 33%.
If you are someone who is not going to struggle whatsoever you might as well click on the pumpkin as often you get it hoping for things like precision. If you are someone who struggles you might want to save the pumpkin till a dire moment and hope you get rejuvenation or resistance.
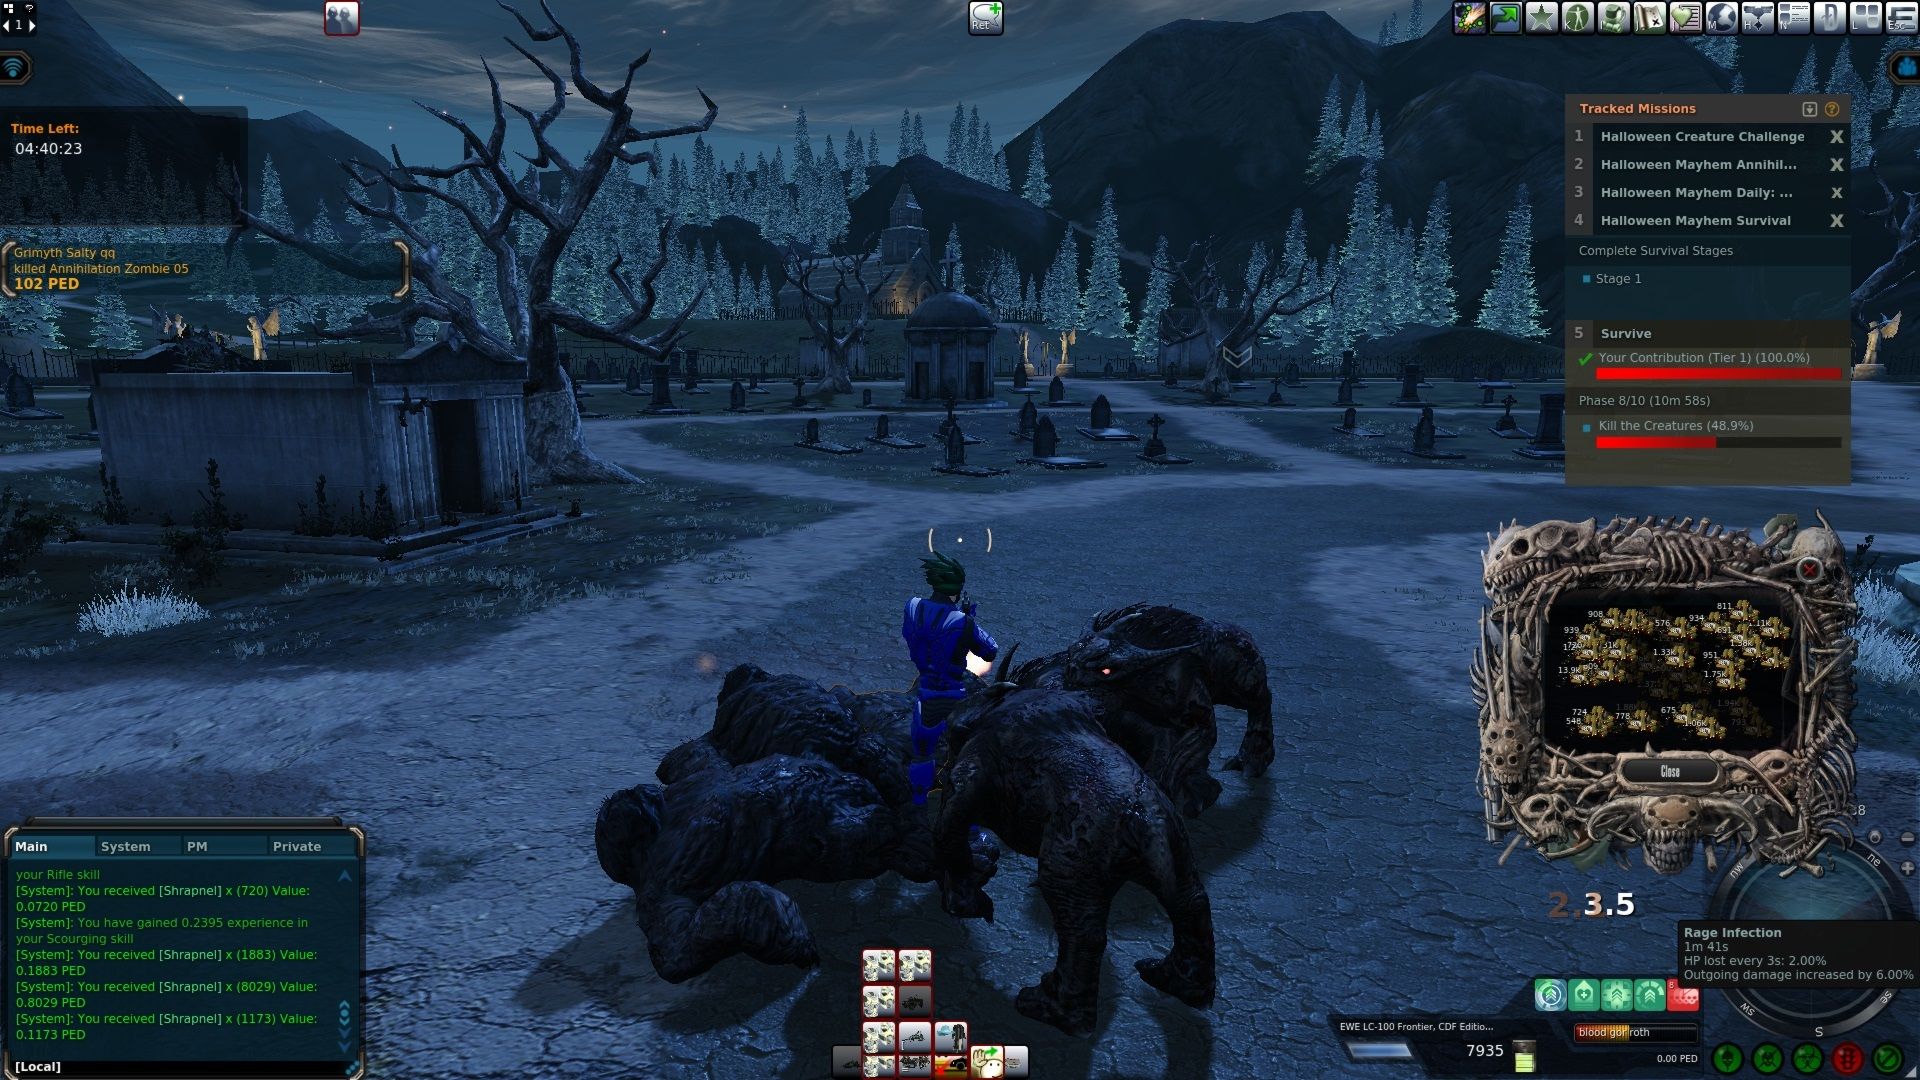
A de-buff that is not the worst you could get is called rage infection. You will lose a small percentage of your health every so often. The nice thing is you at least get a small outgoing damage increase as well.
The de-buff that can mess you up is called debilitated. From my own experience, I was getting it ranging from a 10% to 60% reduction of my healing amount. While at the lower end that is not a big deal. Pair that with the other de-buff and half a dozen creatures attacking you at the same time. You suddenly find yourself in a lot of trouble unless you have some insane healing tools.
As a result, I recommend keeping your health topped off. As getting killed fails the stage and getting that de-buff can make things quite challenging if things start to go sideways. Where you can only hope you are within range of clicking on a spawned pumpkin to get you out of a bad situation.
I would also sometimes if I had lots of time and was on the last creature I was fighting for a phase was the dog I’d wait for the de-buff to dissipate. I would also use that time to heal up to full and do anything else I needed to do. You have almost no time between phases so you can’t expect a breather.
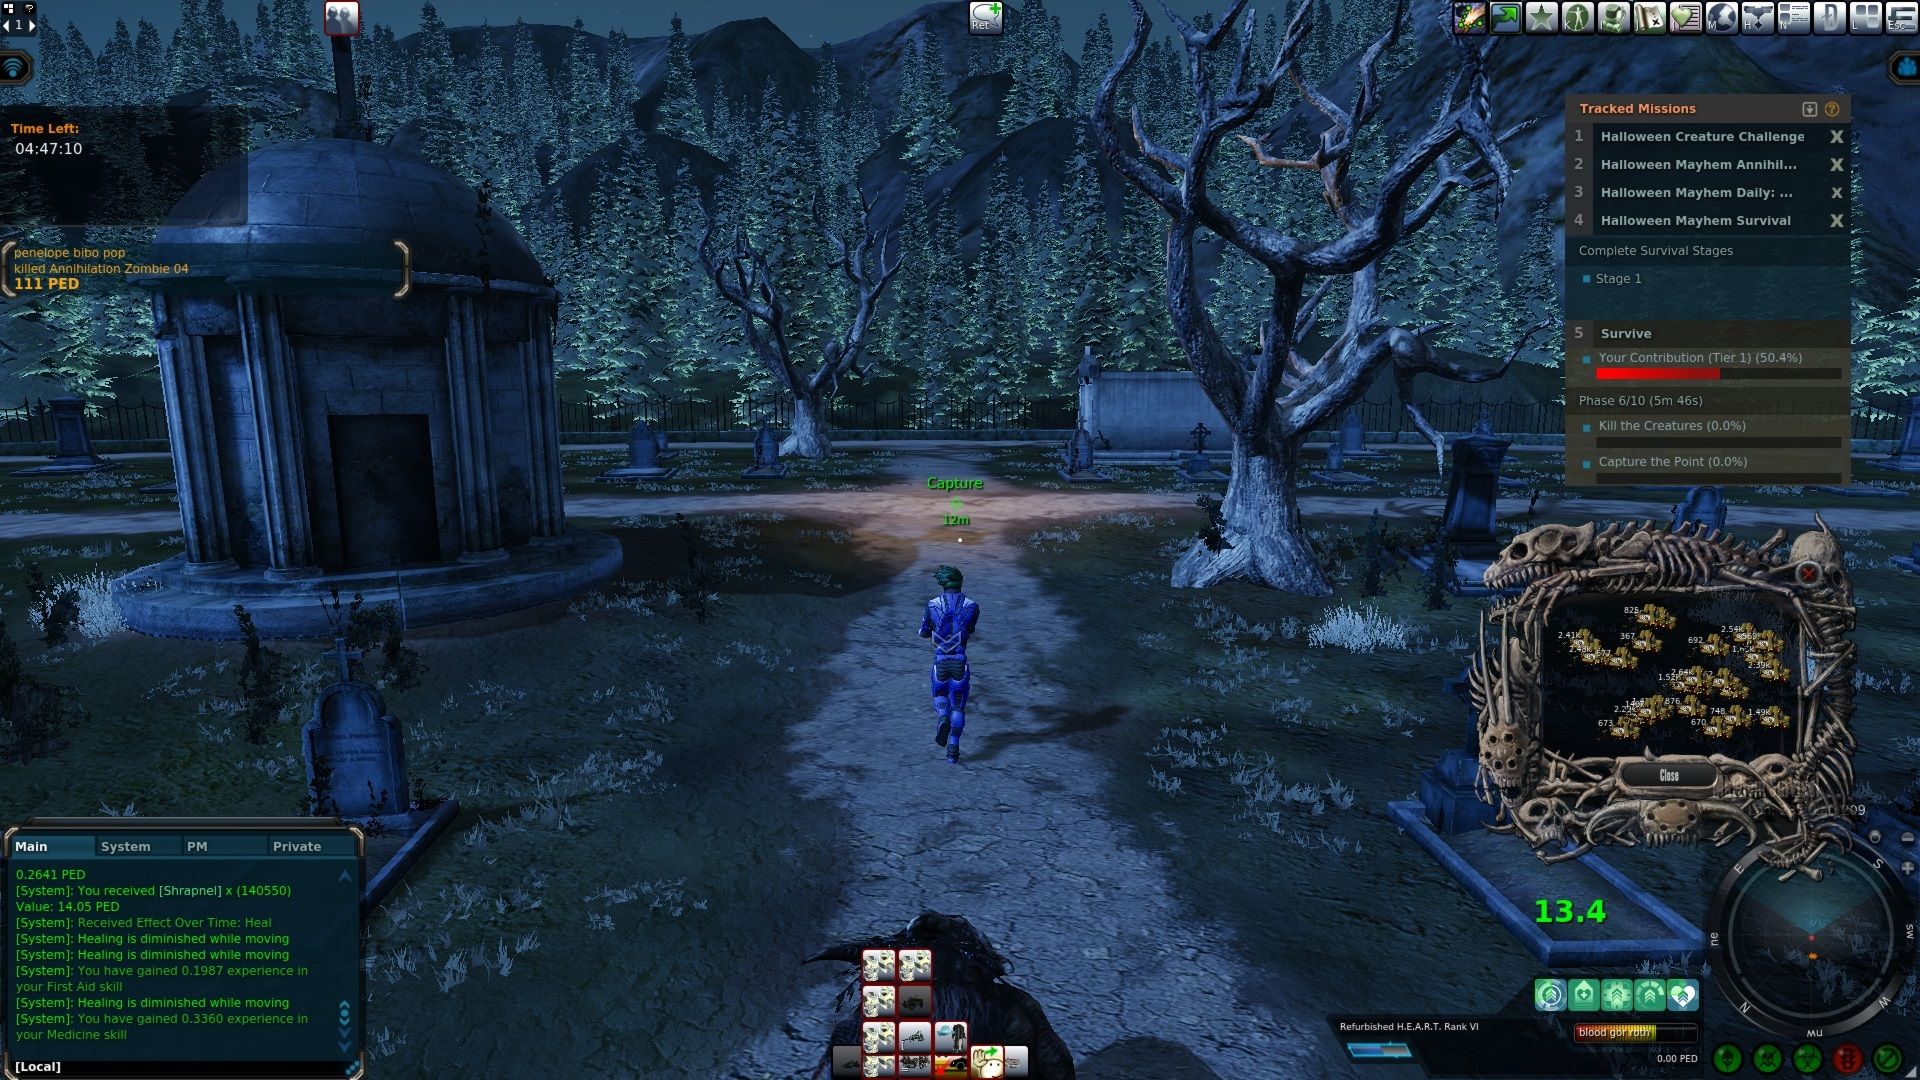
Once the point is captured you then can leave that spot and go elsewhere in the instance. You also don’t need to defend the point either. Having creatures in the area does not slow or stop you from capturing either.
Being near the middle is also where you need to be if you feel you are going to struggle for time. In the first couple of phases of each stage, you have a very short amount of time. As you progress along into other phases the amount of time you have starts to increase.
If you find yourself having lots of time but struggling to deal with tanking the damage. Along with wanting to reduce your chances of getting a de-buff. You will want to stand as far away from the center as possible while still being able to pull creatures.
While you can sometimes get spawn or two on top of you. Most of the time you will be far enough away from most of the spawns that they won’t even get aggression on you. You then get to control by taking out creatures at a distance and how many you are engaging with at once for the most part.
Sometimes I would go to pull one of the dogs and I’d get the whole pack with me. Other times I’d luck out and have the zombies spawn in the middle or far in front of me. With just the dogs within my long range to take out and clear out before working on the zombies.
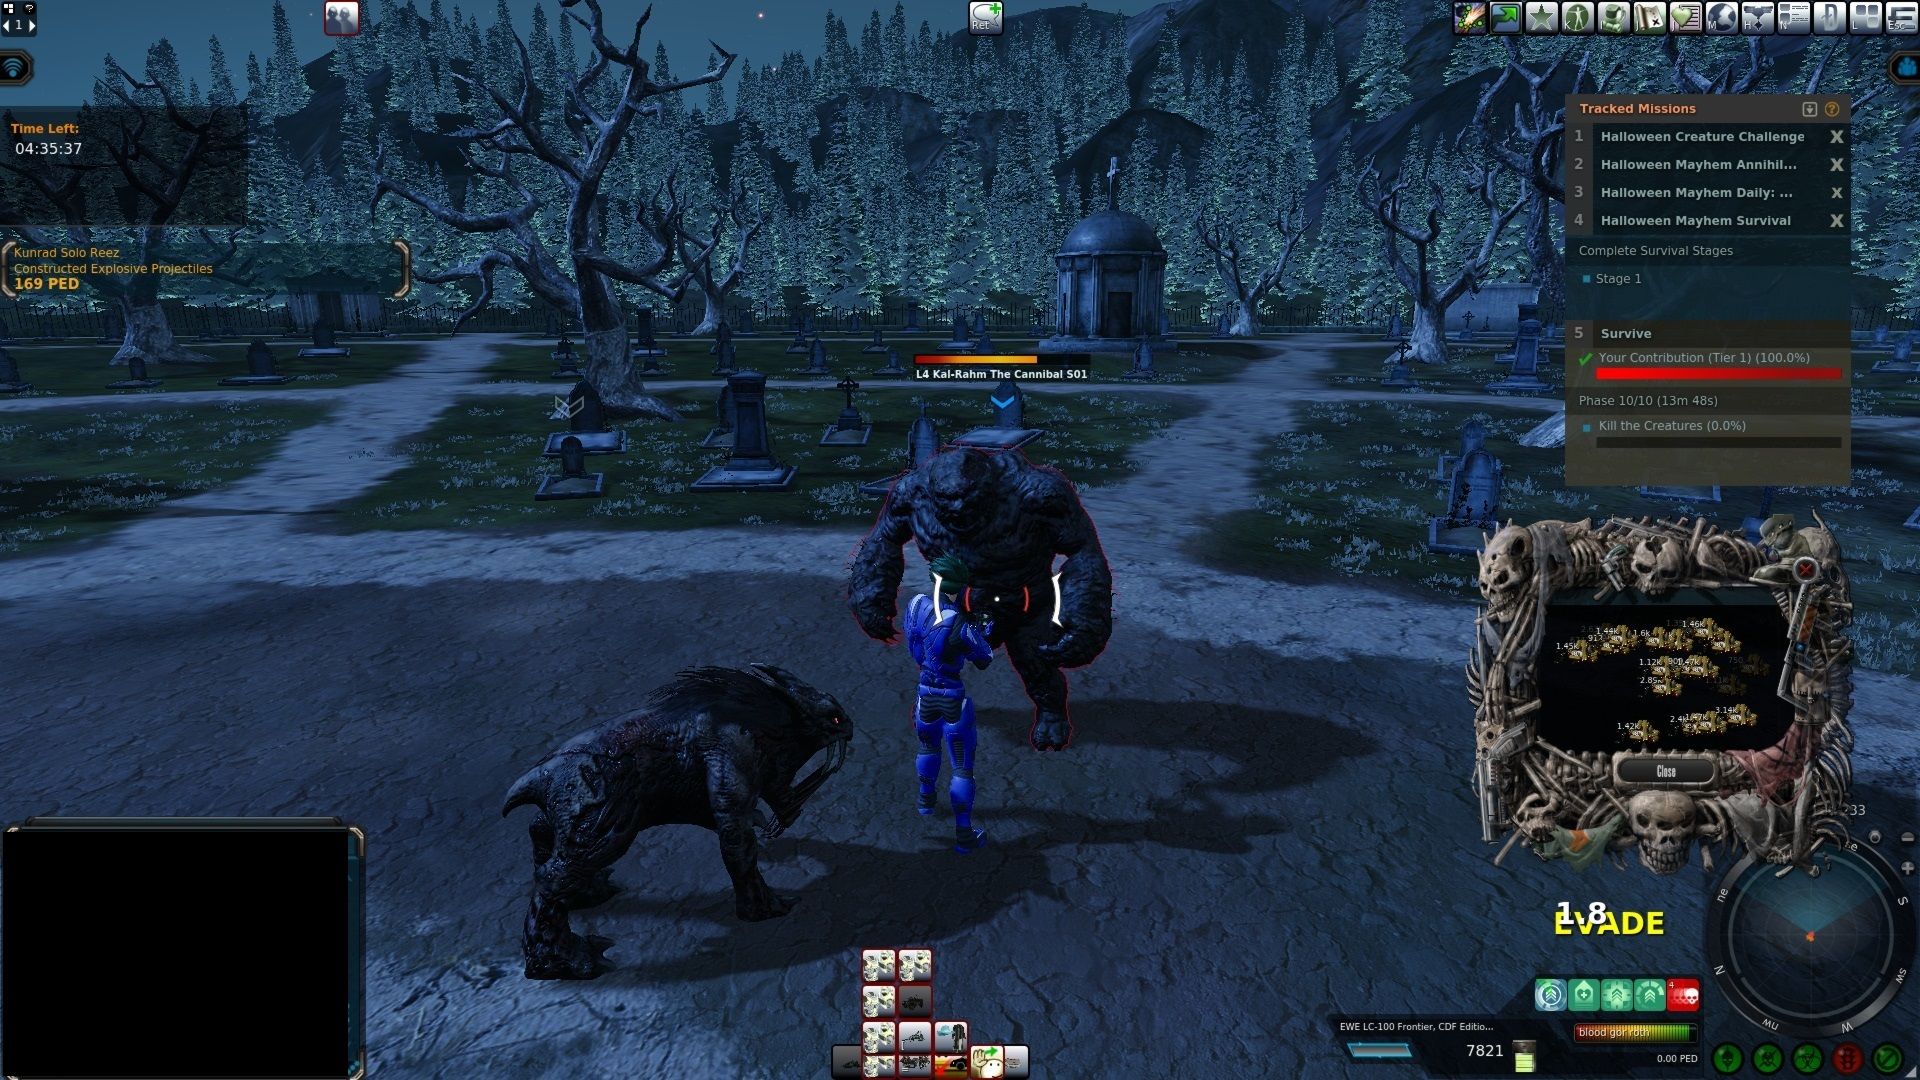
In the tenth phase, you get a boss and a couple of spawns to kill along with it. I found this to be one of the easier phases as long as you have decent damage and can tank the boss. If you don’t the de-buffs you get could end up being your downfall along with any adds you get on you.
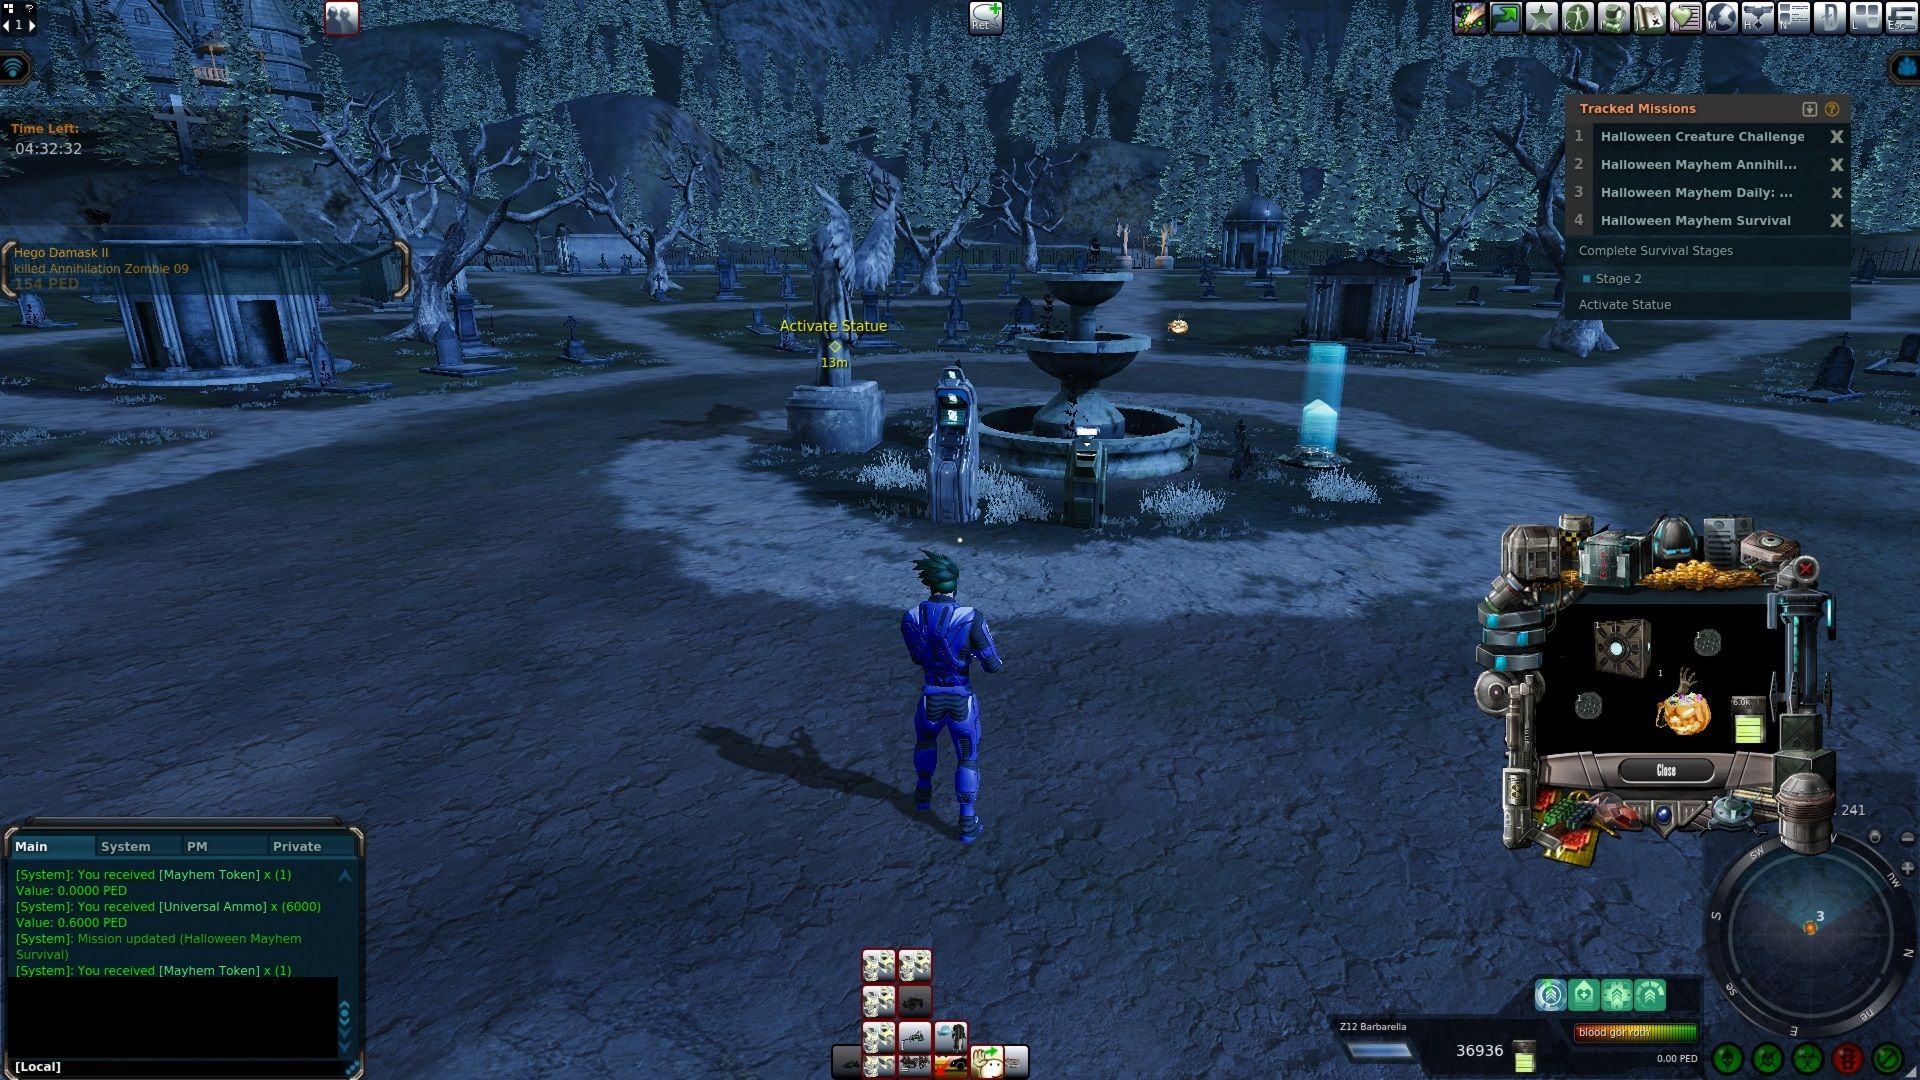
Once you have finished the final tenth phase you are done with that stage. The instance spawns in the exit, repair, trade, and a statue to start another phase. You now get to take a breather and prepare to go again if you wish.
Once you finish a stage you don’t get the normal rewards for doing it again. I think I would just get the 1 Mayhem token as a bonus but I never re-ran phase 1 to test that theory as that is not enough token to care to do so.

The first stage took me under half an hour to finish. While I’m sure I could have finished it faster if I wanted to have a bigger overkill. I was trying to use my smallest gun when I could.
I ended up using 58.13 PED of ammo for phase one. I did do a fair bit of overkilling with a bigger gun when I started to get a few adds on me. So I’m sure many can do this first phase more cheaper than I did. I did manage to be slightly up after finishing.
While I was earning a very small amount of credit towards my Hallowene Codex from killing creatures in this instance. I did not gain any points towards the Mayhem Annihlliation mission since this is not the Annihilation instance.
I don’t see myself grinding this out for extra tokens after I defeat a stage. Perhaps some people see it as worthwhile at a higher level. Since you can get Mayhem tokens off any creature kills in the other instance as well I would rather grind over there for my level of gameplay.
I already know I lack the skills and gear to make it to the 25th and last stage. The creatures there would be quite insane and you cannot die without failing so that makes it not possible for me with the current the time limits as well.
Screenshots were taken and content was written by @Enjar about Entropia Universe.


Windrose Review

Taking A Look At Alaska Gold Fever

The Making Of The Anathema Adventures Series

Taking A Look At Starminer

Making Billions During Capsuleer Day XXIII Warpath Event In Eve Online

Starminer | Trading From Station To Automation Guide

Taking A Look At Project Mist

My First 100 Hours In Starminer

Making Billions In The Gallente Election Event In Eve Online

Taking A Look At Windrose